Hello crafty friends!
Wow!! I am so happy (and super honoured) because I am guest designing with Clearly Besotted again!! As I mentioned before, I LOVE Stephanie’s beautiful flower drawings and there is SO beautiful outlined flower stamp set in November! Hooray!!
Here is what I came up with today:
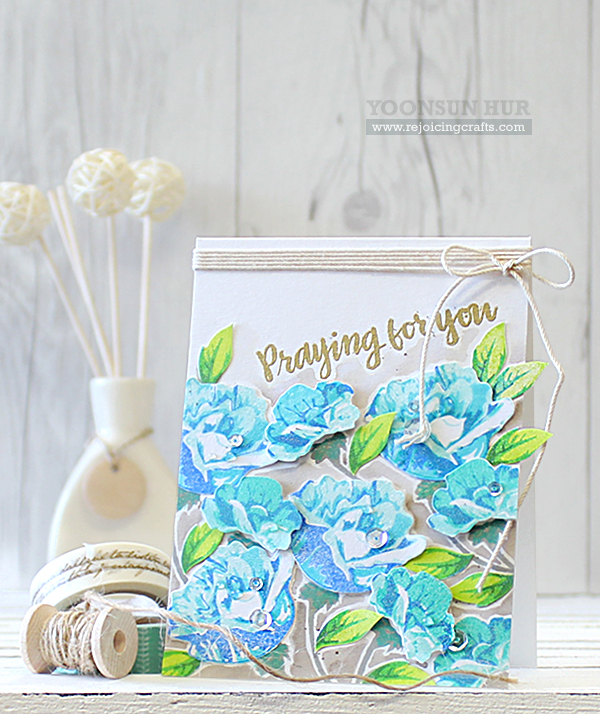
 Aren’t these flowers so beautiful? I used a new Merci Beaucoup stamp set. First I 1) Stamped the flowers onto watercolour paper panel using embossing ink, heat embossed with white embossing powder. 2) Coloured them with Distress markers using waterbrush. 3) Added some ink splatters. 4) Stamped the sentiment on watercolour floral panel with black pigment ink. 5) Mounted the watercoloured panel on white card base using double-sided tape. 6) Tied the bottom part of the card with a natural twine for finishing touches.

 Make sure to check out Clearly Besotted Blog for more inspiration from the fabulous Design Team!!
Thank you so much for stopping by. Have a great day!
Keep smiling and be blessed! God bless you all!
Love Love Love RejoicingCrafts


 I am so excited to be in this awesome collaboration. I had so much fun playing with those unique and stylish designs by Altenew for today’s project!!
 For my first card, I made a loose watercolour card. First I 1) Stamped the images from the
 For my second card, I used
  Your next stop on the hop is so very talented


 If you want to see more just click to the


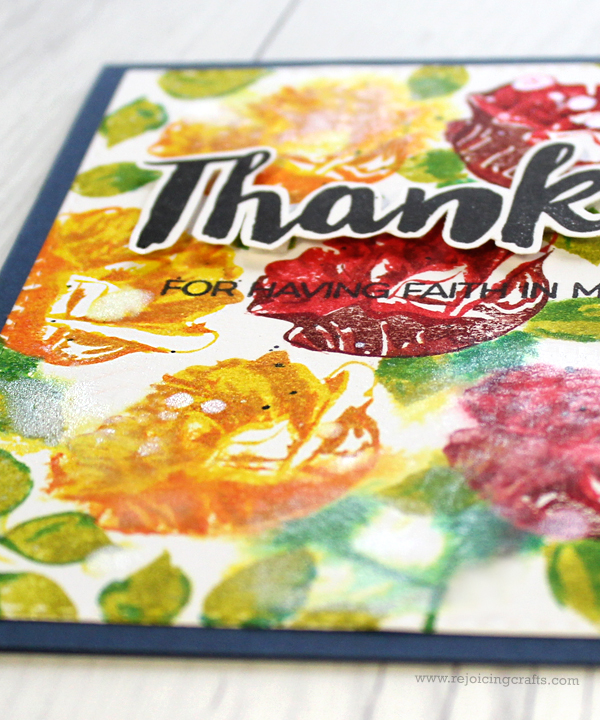
 Today is all about COLOUR! I believe that flowers are the best way to show all the colours of the rainbow. In additions, the layered petals of flowers are perfect for expressing different colours on one spot.
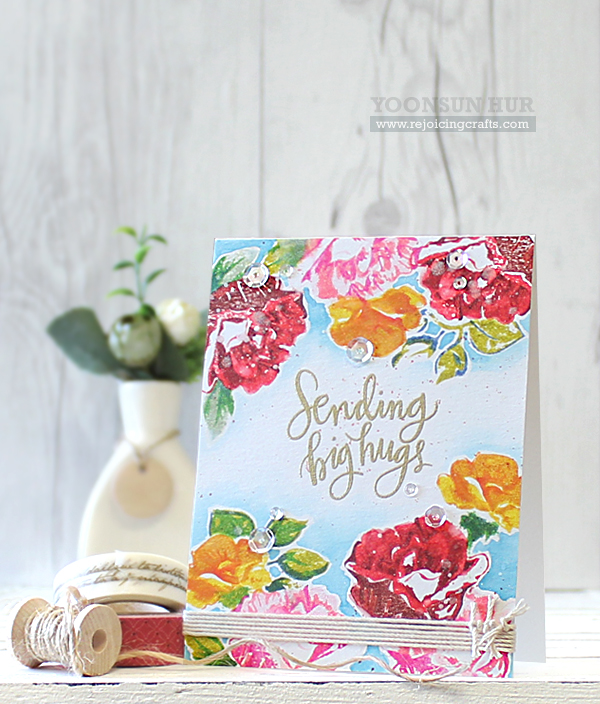 To create the card, I 1) Stamped
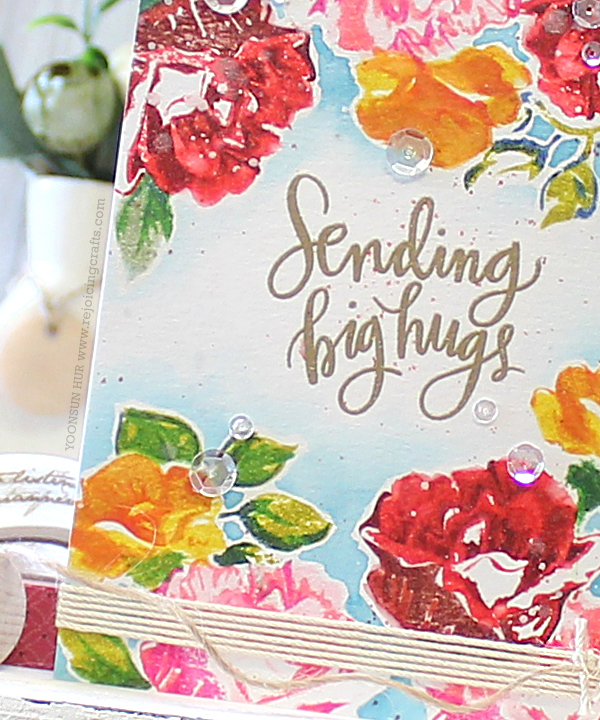
 How did I make my second card? Well, it was no different to the way I made it the first card. But this time, I used cool colours instead of warm colours. I stamped the first layer of these blue flowers with
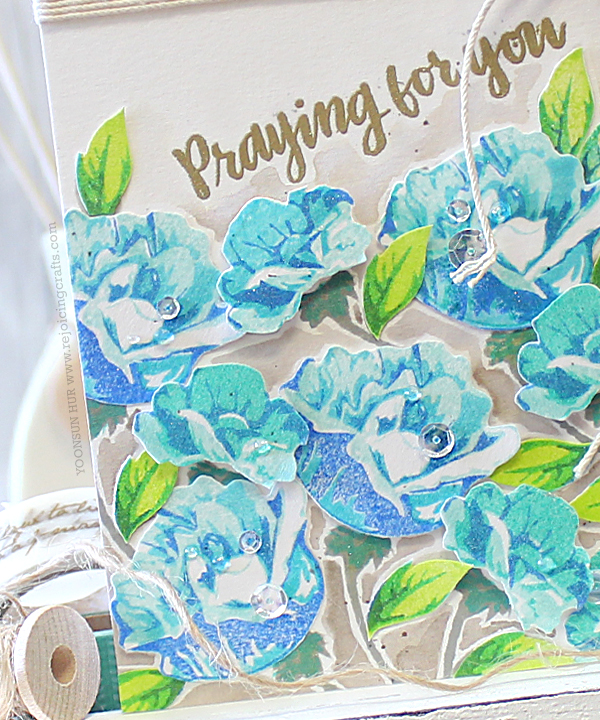


 Today I want to share with you the card I’ve made using so very beautiful
  Altenew layered flower stamps look very much like real flowers and this time was no exception!!
 To create the card, I 1) Stamped the layering flowers from the