Hello crafty friends!
Welcome to day 3 of Altenew 10th Anniversary Blog Hop. I am so honoured to be a part of Altenew 10th Anniversary celebration!! Come join us and celebrate a fabulous 10th Birthday over at Altenew with an amazing blog hop.
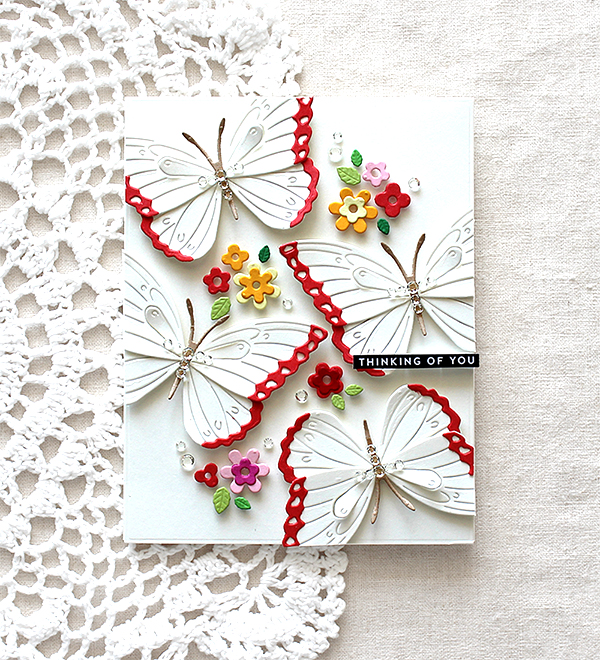
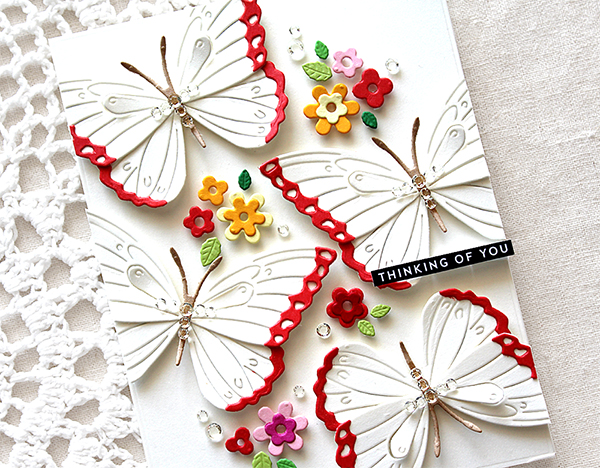
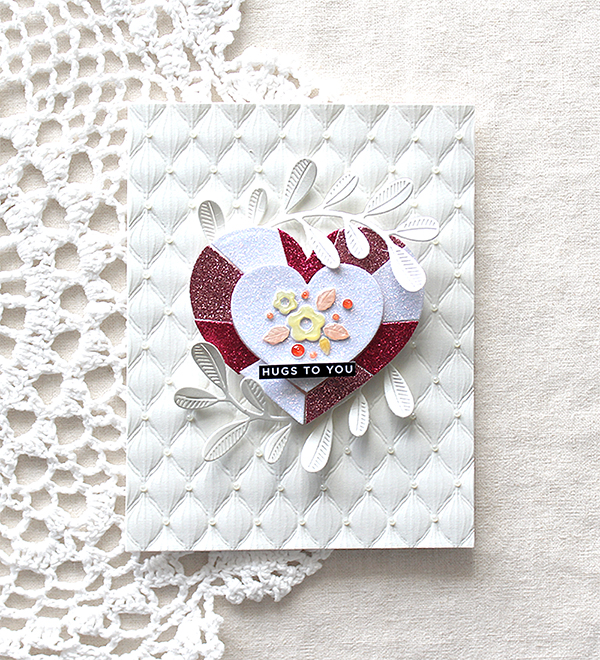
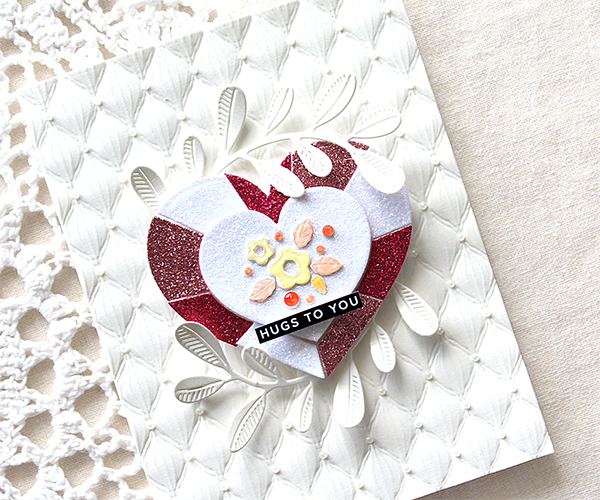
Today’s card to celebrate the Altenew is, I made a watercolour floral card with old goodies – Rose Flurries 3D & Leafy Wreath die. An oldie but a goodie, right?!!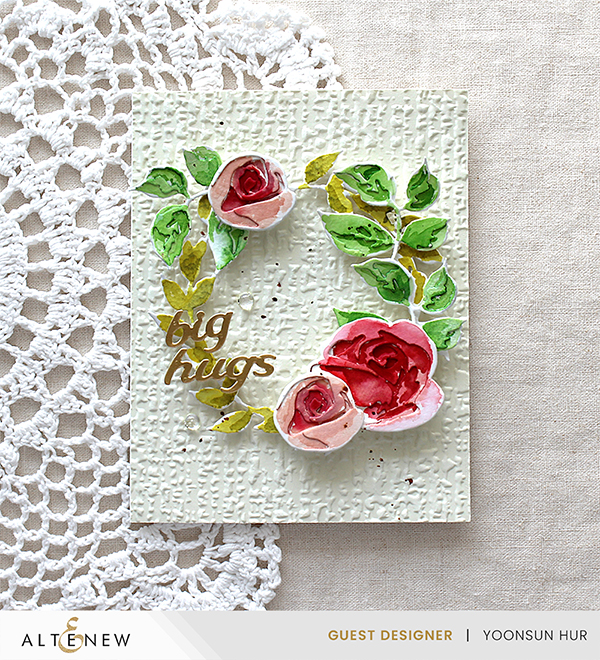
I die cut all pieces from watercolour paper using Rose Flurries 3D set and assembled them together using glue pen. I also die cut Leafy Wreath from watercolour paper. I dry embossed the background using Organic Linen 3D embossing folder, mounted the background panel onto A2 sized card base first, adhered flower & leaves on the card front using foam tape, then loosely watercoloured them with Distress inks. For the “Big Hugs” sentiments, I used it in the Blossom of Life die set.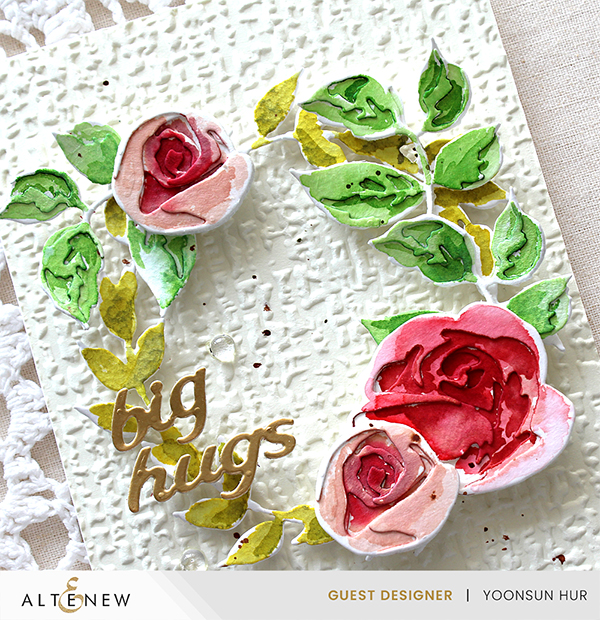
SPECIAL OFFER!
Receive a FREE Craft Your Life Tote Bag($12.99 value) on orders over $79 on 04/03/2024 from 12:01 am EDT until 11:59 pm EDT. While supplies last, the free gift will be added to your cart automatically. (Shop HERE).
GIVEAWAY PRIZES!
Over $3,500 in total prizes! Altenew is giving away a $50 Altenew gift certificate to 10 winners, a $20 ArtistrybyAltenew gift certificate to 5 winners, and an online papercrafting class ($39.99 value) from Altenew Academy Online Class to 14 winners. There are also 28 awesome companies/crafty friends who are celebrating with us, and they are offering the following prizes: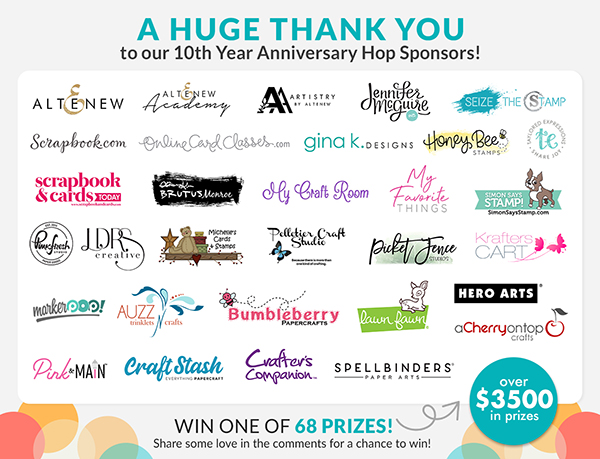
Altenew: 10 x $50 Altenew Gift Certificates
ArtistrybyAltenew: 5 x $20 ArtistrybyAltenew Gift Certificates
Altenew Academy: 14 x Online Papercrafting Classes ($39.99 value each)
Crafter’s Companion: 1 x Gemini II Die Cutting and Embossing Machine ($329 value)
LDRS Creative: 4 x $50 LDRS Creative Gift Certificates
Online Card Classes: 5 x Online Card Classes ($25 value each)
Jennifer McGuire Ink: 1 Share Handmade Kindness goodies bag ($100 value)
Honey Bee Stamps: $100 Gift Certificate
Hero Arts: $100 Gift Certificate
Lawn Fawn: $100 Gift Certificate
Pink and Main: $100 Gift Certificate
Scrapbook & Cards Today: $100 Gift Certificate
Taylored Expressions: $100 Gift Certificate
Gina K. Designs: $100 Gift Certificate
CraftStash: $100 Gift Certificate
Brutus Monroe: $100 Gift Certificate
Picket Fence Studios: $50 Gift Certificate
Pelletier Craft Studio: 3 x $25 Gift Certificates
Michelle’s Cards and Stamps: AUD $100 Gift Certificate
Spellbinders Paper Arts: 2 x $25 Gift Certificates
Scrapbook.com: $50 Gift Certificate
My Craft Room: $50 Gift Certificate
Krafters Cart: $50 Gift Certificate
A Cherry on Top: $50 Gift Certificate
Simon Says Stamp: $50 Gift Certificate
My Favorite Things: $50 Gift Certificate
Pinkfresh Studio: $50 Gift Certificate
Bumbleberry Papercrafts: £25 Gift Certificate
Seize the Stamp: CHF 25 Gift Certificate
MarkerPop: $25 Gift Certificate
Auzz Trinklets N Krafts: AUD $25 Gift Certificate
Be sure to leave comments by 04/16/2024 for a chance to win one of 68 prizes! To make the hop more exciting, start your comment with “Hi from (city or country where you’re from)!” 68 winners will be chosen at random from the comments left on any of the blogs listed below and will be announced on the Altenew Card Blog on 04/19/2024.
BLOG HOP LIST: Click here InLinkz Link-up
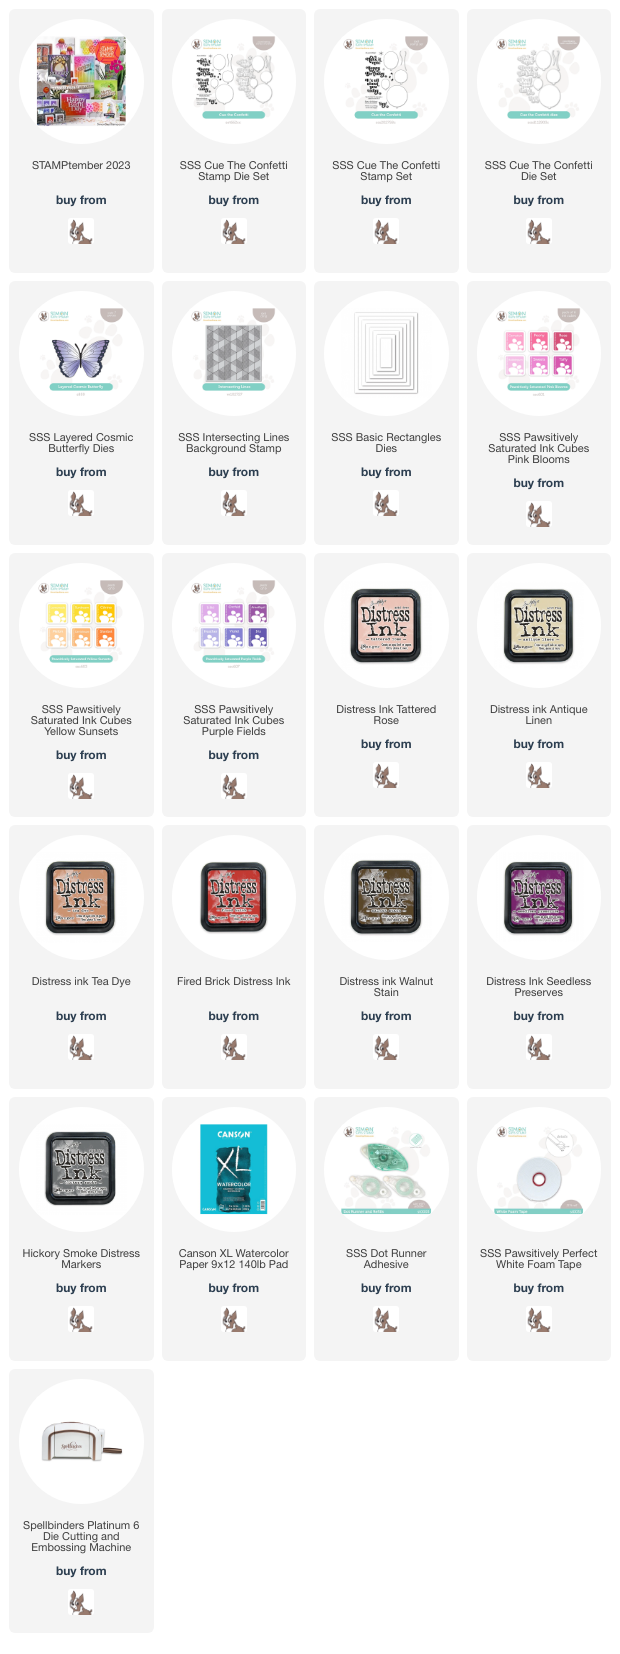
PRODUCT LINKS:
Rose Flurries 3D Die Set
Leafy Wreath Die
Organic Linen 3D Embossing Folder
The Blossom of Life Die Set
Thank you so much for stopping by. Have a wonderful day!
Keep smiling and be blessed! God bless you all!
Love Love Love RejoicingCrafts