Case me a Christmas Card 2026

Hello crafty friends!
Welcome to Case me a Christmas Card 2026 – a Christmas Card series! I’m super excited to be a part of Michelle Lupton‘s Case Me A Christmas Card series!🤩
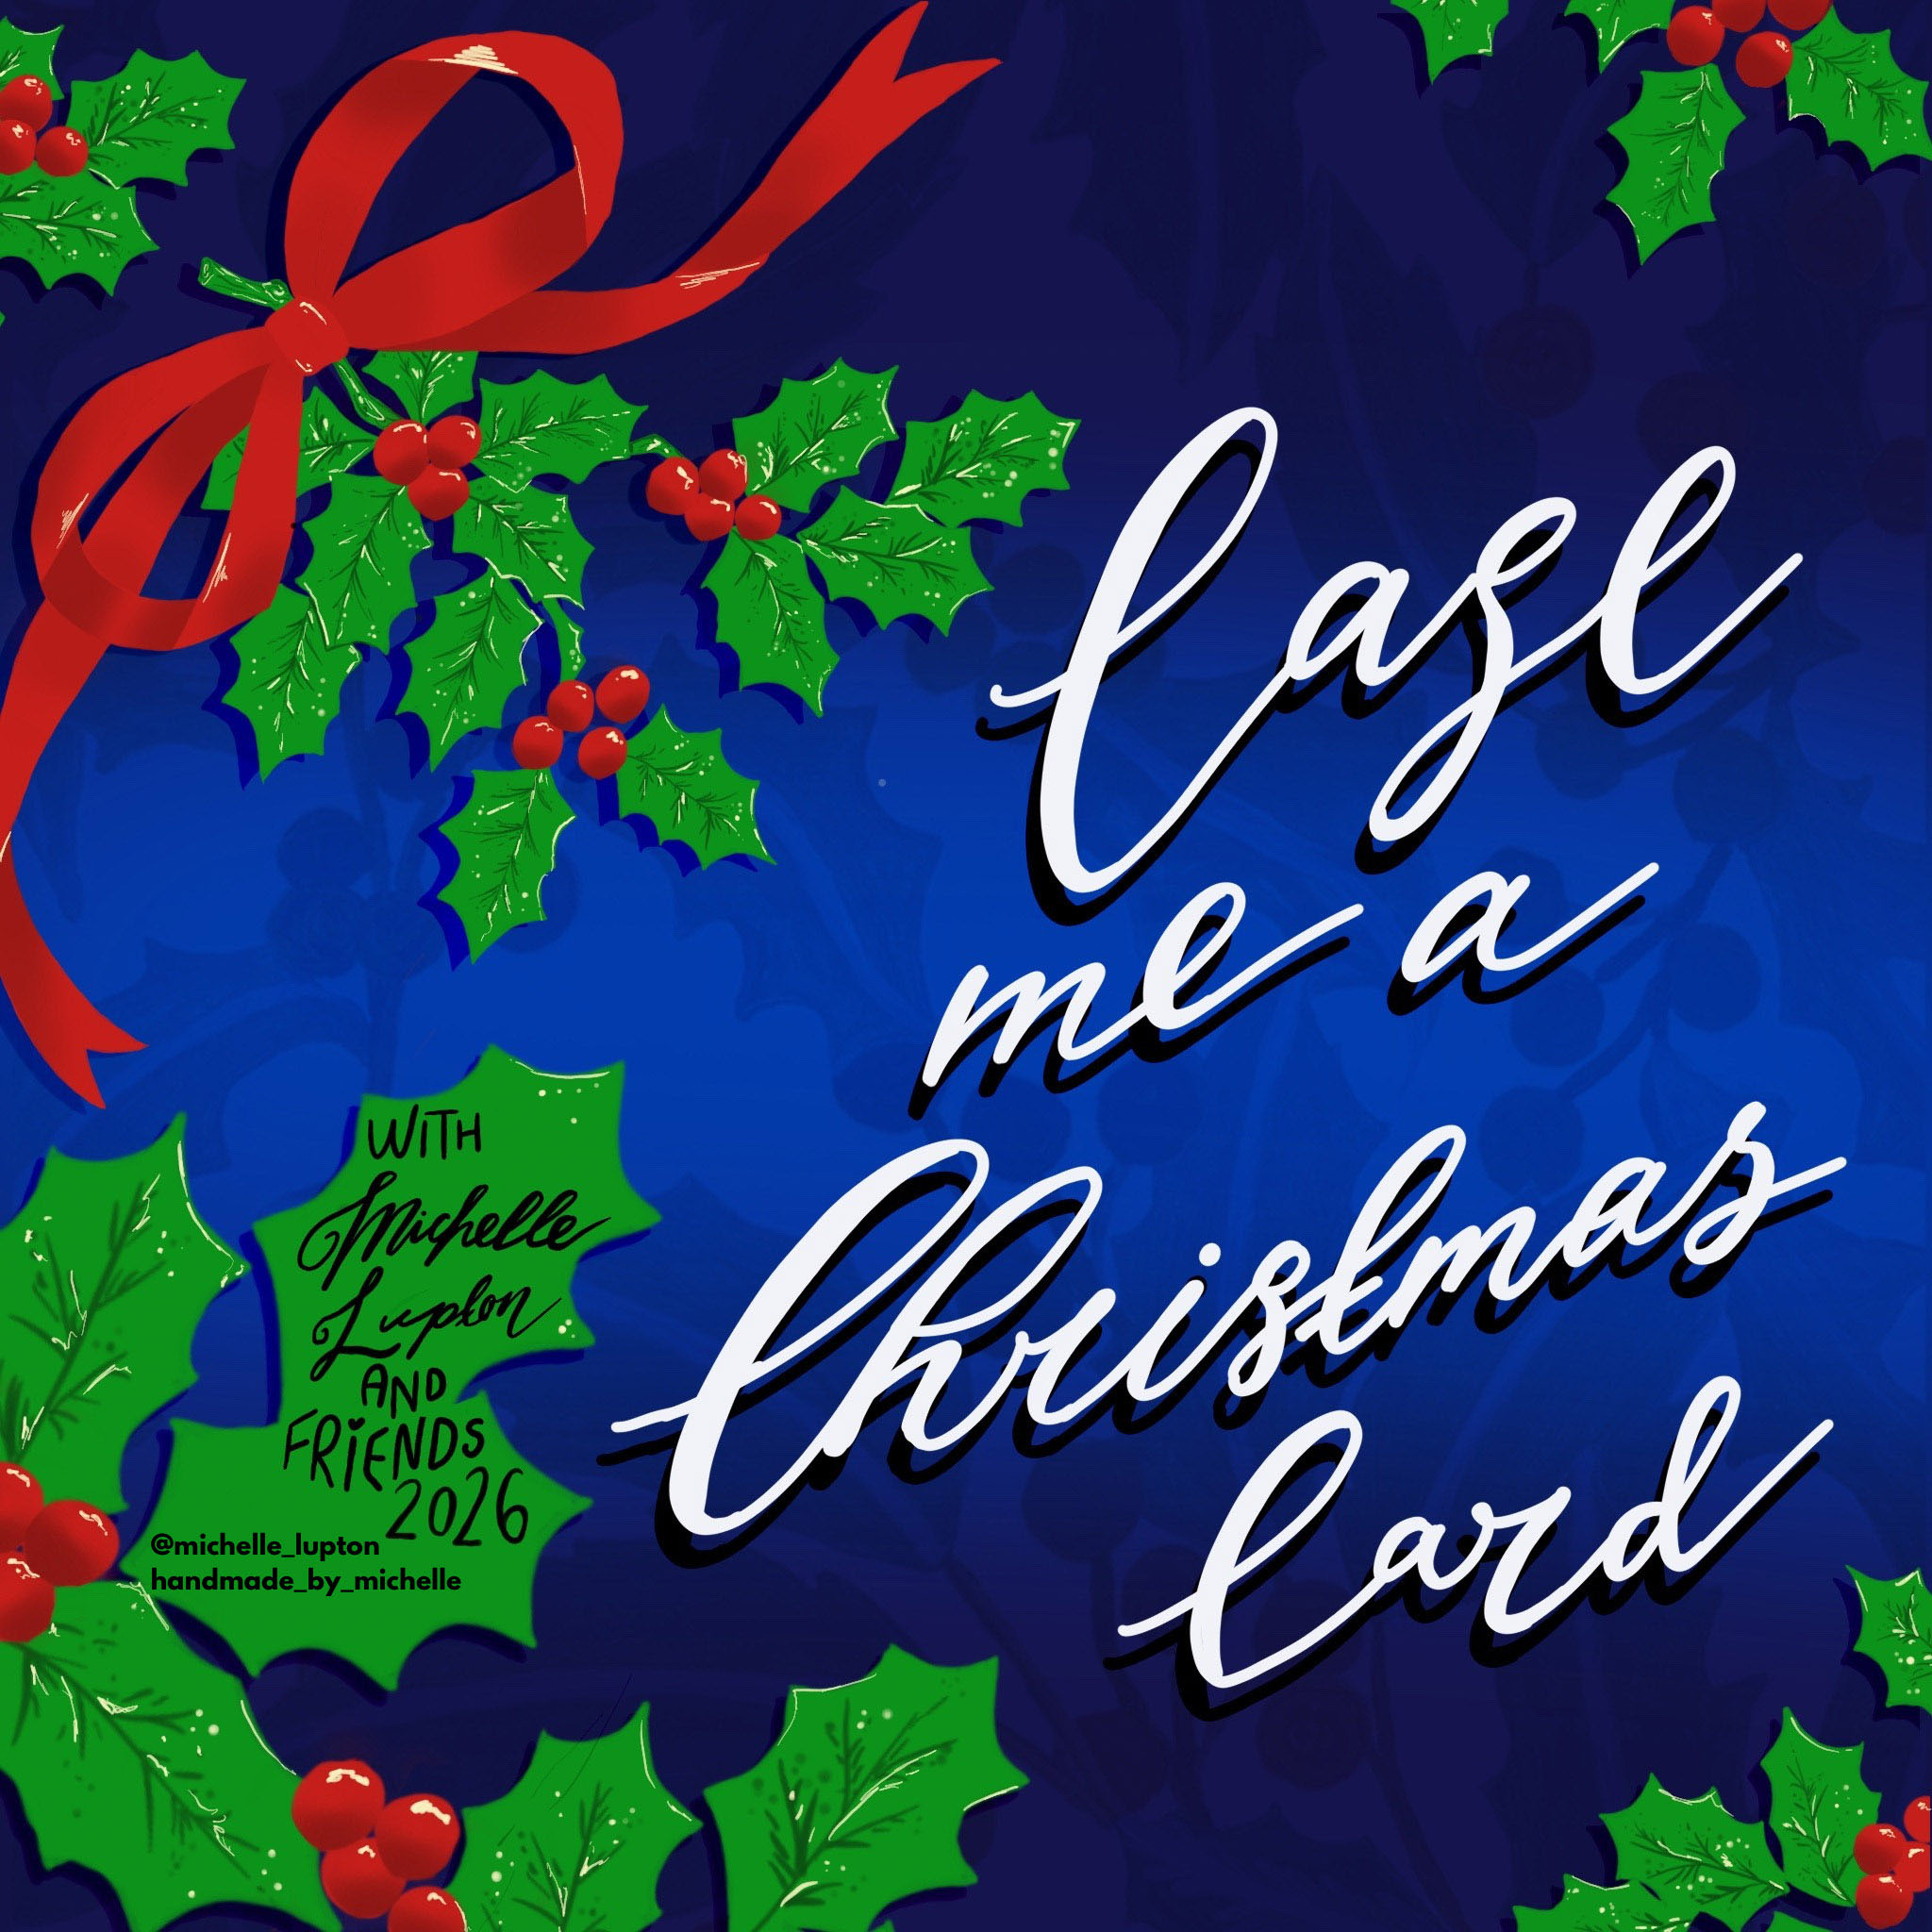
Throughout November, there will be a series of 11 hops – four YouTube hops, and seven Instagram hops. Each hop involves participants CASEing (Copy And Selectively Edit) a card from the next person, drawing inspiration while each creating a Christmas Card. And you can join in!

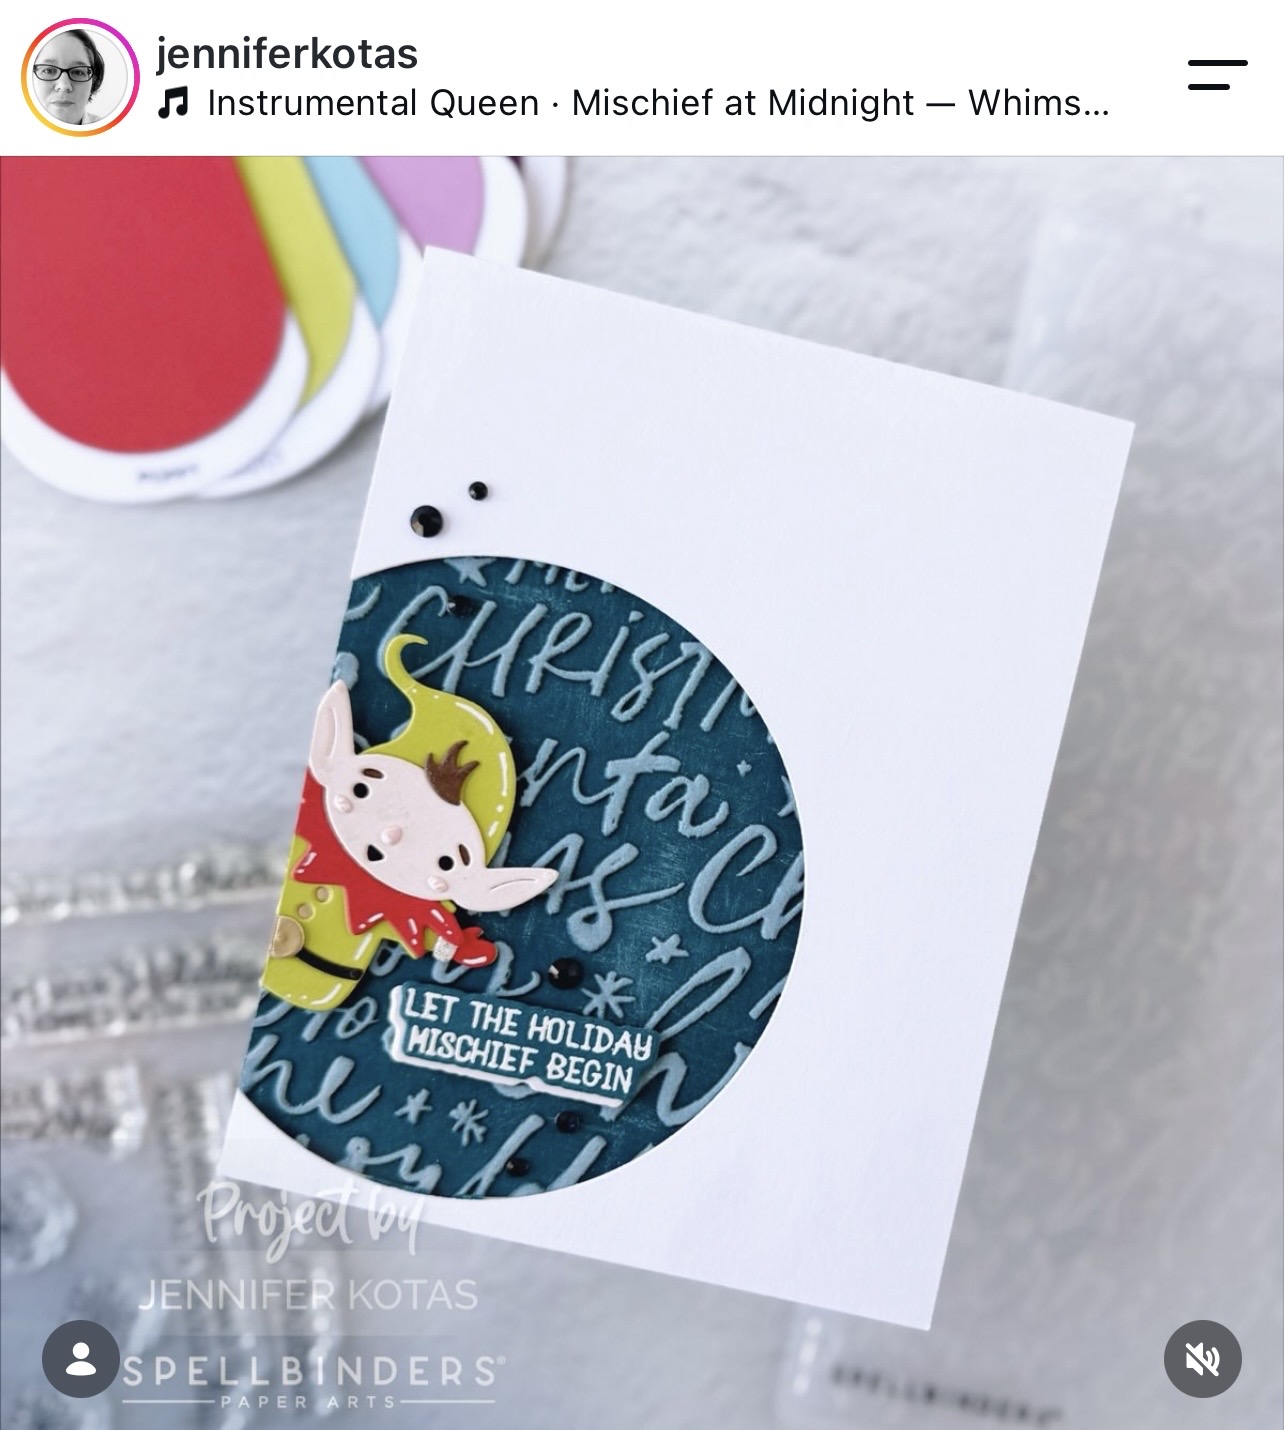
I was so excited to CASE Jennifer’s (@jenniferkotas) beautiful creations. She has created so many beautiful cards that I honestly had a hard time deciding which one to CASE!😘

This is the first card I CASE-d from Jennifer. For more details, click HERE to visit Jennifer’s blog.


And here is my CASE-d version of Jennifer’s card.
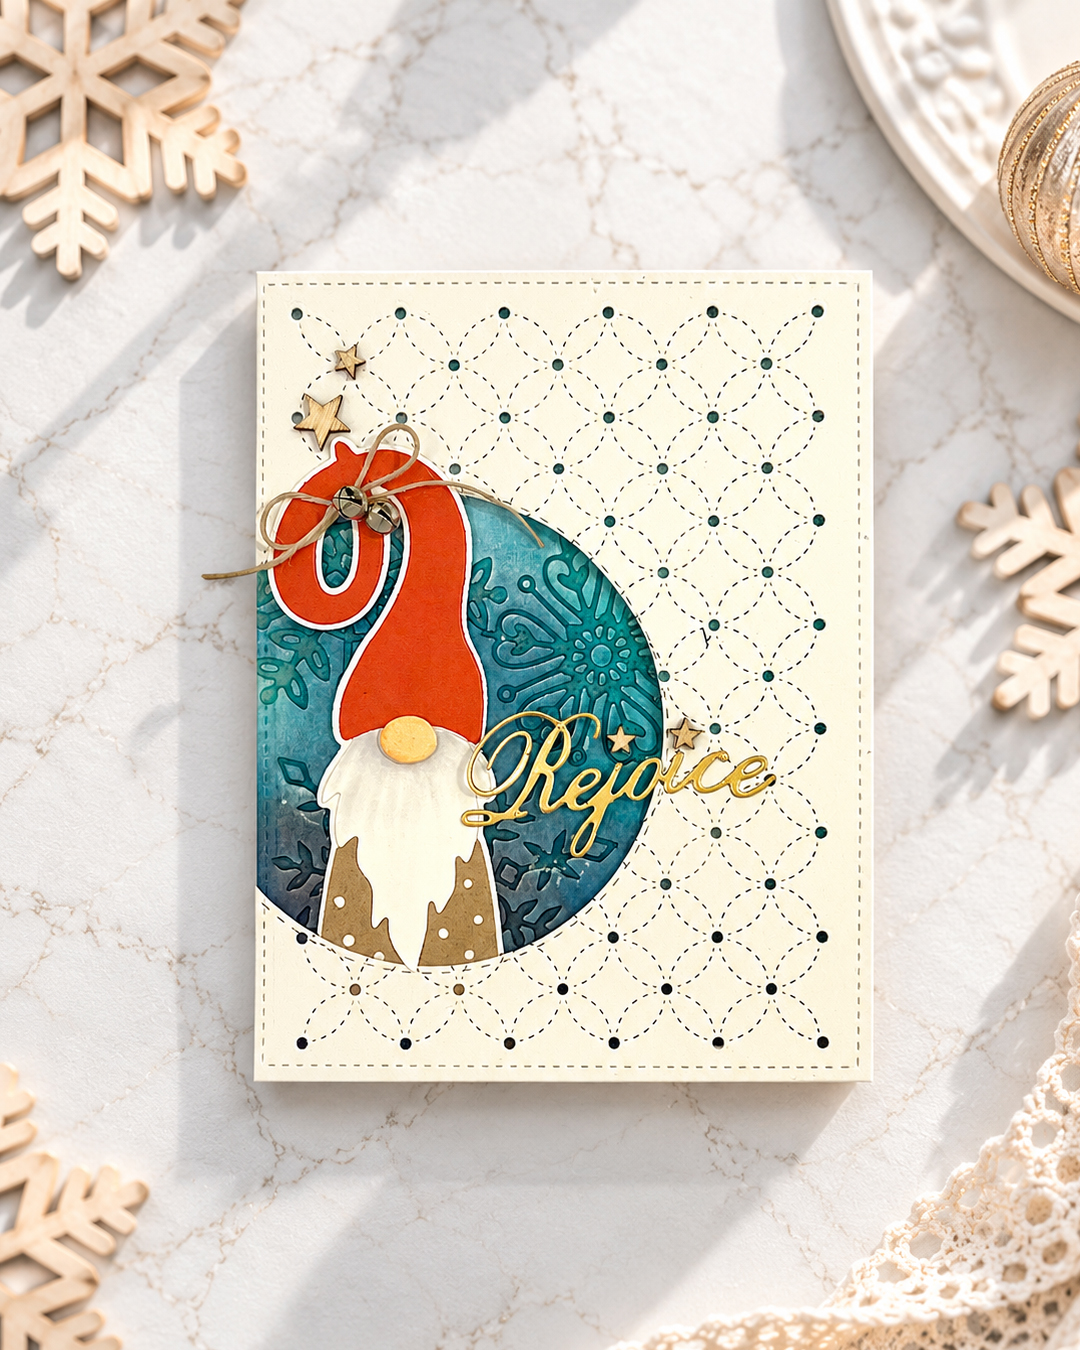
Although I don’t have the exact same supplies Jennifer used, I tried to make card using the same layout of her card. Instead of Jennifer’s Christmas elf, I used my all-time favourite Simon Says Stamp Gnome die.🥰

This is the second card I CASE-d from Jennifer. For more details, click HERE to visit Jennifer’s blog.
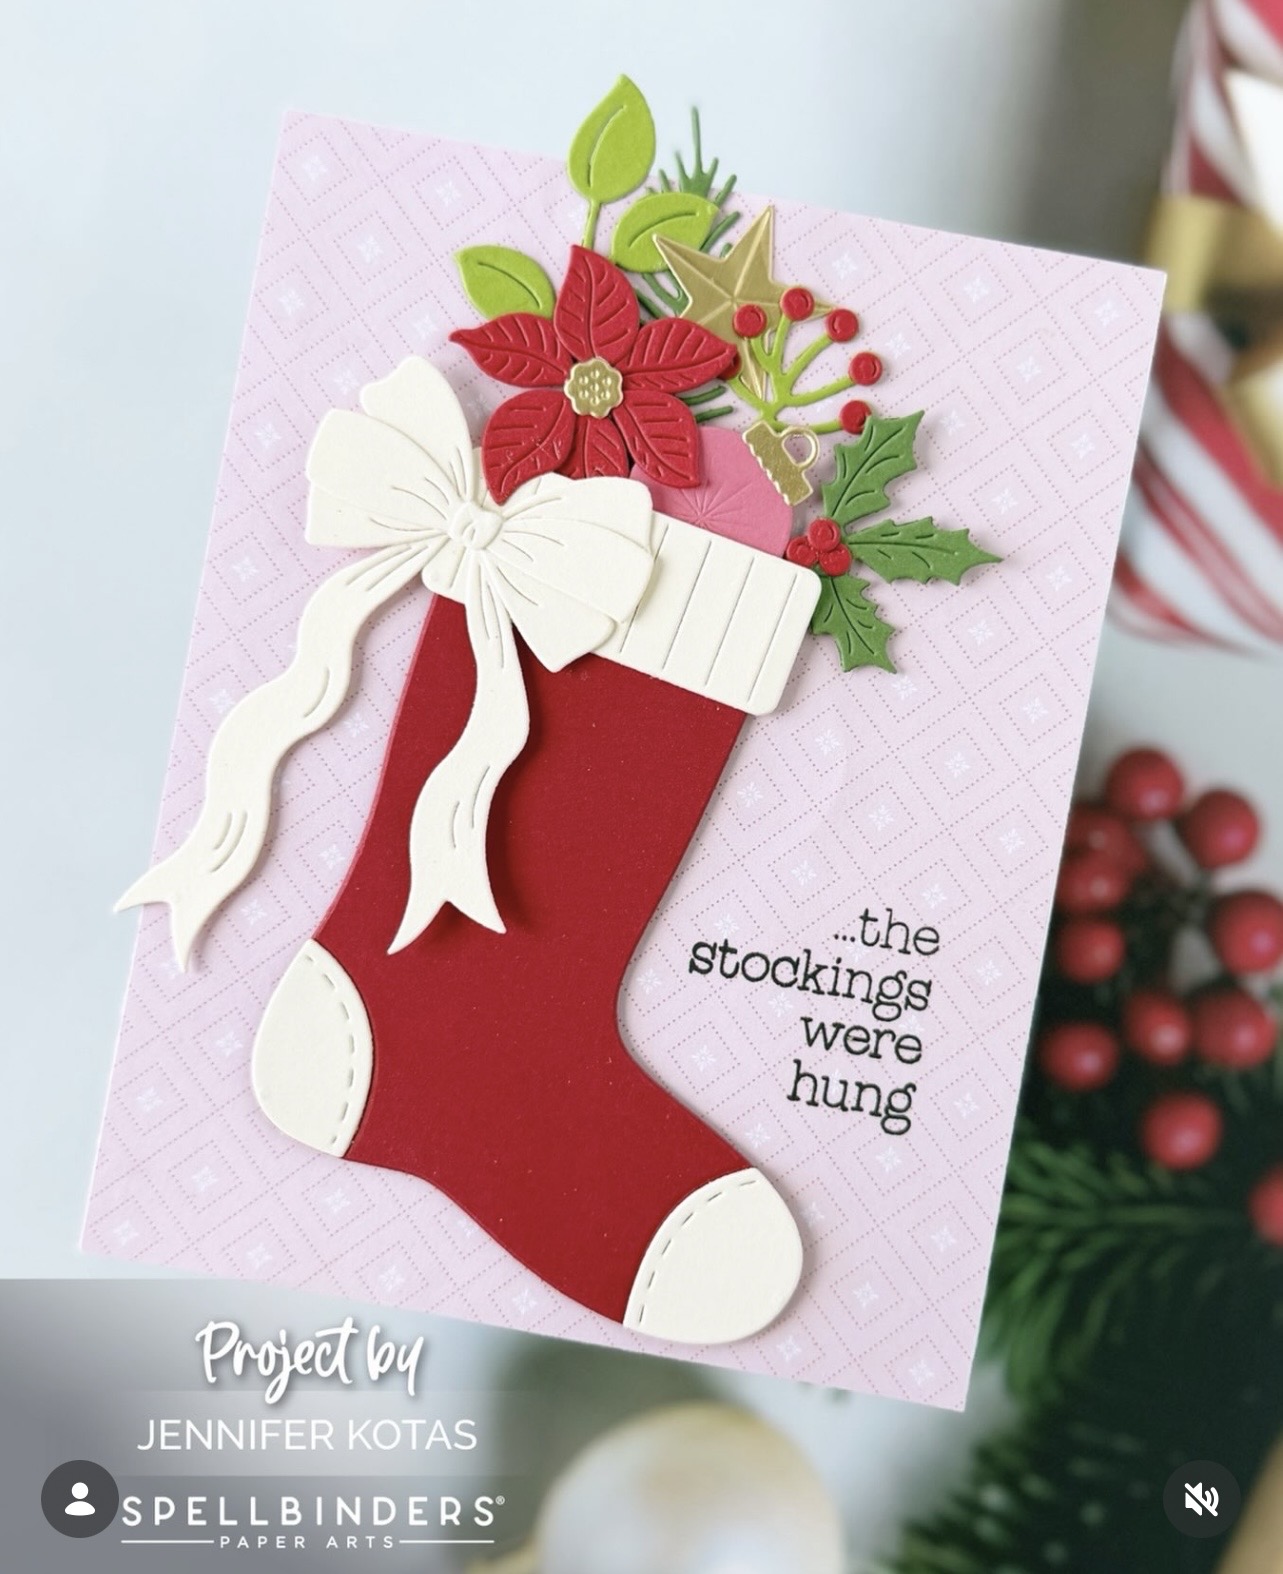

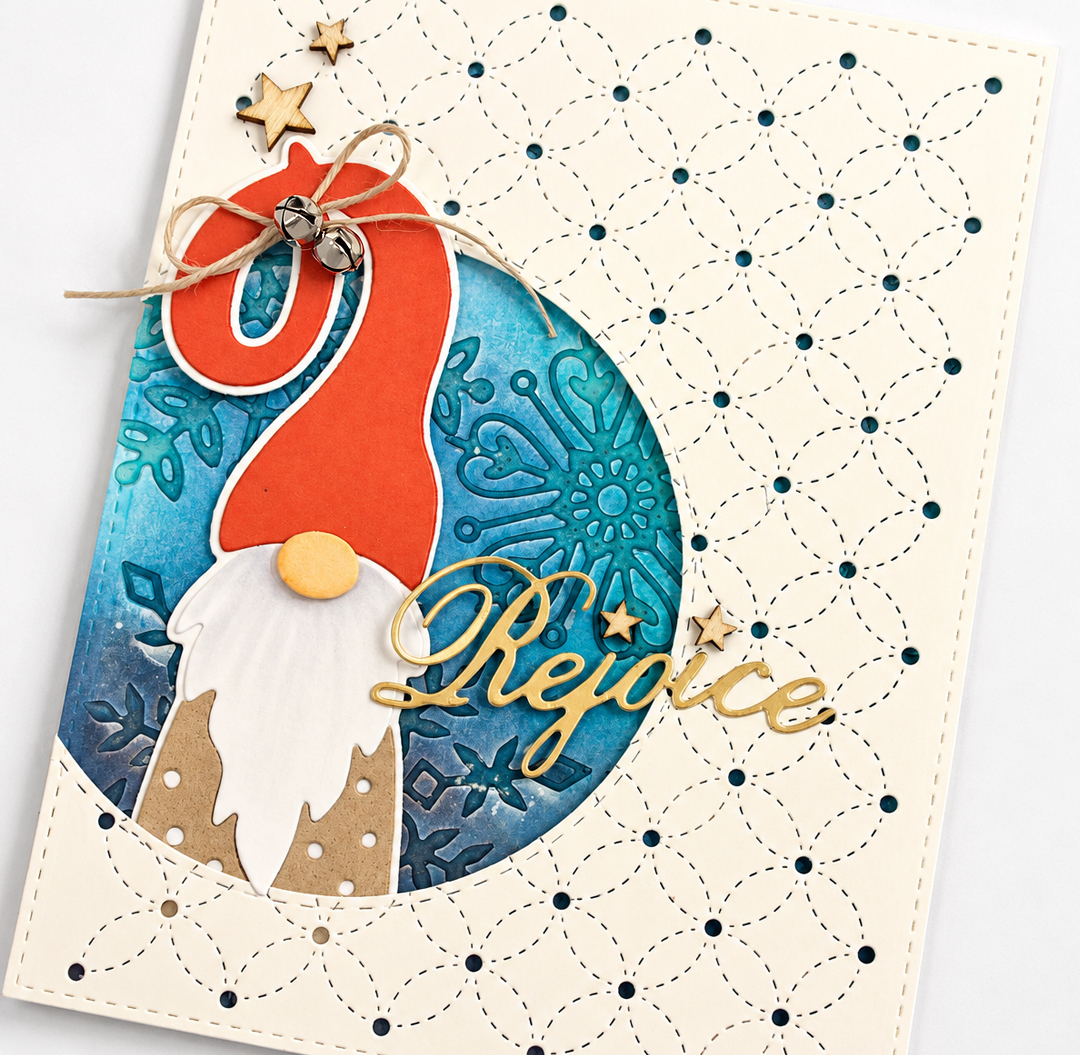
And here is my CASE-d version of Jennifer’s card.
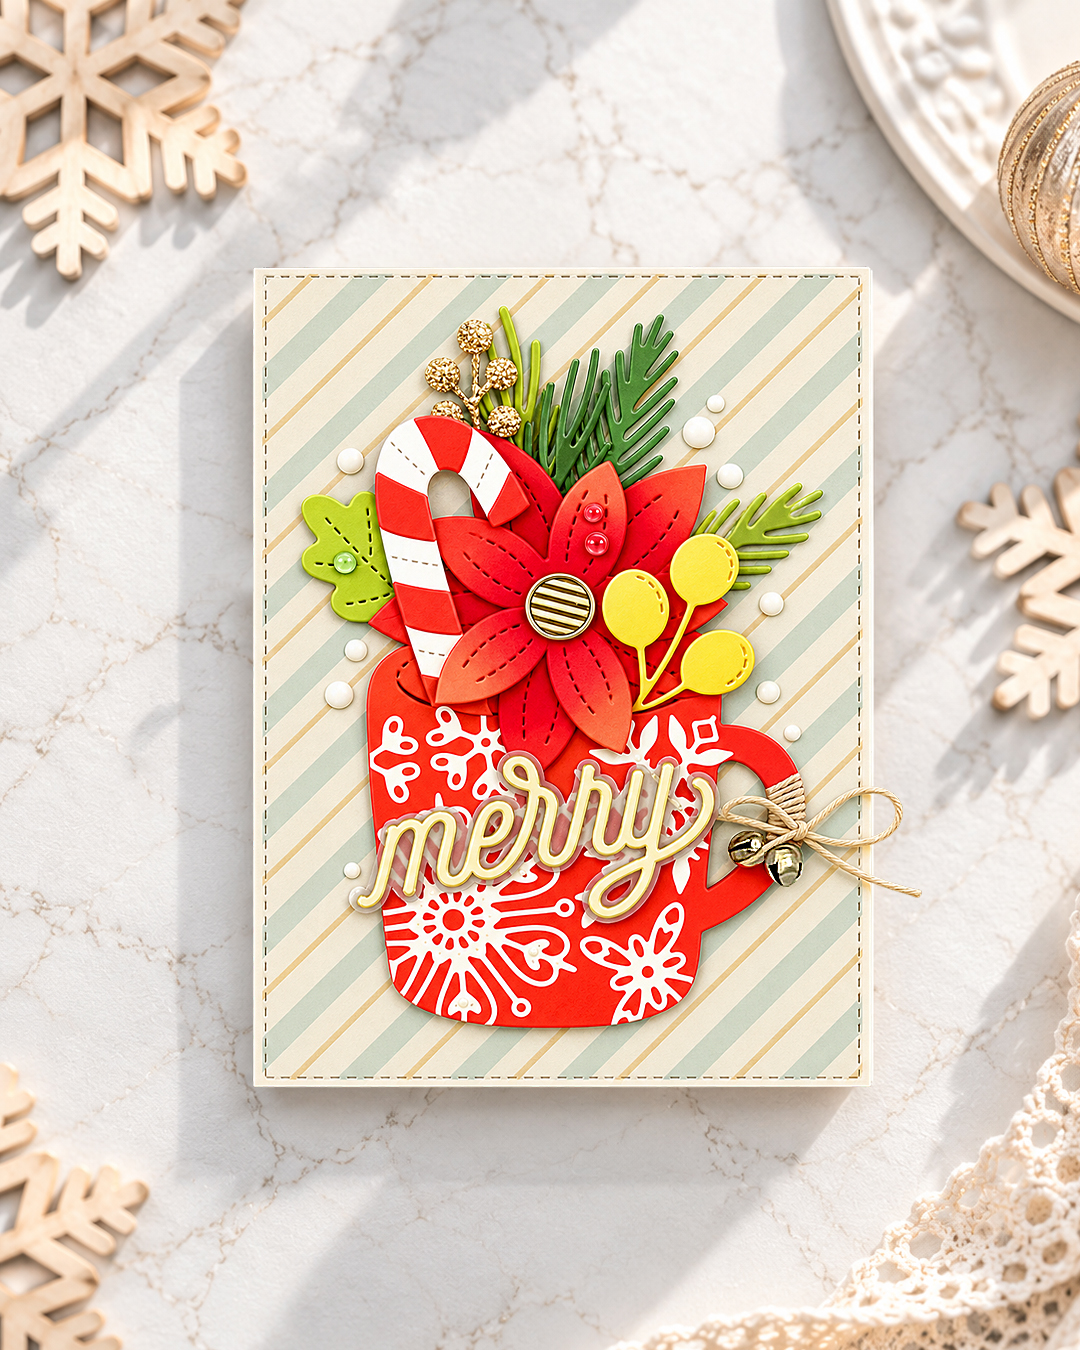
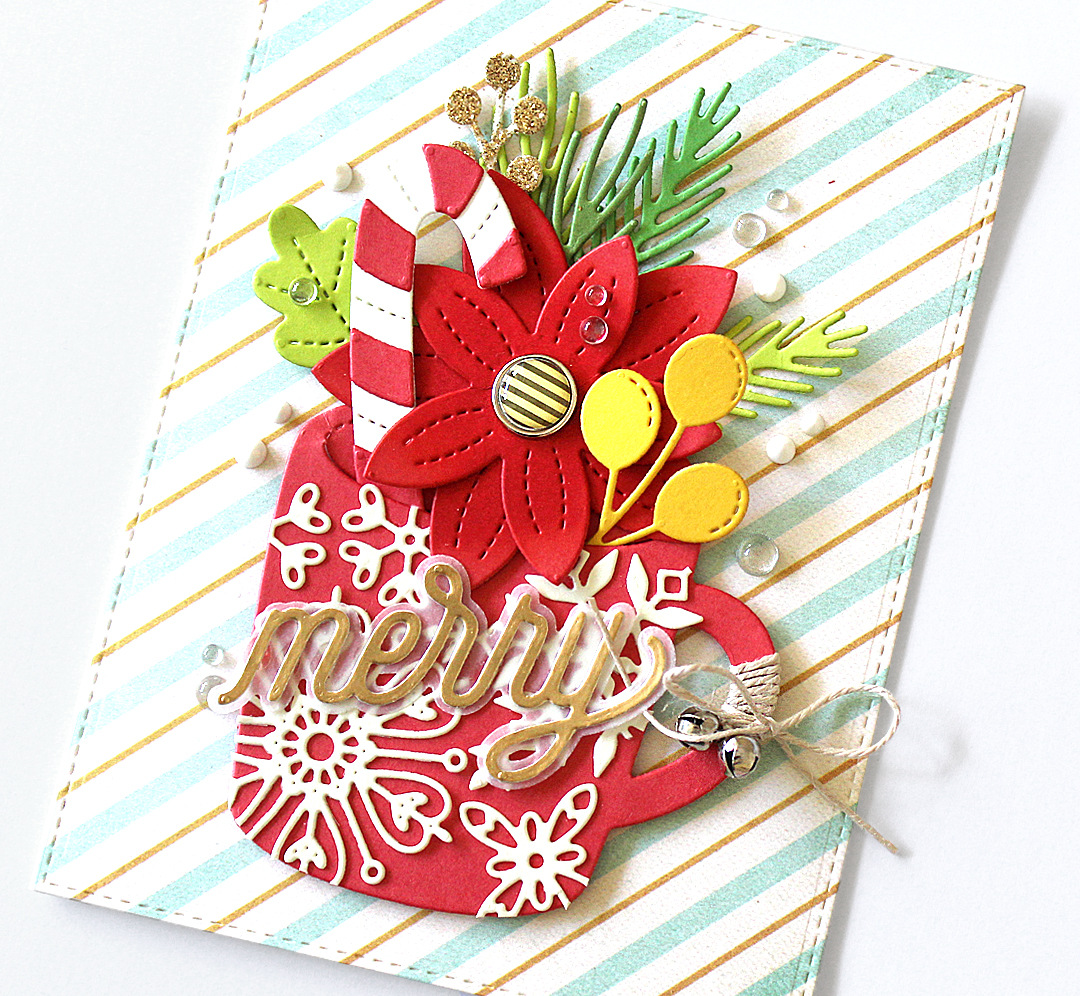
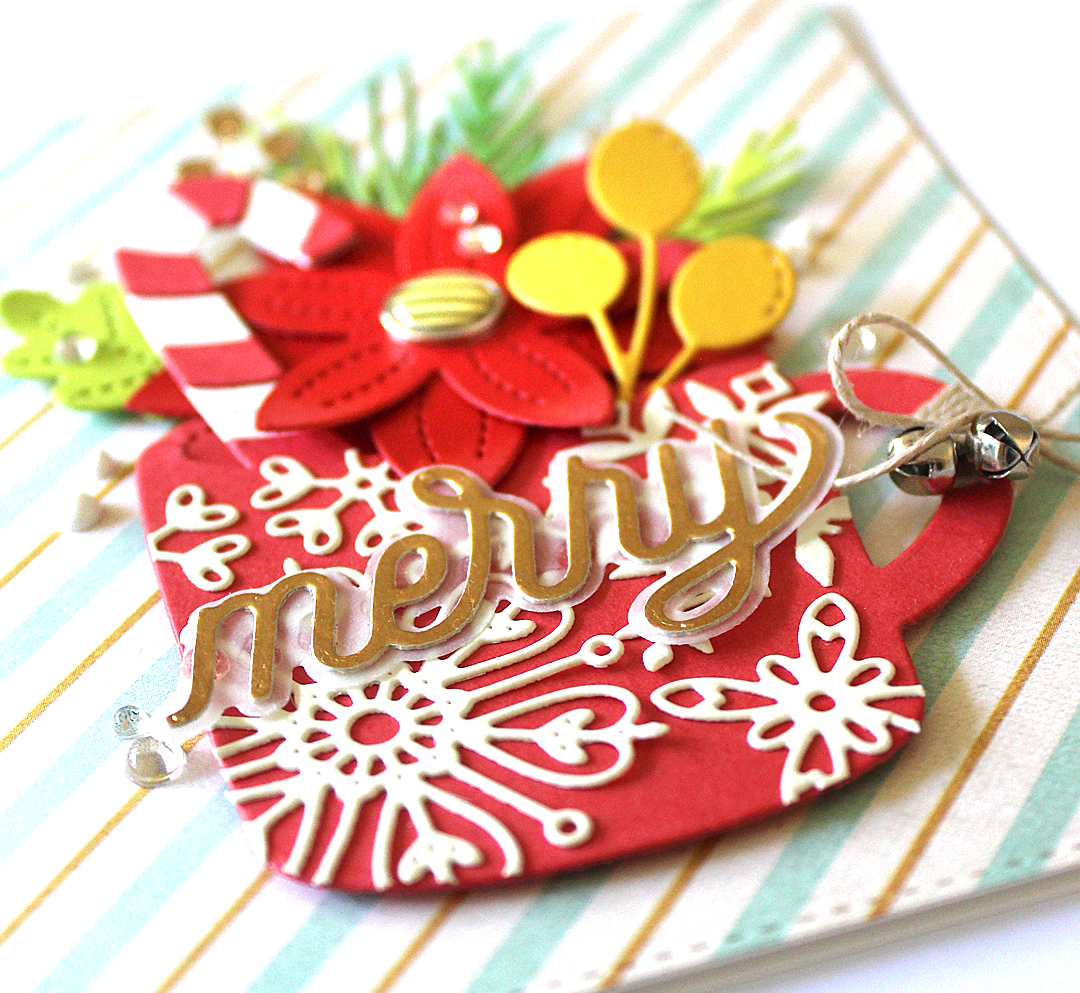
For my second card, I don’t have the Christmas stocking die either, so I decided to use a Christmas mug instead, filling it with a mini poinsettia & leaves and a candy cane!!


Here’s today’s hop list:
@michelle_lupton
@traceymcneely
@huh_what_pardon
@createwithlibby
@kellyrasmussen
@little.finn.crafts
@mwoerner
@rejoicingcrafts (Me!!)
@jenniferkotas
@expressivepaper

Make sure to check out Michelle’s Instagram post HERE for more Case Me A Christmas card information and inspiration!

Thank you so much for stopping by. Have a wonderful day!

Keep smiling and be blessed! God bless you all!
Love Love Love RejoicingCrafts
Christmas Wine Tags

Hello crafty friends!
So many fellow crafters are busy working on their Christmas projects now. Seeing all the wonderful Christmas creations popping up across social media makes my heart flutter with excitement!🤩 So, I am also starting my Christmas projects from now on!

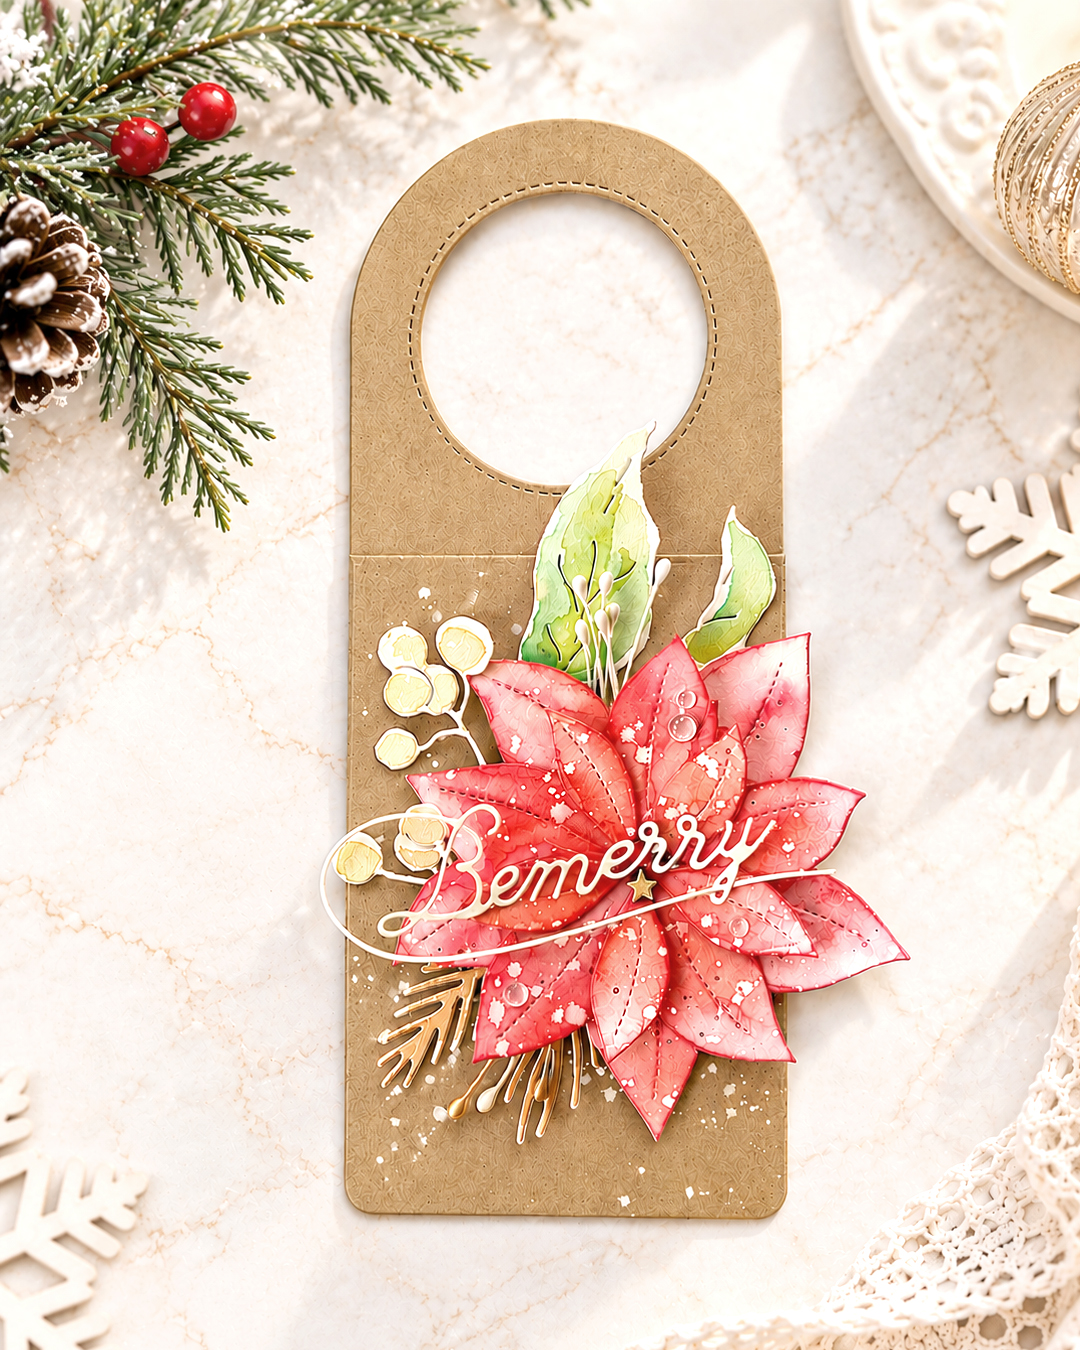
I think wine is probably one of the most popular gifts to give and receive along with a Christmas card. These days, I’ve also noticed that cold brew coffee in wine-shaped bottles is becoming a popular gift! So, my very first Christmas project this year is a set of wine tags!😘

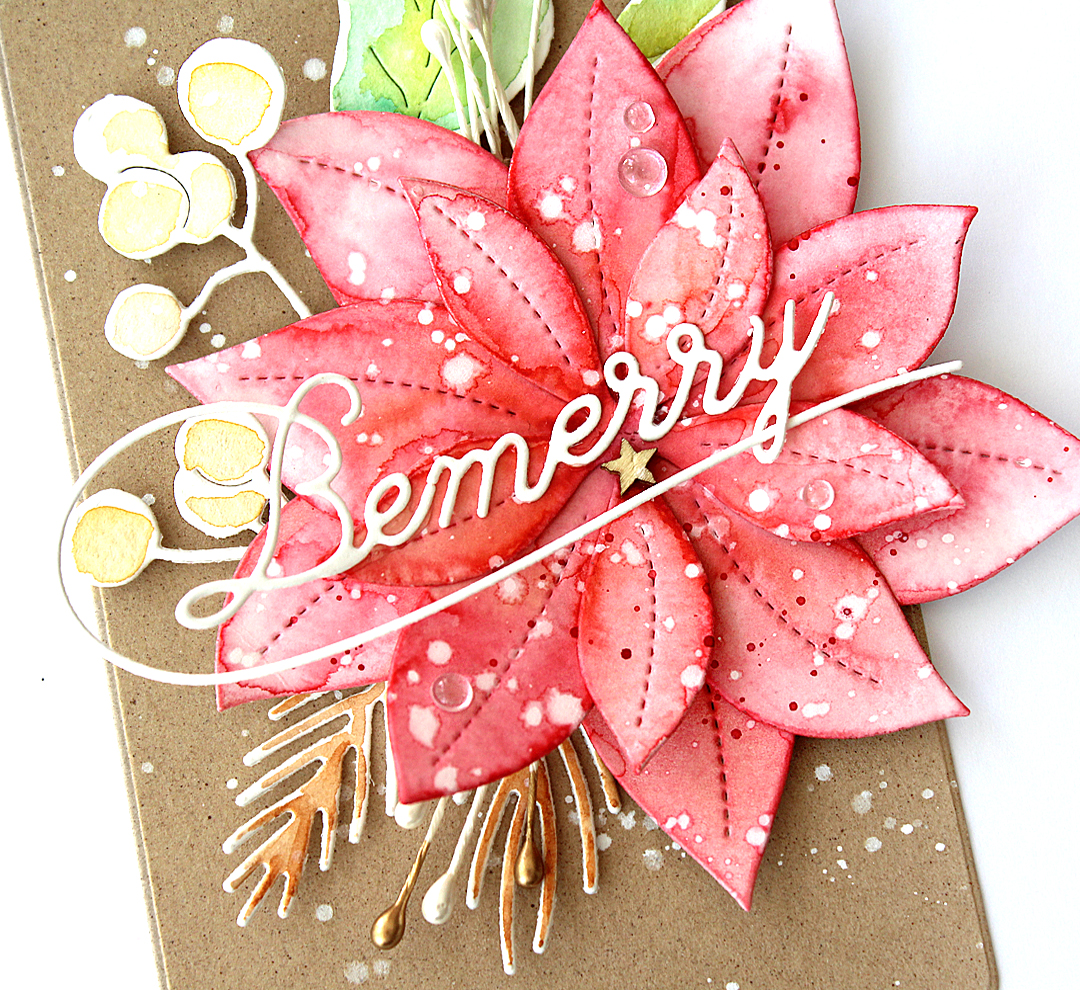
First, I die cut all the elements. I cut the wine tags from kraft cardstock, the poinsettias from watercolour paper, and the sentiments from thick off-white cardstock.

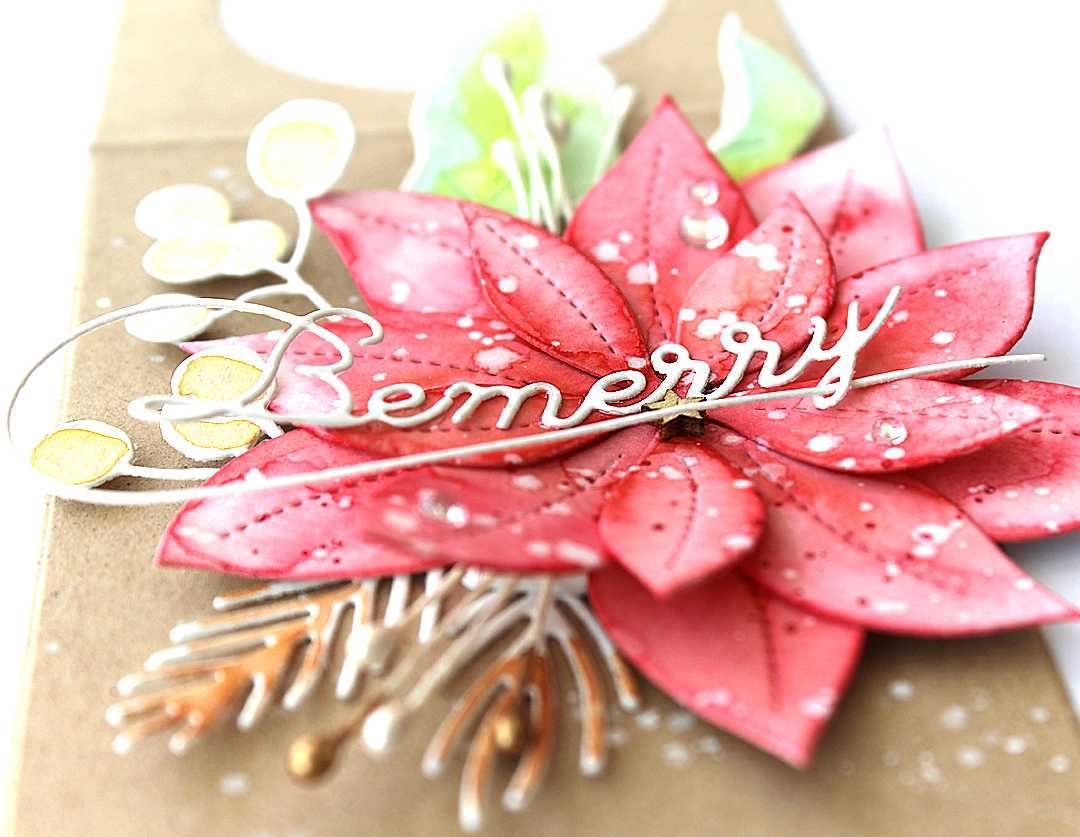
As always, I watercoloured the poinsettias freely and naturally, just letting my brush do its thing.

I have a close friend who is a watercolour artist, and she told me that she tries not to create too many watercolour stains in her paintings because they can make the artwork look messy. But when I use watercolours to make cards or tags, I love adding lots and lots of watercolour stains! I’m not really sure why, but I just love the look of them. Haha!

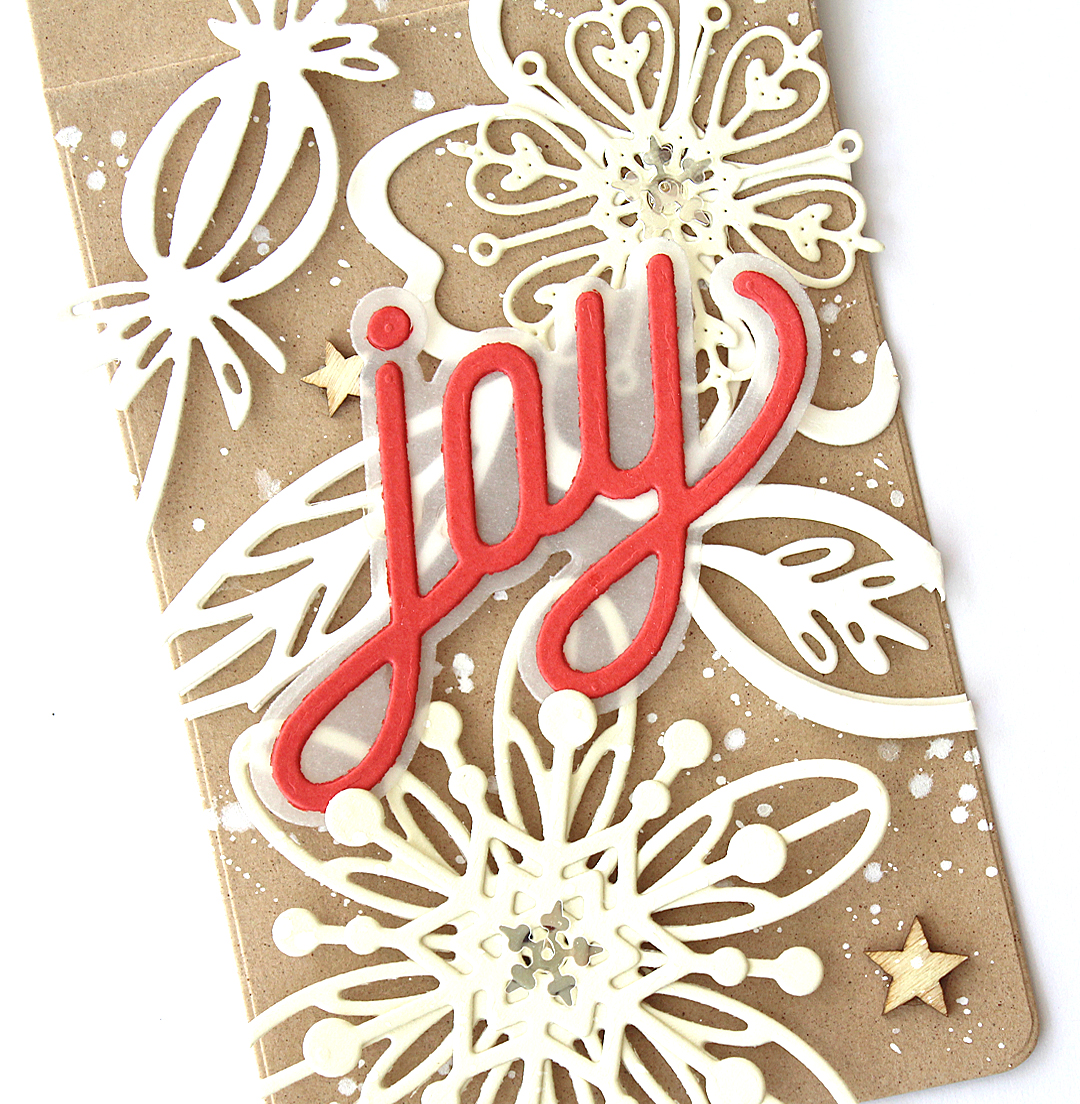
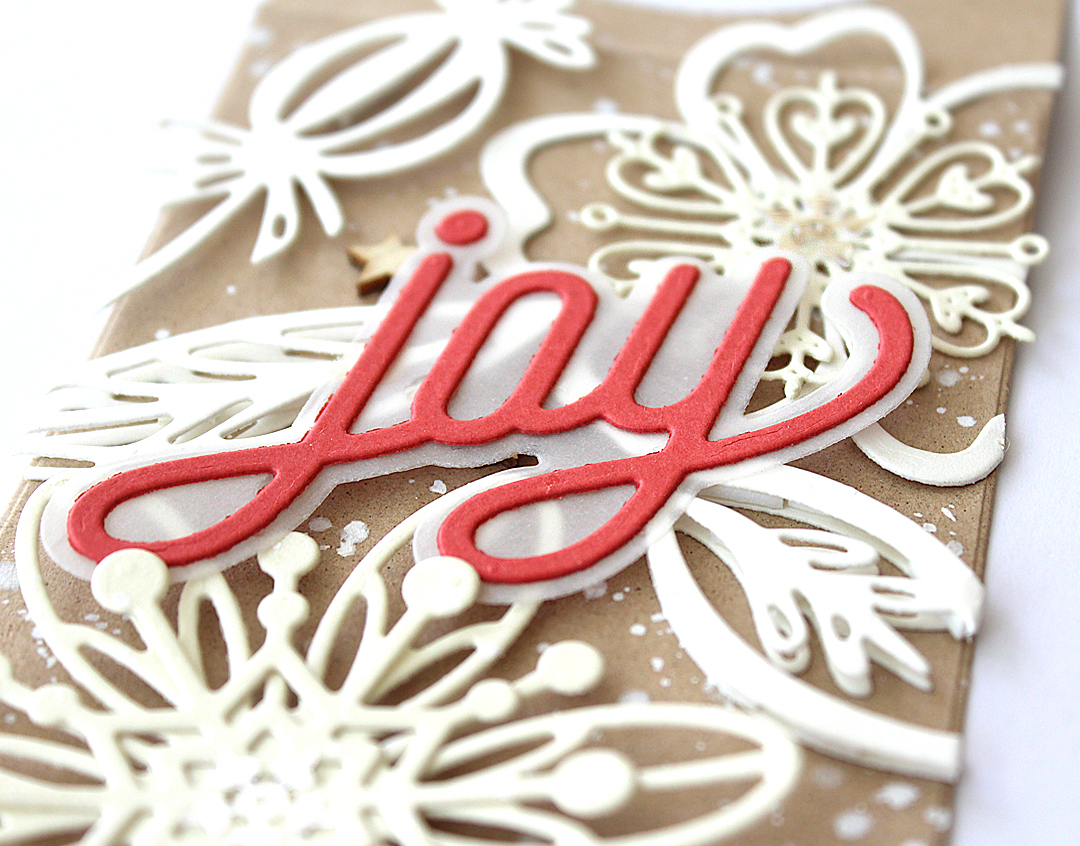
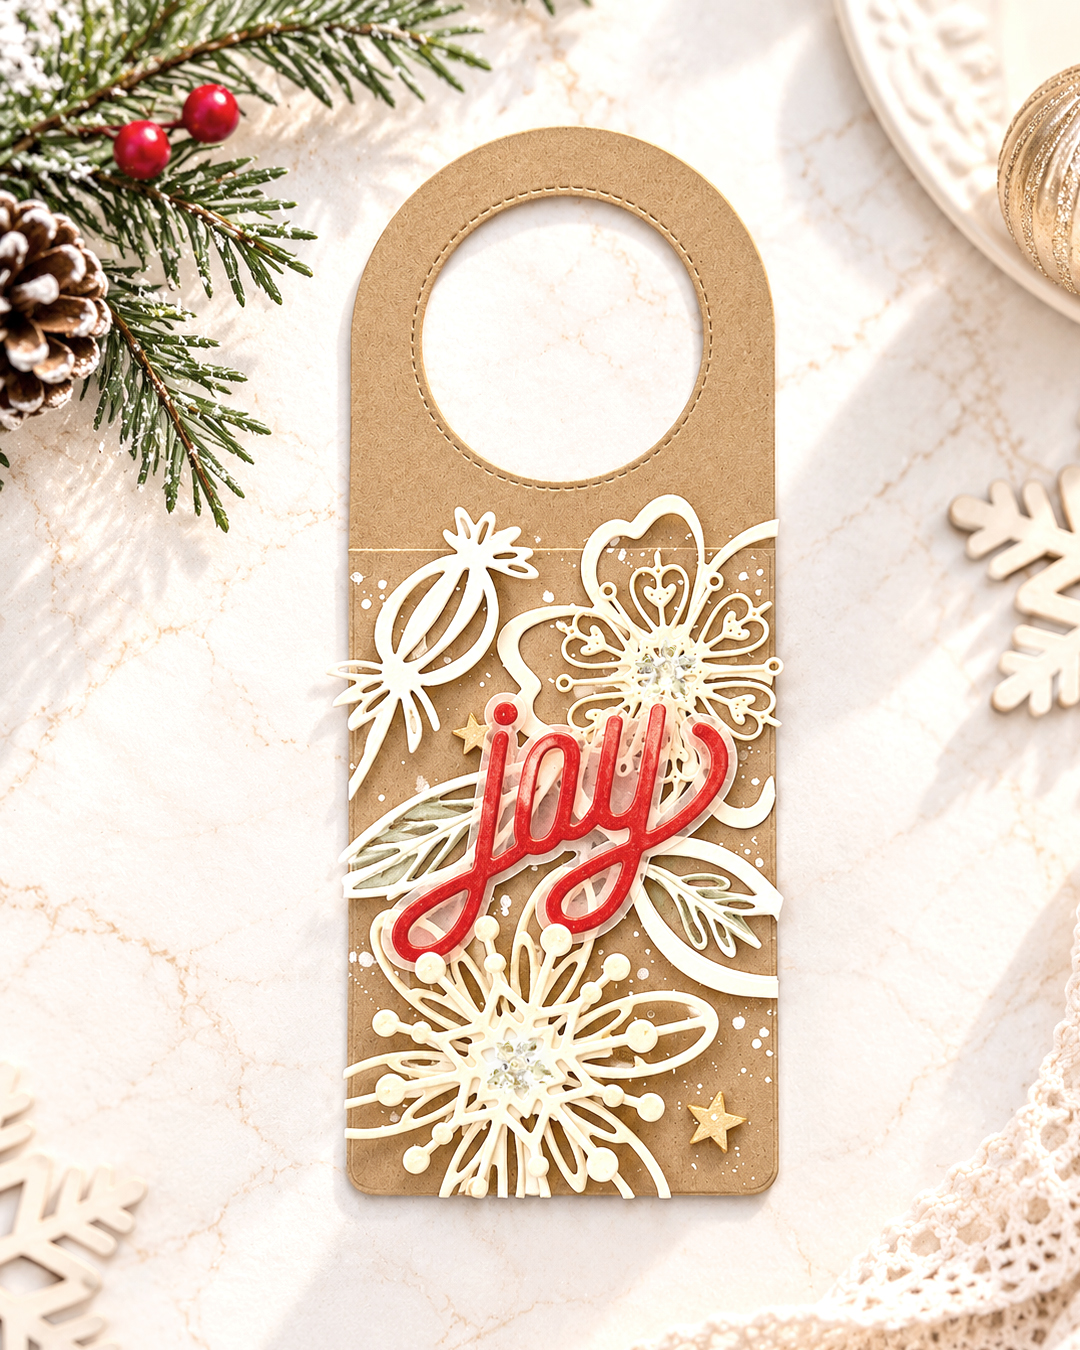
Here is another Christmas wine tag. It is a simple wine tag featuring a combination of non-Christmas flowers and snowflakes.


Kraft, white, and red set is such a classic colour combination for Christmas projects. They just belong together, right?!!

Thank you so much for stopping by. Have a wonderful day!

Keep smiling and be blessed! God bless you all!
Love Love Love RejoicingCrafts
Watercolour Hydrangea

Hello crafty friends!
LONG TIME NO SEE!! I am back again.😄

Earlier this year, I moved house, and I was quite surprised by just how much craft stuff I had! Haha! Between home renovations, unpacking, and trying to get everything organised, life was a little hectic for a while. So, I took my time slowly unpacking my craft supplies, one box at a time.


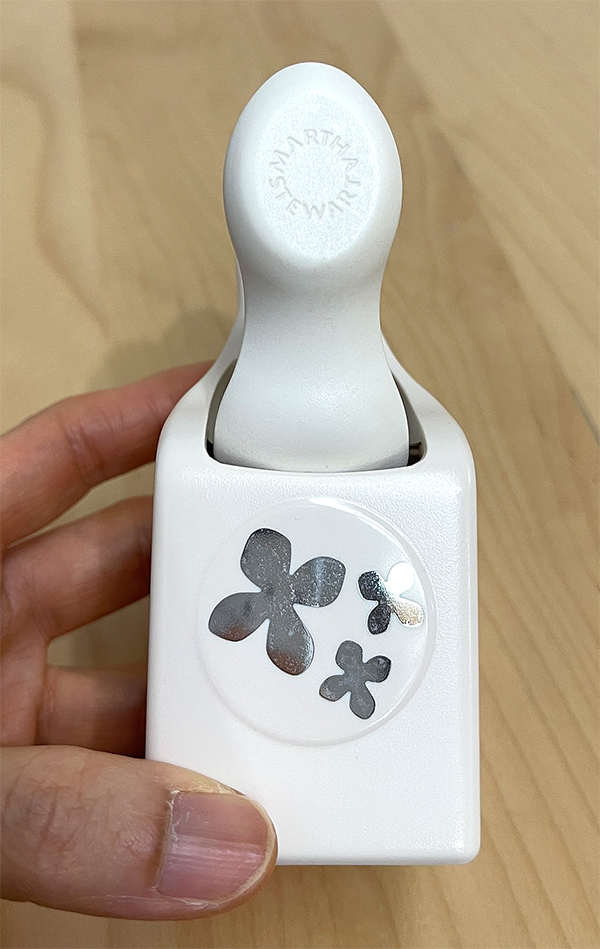
Then, in one of the boxes, I found a hydrangea petal punch hidden in the corner. I honestly couldn’t remember when I had bought it, but I’m pretty sure it had been hiding away for more than ten years!

I paused for a moment, gazing at the little punch…
What a lovely little surprise to rediscover something I’d completely forgotten I had. Those petals-smaller than my thumbnail-made me want to create something beautiful!💗

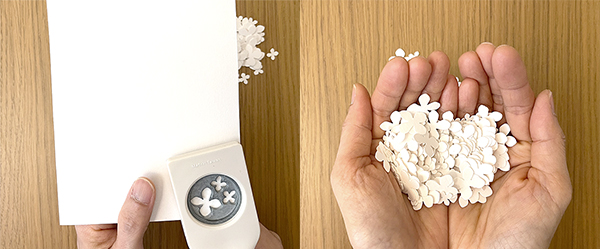
Punch, punch, punch!
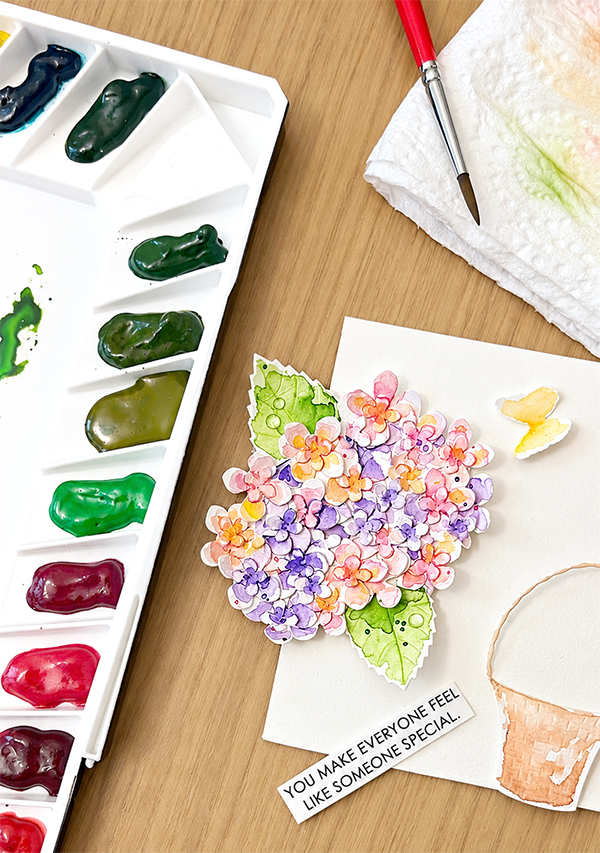
I kept punching hydrangea petals from watercolour paper until my hands were full.

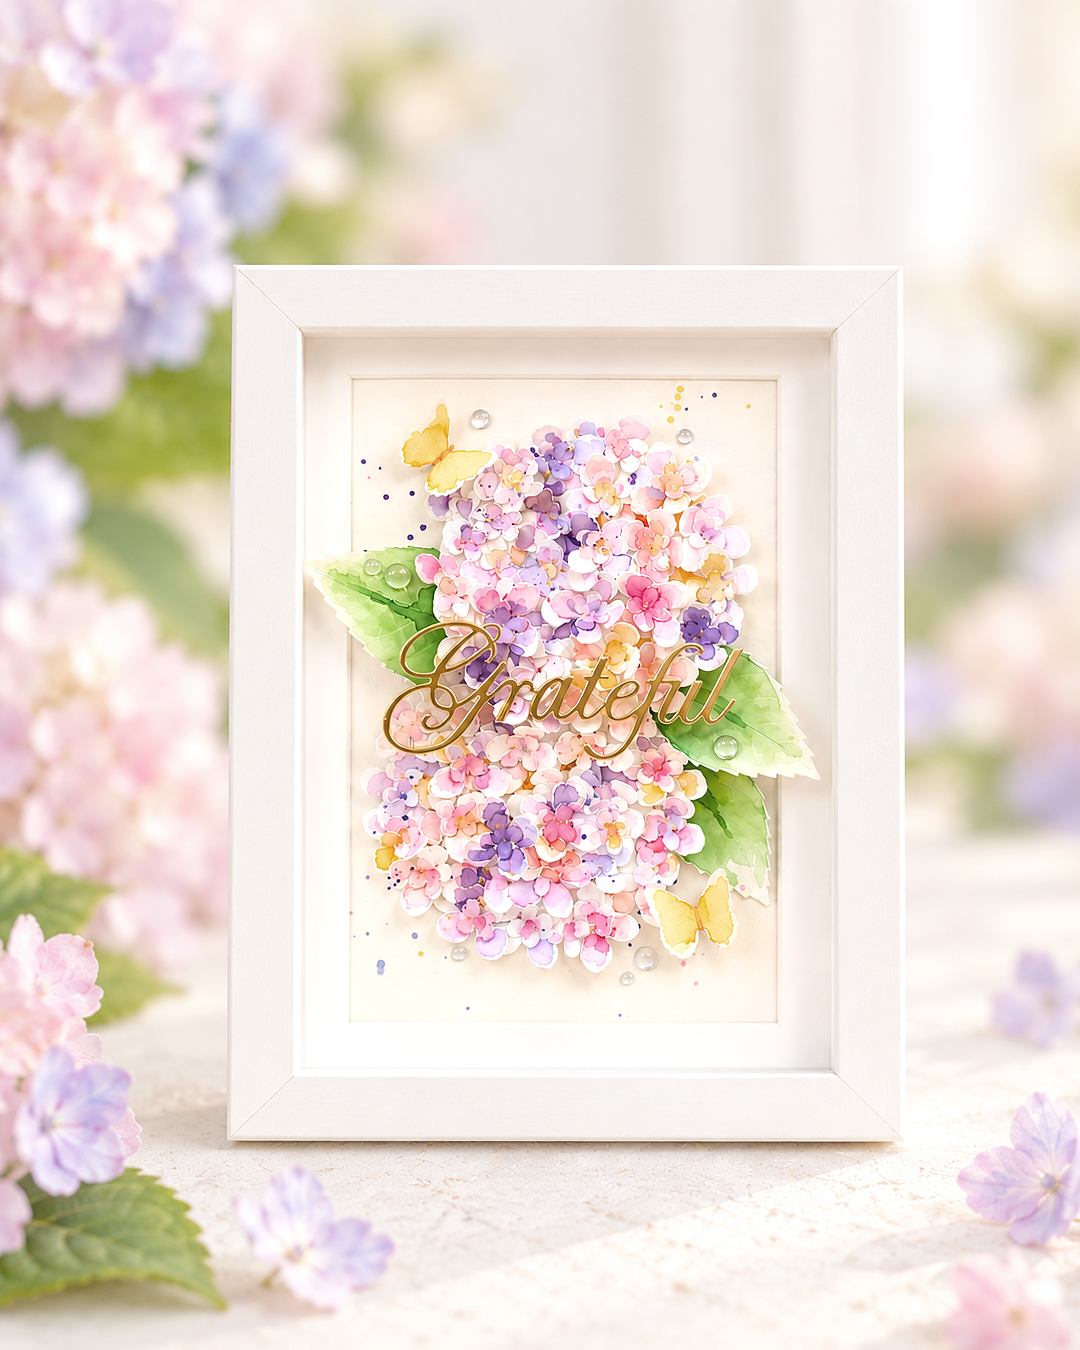
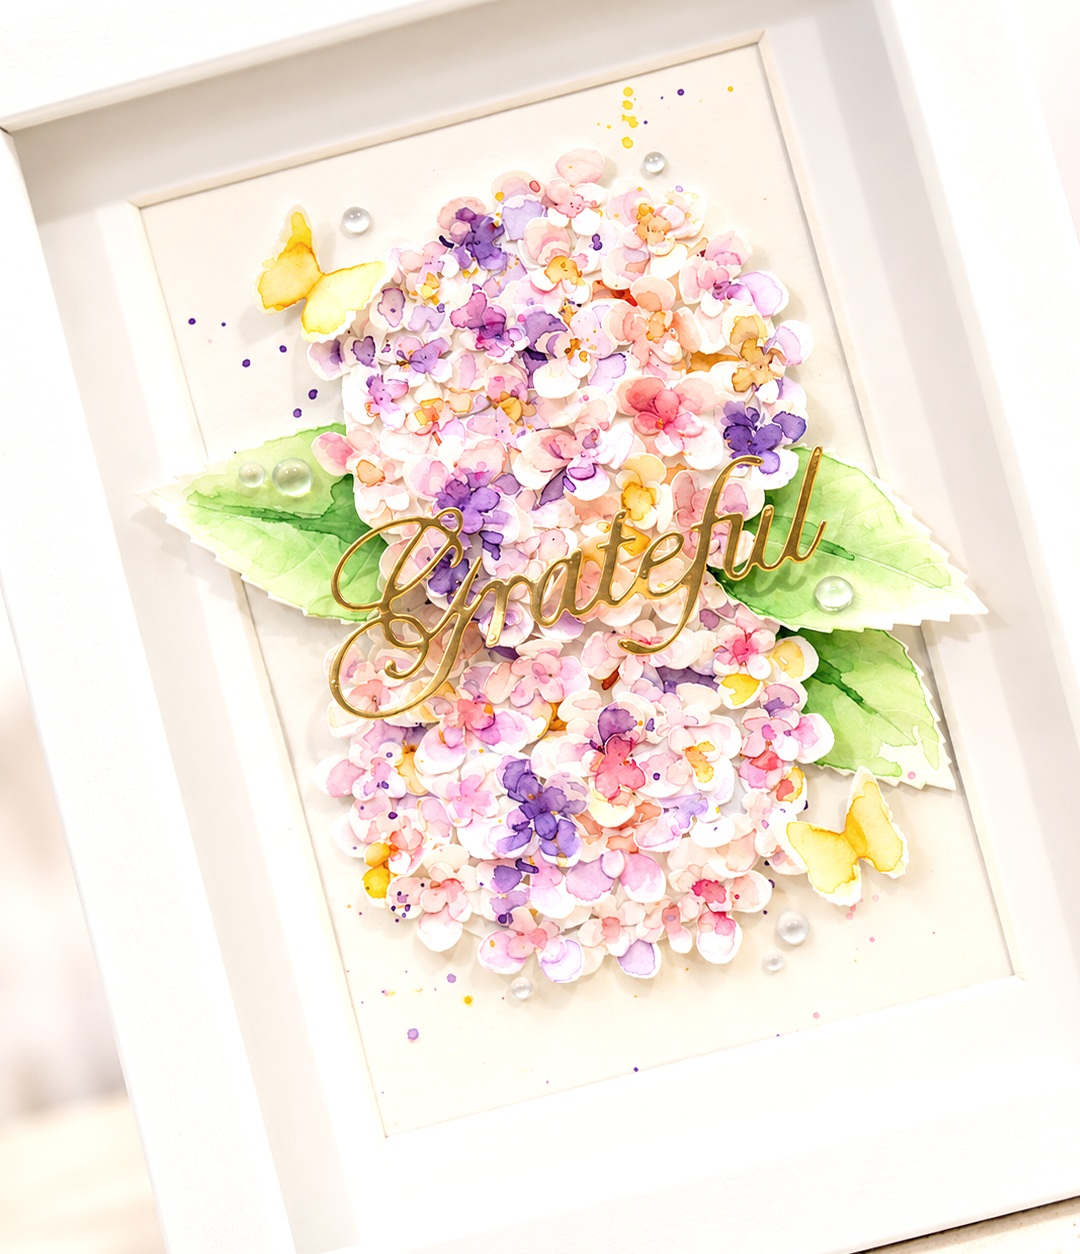
Just watercoloring, letting my hands wander. I made a mini hydrangea frame.

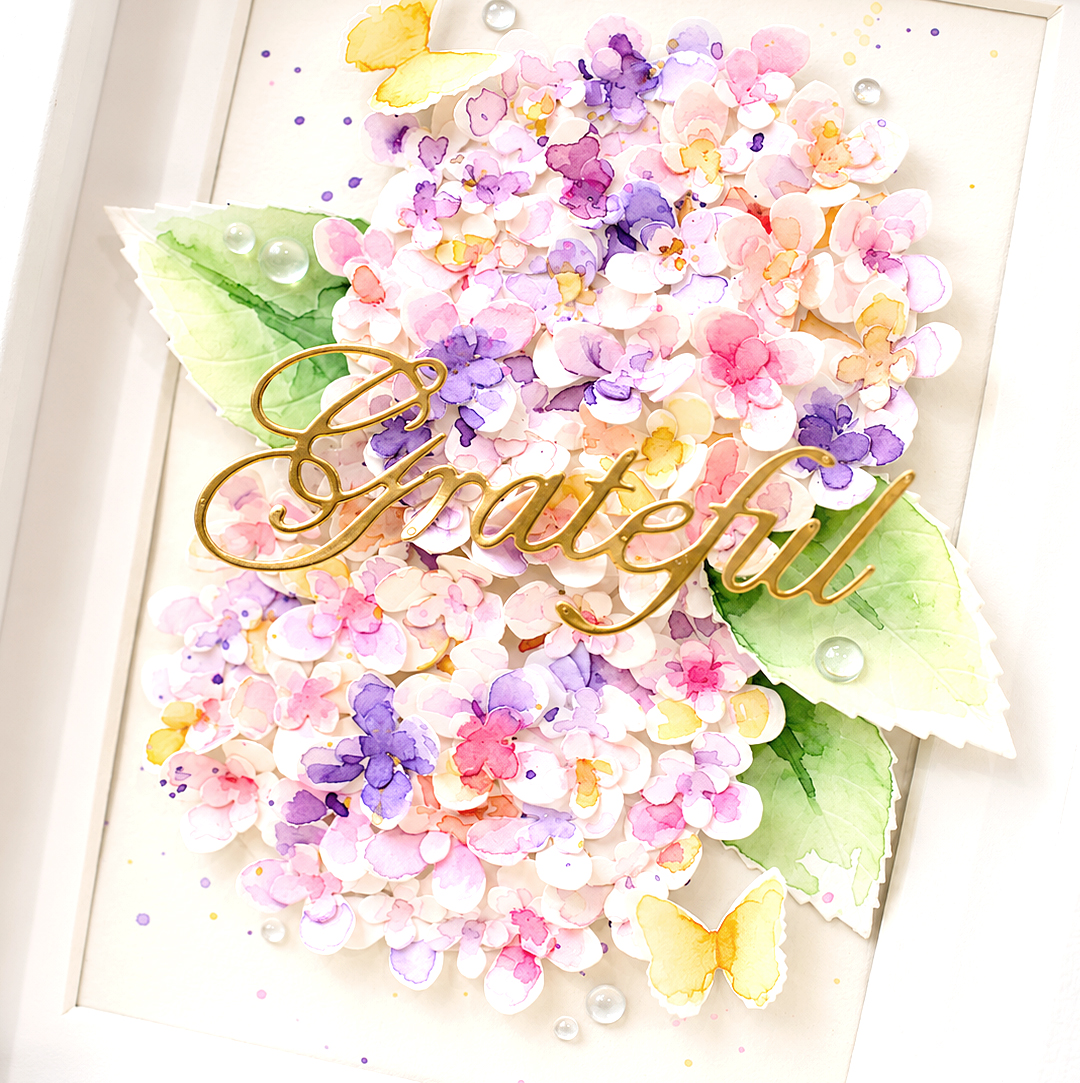
I punched out lots of hydrangea petals from watercolour paper using a hydrangea petal punch, then, I die cut a circle frame from white cardstock to make the base and glue the petals onto it. I coloured the hydrangea petals & leaves freely using watercolours.

The “Grateful” sentiment die is from Penny Black – it is probably retired now. I die cut the word from metallic gold cardstock and adhered it onto the hydrangea flowers.

I think my Christmas projects will start in the next post. See you again SOON!🎄😍

Thank you so much for stopping by. Have a wonderful day!

Keep smiling and be blessed! God bless you all!
Love Love Love RejoicingCrafts
Tropical Leaf Card

Hello crafty friends!
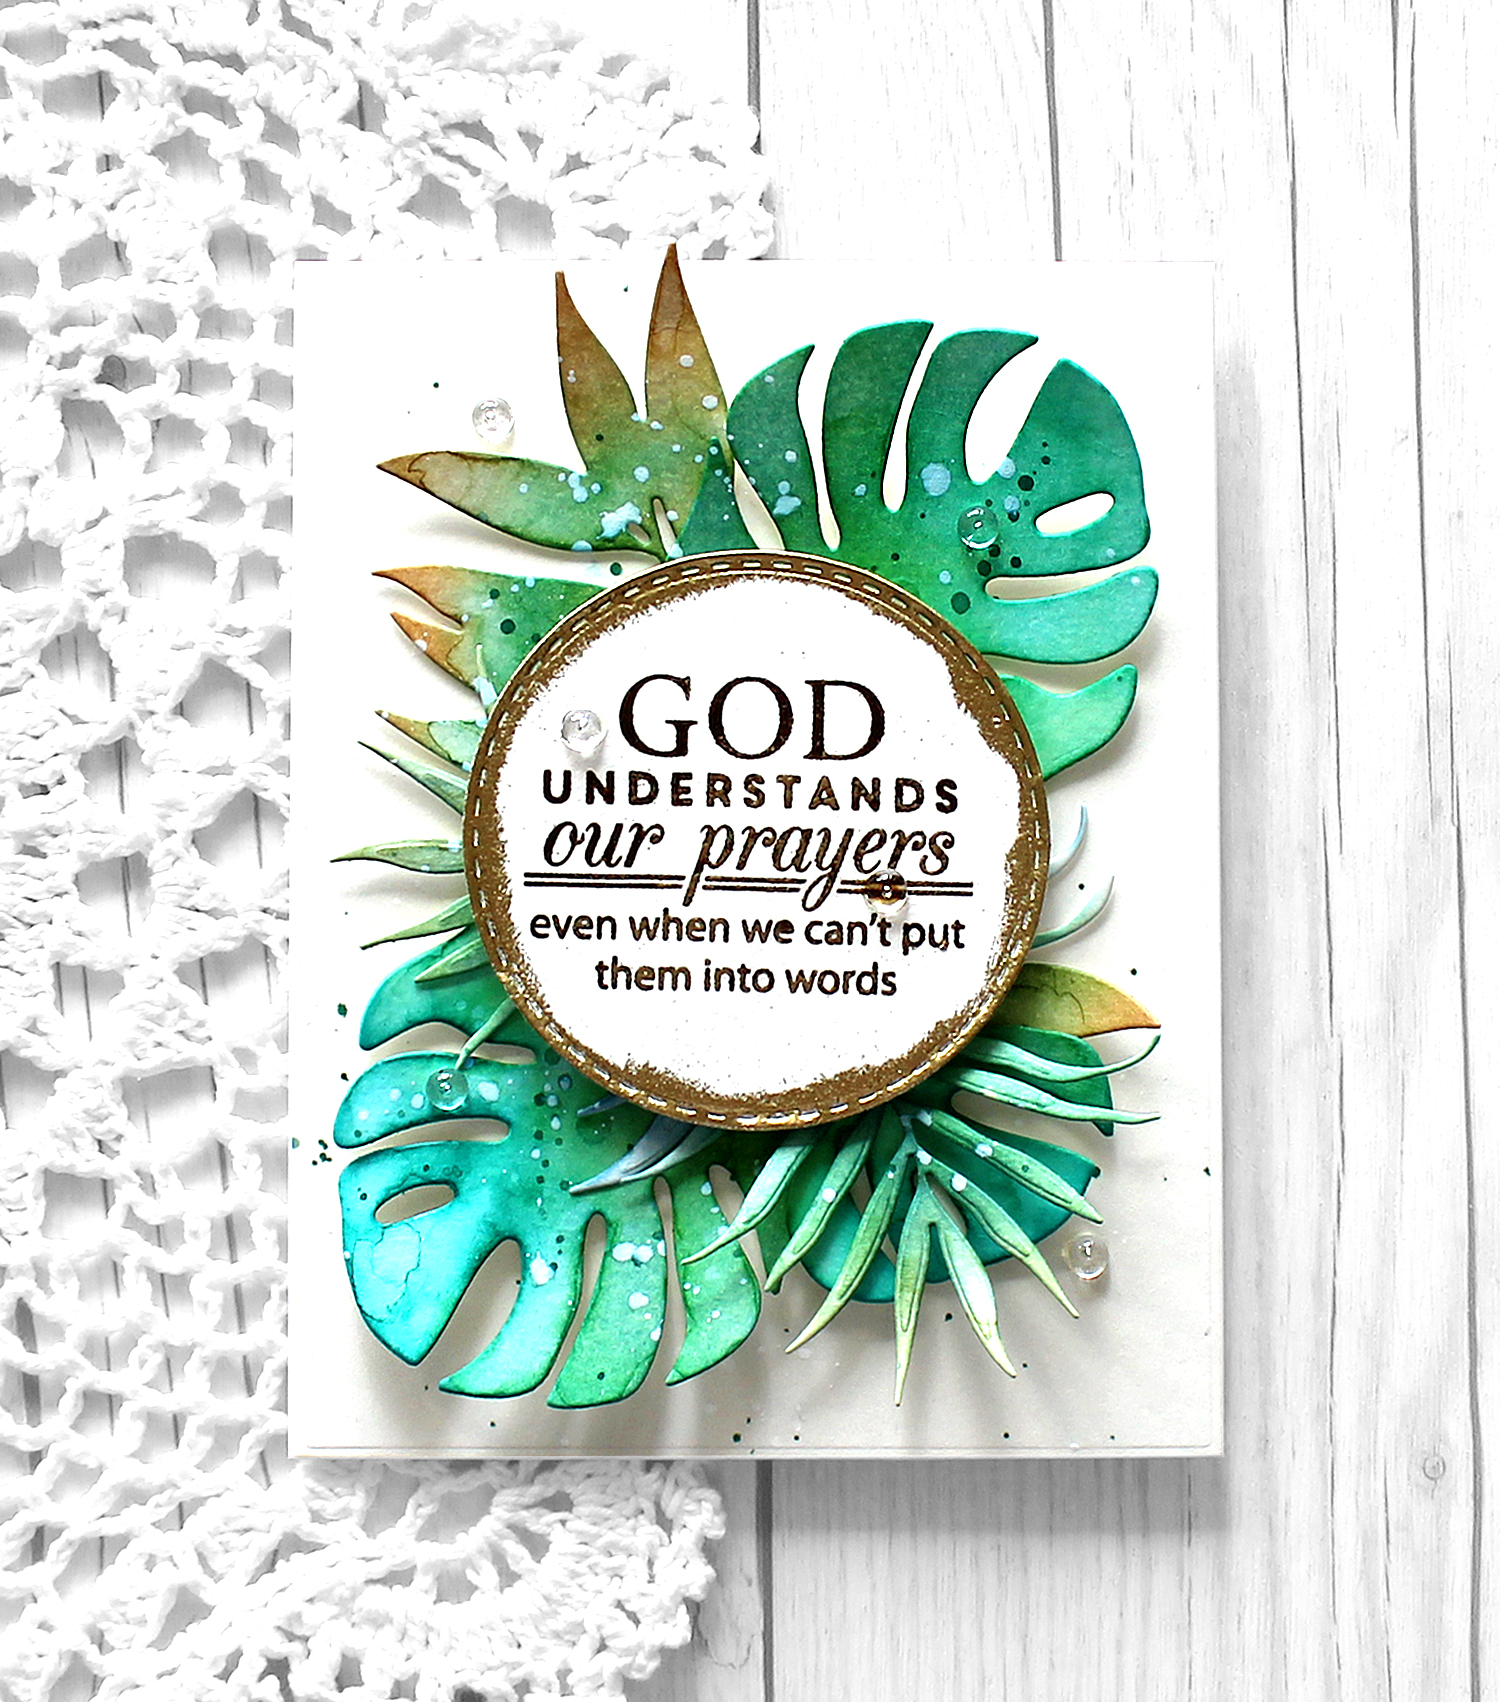
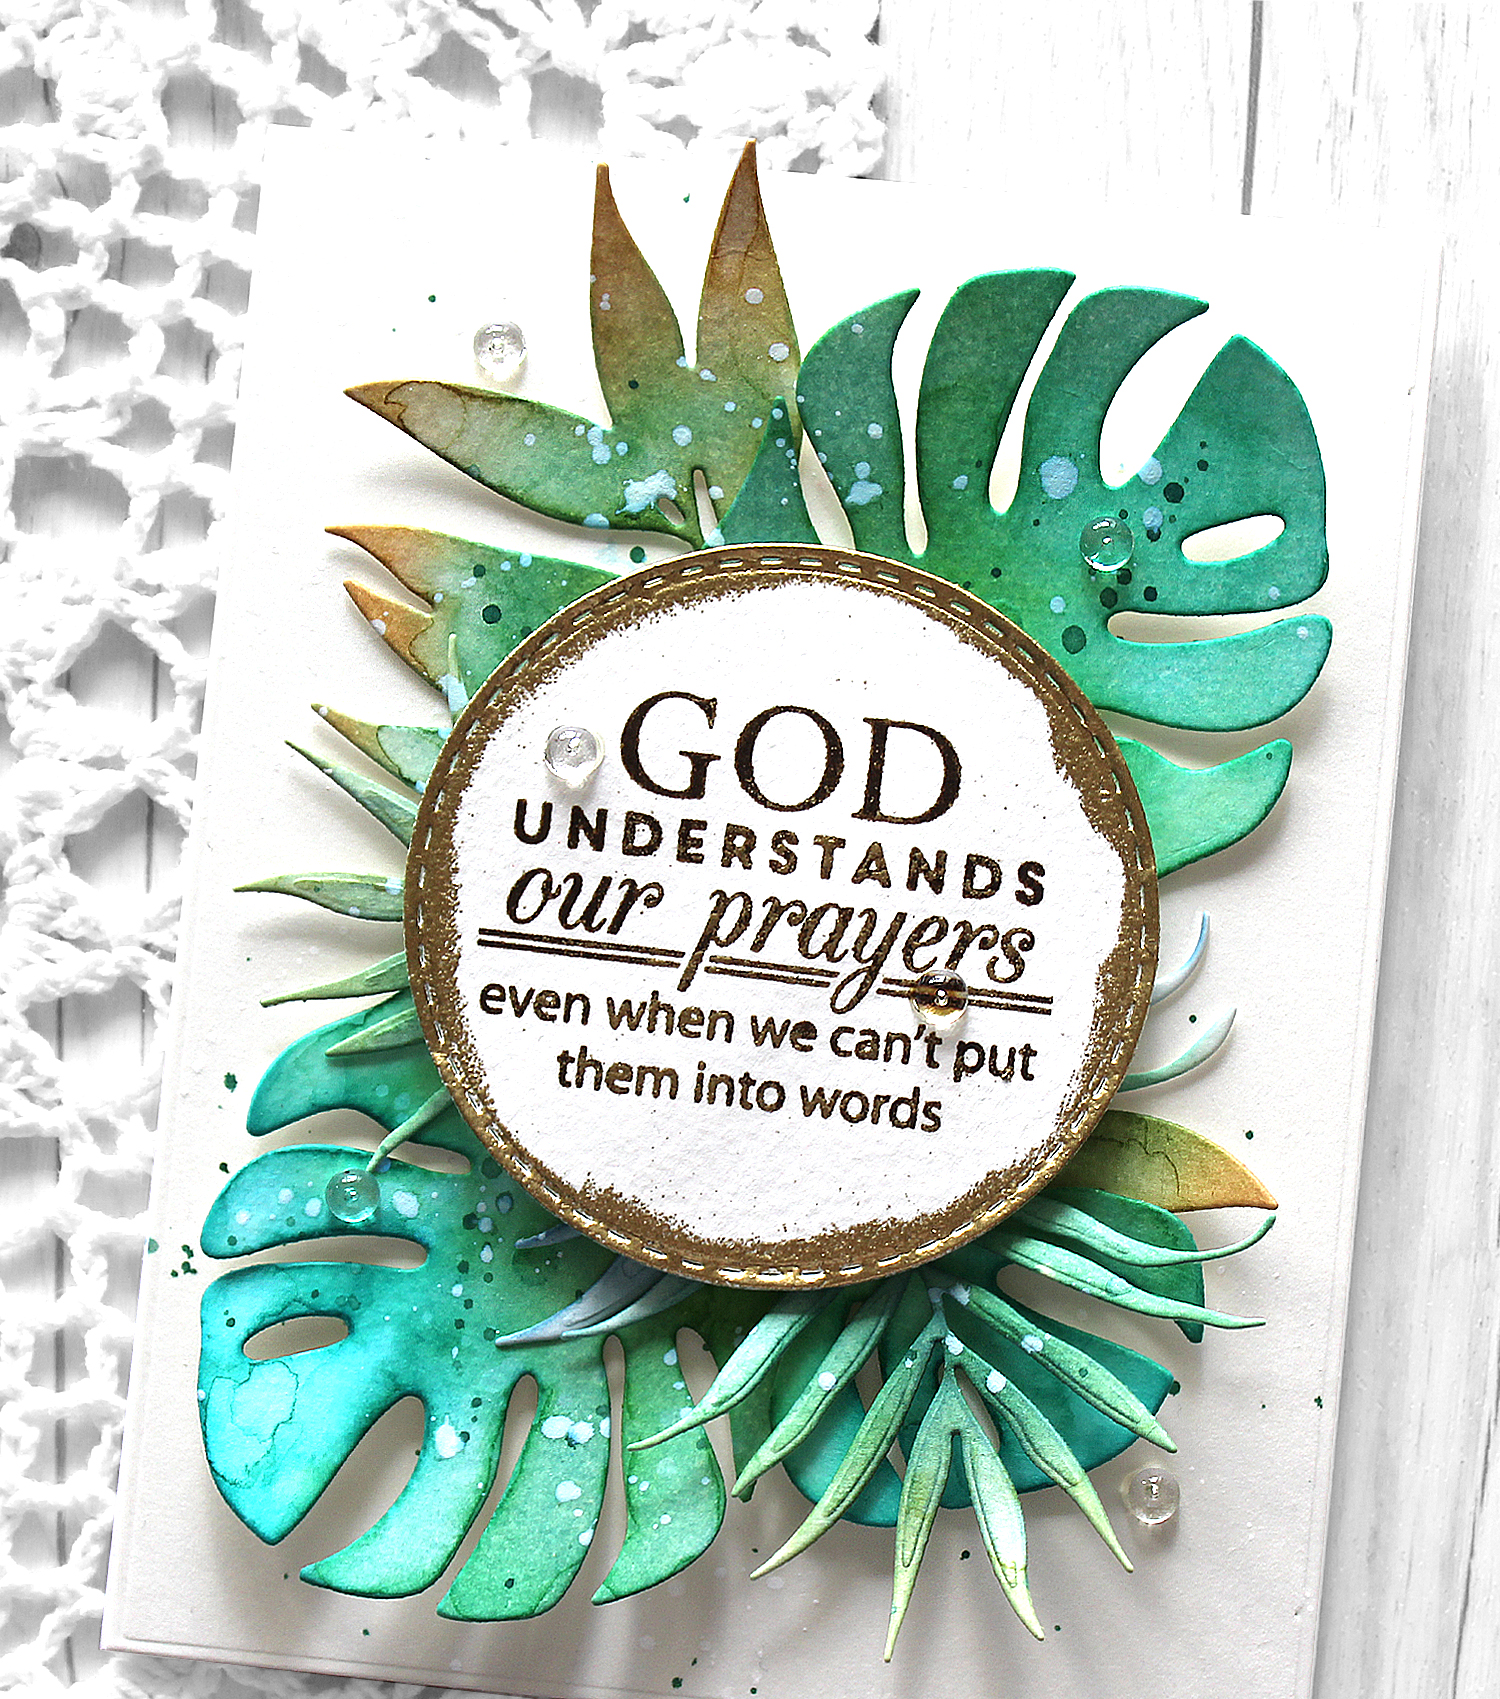
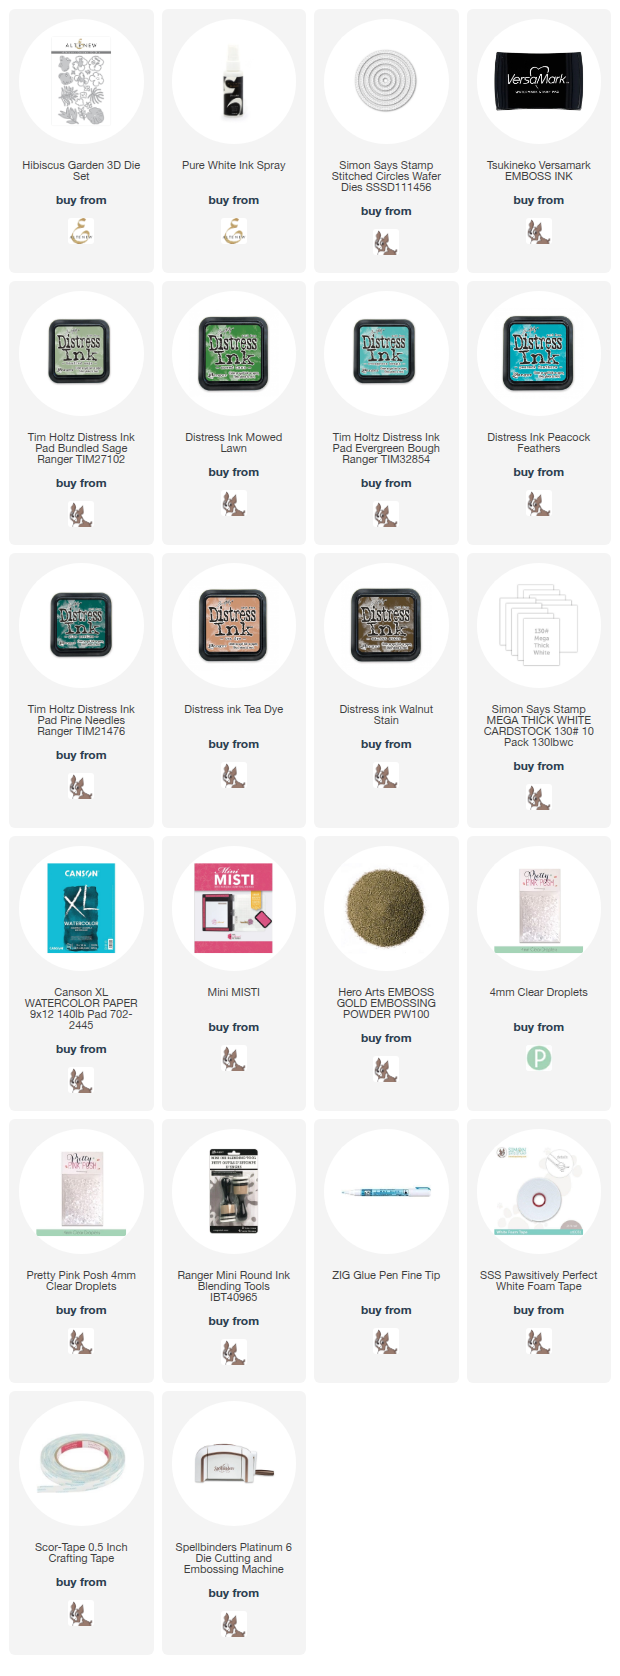
Today I want to share with you my tropical leaf card with Altenew Hibiscus Garden 3D die set. I just used leaf dies in the set.

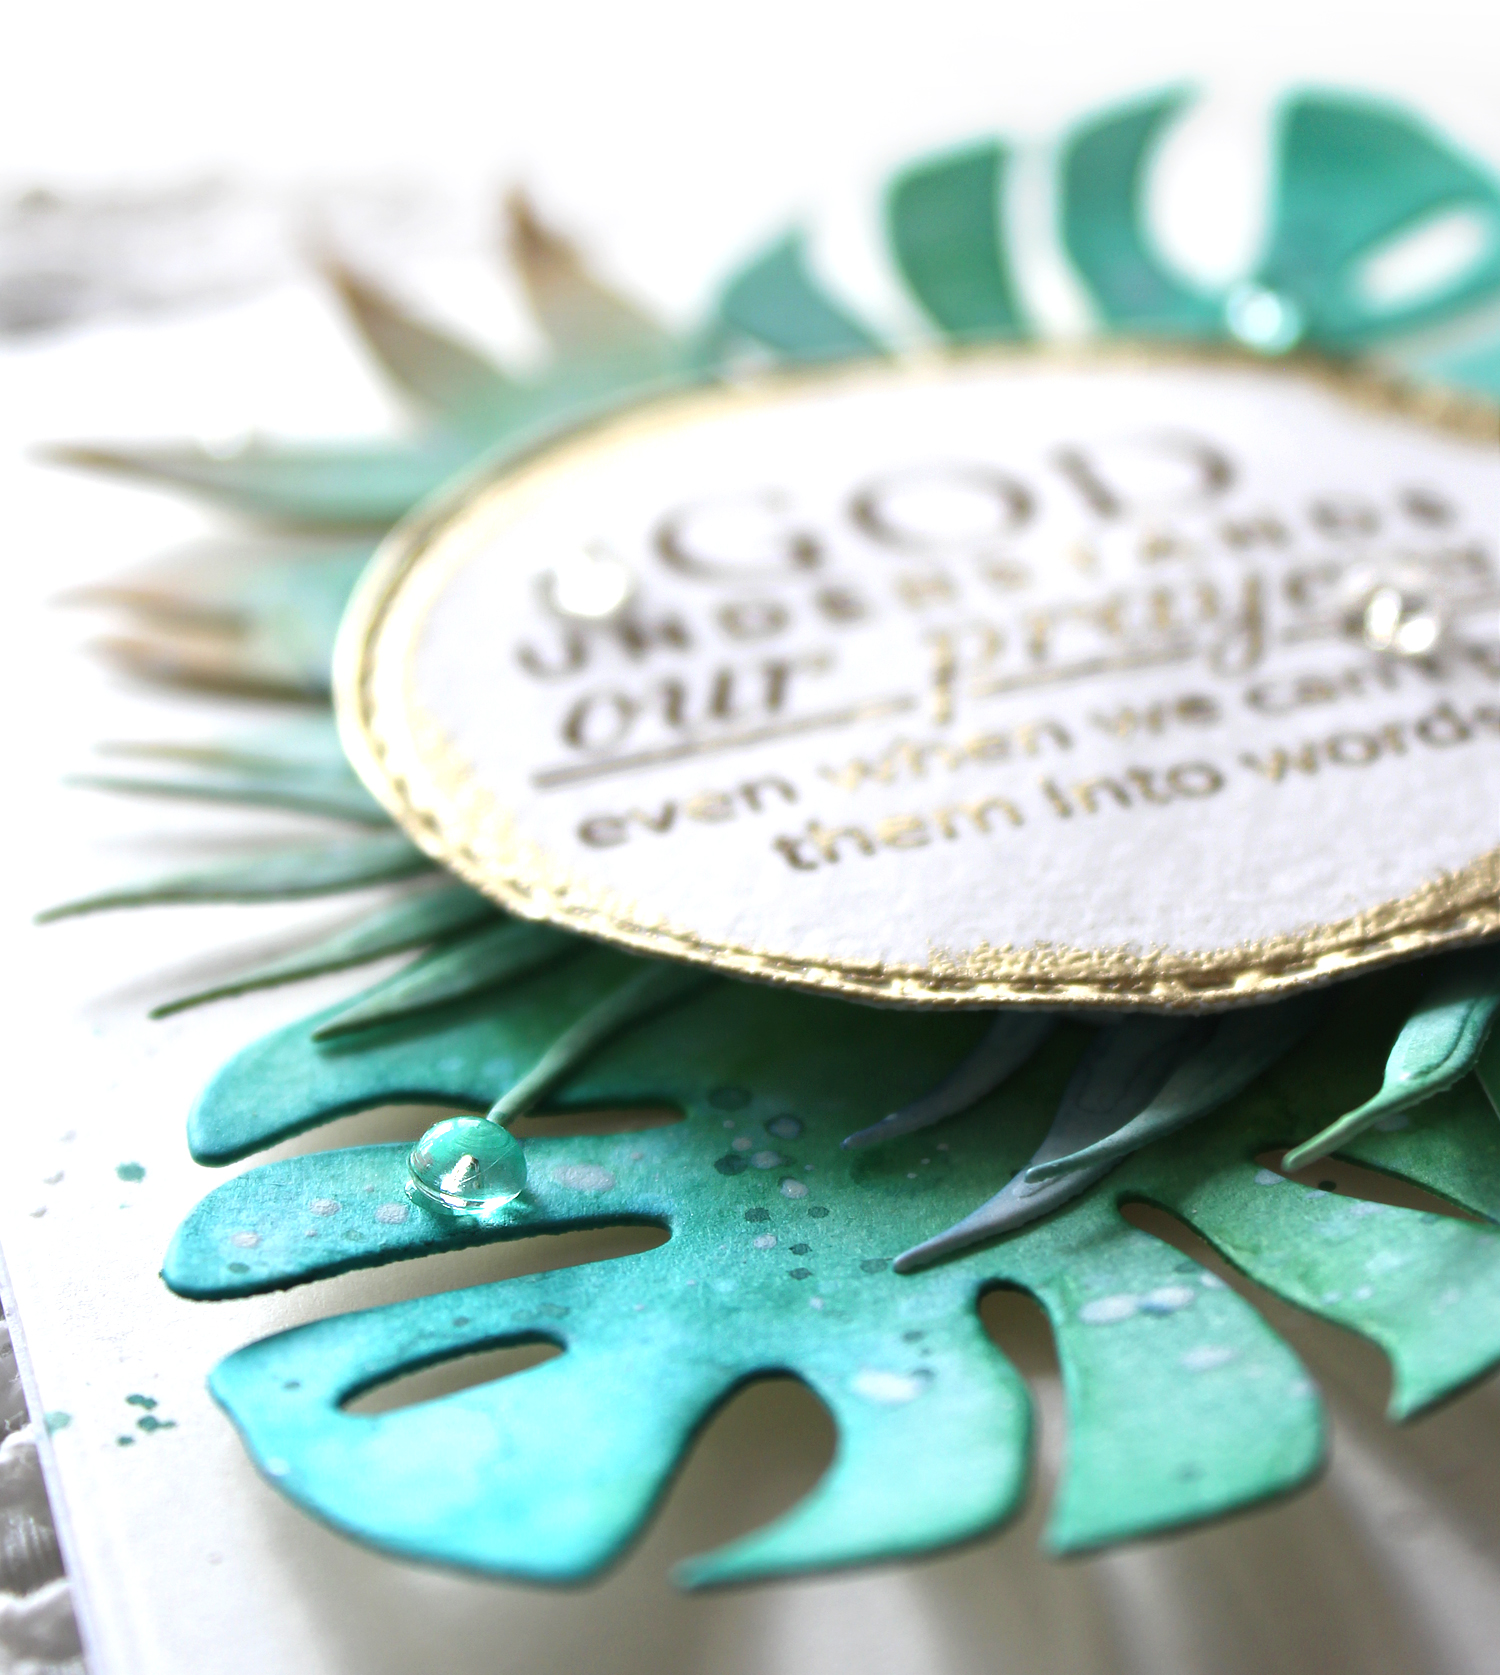
I die cut large leaves from watercolour paper first, then ink blended leaf die cuts with green & blue distress inks. I ink blended the leaf of top-left corner using Bundled Sage & Tea Dye distress inks. For large tropical leaves, I ink blended it with Evergreen Bough, Peacock Feathers and a bit of Pine Needles distress inks. As you know, distress ink reacts with water so, I lightly brushed over the ink with a water brush to lift some of the colour, giving the leaves a watercolour look. I mounted all leaves onto a white card base using foam tape, and then green ink splattered & opaque white ink splattered all over the leafy panel.

For the sentiment, I stamped the sentiment on a stitched circle panel using Walnut Stain distress ink, then heat embossed the edge of sentiment circle panel with gold. I also decorated around the leaves with PPP 4mm Clear Droplets.


Here in Sydney, Australia, we’re in the midst of autumn heading into winter, but since most countries are entering late spring and approaching summer, I made a card with a refreshing tropical vibe. :D

Thank you so much for stopping by. Have a wonderful day!

Keep smiling and be blessed! God bless you all!
Love Love Love RejoicingCrafts
Floral Thanks Cards

Hello crafty friends!
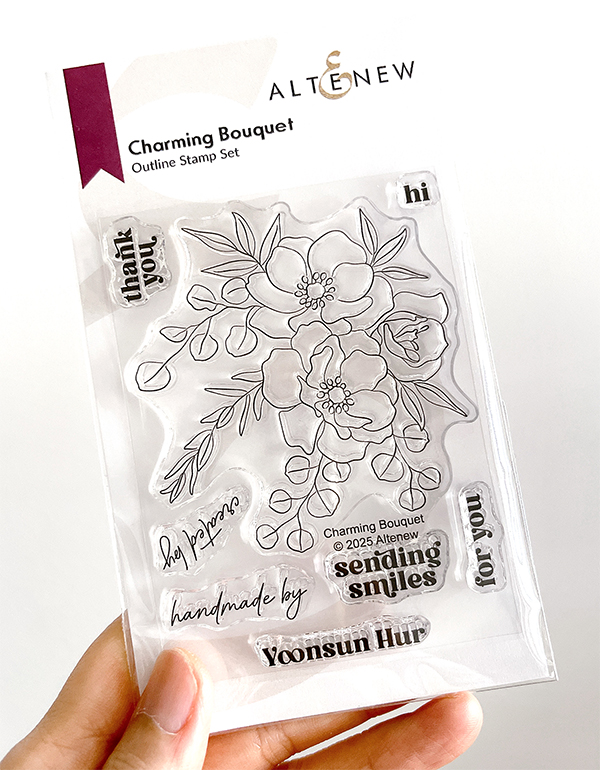
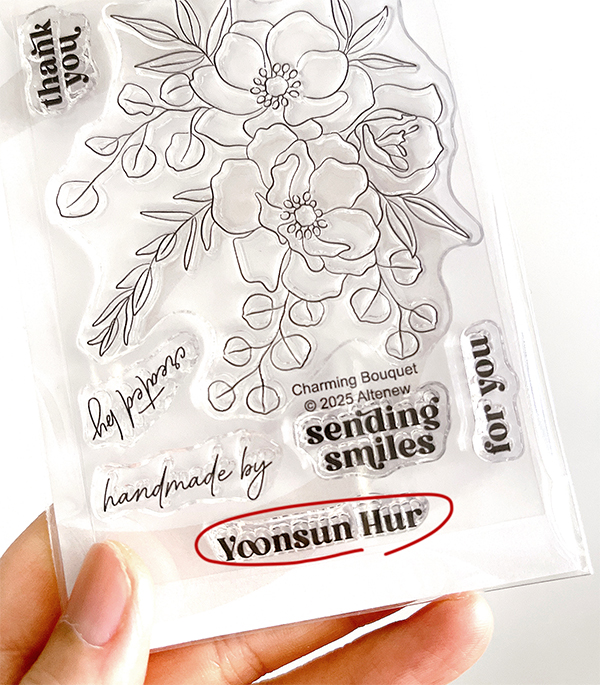
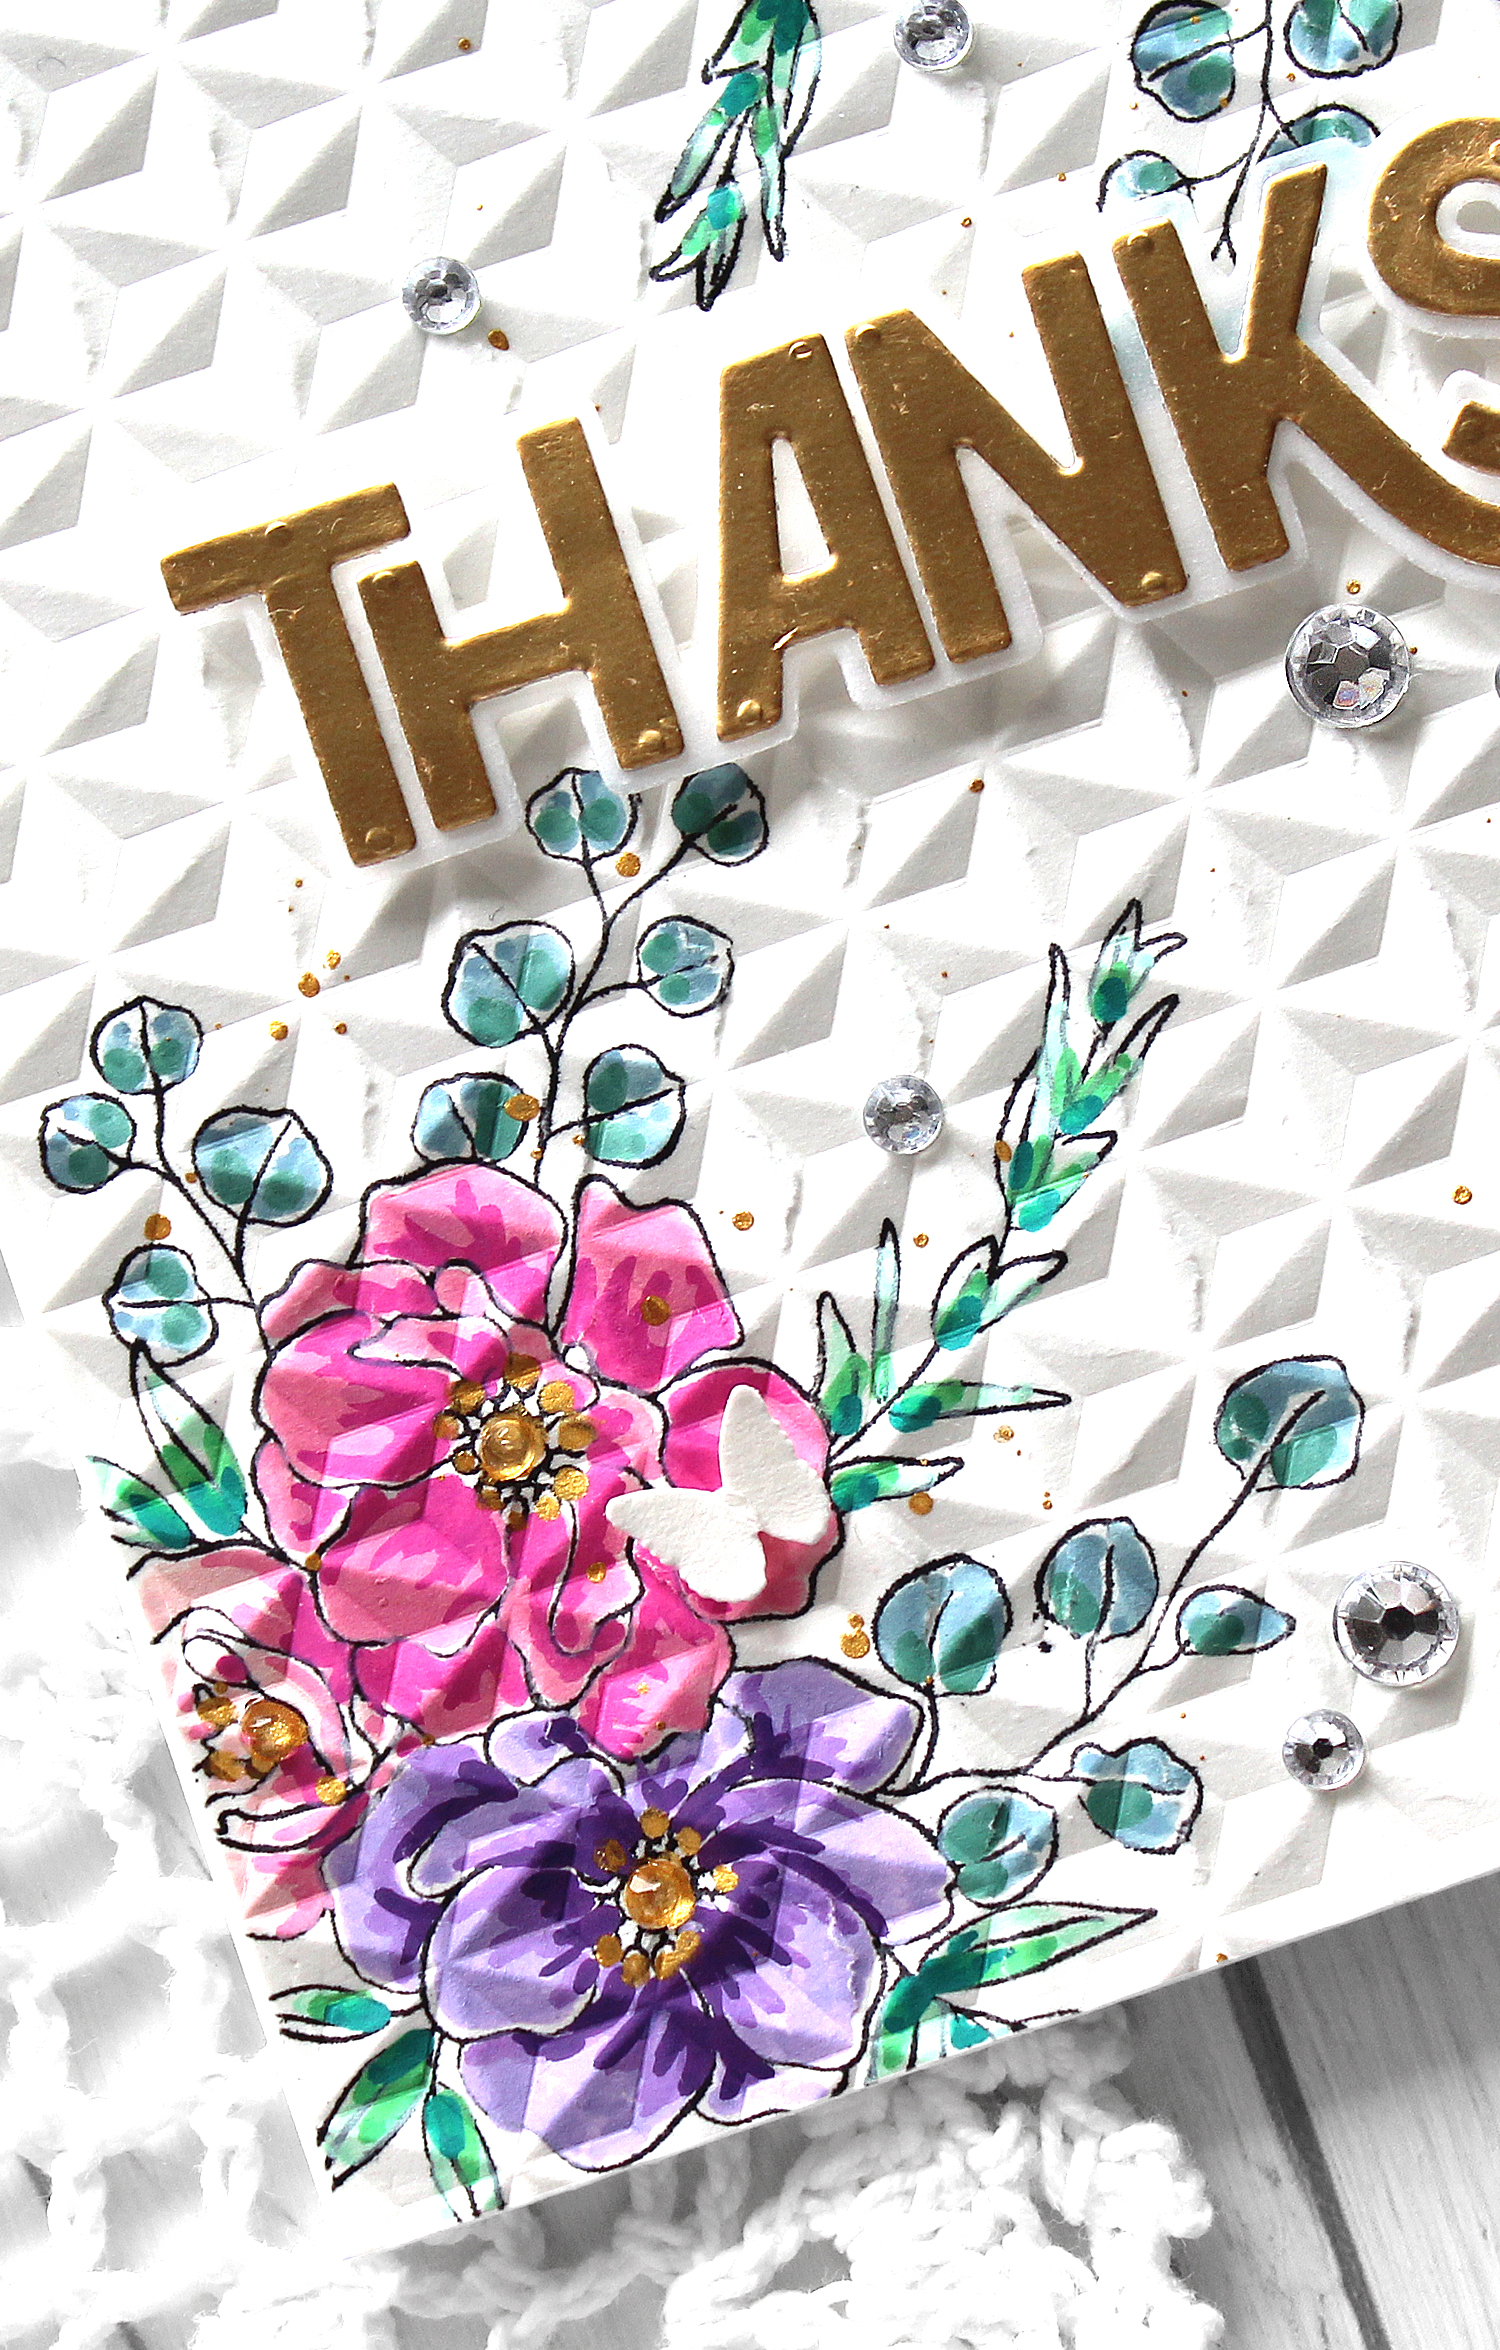
Wow!! A wonderfully happy surprise gift arrived in my mailbox last weekend. It was a customised floral stamp set that Altenew sent to celebrate their 11th anniversary!

The moment I saw this special flower set (include my name!!), I sat down at my desk right away to make a card. :D


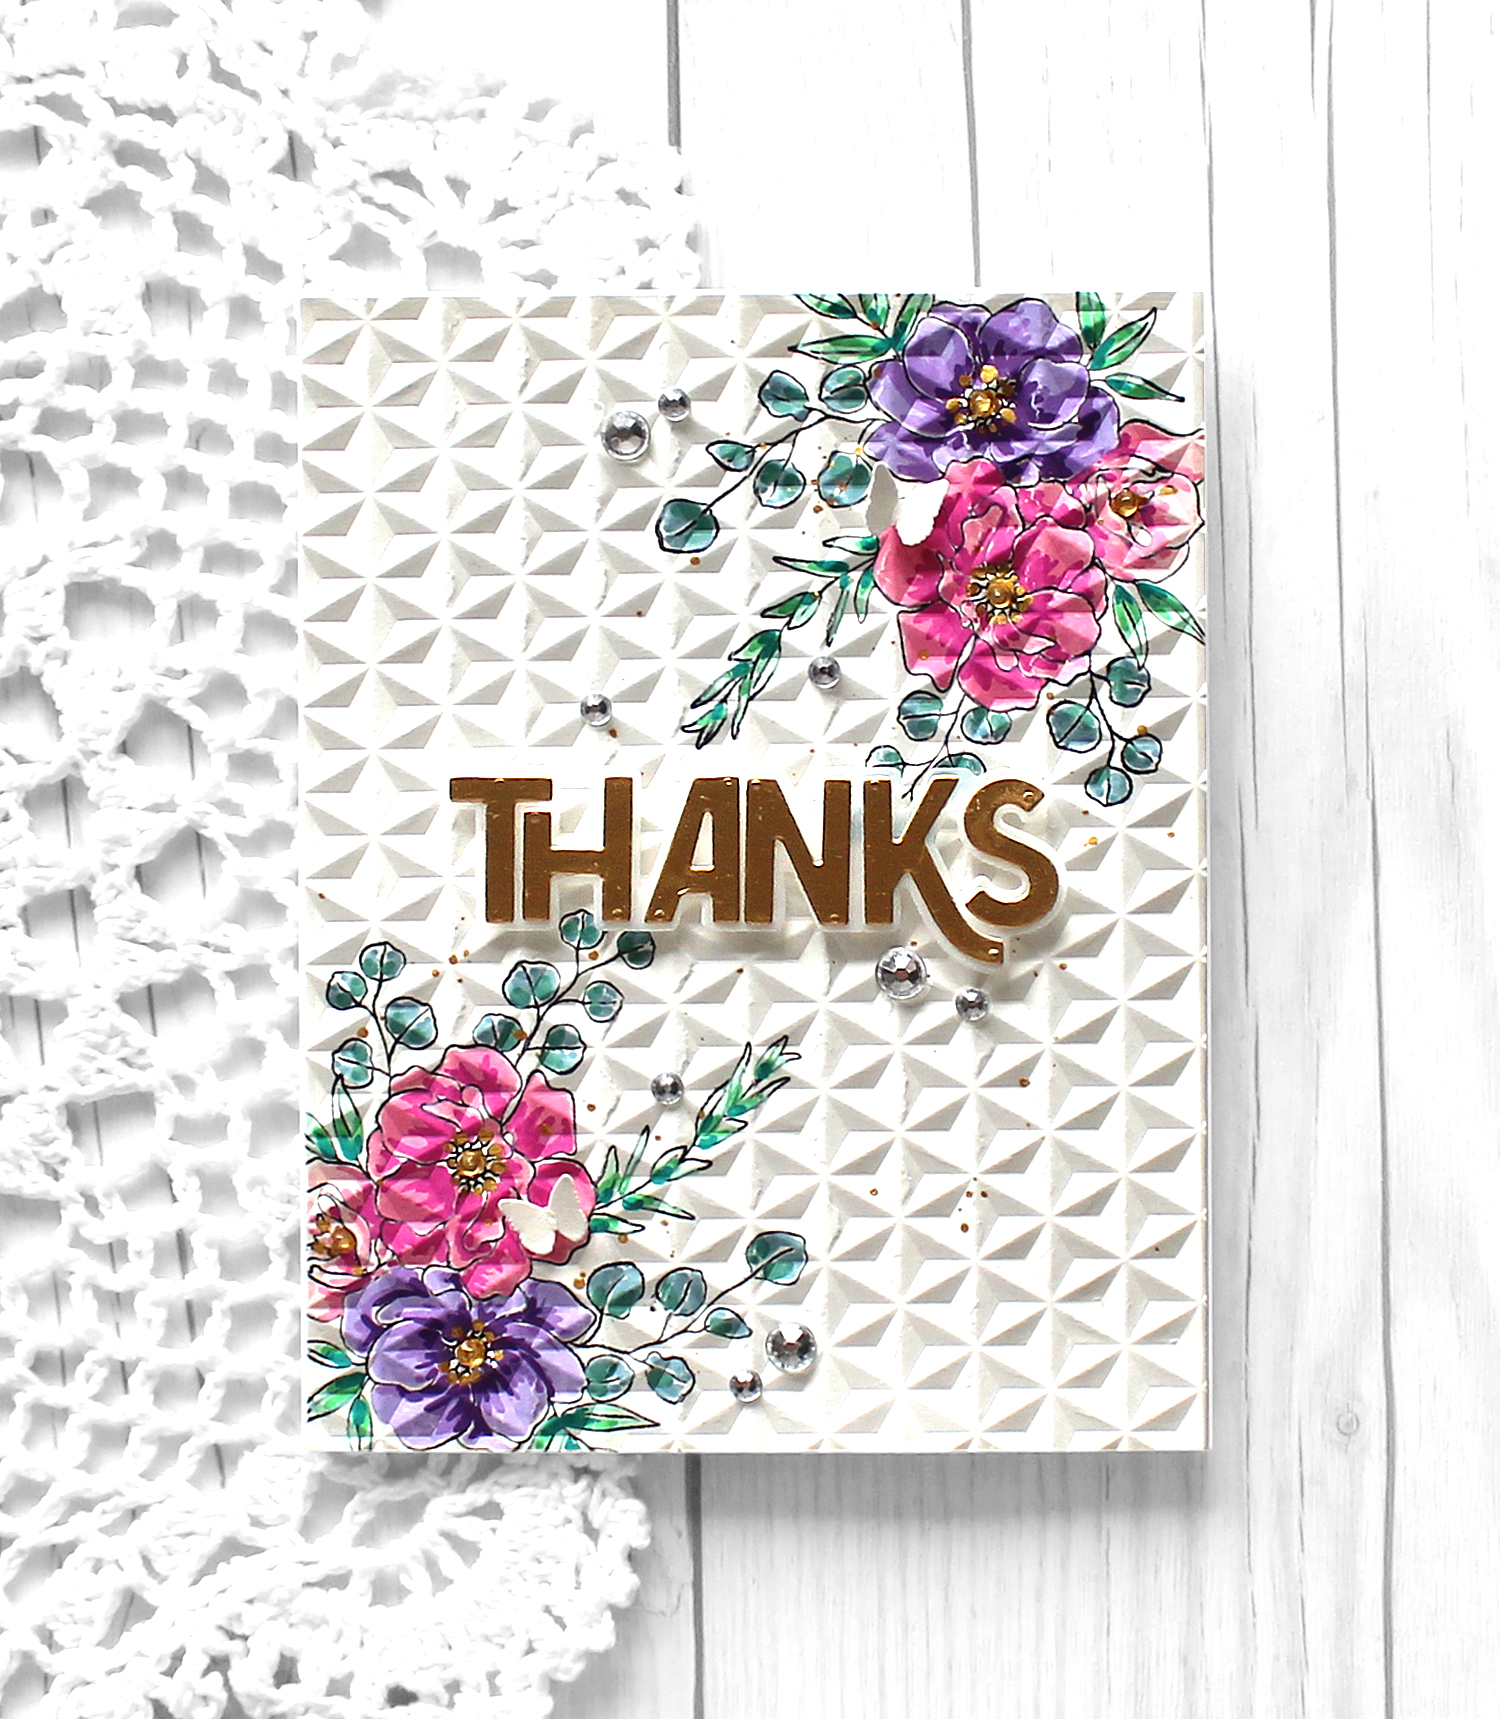
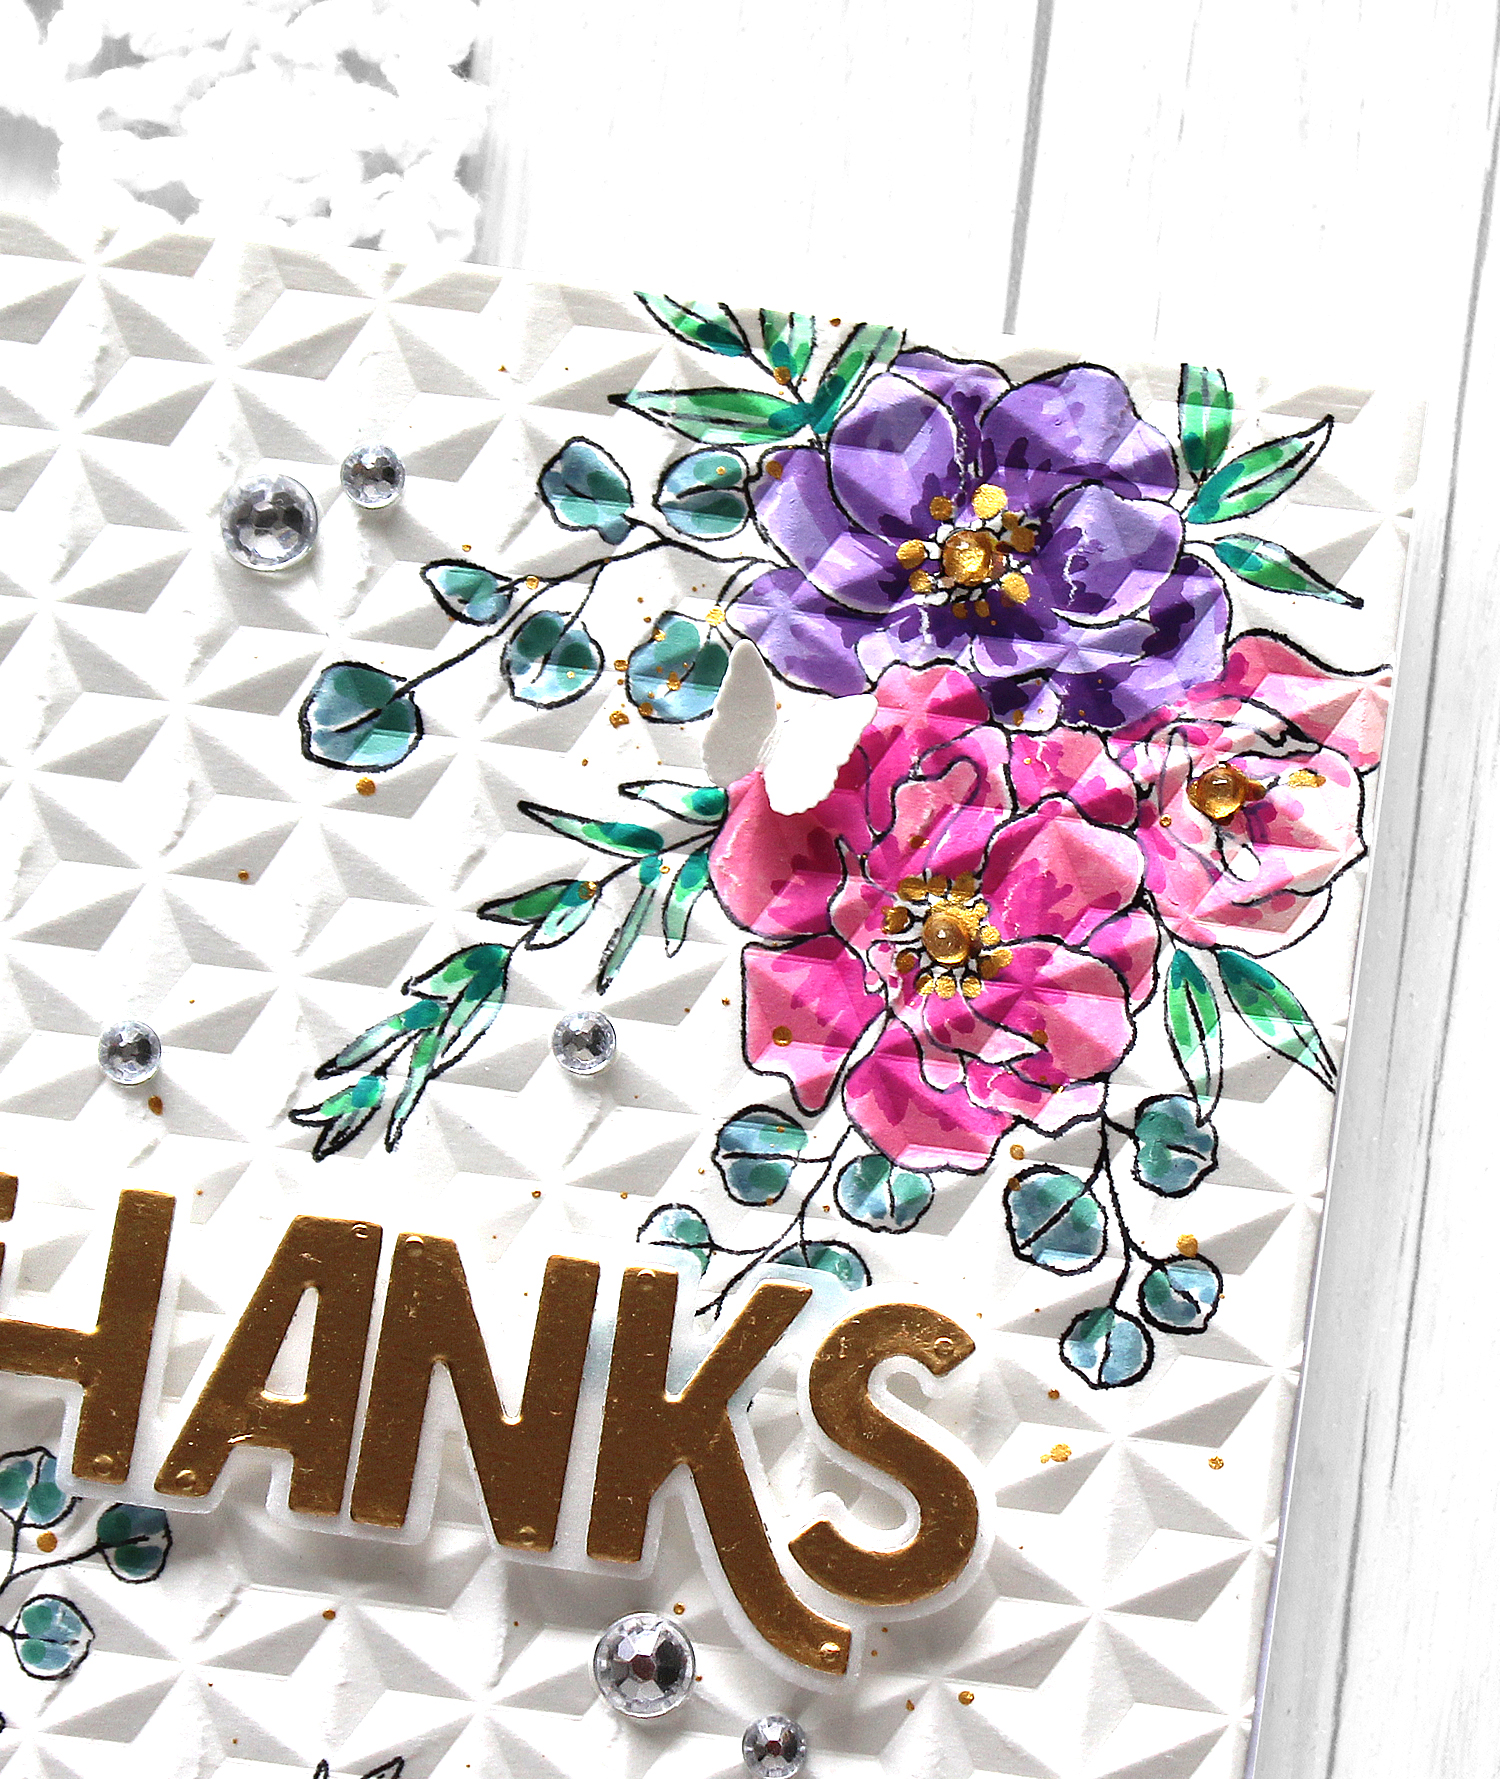
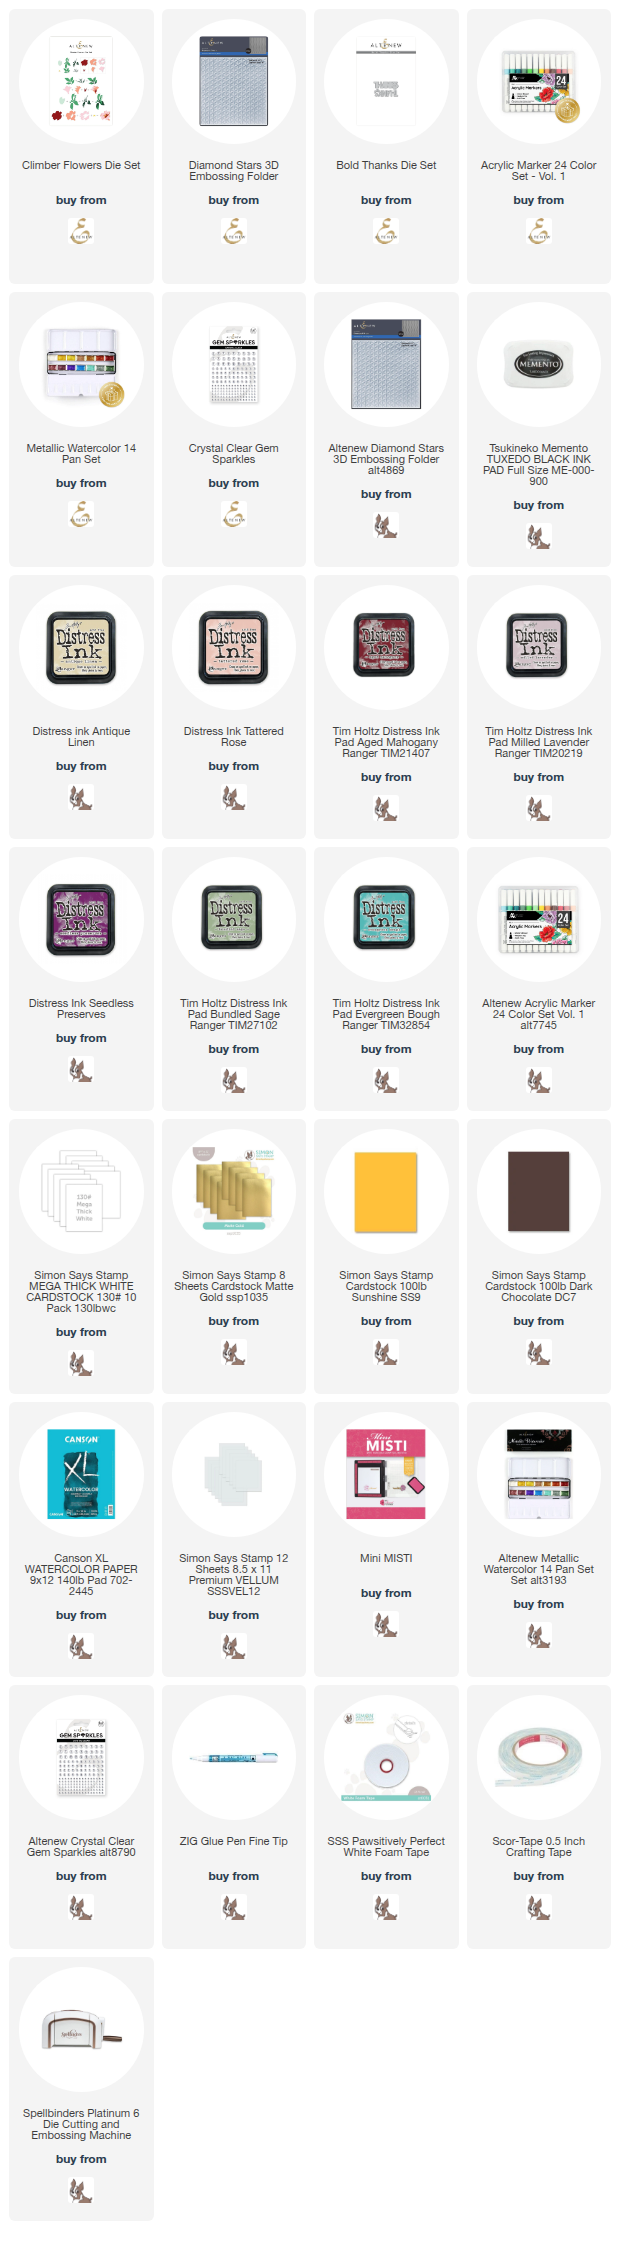
I stamped the pretty flower image onto the top-right & bottom-left corners of an A2 white paper panel using Memento Tuxedo Black dye ink first, then coloured the stamped images with Altenew Acrylic Markers. After colouring, I dry embossed the floral panel with Altenew Diamond Stars 3D embossing folder. For the sentiment, I die cut the “Thanks” from Matte Gold cardstock using Altenew Bold Thanks die set. I decorated the card with Altenew Crystal Clear Gem Sparkles.


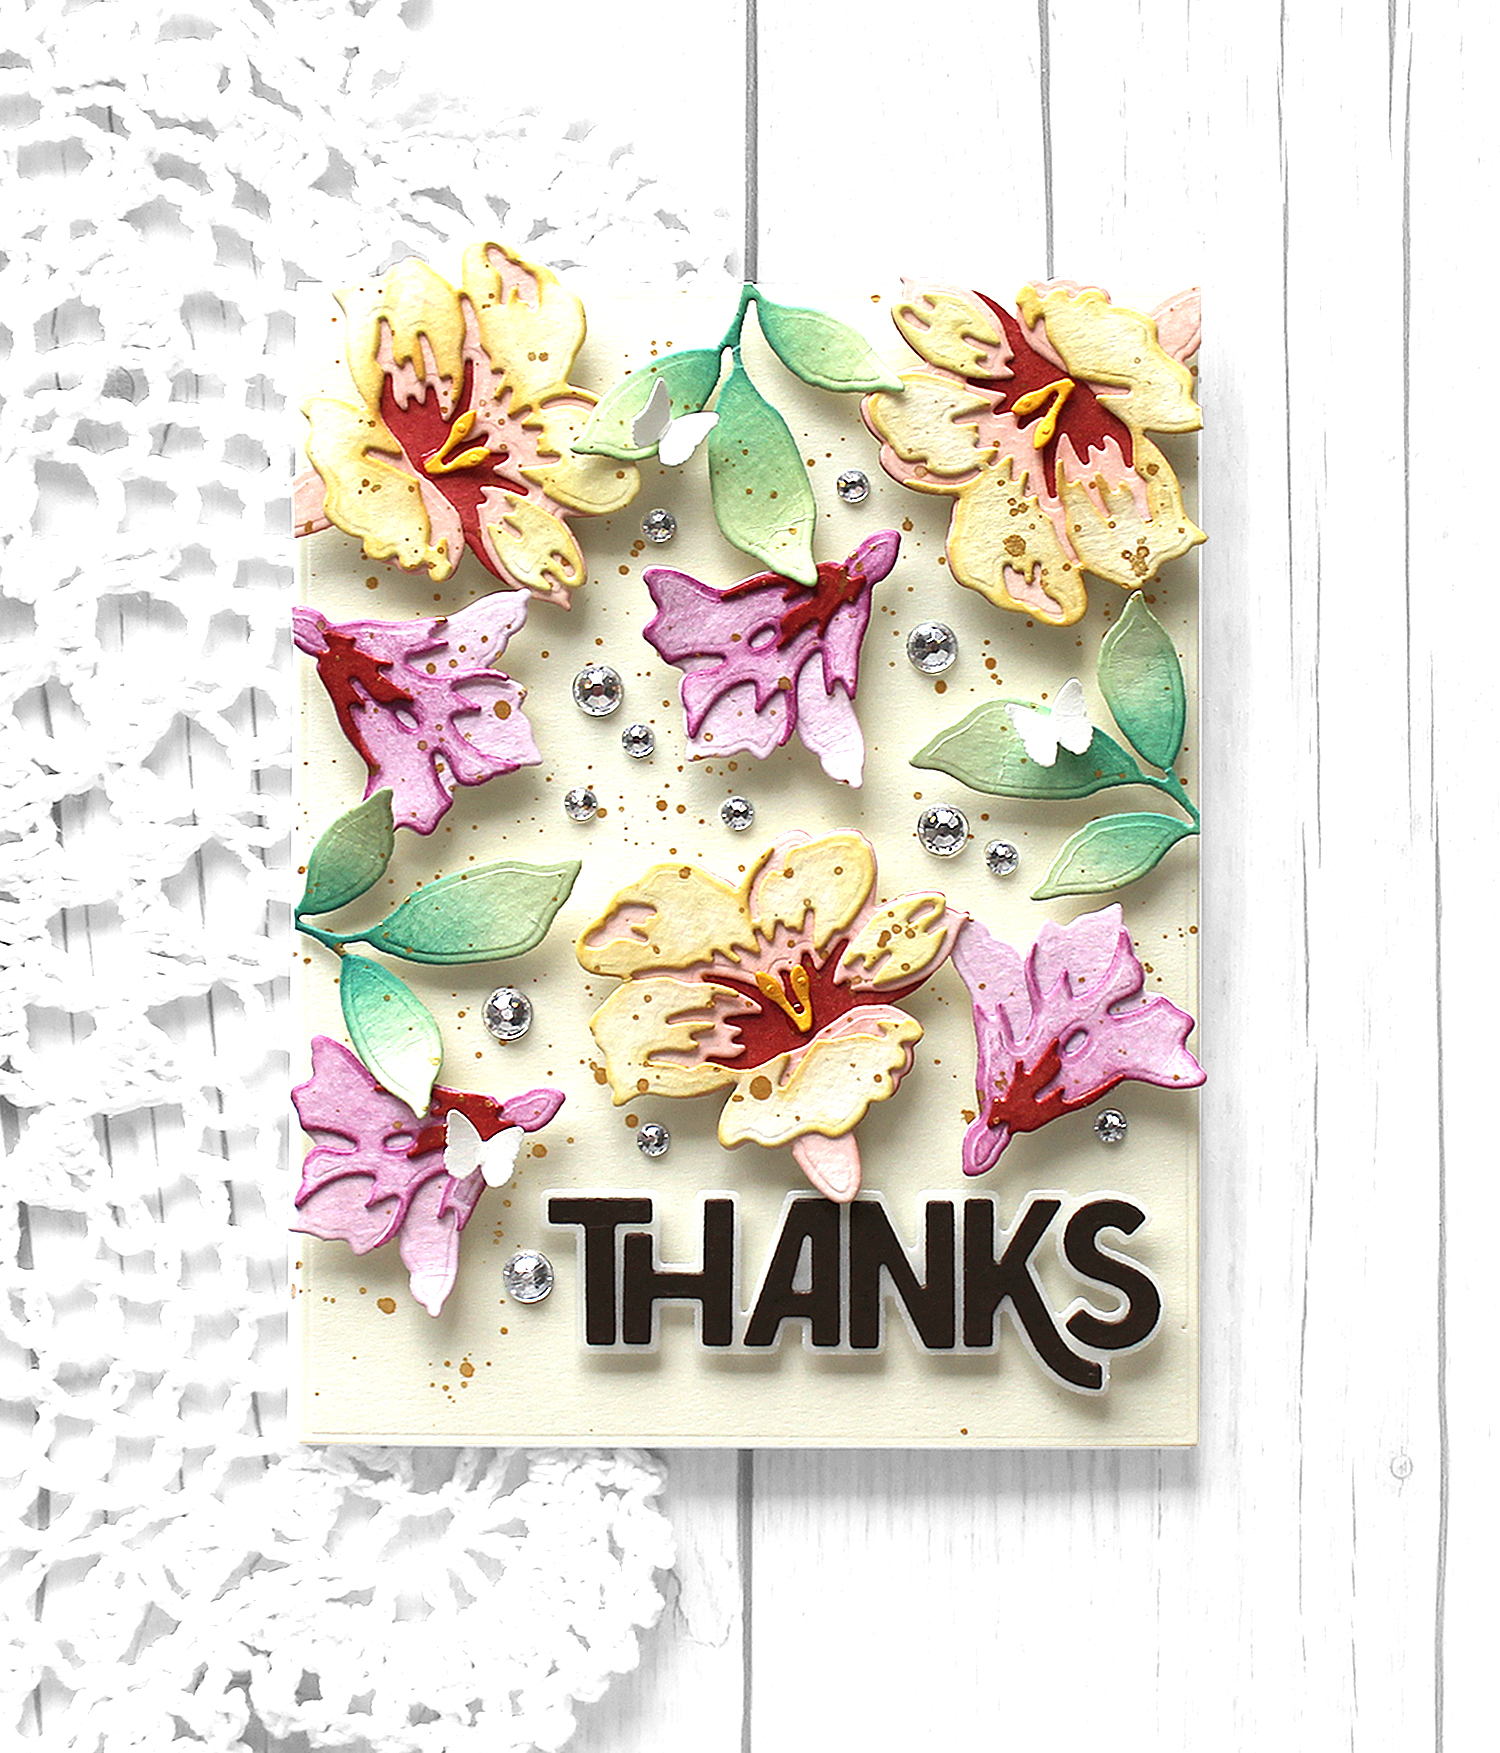
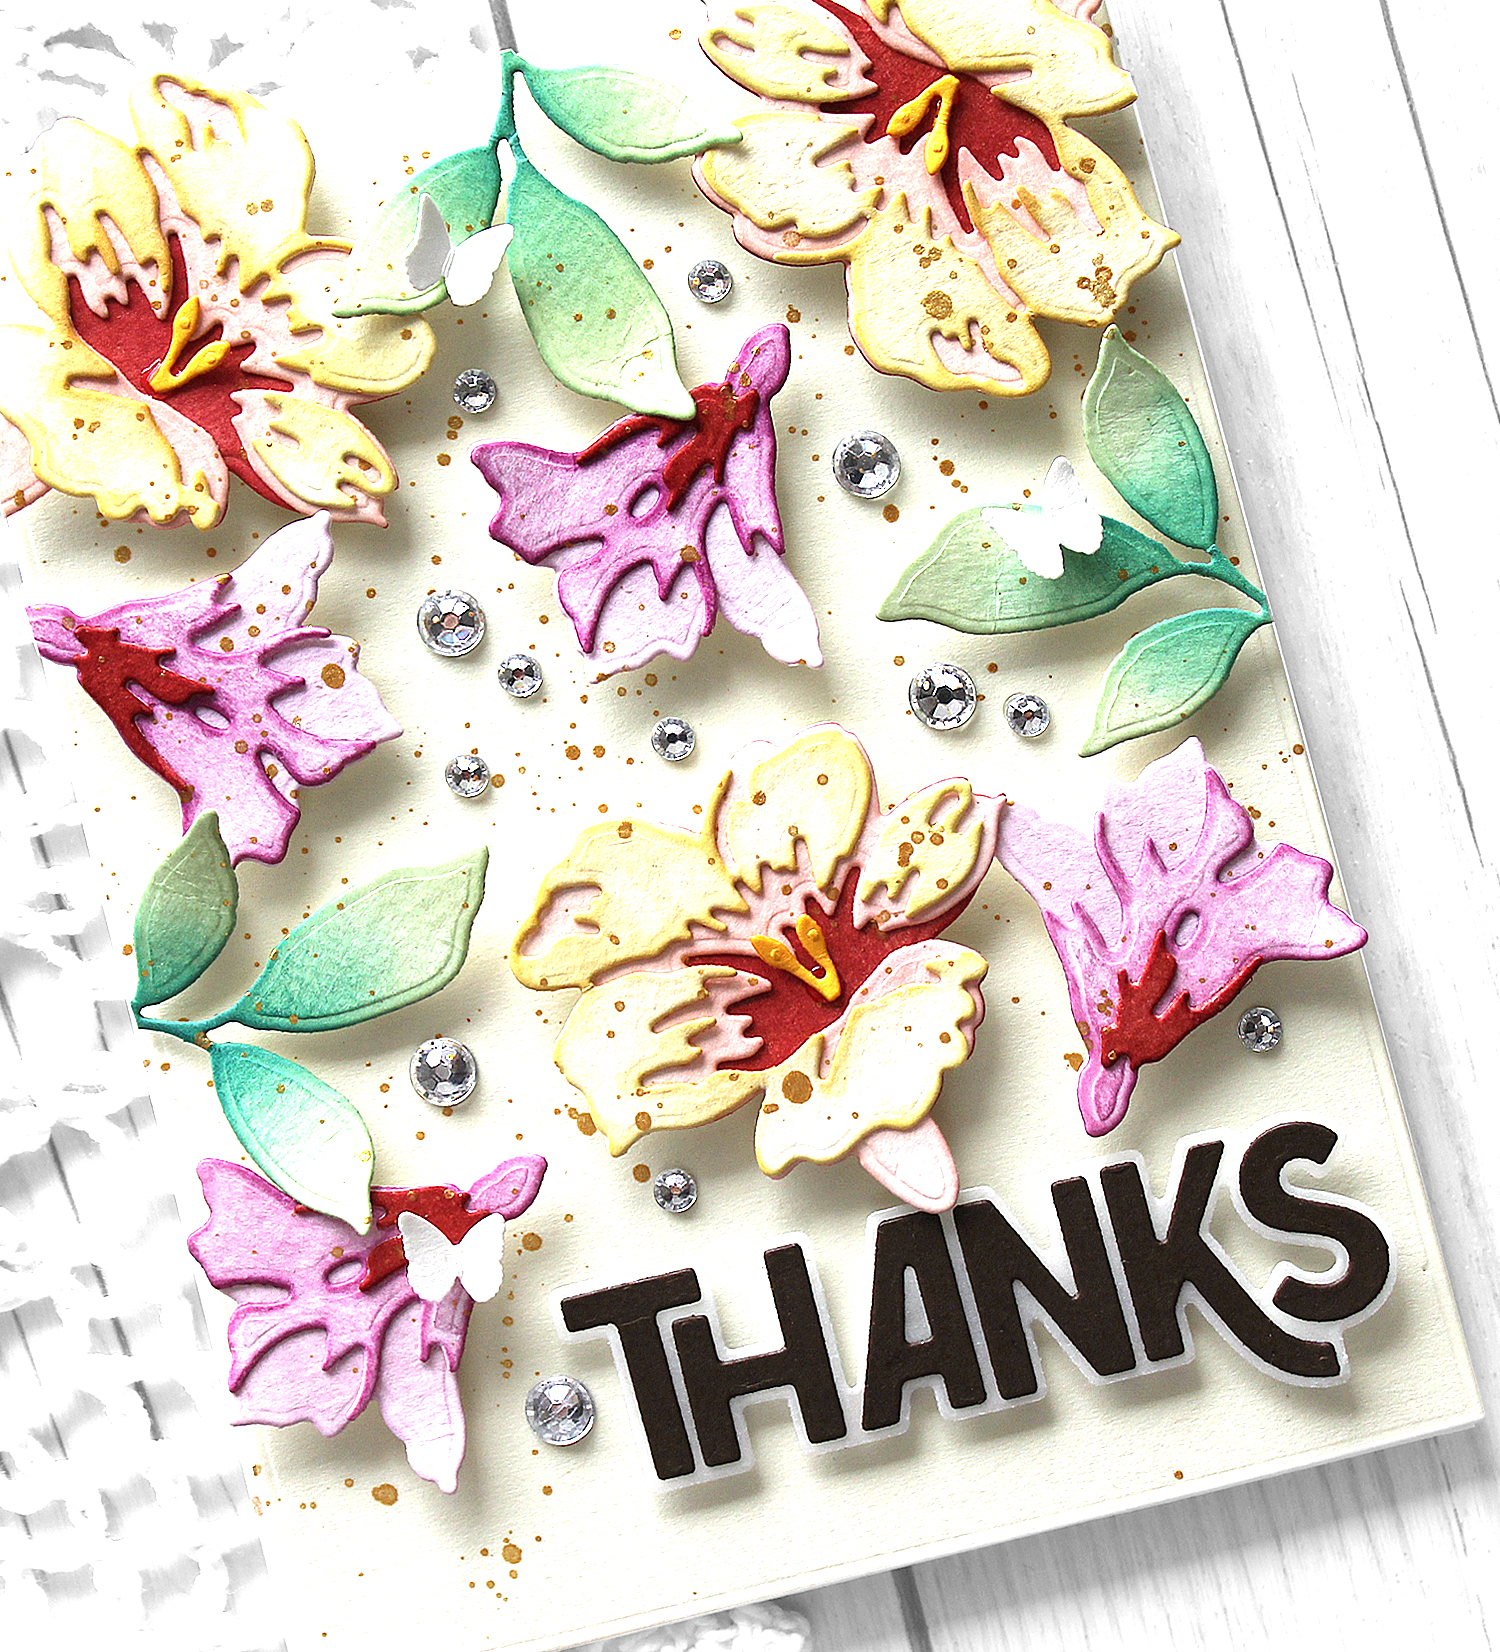
Another floral card here, I used Altenew Climber Flowers die set as my main supply.

I die cut the pieces from watercolour paper first, ink blended all pieces, then assembled each flowers using fine tip glue pen.

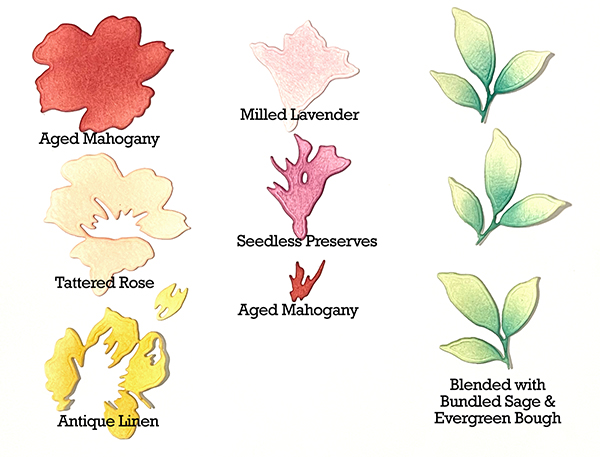
I applied several distress inks for layered flowers as below:
Large flower: (from the top to base) Antique Linen, Tattered Rose and Aged Mahogany
Small flower: (from the top to base) Aged Mahogany, Seedless Preserves and Milled Lavender
Small leaves: blended with Bundled Sage and Evergreen Bough.

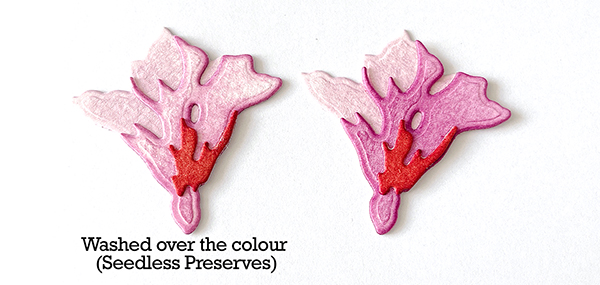
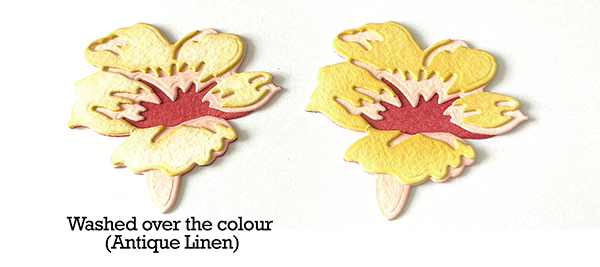
After waiting a moment for the ink to dry completely, I used a wet paintbrush to wash over each flower, softening the colours – I did a water wash over the piece with Seedless Preserves ink applied, then dabbed it with a paper towel to lighten the colour.

Exactly same as the small flower, I washed over the piece with Antique Linen ink applied, then dabbed it with a paper towel to lighten the colour as well. Just like real flowers look fresher when watered, these paper flowers also look more fresh when I lighten the colours with water, right?!!

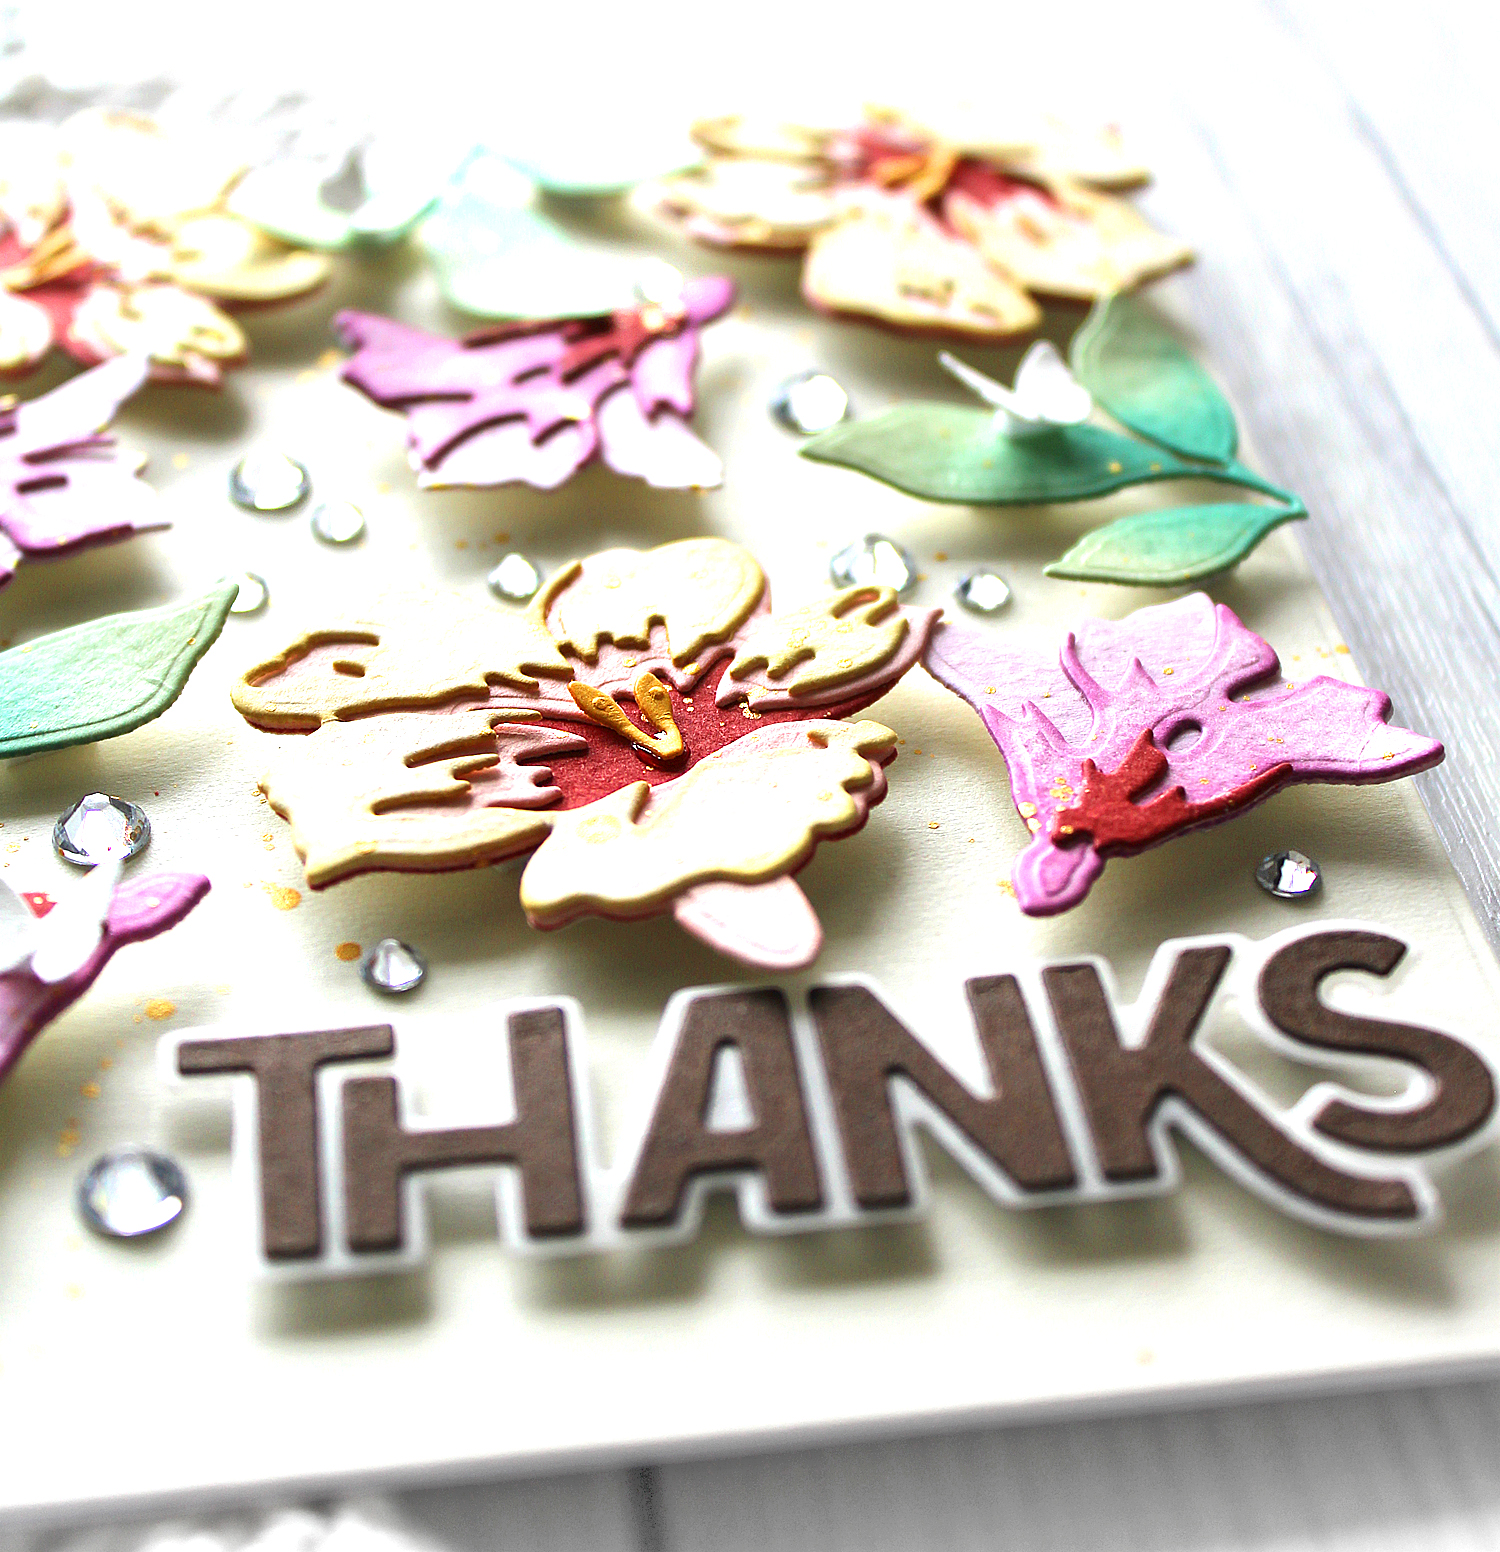
I randomly adhered flowers and leaves onto an A2 cream paper panel using foam tape, then added Crystal Clear Gem Sparkles between the flowers and leaves.

Honestly, I’m in love with this floral card!! :D

Congratulations on your amazing 11-year journey, Altenew!

Thank you so much for stopping by. Have a wonderful weekend!

Keep smiling and be blessed! God bless you all!
Love Love Love RejoicingCrafts