Floral Friday: Floral Butterflies

Hello crafty friends, TGIF!

Today I want to share with you beautiful floral butterfly trio using the Spellbinders Bibi’s Butterflies Collection So Many Butterflies Etched dies & the Hero Arts Envelope Accessorise dies.

(Left) Spellbinders Bibi’s Butterflies Collection So Many Butterflies Etched Dies
(Right) Hero Arts Envelope Accessorise Dies


Ta-da! Aren’t they so beautiful to put small flowers, leaves, butterflies on top of the large sized, almost A2 sized, butterfly base? Oh, I love them so much!!

My first butterfly card is a proposal card. I die cut flowers & leaves from watercolour paper using the Hero Arts Envelope Accessorise dies, coloured them with Altenew Watercolor 36 pan set. I also die cut wedding ring from SSS Matte Gold Mirror cardstock using the SSS Wedding Rings dies.

I adhered all watercoloured flowers & leaves, wedding ring on the centre of the white butterfly base using foam tape. I decorated the card with small clear droplets.


For the second butterfly card, I die cut flowers & leaves from watercolour paper using the Hero Arts Envelope Accessorise dies, randomly glued all die cuts on white butterfly card base using fine tip glue pen, and then ink blended it with some Distress inks in rainbow order. I added smaller vellum butterfly die cut, pearls and Hero Arts small butterfly on the card.


Here is the last but not least, I decorated the right part of the butterfly with colourful flowers & butterfly. I die cut Hero Arts small flowers & leaves from various colour cardstock, butterfly from white cardstock first. I then lightly added colour each die cut with Copic markers, and then arranged all flowers & leaves onto the right side of the white butterfly card base using foam tape.


Isn’t it so lovely?!! I am so very pleased with the result, haha! :D

Thank you so much for stopping by. Have a wonderful weekend!

Keep smiling and be blessed! God bless you all!
Love Love Love RejoicingCrafts

Floral Friday: Altenew Layered Antique Rose

Hello crafty friends, TGIF!

Today I want to share with you a beautiful floral card using the Altenew CAF Antique Rose Layering die set. Altenew has so many gorgeous layering floral dies and this set is my most favourite among them.

Altenew Craft-A-Flower Antique Rose Layering die set


Ta-da! Isn’t it so pretty?!! I love it sooooo much. :D

I started by die cutting many pieces of Antique Rose from watercolour paper. I then inked all pieces with some Distress inks and dye inks:
1) RED ROSE
Base layer: SSS Merlot dye ink / 2nd layer: Festive Berries Distress ink
3rd layer: Dried Marigold Distress ink / Last layer (top layer): Tattered Rose Distress ink

2) BEIGE ROSE
Base layer: Festive Berries Distress ink / 2nd layer: Tattered Rose Distress ink
3rd layer: Tea Dye Distress ink / Last layer (top layer): Antique Linen Distress ink

3) LEAVES
Base layer: SSS Green Apple dye ink / 2nd layer: SSS Green Leaf dye ink
3rd layer (darkest colour): SSS Evergreen dye ink

After inking all pieces, assembled them as roses and leaves, then adhered them on dark green card base using foam tape.

Here is a closer look:


I added opaque white ink splatters all around the card.


Thank you so much for stopping by. Have a wonderful weekend!

Keep smiling and be blessed! God bless you all!
Love Love Love RejoicingCrafts

Floral Friday: SSS Blooming Wave

Hello crafty friends, TGIF!
Today I have a couple of cute floral cards with the Simon Says Stamp Blooming Wave die.

Sometimes, especially when I lost my mojo, I followed other artists’ artwork and I think it would be the best way to get my mojo back, haha!

As soon as I saw this picture from Pinterest, I really wanted to make a floral card. :D


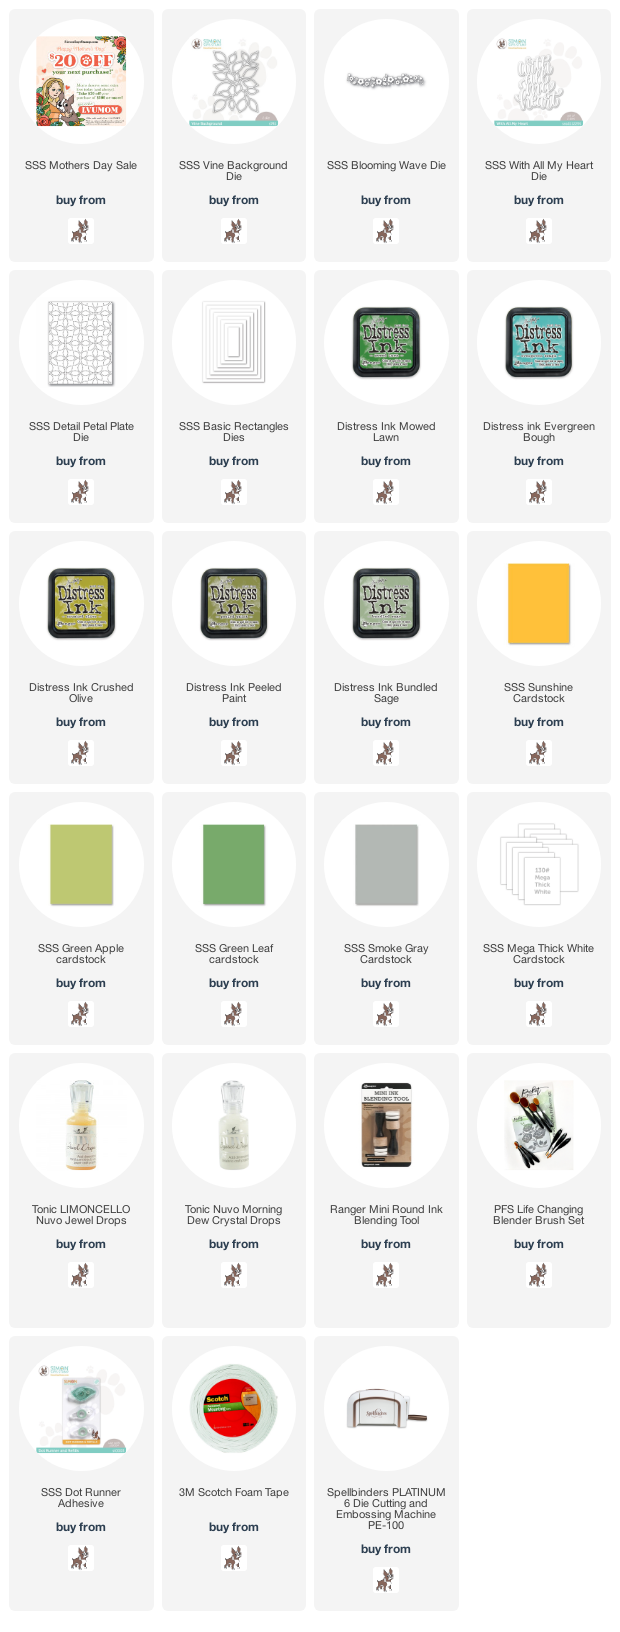
Ta-da! I used small sized flowers and leafy die. I die cut small flowers from white cardstock using the Blooming Wave die, leaves from Smoke Gray cardstock using the Vine Background die. I then applied green coloured Distress inks to all leaves using blending tool.

I made floral patterned panel using the Detail Petal Plate die, added all elements as shown in the picture. Oh, and I didn’t forget to add water drops using Nuvo Morning Dew Crystal Drops.


Here is another floral card with the Blooming Wave die. I mounted the sentiment “With All My Heart” on the centre of the floral grey panel first, and then added small flowers around the sentiment using foam tape.


Isn’t this flower so cute?!!


YAY!! Happy Mother’s Day Sale! Take $20 off your purchase of $100 or more with the code LVUMOM (This offer will expire 5/8 at 11:59 pm ET) at checkout when you purchase at Simon Says Stamp Store.

Thank you so much for stopping by. Have a wonderful day!

Keep smiling and be blessed! God bless you all!
Love Love Love RejoicingCrafts

Floral Friday: C9 Fresh Cut Florals

Hello crafty friends, happy weekend!
Today I have three bright and cheery floral cards with another beautiful floral die set.

The star of the second week of April is the Concord and 9th Fresh Cut Florals Dies Edition 2.

Concord and 9th Fresh Cut Florals Dies Edition 2


I love floral dies and C9 Fresh Cut Florals set is simply gorgeous!


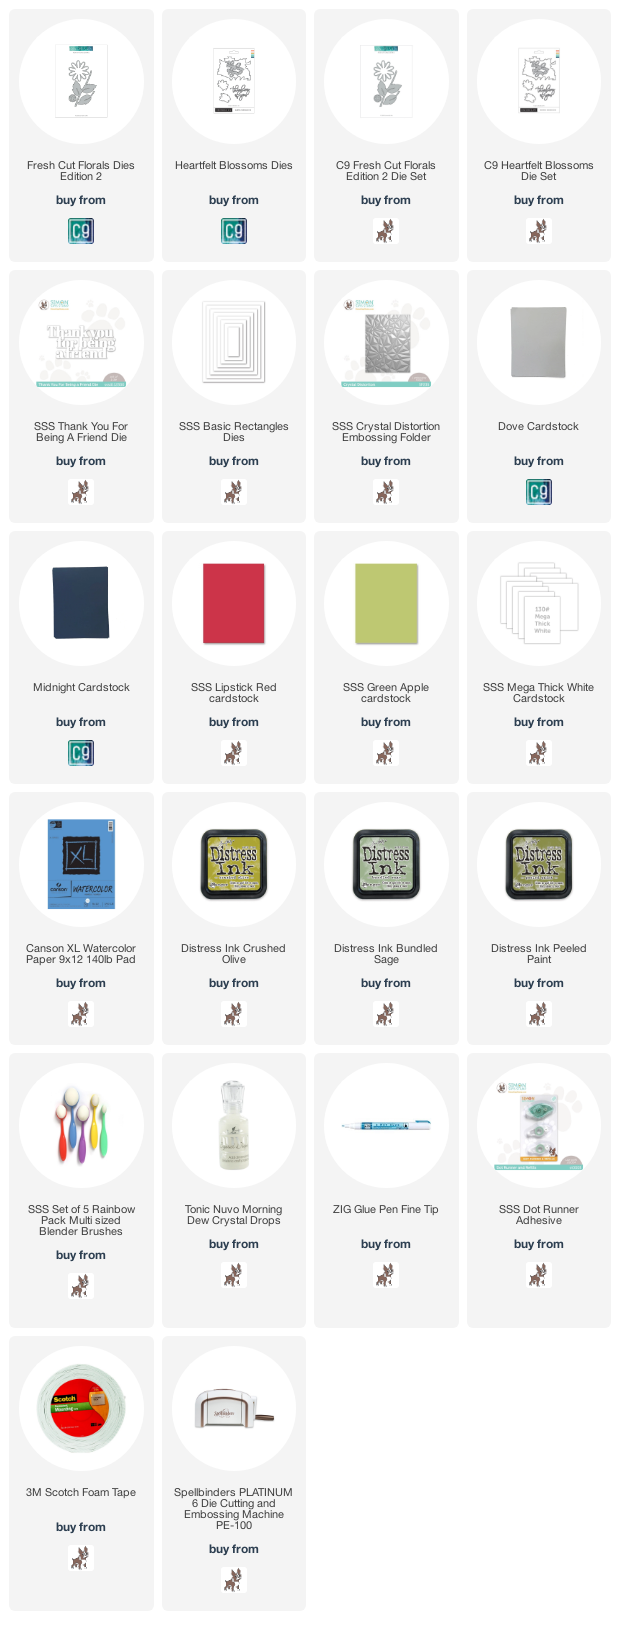
For the first card, I die cut petals from SSS Lipstick Red cardstock, leaves from watercolour paper, centre of the flower from white cardstock. I then applied some green coloured Distress inks to leaves die cut using blending brush – I used Crushed Olive, Bundled Sage and Peeled Paint Distress inks.

With the SSS Crystal Distortion embossing folder, I debossed onto A2 white paper panel and mounted it to the same sized card base using Dot Runner Adhesive. I then added the flower die cut to the centre of the card using foam tape.

Here is another clean and simple floral card with the C9 Fresh Cut Florals Die. I adhered the red flower and sentiment on the bottom part of the C9 Dove card base.


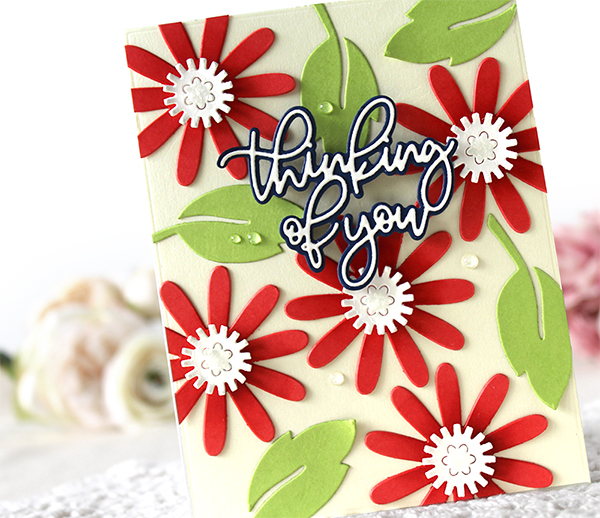
For my last card, I made a floral background! I randomly adhered red flowers and green leaves onto A2 sized card and added the “Thinking of You” sentiment on top of the card.


I love this floral card trio so much! :D

Thank you so much for stopping by. Have a wonderful weekend!

Keep smiling and be blessed! God bless you all!
Love Love Love RejoicingCrafts

Floral Friday: SSS Olive Leaves

Hello crafty friends, TGIF!
Today I have a couple of “Thinking of You” cards with the Simon Says Stamp Olive Leaves die set.


Simon Says Stamp Olive Leaves Die Set

Finally, I made alcohol ink background! I know, alcohol ink background became trendy a few years ago but at the time, honestly, I didn’t want to add alcohol inks in my stash because I had so many different mediums like watercolours, Distress inks, etc.. HOWEVER, I ended up falling in love with the charm of alcohol ink background. The unexpected result is particularly attractive!! :D

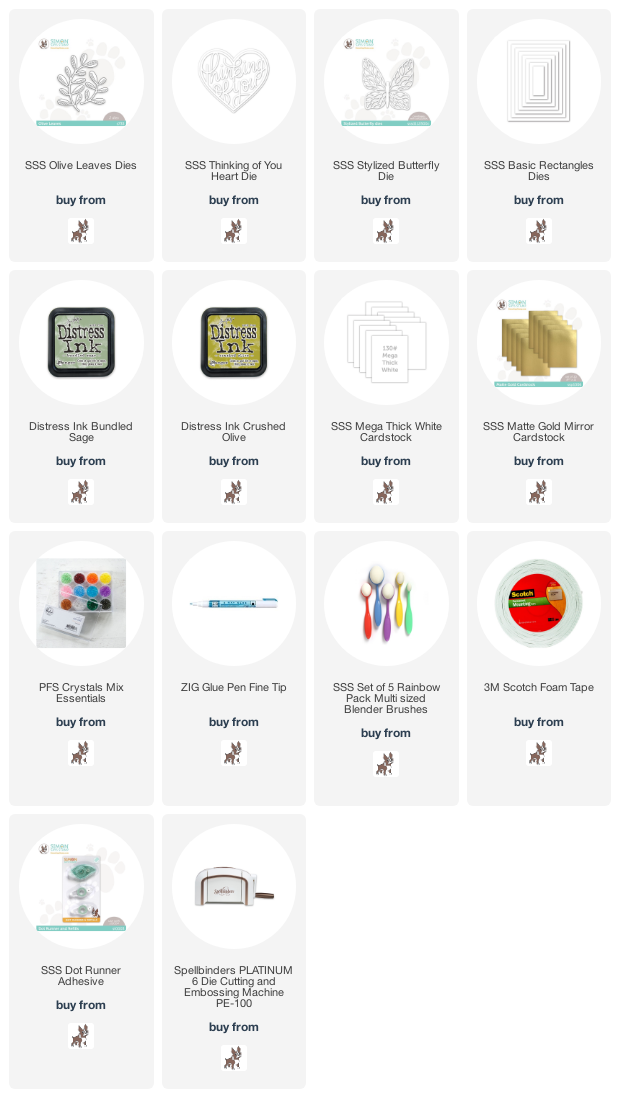
I die cut the Stylized Butterfly from thick white cardstock, small olive leaf from metallic gold cardstock, and then mounted them onto the centre of the card front using foam tape.

I decorated the gold olive leaf with gold crystals.


Here is another card with the Olive Leaves die set. I made another alcohol ink background with blue, yellow and metallic gold alcohol inks. I then die cut the Thinking of You Heart & Olive Leaves from white cardstock. I applied green Distress inks to a part of Olive Leaves die cuts.


I love the adorable Olive Leaves so much!

Thank you so much for stopping by. Have a wonderful weekend!

Keep smiling and be blessed! God bless you all!
Love Love Love RejoicingCrafts