Hello crafty friends!
Today I have another Christmas card with the Paper Rose Studio snowflakes and Nesting Arches die sets.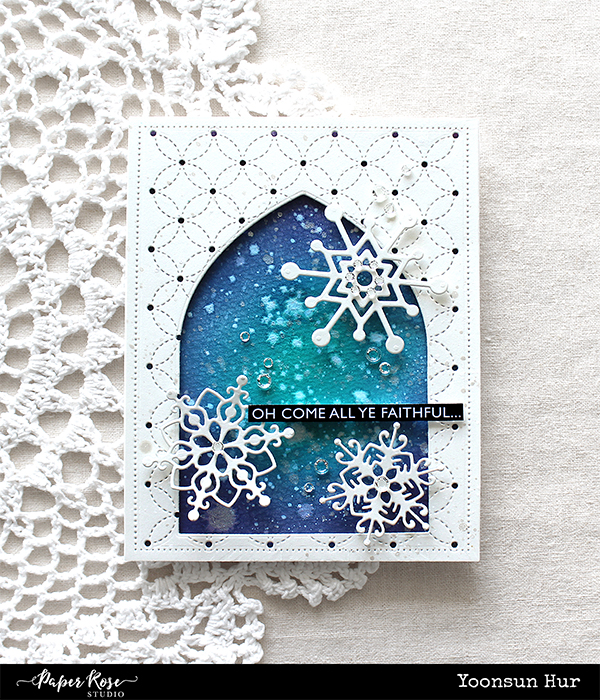
I die cut an A2 sized paper panel from thick white cardstock using the Pierced Rectangles die set. I then applied the Hand Stitching Coverplate to the panel – made a beautiful patterns! Next, I made an arch window from the panel using the Nesting Arches die set.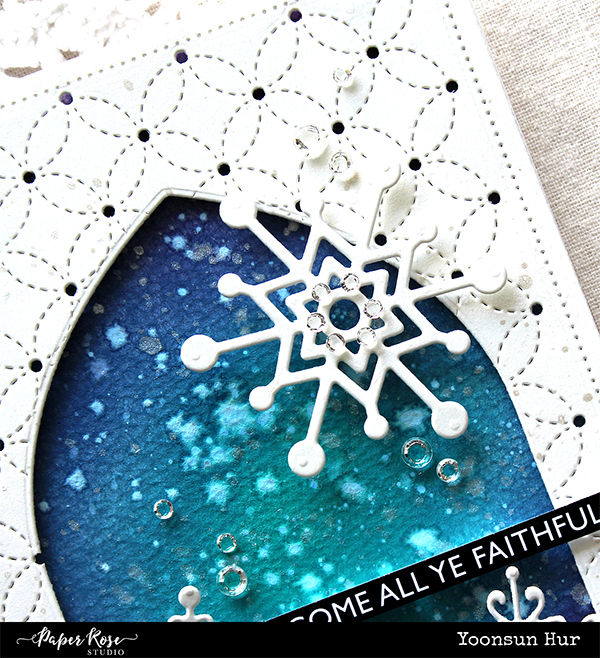
I applied blue Distress inks to watercolour paper using blending tool, added white & metallic silver ink splatters and water droplets. I then adhered it to the back of the arch window panel using foam tape. 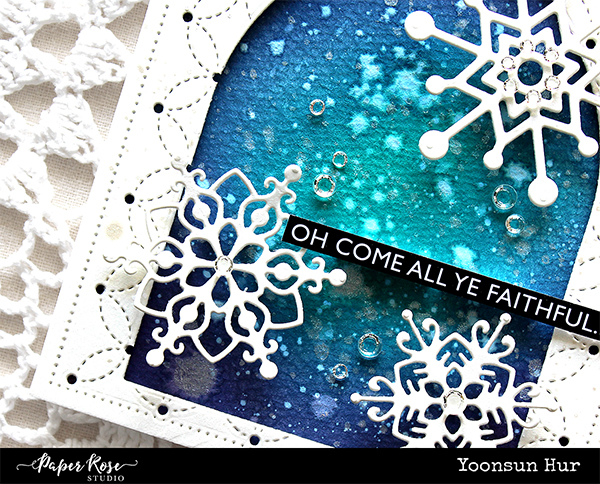
I added some beautiful snowflakes to the front of the card – used the Snowflake Set 2 and Snowflake Trio die set.
Thank you so much for stopping by. Have a great day.
Keep smiling and be blessed! God bless you all!
Love Love Love RejoicingCrafts
Category Archives: Christmas
PRS Just Be Jolly
Hello crafty friends, happy weekend!
Today I want to share with you my clean & simple Christmas card with the Paper Rose Studio Deer Head and Mistletoe Large dies.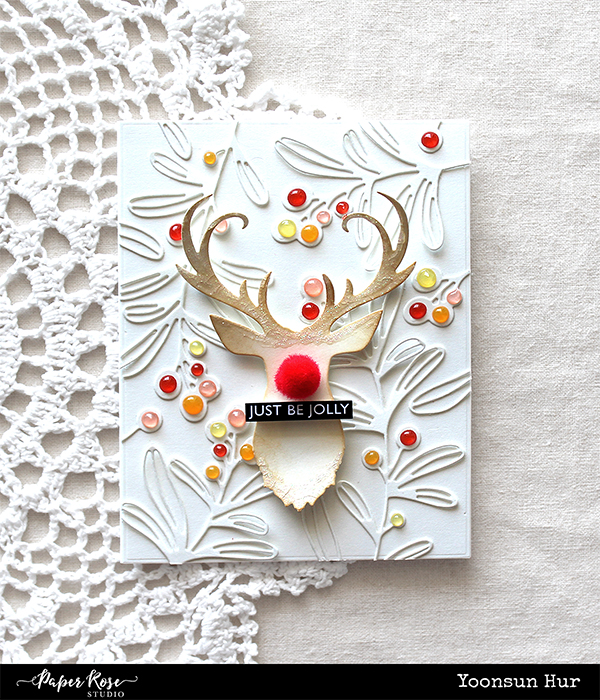
I die cut the Mistletoe Large from thick white cardstock several times, then adhered them onto an A2 sized white paper panel using Micro Dot Sheets Adhesive.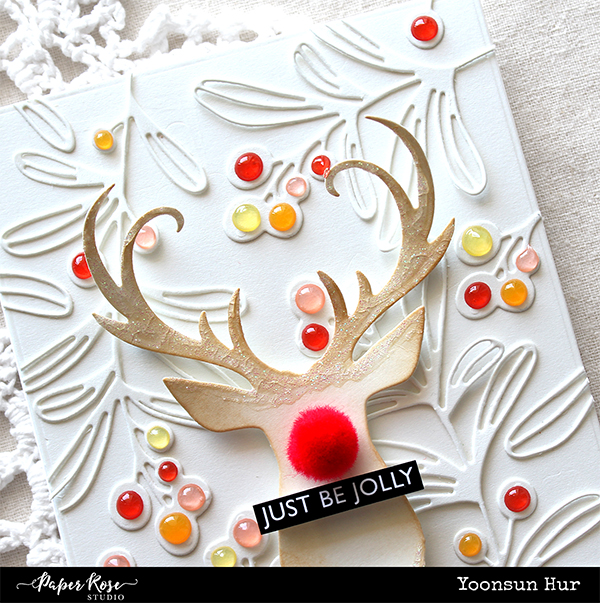
I die cut the Deer Head from white cardstock, then lightly applied Tea Dye Distress ink to the Deer Head die cut. I added the Deer Head on the centre of the card using foam tape, and then decorated it with red pompom & Jewel Drops.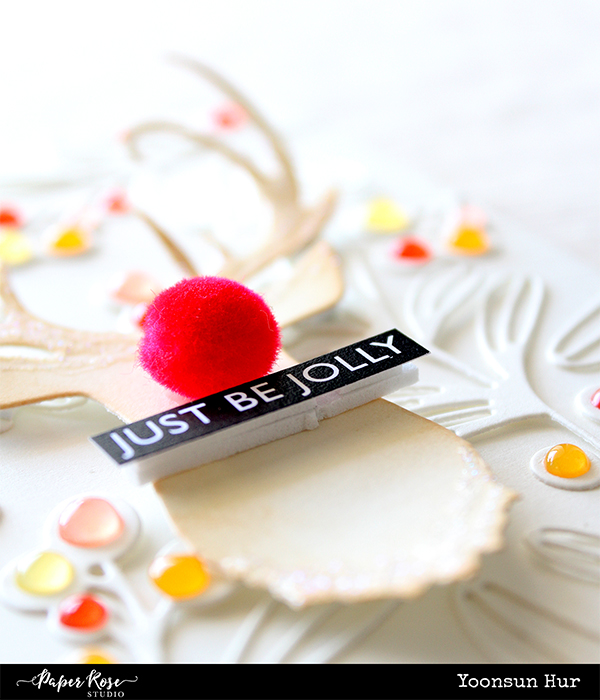
Thank you so much for stopping by. Have a great day.
Keep smiling and be blessed! God bless you all!
Love Love Love RejoicingCrafts
SSS Very Merry Christmas
Hello crafty friends, happy weekend!
Today I have a couple of snowflakes Christmas cards with Simon Says Stamp Refined Snowflakes embossing folder and die set.
I placed an A2 sized watercolour paper panel into the Refined Snowflakes embossing folder, ran through die cutting machine – I dry embossed and debossed the panel. I then inked the snowflakes panel with Crushed Olive, Peacock Feathers and Faded Jeans Distress inks. I added water drops and opaque white ink splatters.
I die cut the larger snowflake from the embossed panel with the matching die, and die cut the Daphne Snowflake from thick white cardstock as well. I mounted the panel on white card base using Dot Runner Adhesive first, and then added two snowflakes using foam tape as shown in the picture.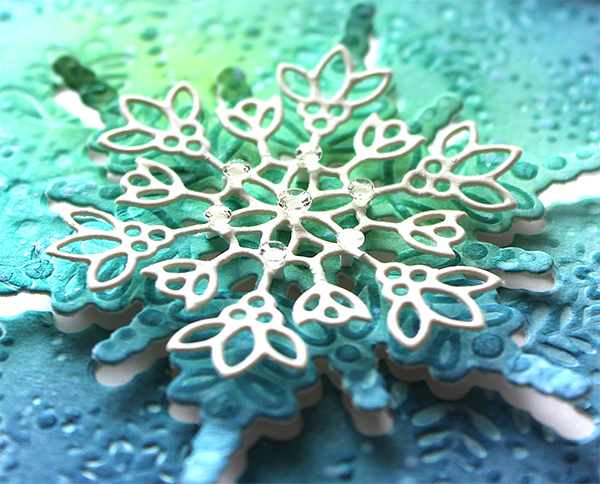
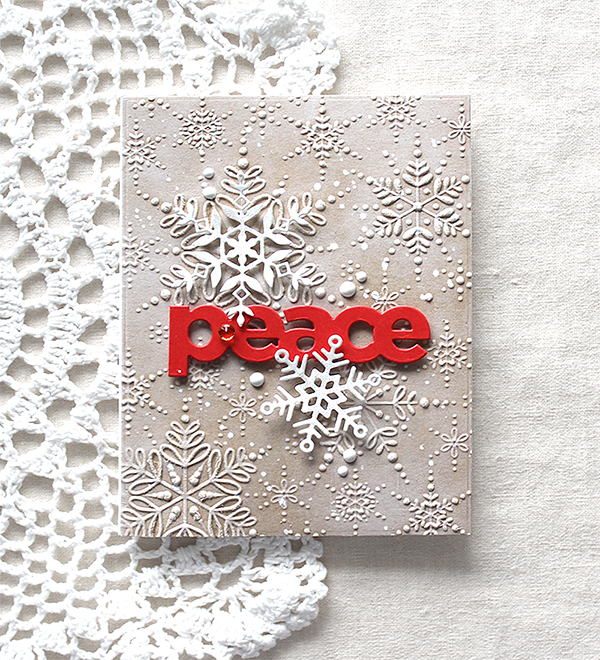
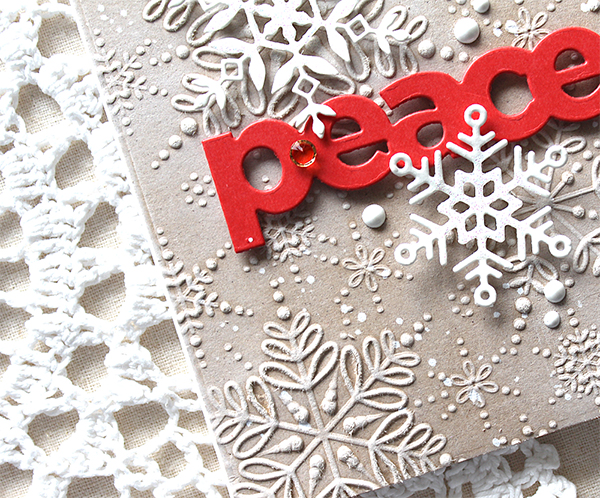
Here is one more card with the Refined Snowflakes embossing folder and die set. I dry embossed onto Neenah Desert Storm paper panel first, and then rubbed on surface of the panel with white pigment ink – I looooove this technique so much!! I die cut snowflakes from thick white cardstock, “peace” sentiment from Lipstick Red cardstock, then adhered them to the centre of the card front using foam tape.
Here is a closer look:

Thank you so much for stopping by. Have a wonderful day!
Keep smiling and be blessed! God bless you all!
Love Love Love RejoicingCrafts

PPP Winter Mug
Hello crafty friends! Hope you are doing well.
Today I have two Christmas cards with so adorable PPP Winter Mug die set.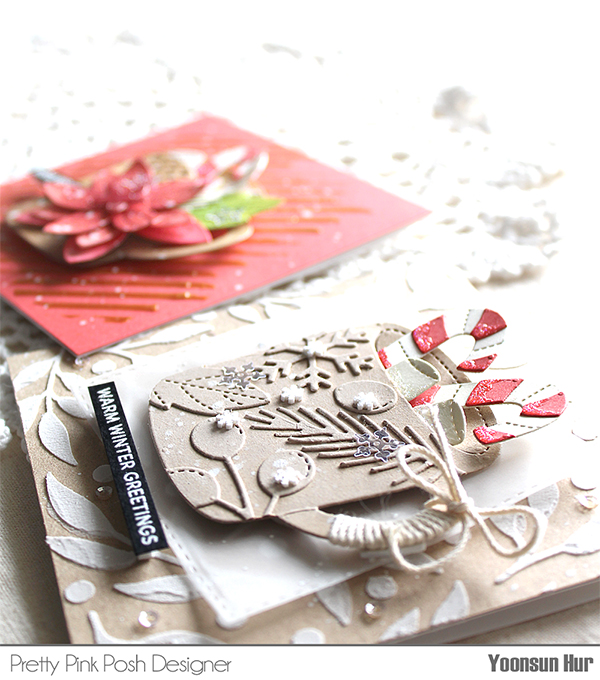

I started by die cutting Winter Mug from Neenah Desert Storm cardstock, and then I die cutting all tiny Christmas objects from the same kraft cardstock as well. Next, I adhered all tiny elements onto the Winter Mug using the Micro Dot Sheets Adhesive, then softly applied white pigment ink to the Winter Mug die cut – I love this technique because it looks like so velvety!
For the background, I placed the Leaves and Berries stencil onto the kraft card base, then applied white embossing paste. I die cut candy canes and tiny marshmallows from white & red cardstock using the Winter Mug die set. Finally I added all elements as shown in the picture using foam tape.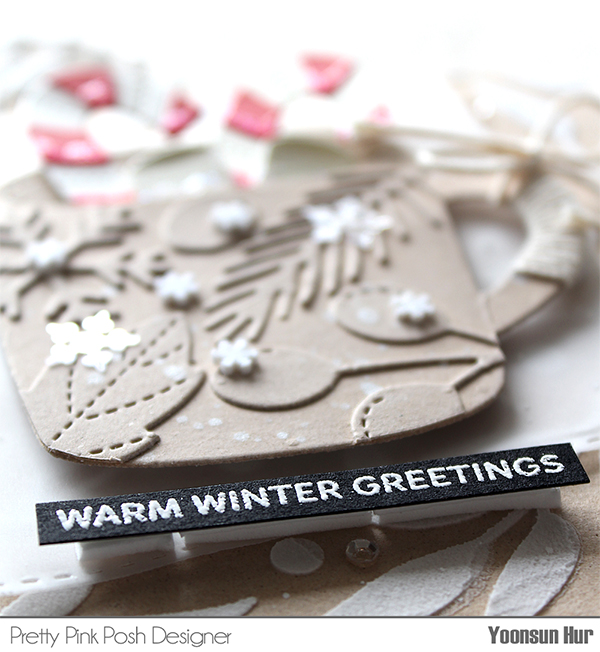
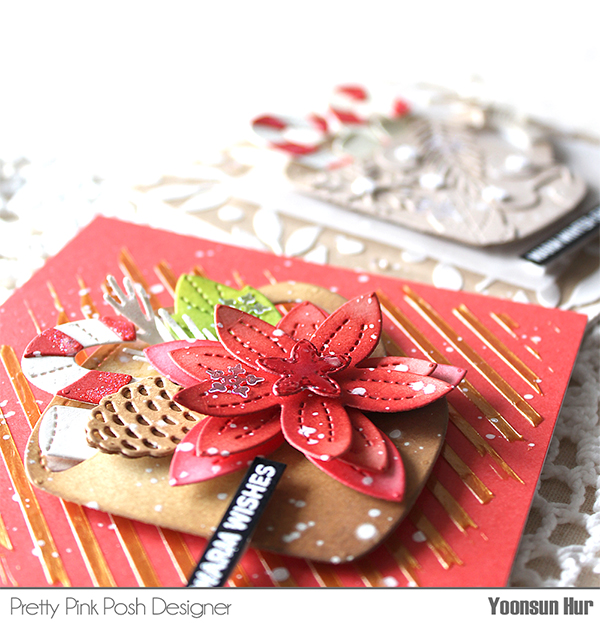
For my second card with the Winter Mug, I decorated the mug with a beautiful winter flower, poinsettia!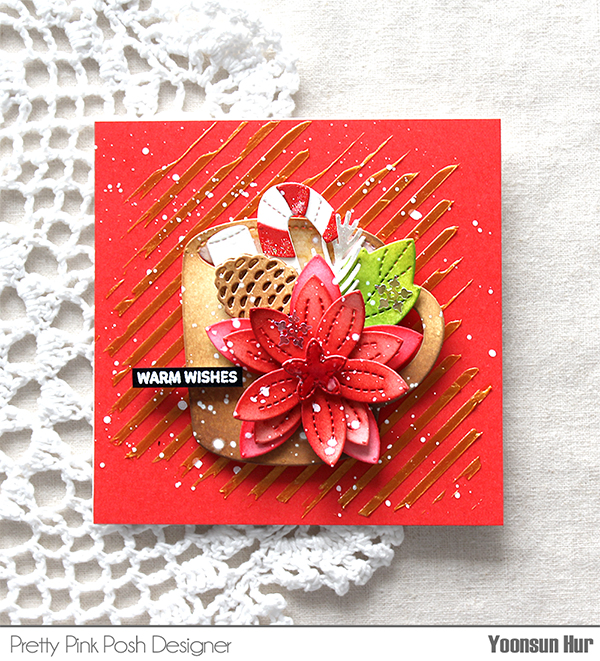
I die cut Winter Mug from thick white cardstock, applied with Tea Dye & Gathered Twigs Distress inks first, and then die cut all pieces of poinsettia from white cardstock, applied with red & green Distress inks as well. For the background, I applied metallic gold embossing paste to the Pinstripe stencil on the red card base. Finally, I adhered the floral winter mug on the centre of the card using foam tape.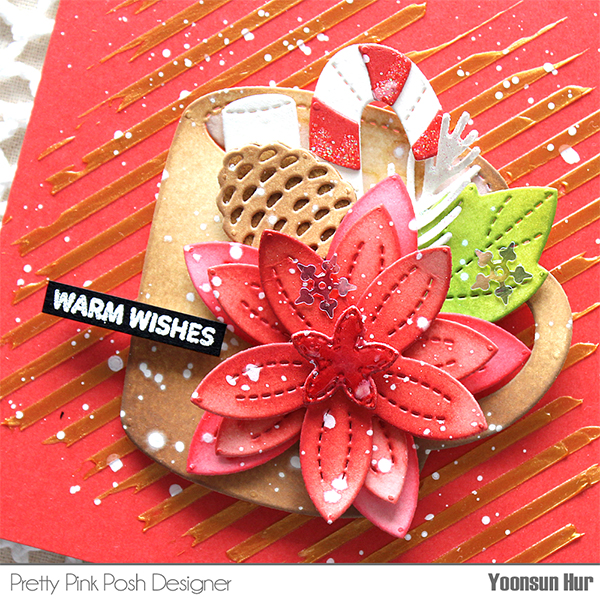
This floral mug is so pretty, isn’t it? ;)
Thank you so much for stopping by. Have a great day.
Keep smiling and be blessed! God bless you all!
Love Love Love RejoicingCrafts
Paper Rose The Bestest Christmas Ever
Hello crafty friends, happy Monday! Hope you had a great weekend.
Today I have a tone-on-tone kraft Christmas card with the Snowflake Set 2 and Snowflake Trio die sets. These two snowflake sets are so pretty!!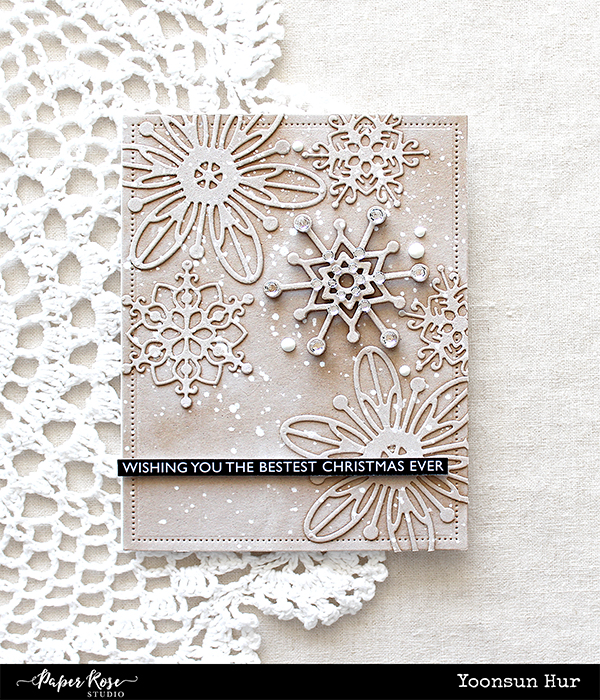
Kraft is a must-have colour for Christmas, right?! So I made a tone-on-tone kraft Christmas background with some beautiful snowflakes. I die cut some snowflakes from Neenah Smooth Desert Storm paper using the Snowflake Set 2 & Snowflake Trio die sets first. I then die cut the A2 sized Pierced Rectangle panel from the same Neenah Smooth Desert Storm paper. I adhered all snowflake die cuts onto the A2 Pierced Rectangle paper panel and then applied pigment white ink to the snowflake background panel.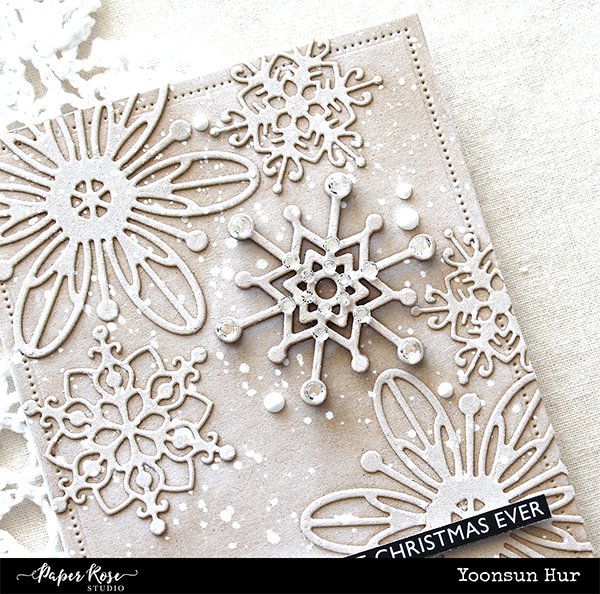
I spritzed opaque white ink splatters all around the panel and then added some white dots using the Nuvo Simply White Crystal Drops.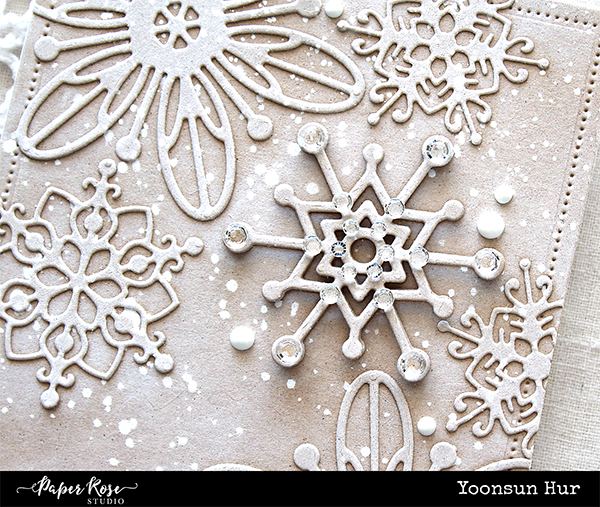
I decorated one of the snowflake with Clear Crystal Mix.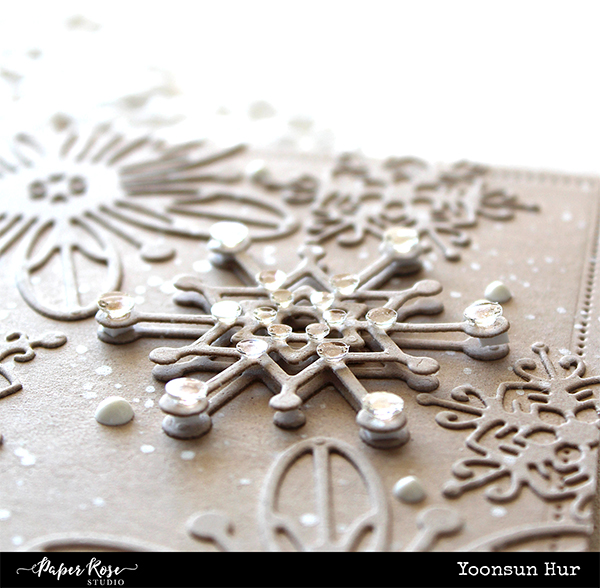
Thank you so much for stopping by. Have a great day.
Keep smiling and be blessed! God bless you all!
Love Love Love RejoicingCrafts