Hello crafty friends!
Wow!! A wonderfully happy surprise gift arrived in my mailbox last weekend. It was a customised floral stamp set that Altenew sent to celebrate their 11th anniversary!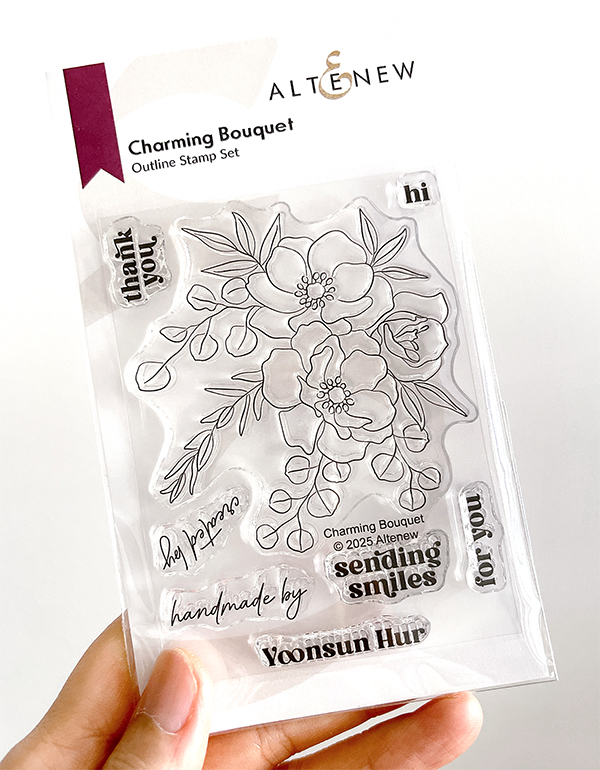
The moment I saw this special flower set (include my name!!), I sat down at my desk right away to make a card. :D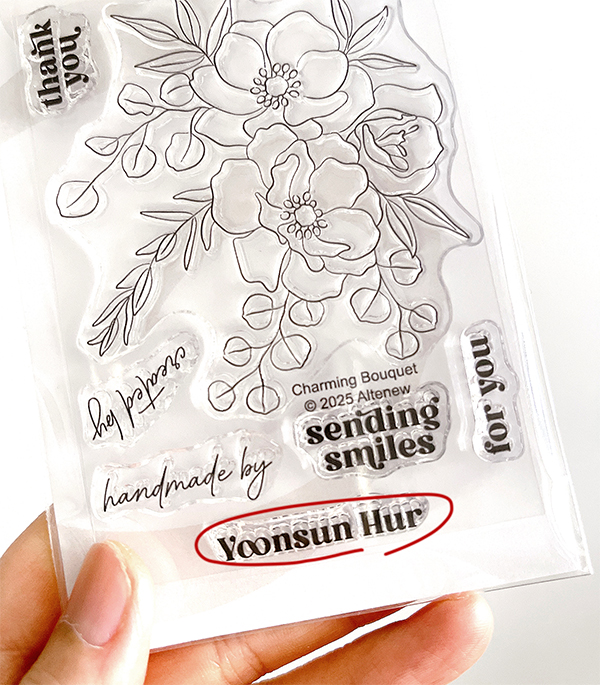
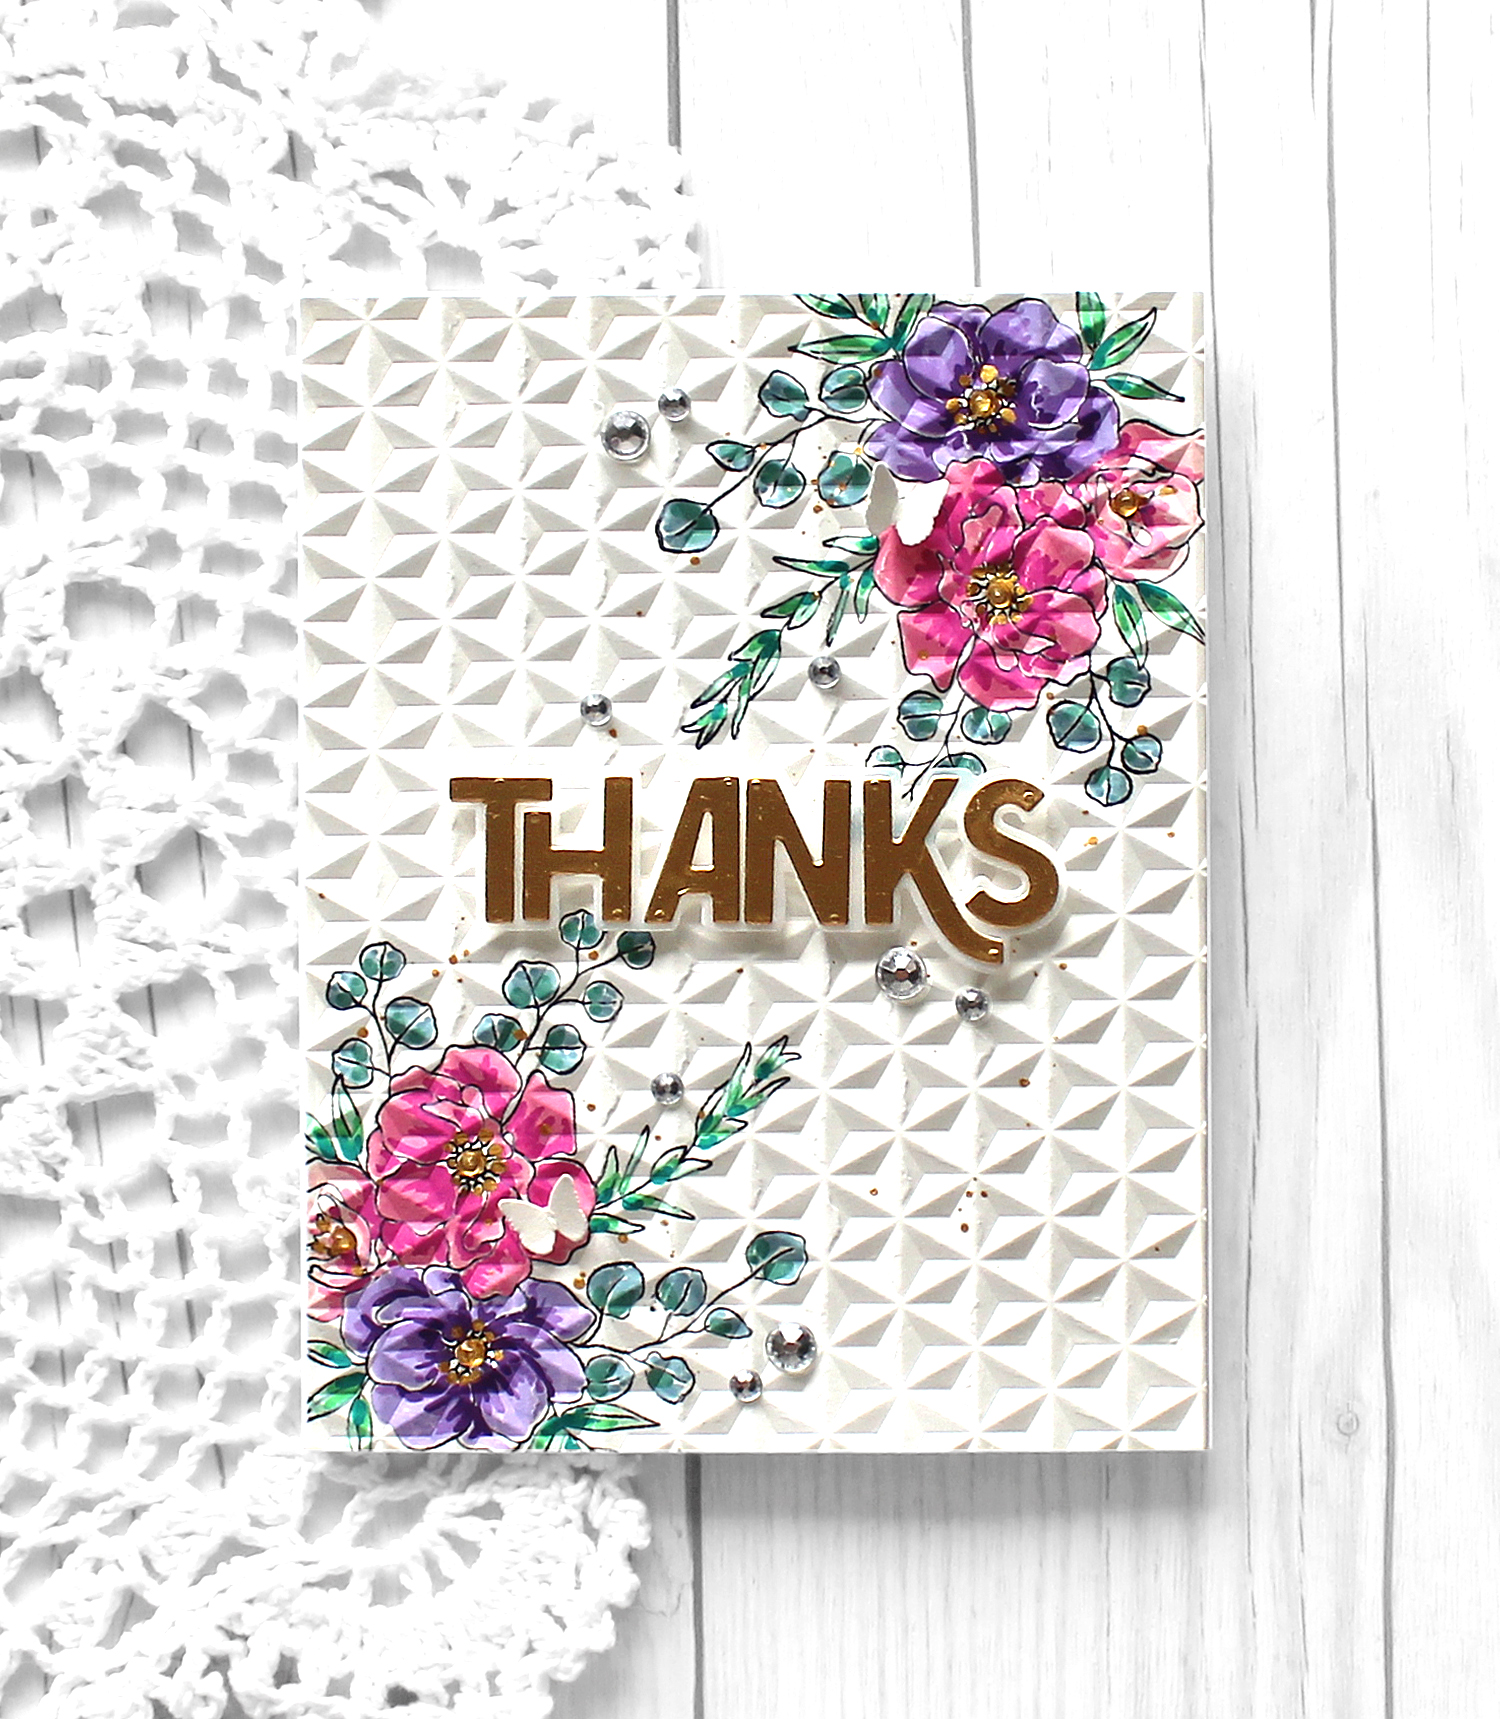
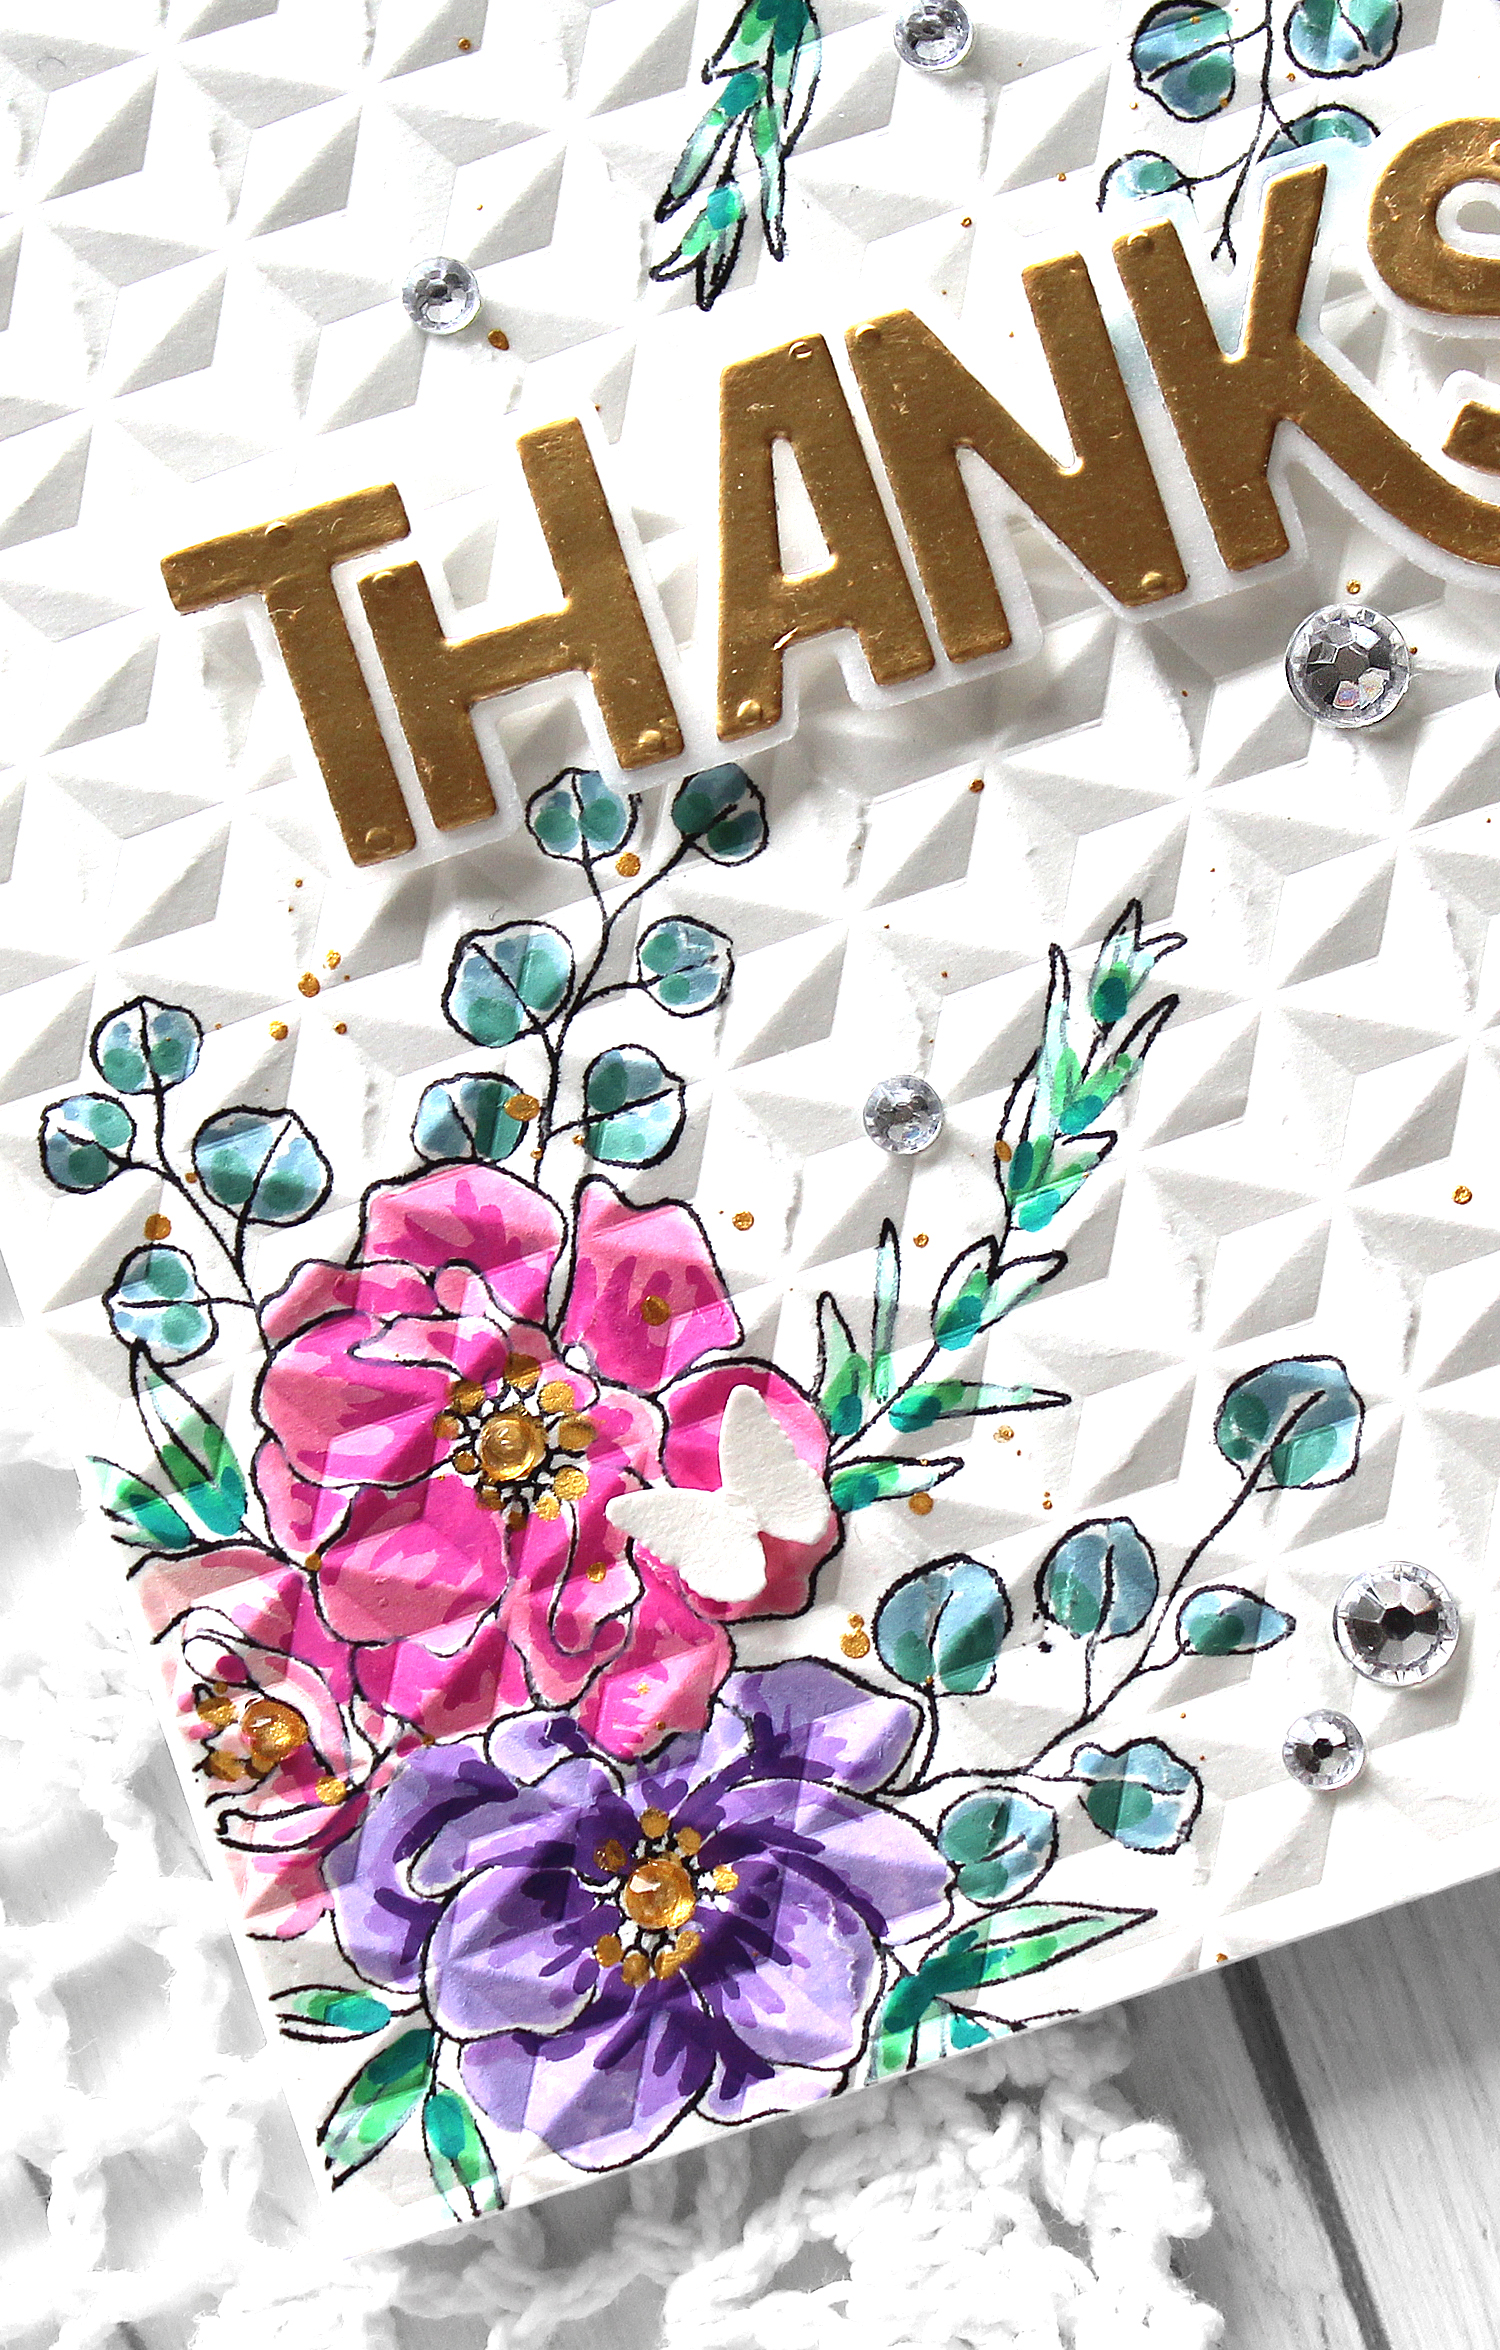
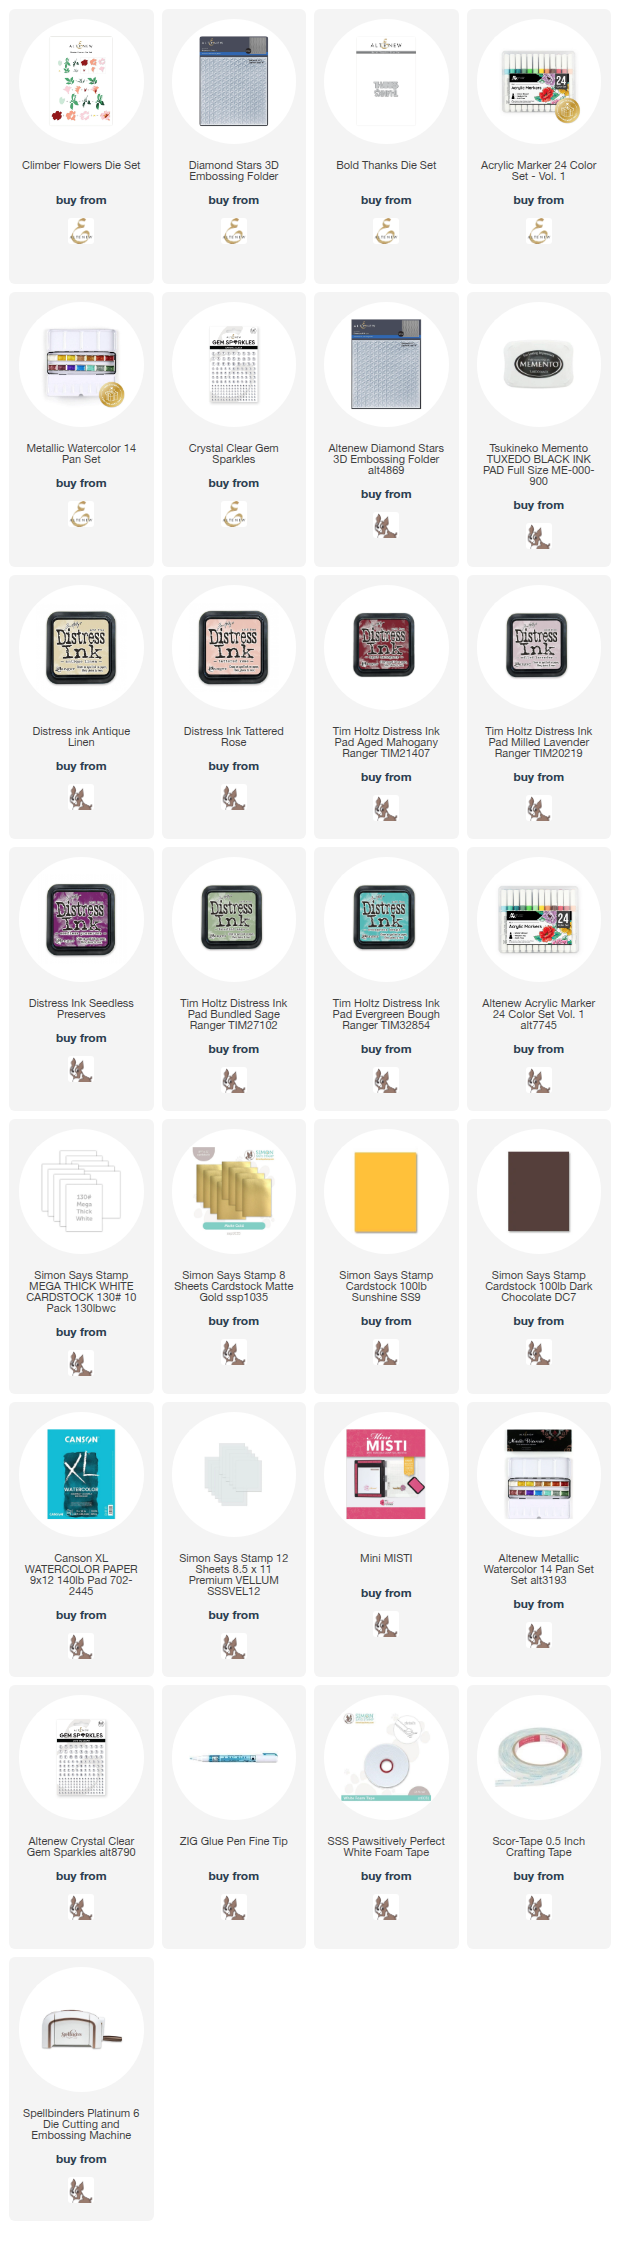
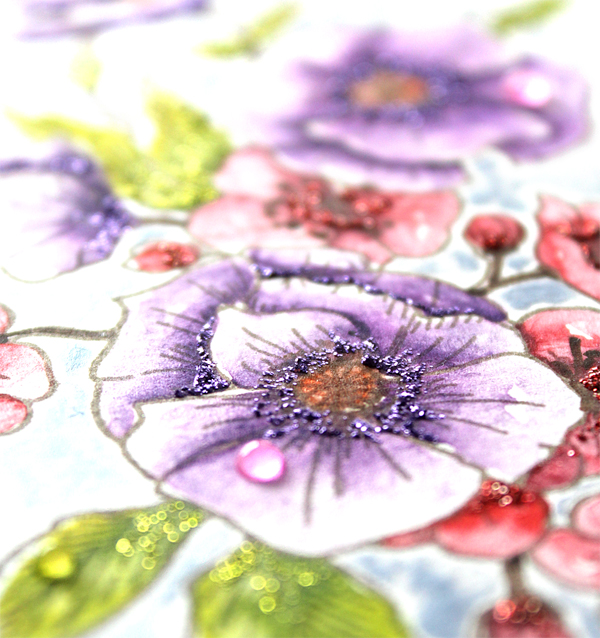
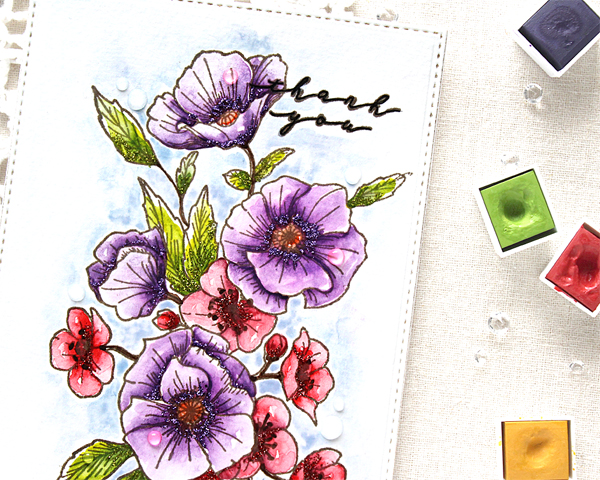
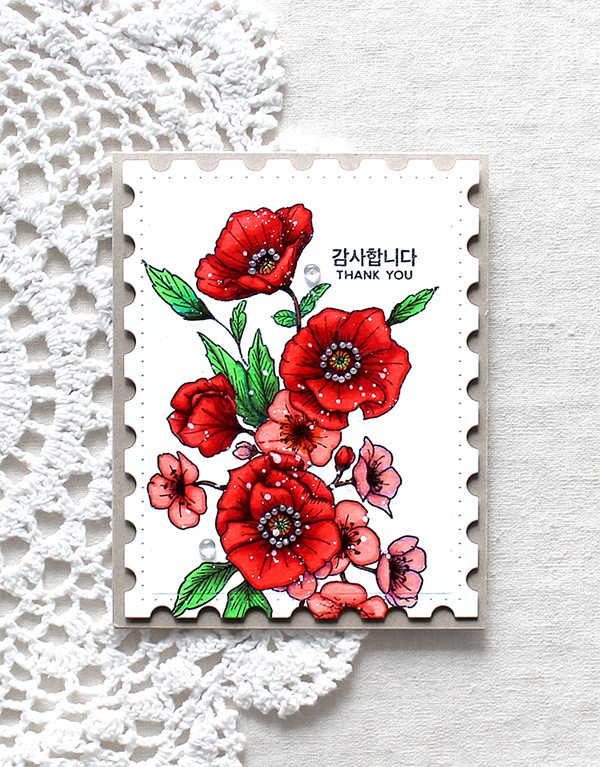
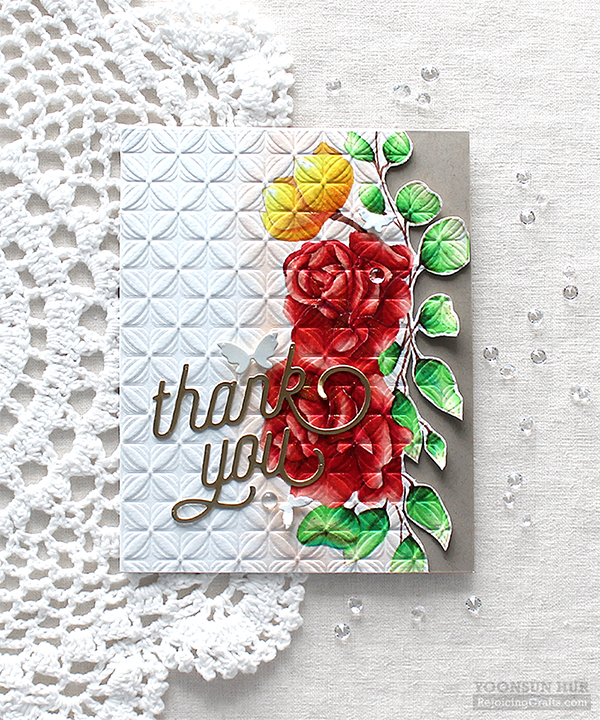
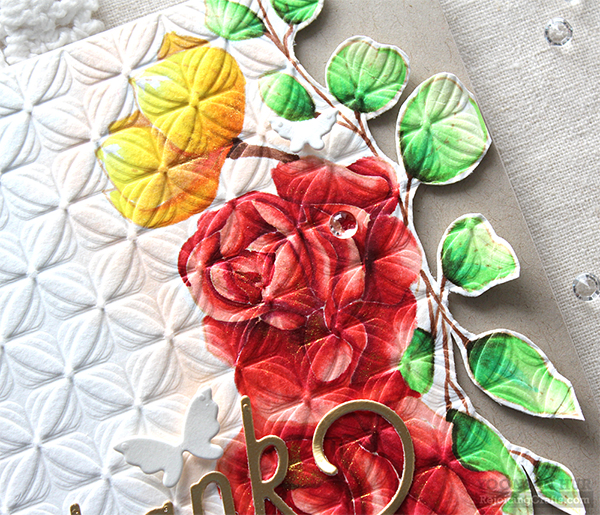
I stamped the pretty flower image onto the top-right & bottom-left corners of an A2 white paper panel using Memento Tuxedo Black dye ink first, then coloured the stamped images with Altenew Acrylic Markers. After colouring, I dry embossed the floral panel with Altenew Diamond Stars 3D embossing folder. For the sentiment, I die cut the “Thanks” from Matte Gold cardstock using Altenew Bold Thanks die set. I decorated the card with Altenew Crystal Clear Gem Sparkles.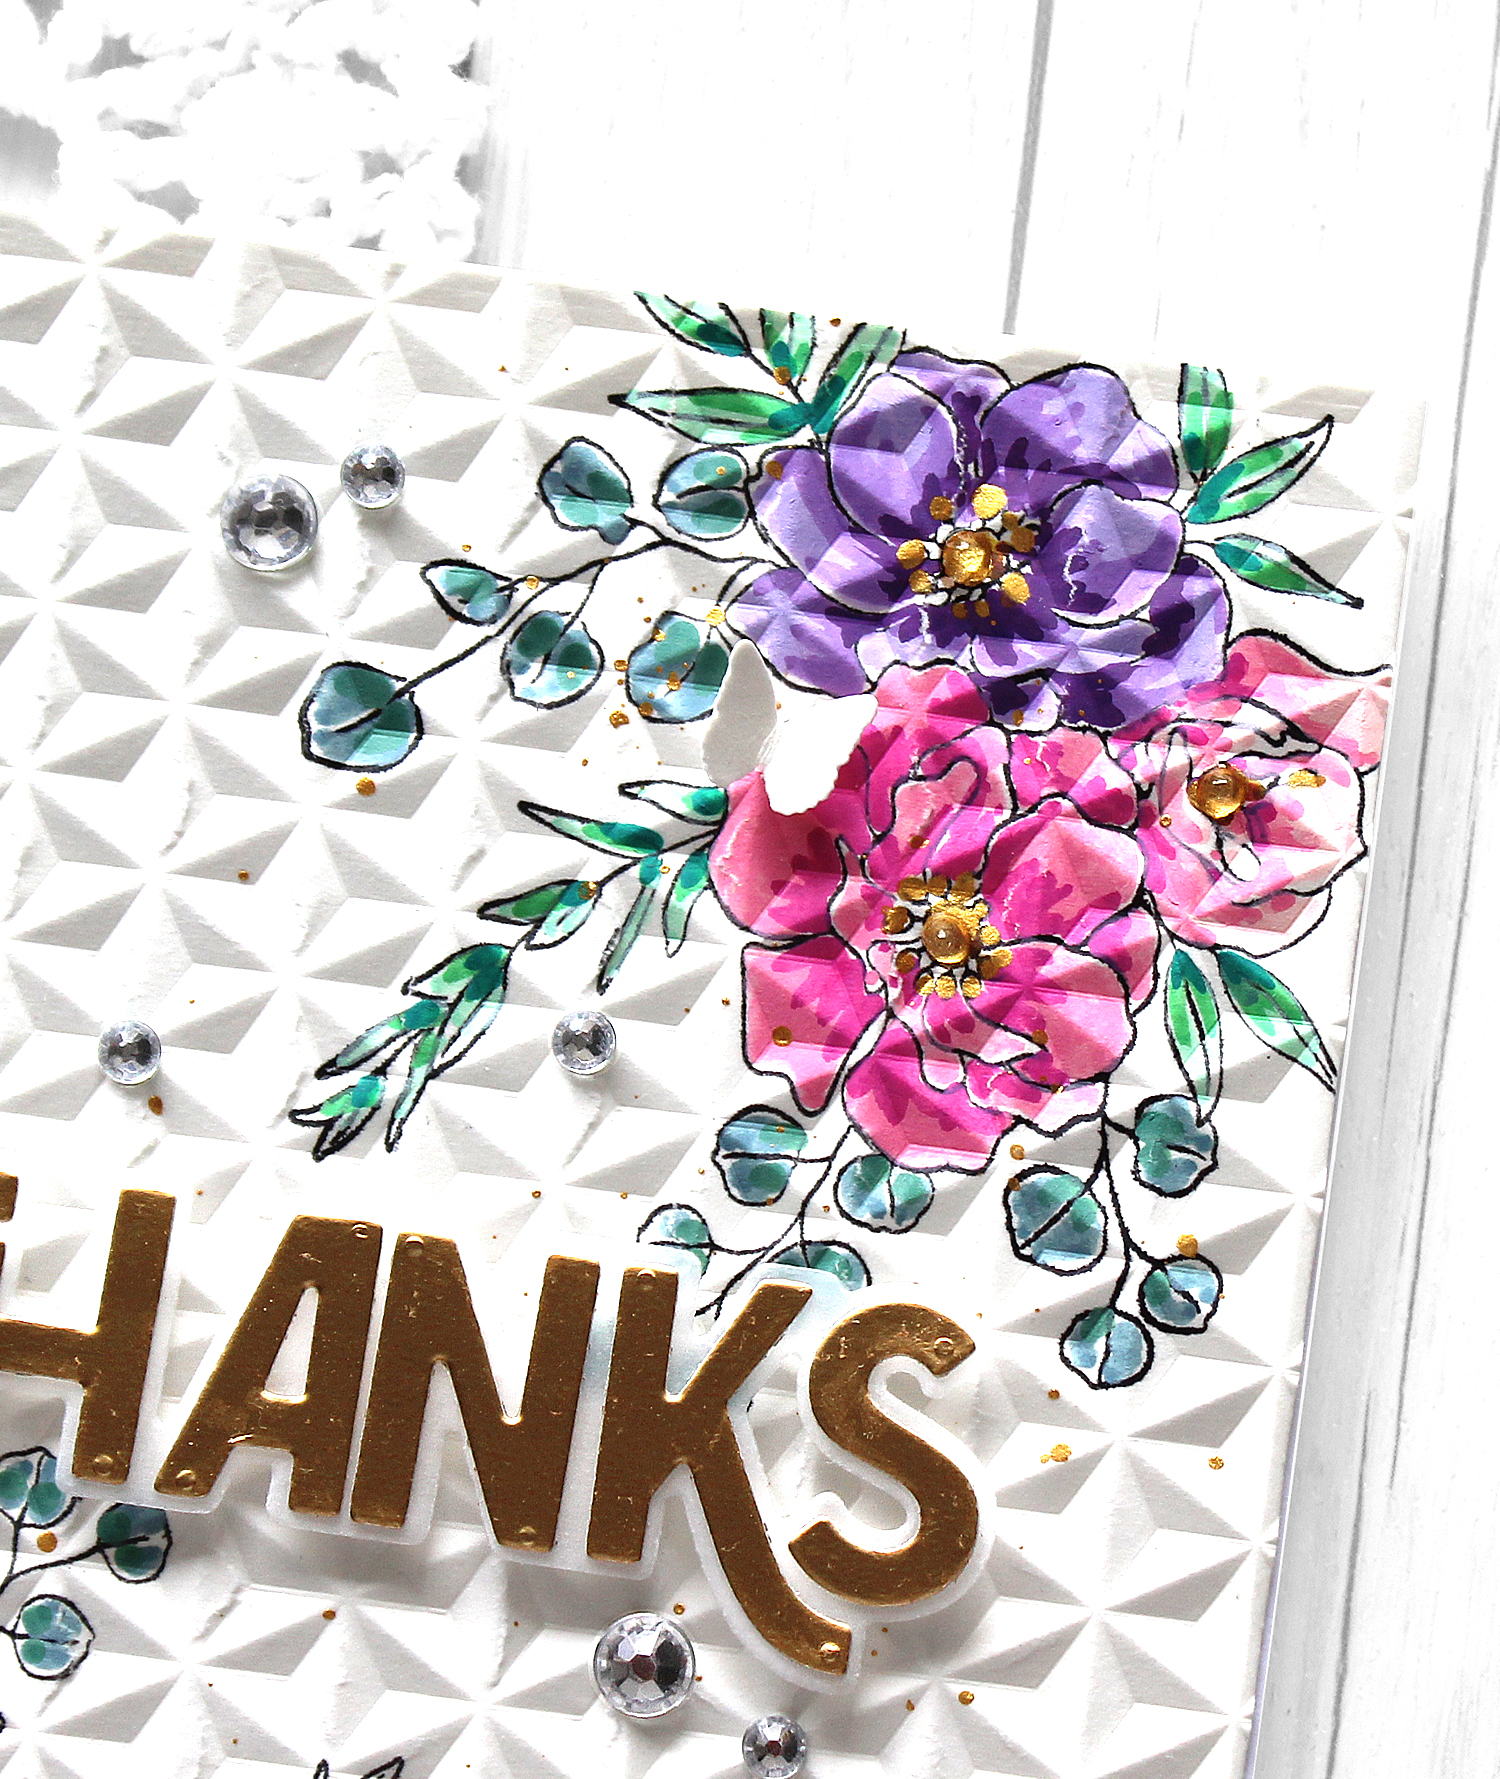
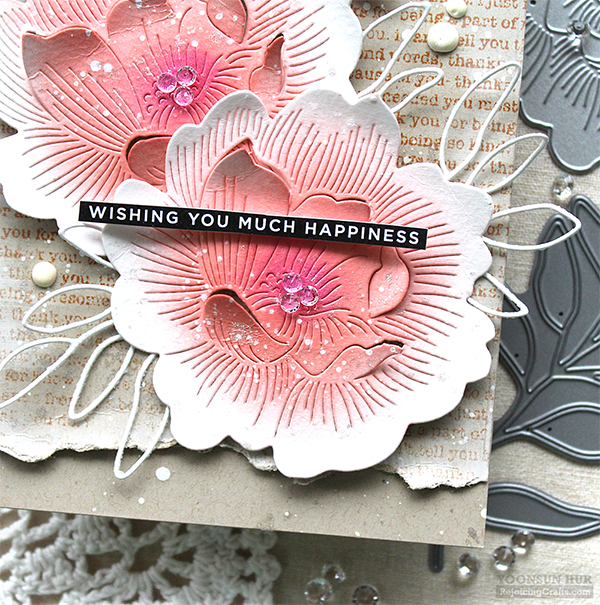
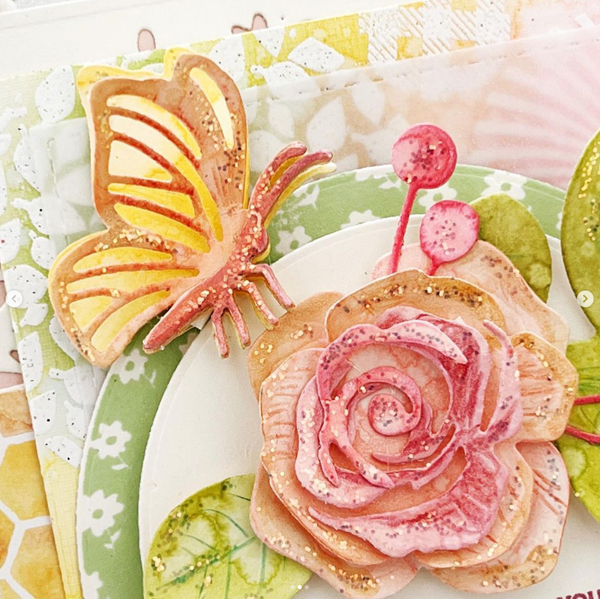
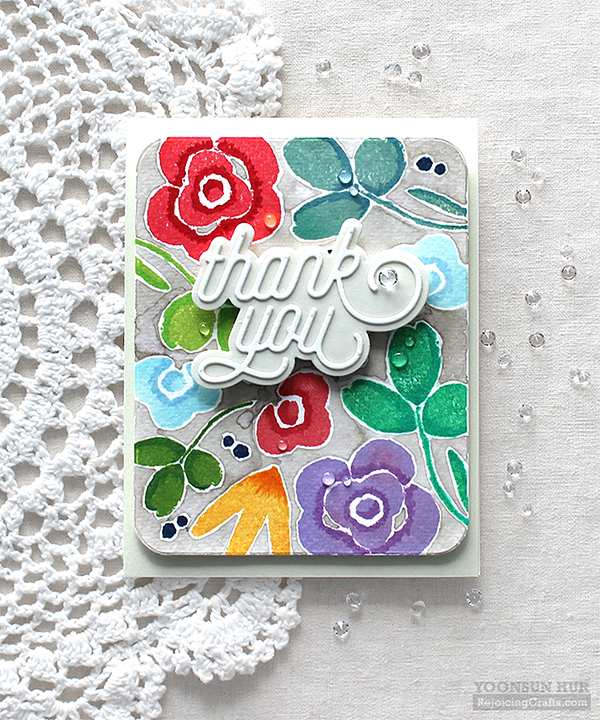
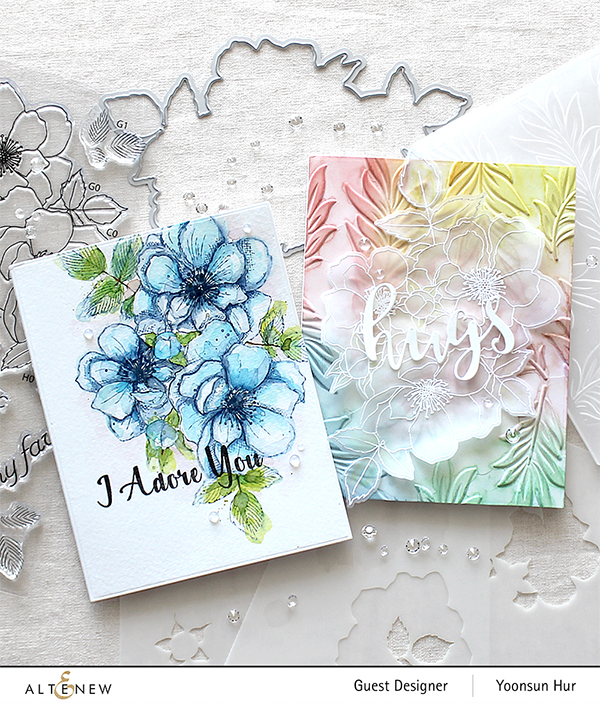
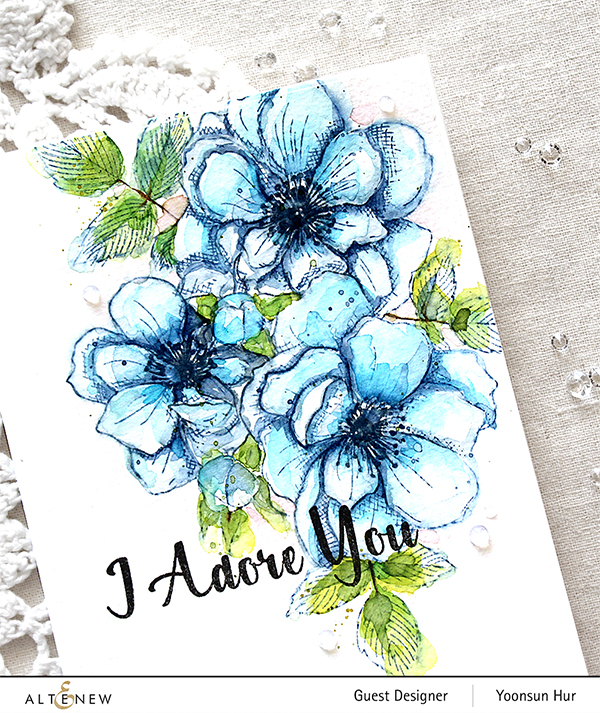
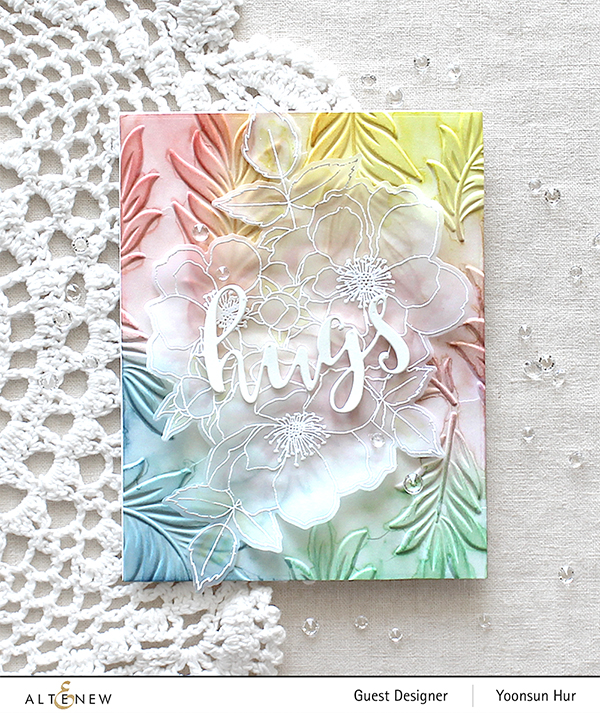
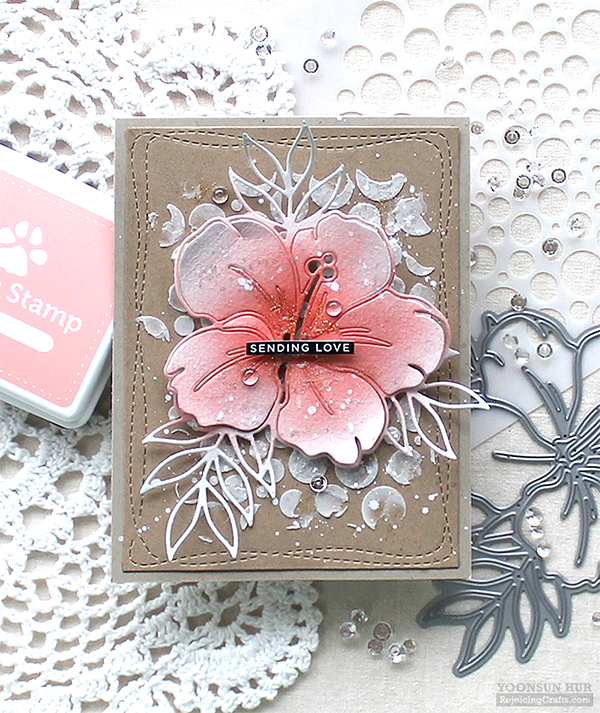
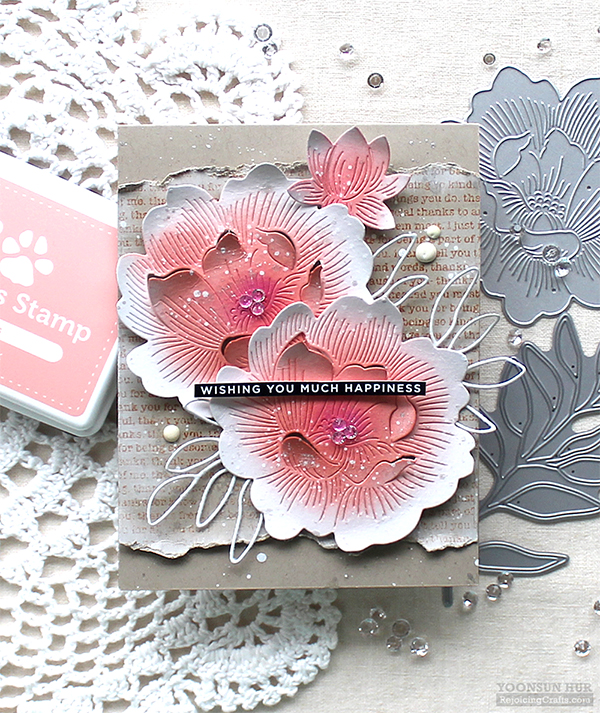
Another floral card here, I used Altenew Climber Flowers die set as my main supply.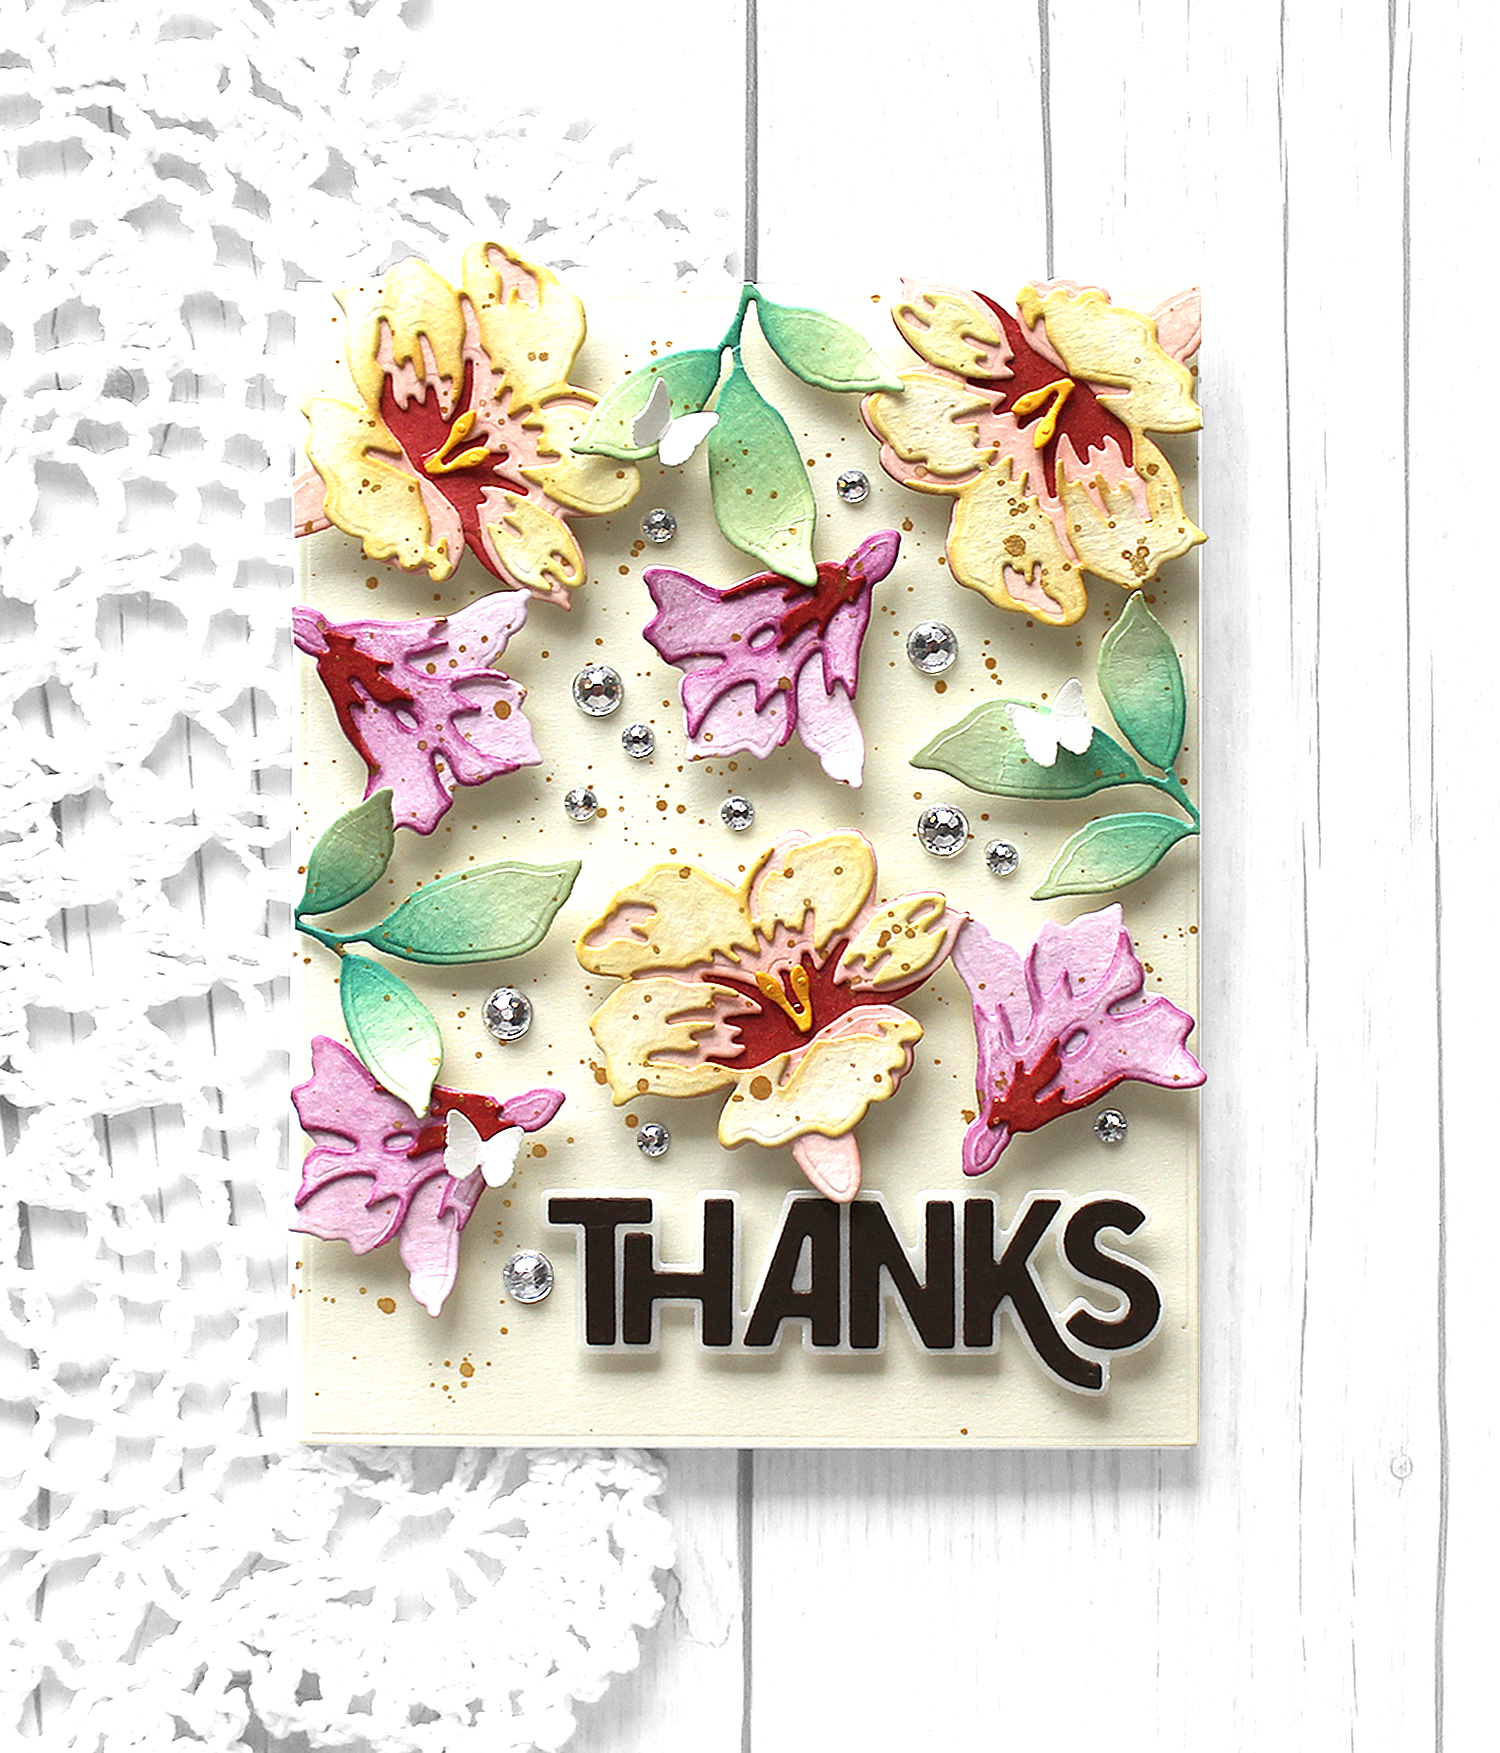
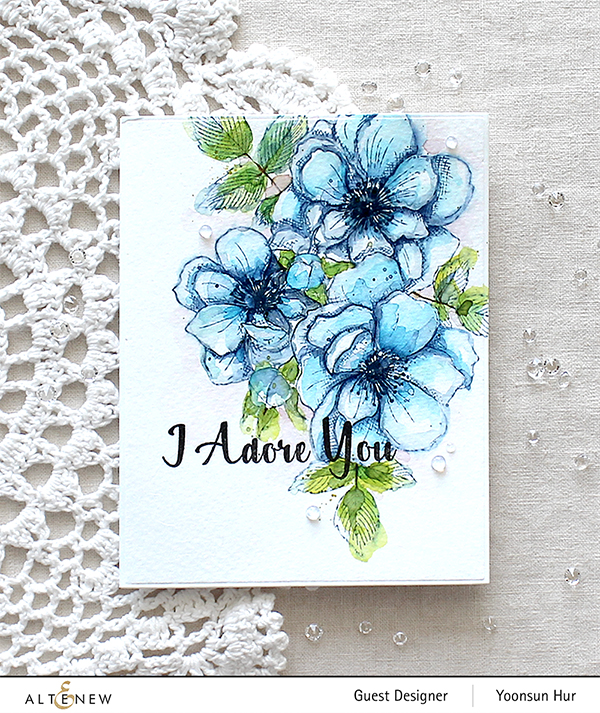
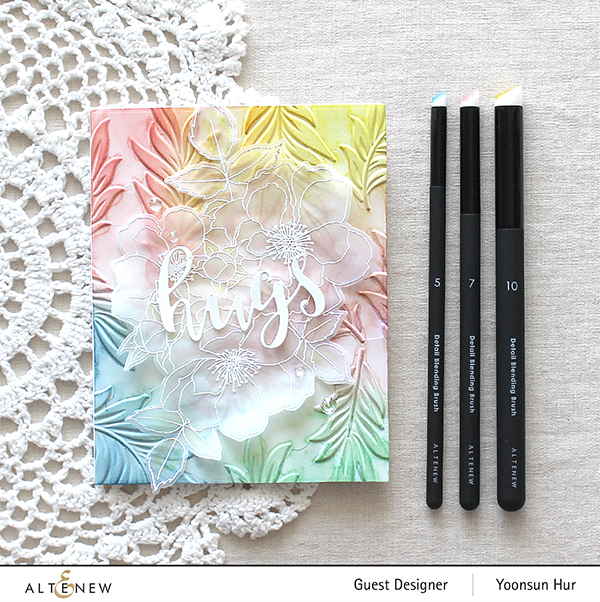
I die cut the pieces from watercolour paper first, ink blended all pieces, then assembled each flowers using fine tip glue pen.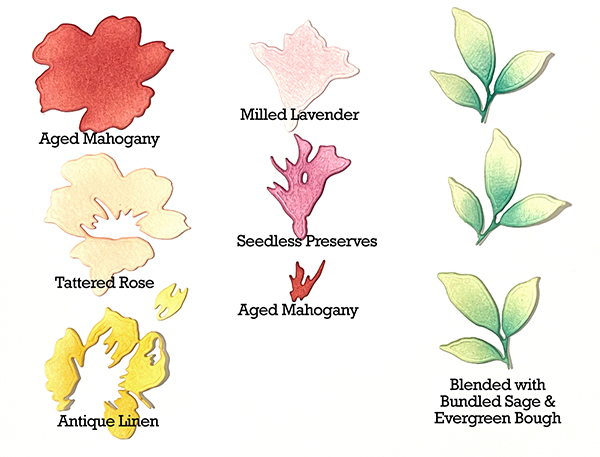
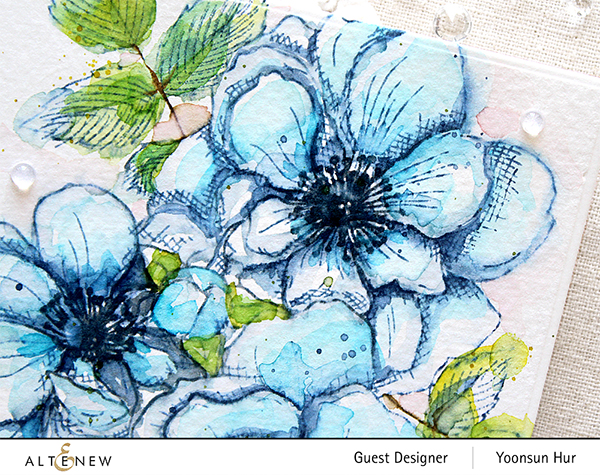
I applied several distress inks for layered flowers as below:
Large flower: (from the top to base) Antique Linen, Tattered Rose and Aged Mahogany
Small flower: (from the top to base) Aged Mahogany, Seedless Preserves and Milled Lavender
Small leaves: blended with Bundled Sage and Evergreen Bough.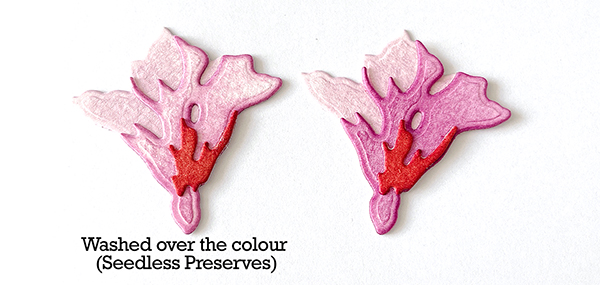
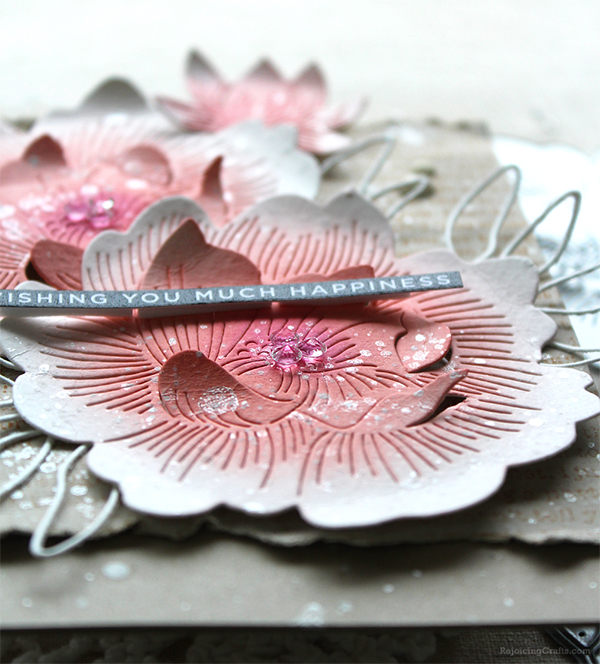
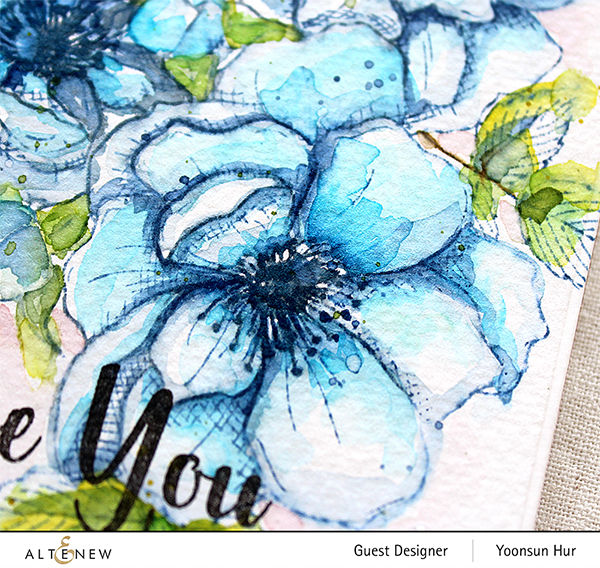
After waiting a moment for the ink to dry completely, I used a wet paintbrush to wash over each flower, softening the colours – I did a water wash over the piece with Seedless Preserves ink applied, then dabbed it with a paper towel to lighten the colour.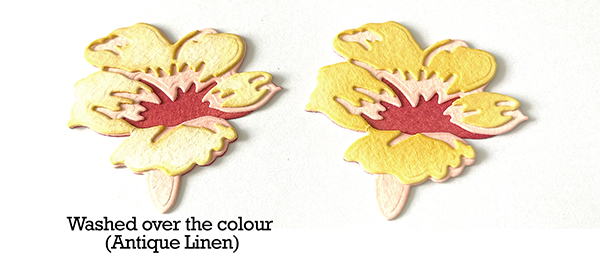
Exactly same as the small flower, I washed over the piece with Antique Linen ink applied, then dabbed it with a paper towel to lighten the colour as well. Just like real flowers look fresher when watered, these paper flowers also look more fresh when I lighten the colours with water, right?!!
I randomly adhered flowers and leaves onto an A2 cream paper panel using foam tape, then added Crystal Clear Gem Sparkles between the flowers and leaves.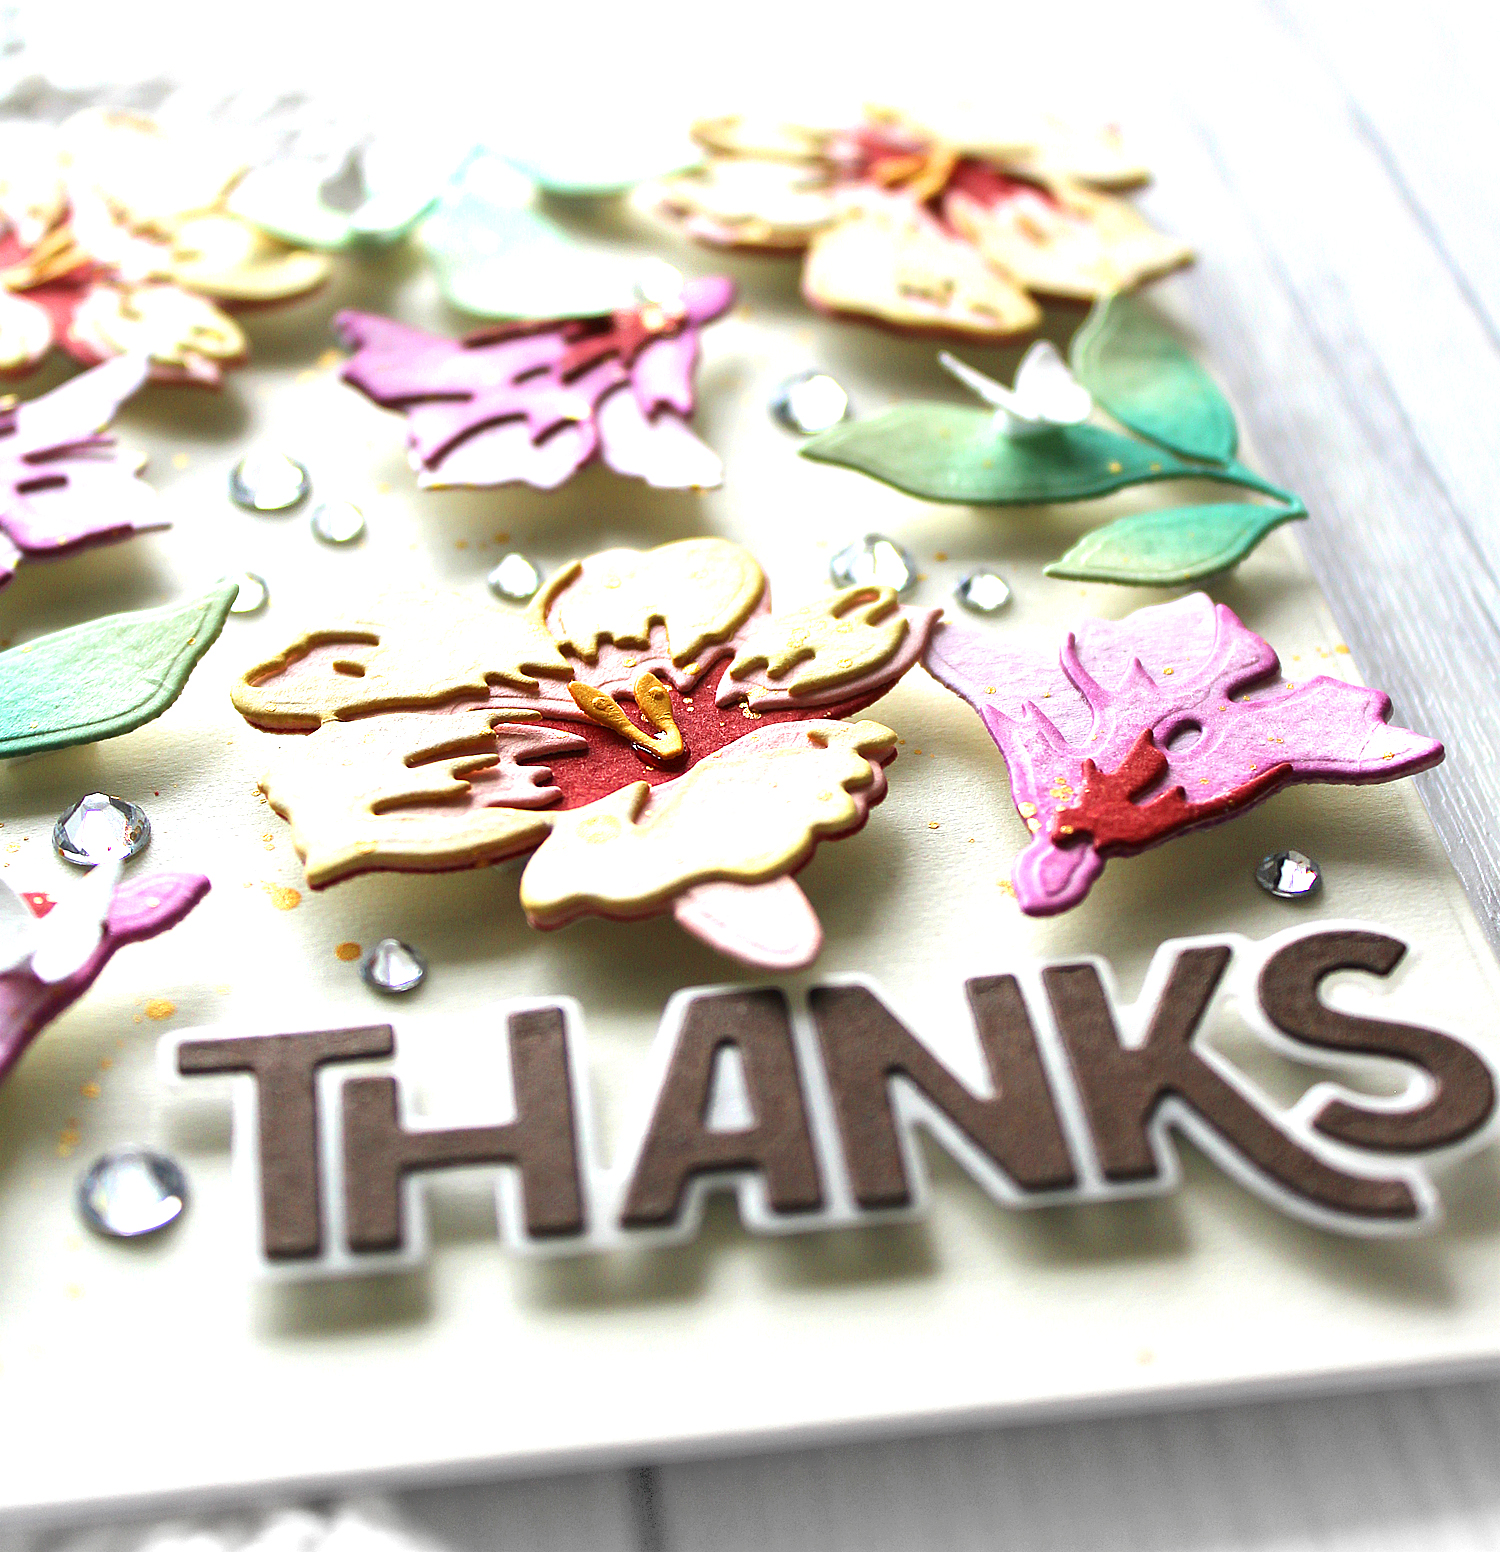
Honestly, I’m in love with this floral card!! :D
Congratulations on your amazing 11-year journey, Altenew!
Thank you so much for stopping by. Have a wonderful weekend!
Keep smiling and be blessed! God bless you all!
Love Love Love RejoicingCrafts
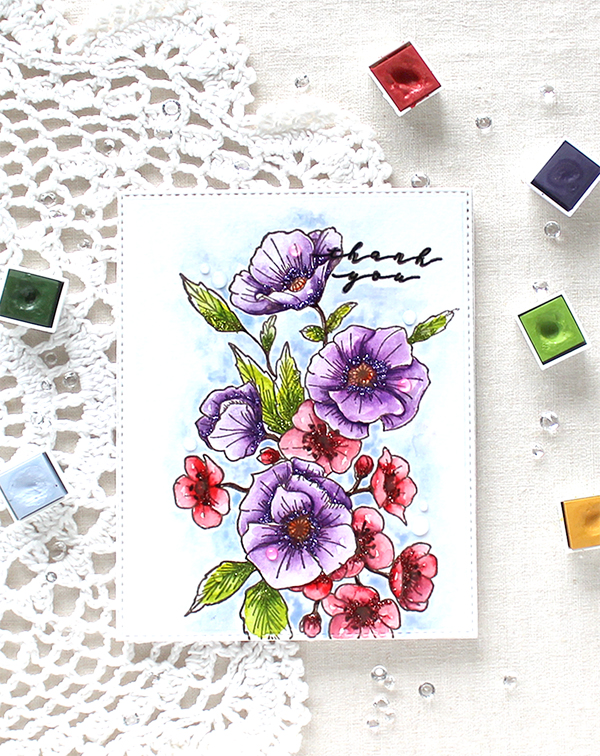


 For my first card, I used the
 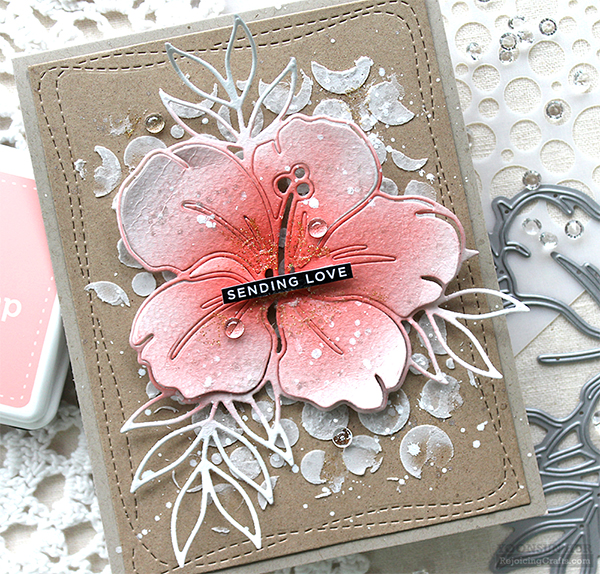 For the background, I applied
 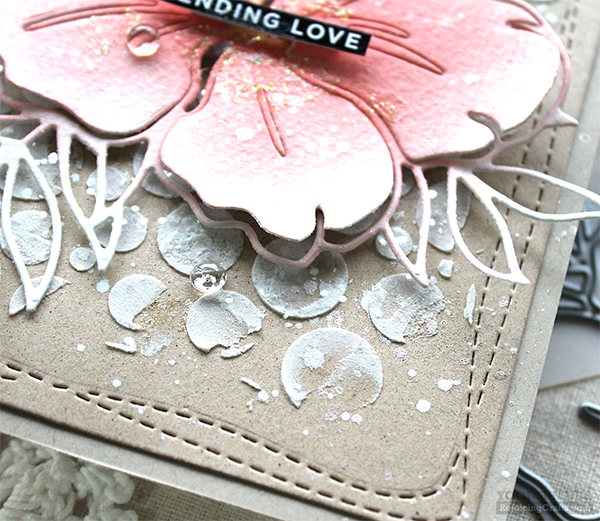 I love adding
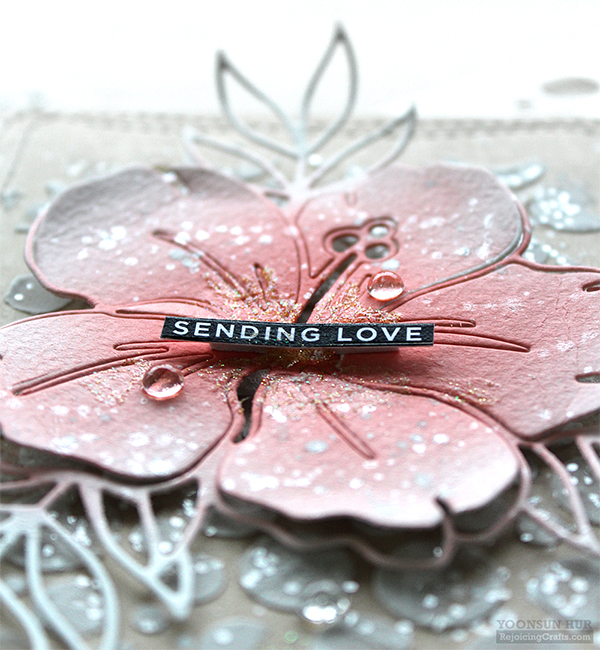
 For my second card, I made the same way but used different flower dies –