SSS STAMPtemberĀ® 2023 Blog Party!!

Hello crafty friends, happy STAMPtember 2023!
Can you believe fall is already everywhere (not in Australia, though)? As many of you already know, September is the best month for cardmaking and even we have the month-long STAMPtember festival! Today we have a huge STAMPtember Party with lots and lots of super talented card makers. I am SO SUPER excited and honoured to be a part of this awesome party. YAY!!

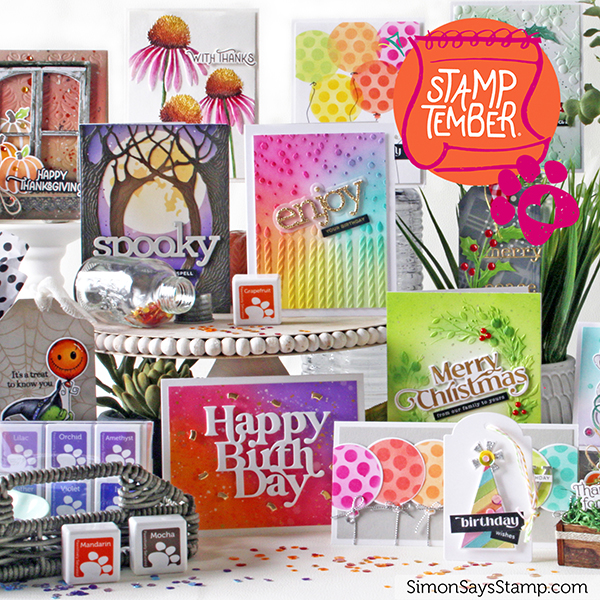
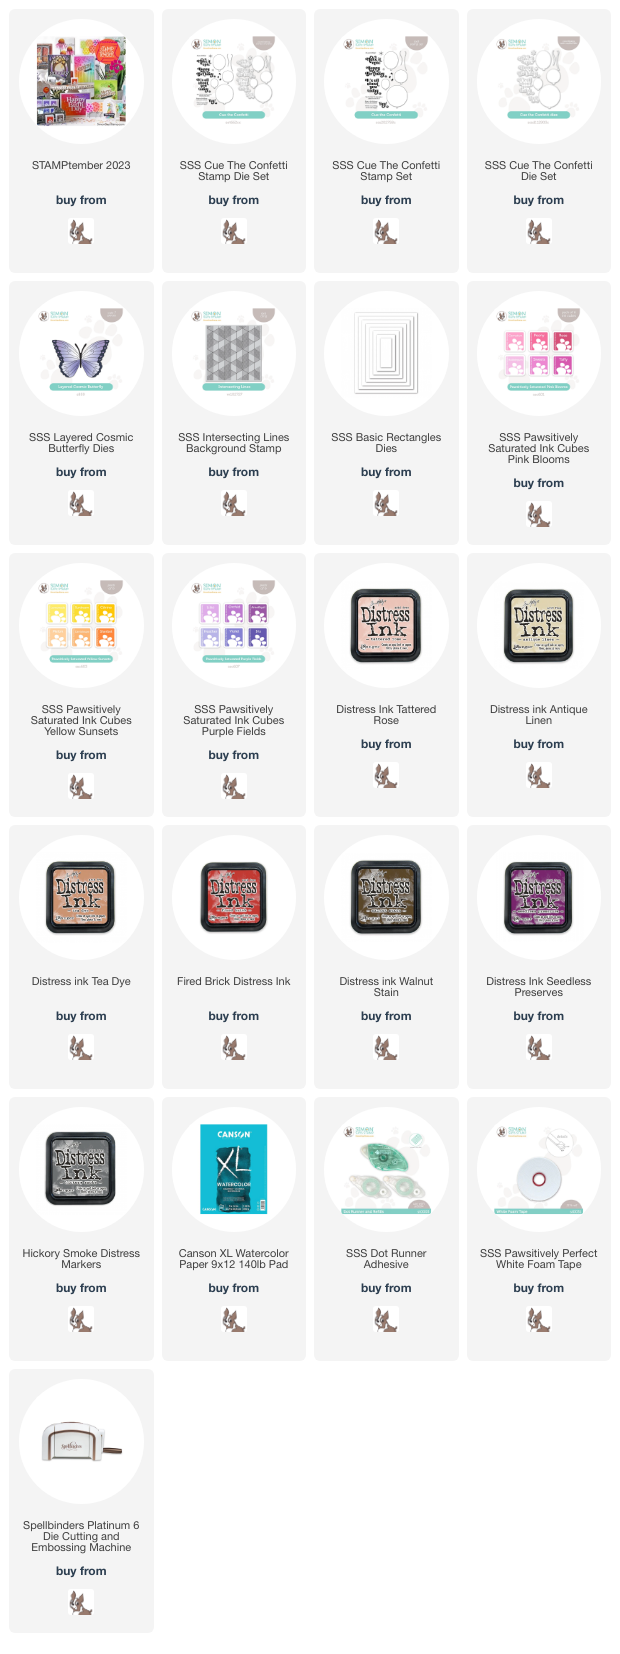
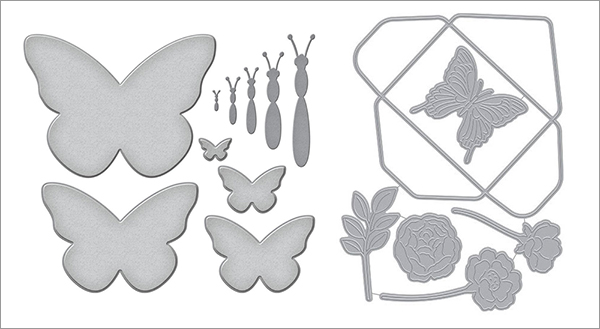
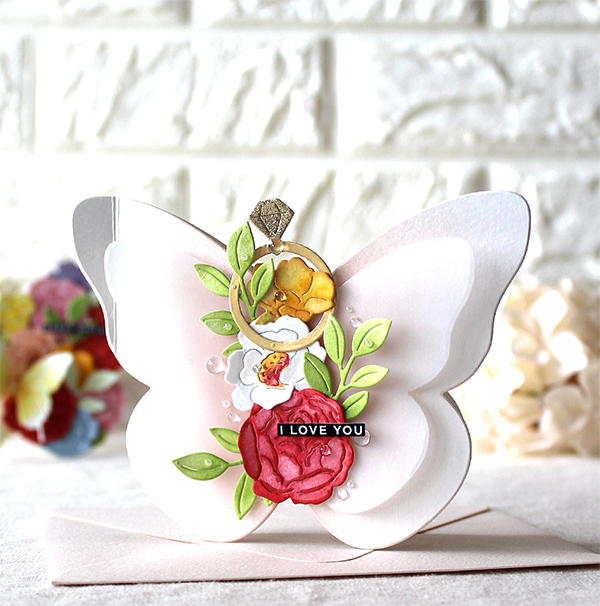
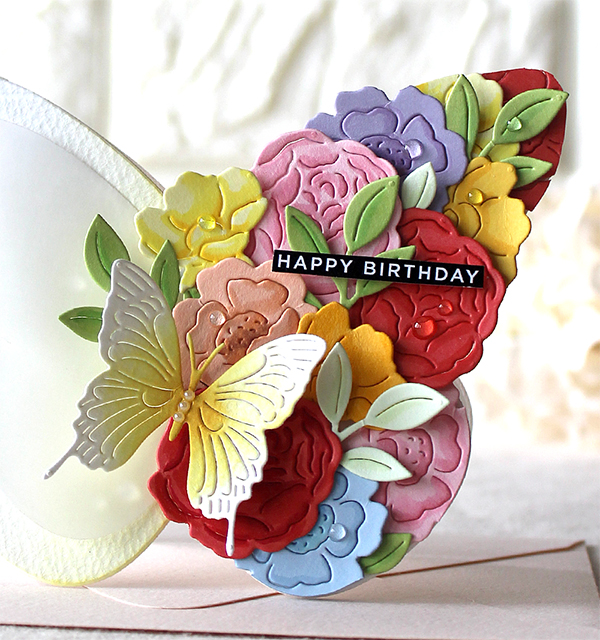
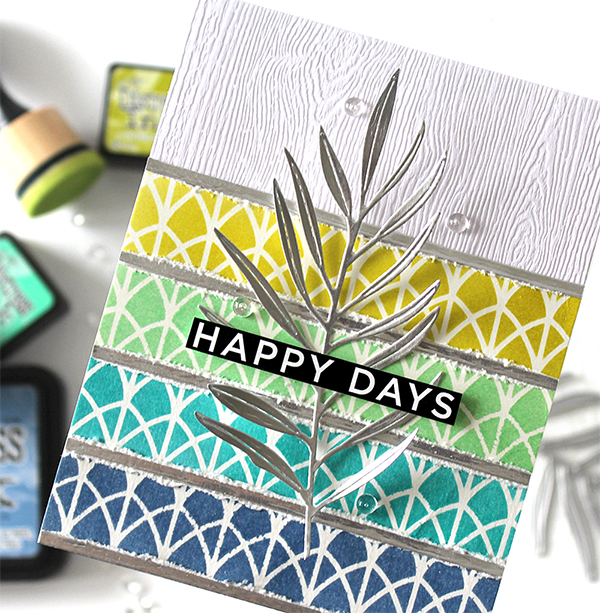
I made a couple of butterfly cards for this amazing party today! I used brand new Layered Cosmic Butterfly die, Intersection Lines Background stamp and Cue the Confetti stamp set.

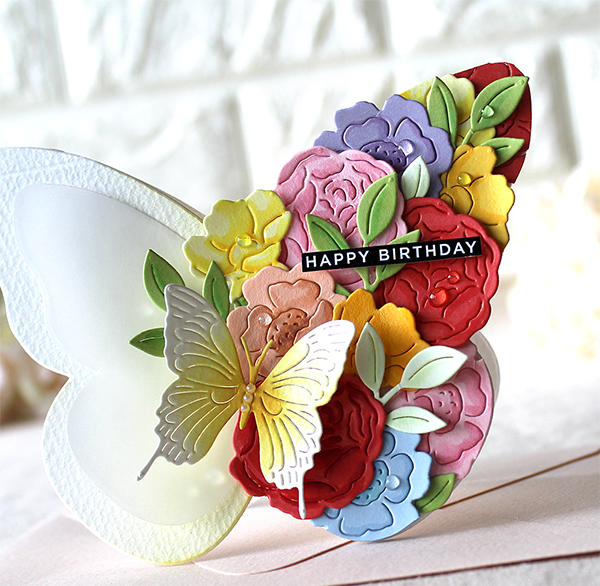
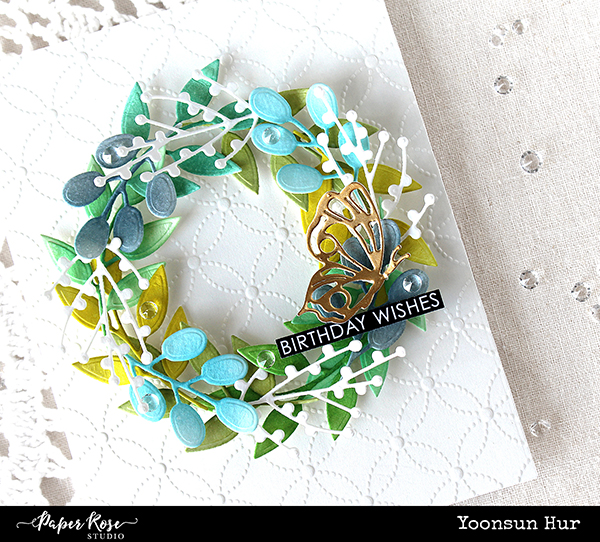
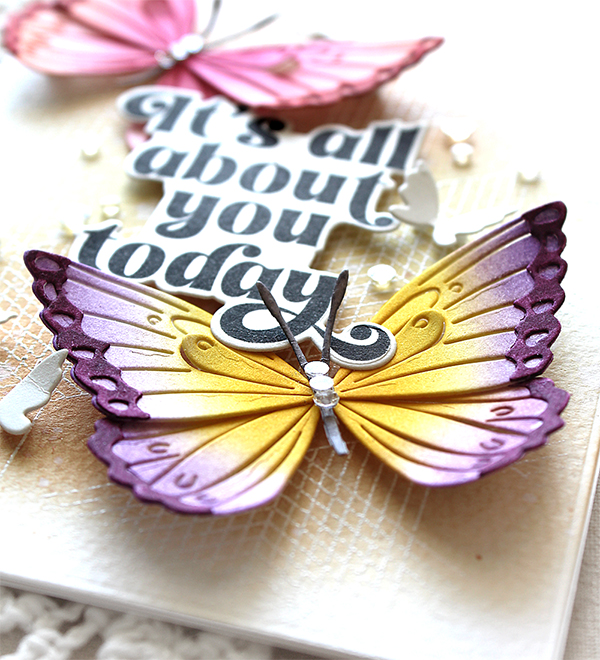
For my first card, I made a butterfly birthday card. For the background panel, I heat embossed Intersection Lines Background on watercolour paper panel with white embossing powder, lightly applied some pale coloured distress inks (Tattered Rose, Antique Linen, Tea Dye). For the butterflies, I die cut two butterfly sets from white cardstock using the Layered Cosmic Butterfly die, blended them with warm coloured Pawsitively Saturated inks as below:
Pink butterfly: Rose & Sherbet / Purple butterfly: Citrine & Amethyst.
For the sentiment, I used the Cue the Confetti stamp set.


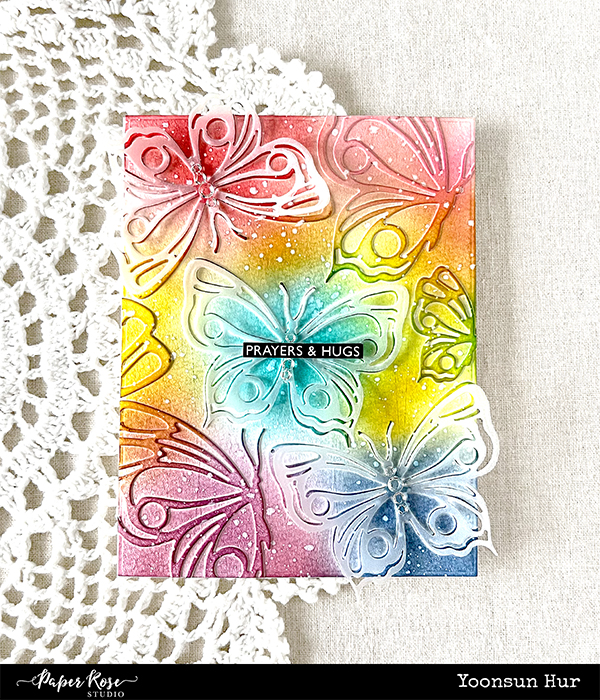
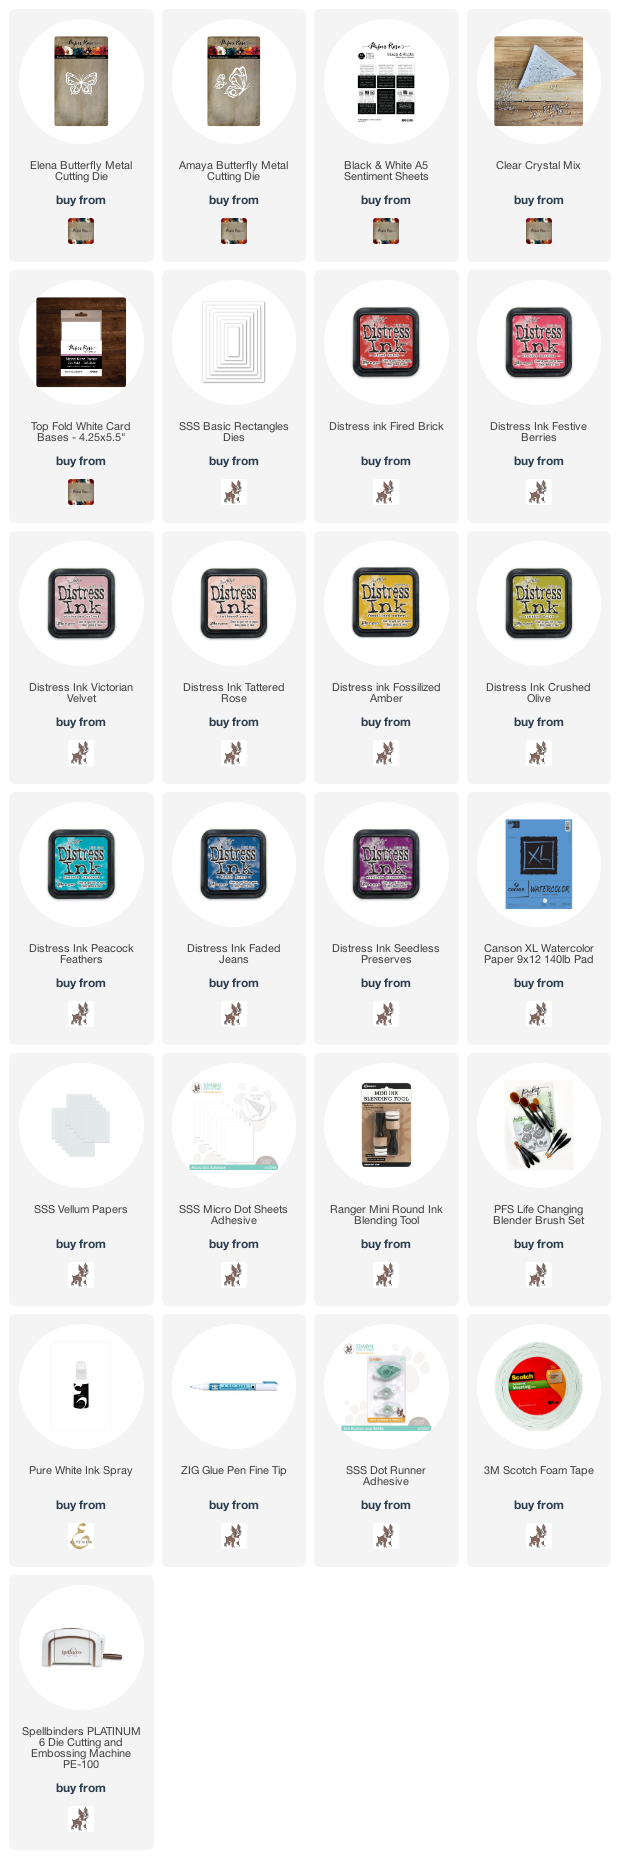
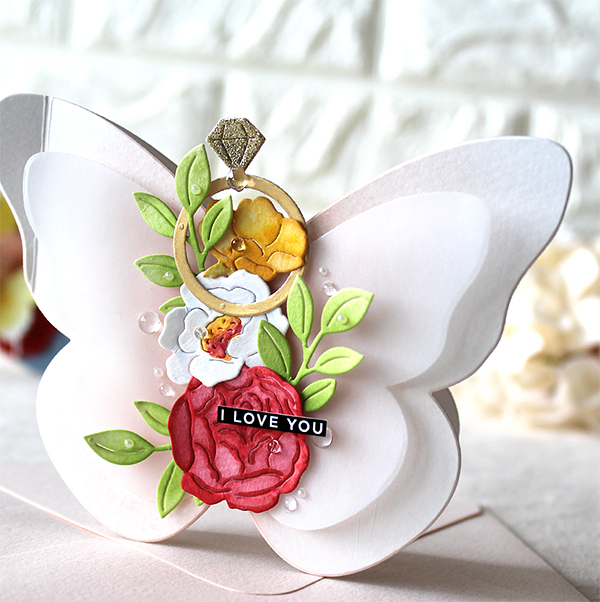
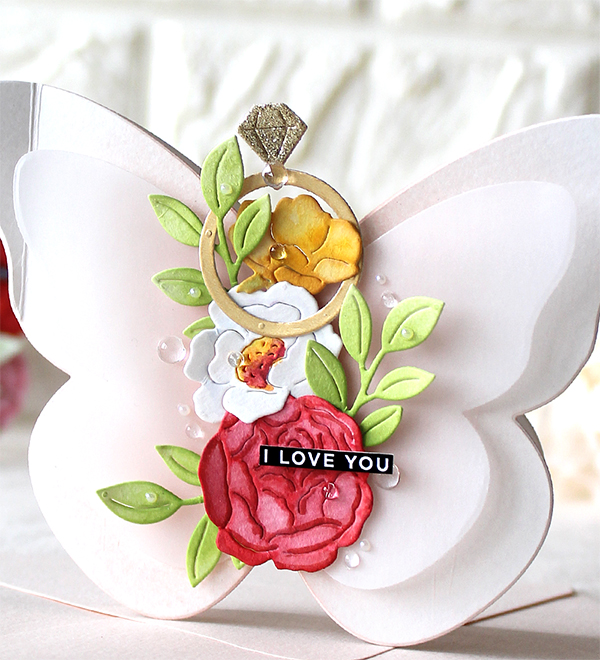
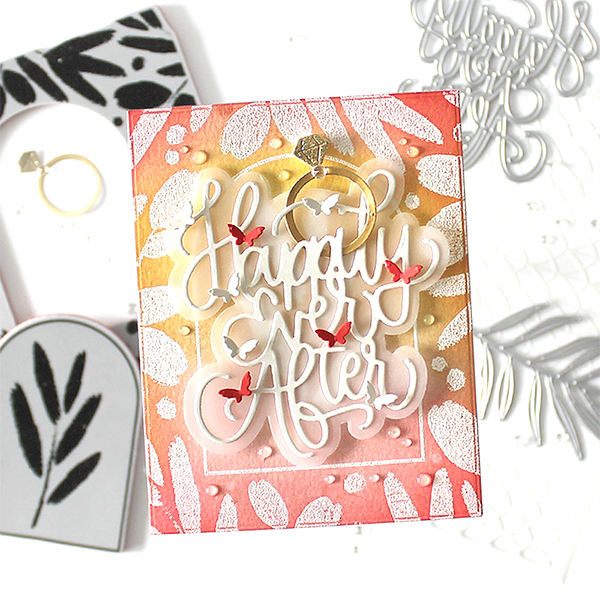
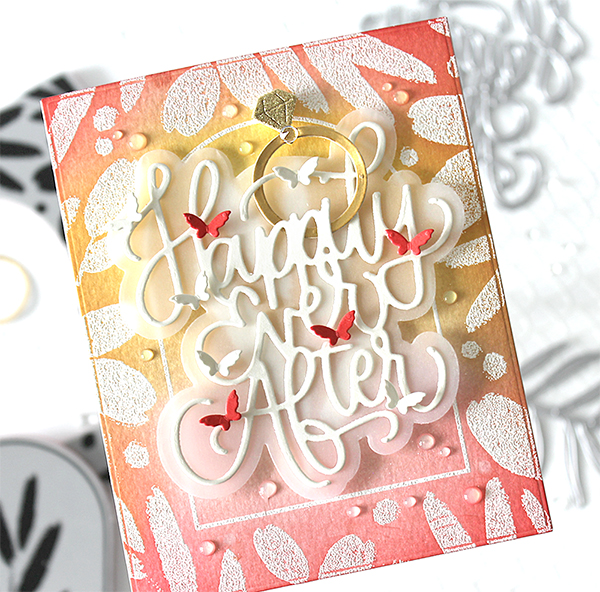
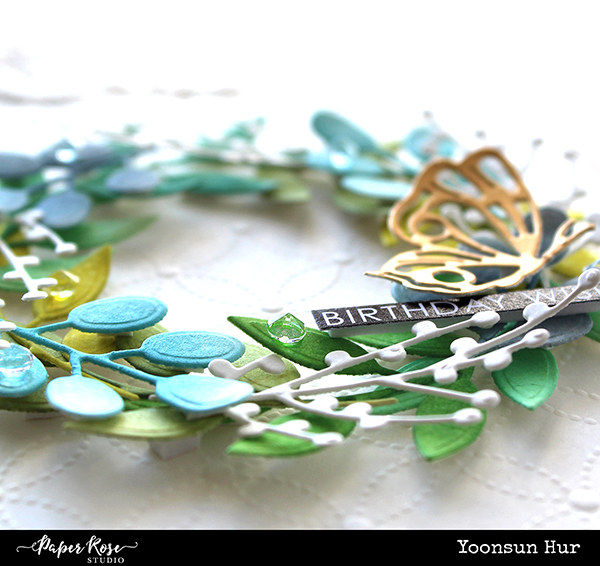
Here is another butterfly card with the Layered Cosmic Butterfly die.

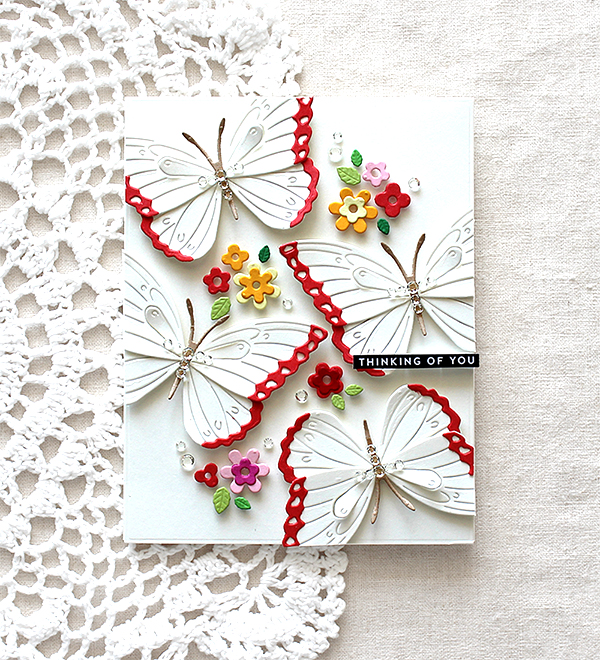
I simply die cut all elements, butterflies and tiny flowers, from white & coloured cardstock and arranged them on A2 sized white card using foam tape. It’s so easy to make, right? :)
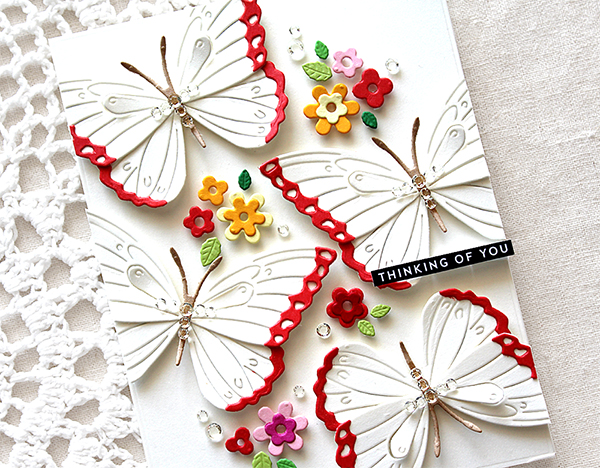

SPECIAL PROMOTION!!

It would be no fun if thereā€™s no gift at the party, right?!! We have a special promotion for YOU! Get a FREE exclusive Fireworks Embossing Folder at checkout when you purchase $30 or more at Simon Says Stamp Store.

Redeem your FREE GIFT in 3 easy steps!
1. Search sf338 in the store
2. Add 1 to your card
3. Enter code FWEF at chechout to get this item for free!*

Thank you so much for stopping by. Have a wonderful day!

Keep smiling and be blessed! God bless you all!
Love Love Love RejoicingCrafts

Paper Rose Rainbow Butterflies Card

Hello crafty friends!
Today I have rainbow butterflies card with the Paper Rose Studio Elena Butterfly and Amaya Butterfly dies. These two butterfly die sets are really beautiful!!

I started by die cutting butterflies from watercolour paper. I then adhered butterfly die cuts onto an A2 sized watercolour paper panel using SSS Micro Dot Sheets Adhesive. Next, I ink blended the butterflies panel with some Distress inks in rainbow order – I used (from the top-left corner) Fired Brick, Tattered Rose, Fossilized Amber, Peacock Feathers, Crushed Olive, Faded Jeans and Seedless Preserves. I added opaque white ink splatters all around the panel. I die cut 3 Elena Butterflies from vellum paper, added them as shown in the picture. For a more shiny effect, I decorated the centre of butterflies with Clear Crystal Mix.

For the sentiment, I used “Prayers & Hugs” in the Black & White A5 Sentiment Sheets.

Thank you so much for stopping by. Have a great day.

Keep smiling and be blessed! God bless you all!
Love Love Love RejoicingCrafts

Floral Friday: Floral Butterflies

Hello crafty friends, TGIF!

Today I want to share with you beautiful floral butterfly trio using the Spellbinders Bibiā€™s Butterflies Collection So Many Butterflies Etched dies & the Hero Arts Envelope Accessorise dies.

(Left) Spellbinders Bibiā€™s Butterflies Collection So Many Butterflies Etched Dies
(Right) Hero Arts Envelope Accessorise Dies


Ta-da! Aren’t they so beautiful to put small flowers, leaves, butterflies on top of the large sized, almost A2 sized, butterfly base? Oh, I love them so much!!

My first butterfly card is a proposal card. I die cut flowers & leaves from watercolour paper using the Hero Arts Envelope Accessorise dies, coloured them with Altenew Watercolor 36 pan set. I also die cut wedding ring from SSS Matte Gold Mirror cardstock using the SSS Wedding Rings dies.

I adhered all watercoloured flowers & leaves, wedding ring on the centre of the white butterfly base using foam tape. I decorated the card with small clear droplets.


For the second butterfly card, I die cut flowers & leaves from watercolour paper using the Hero Arts Envelope Accessorise dies, randomly glued all die cuts on white butterfly card base using fine tip glue pen, and then ink blended it with some Distress inks in rainbow order. I added smaller vellum butterfly die cut, pearls and Hero Arts small butterfly on the card.


Here is the last but not least, I decorated the right part of the butterfly with colourful flowers & butterfly. I die cut Hero Arts small flowers & leaves from various colour cardstock, butterfly from white cardstock first. I then lightly added colour each die cut with Copic markers, and then arranged all flowers & leaves onto the right side of the white butterfly card base using foam tape.


Isn’t it so lovely?!! I am so very pleased with the result, haha! :D

Thank you so much for stopping by. Have a wonderful weekend!

Keep smiling and be blessed! God bless you all!
Love Love Love RejoicingCrafts

SSS Yay You Release Blog Hop – Day 1

Hello crafty friends, happy Thursday!
Welcome to Day 1 of the Simon Says Stamp Yay You Release Blog Hop. I’m so happy to be a part of this awesome blog hop! If you arrived here from super talented Cheiron Brandon’s blog you are on the right track.

For my first card, I’m featuring brand new Arched Greens Background stamp & Happily Ever After dies.

I started by making floral background with the Arched Greens Background stamp. I heat embossed floral images onto watercolour paper using white embossing powder, ink blended the stamped paper with Worn Lipstick, Tattered Rose and Scattered Straw Distress inks, and then trimmed it down with A2 sized Basic Rectangle Panel die.

I die cut the word “Happily Ever After” from thick white cardstock, shadow from vellum paper, and then glued them together. I mounted the floral panel on white card base using Dot Runner Adhesive, added the sentiment die cut on the centre of the card using foam tape, and then decorated the sentiment with tiny butterflies and wedding ring.

For my second card for the hop, I used the new Arches stencil along with other SSS products.

I made 4 different coloured Arches pattern stripes – applied Distress inks over the stencil, then cut each stripe using the largest sized stripes die in the Strips 2 die set. I also die cut thin stripes from Matte Silver Mirror cardstock using the Strips 1 die set. I adhered all stripes on the Woodgrain White card base as shown in the picture.

For the centre of the card, I added Etched Delicate Frond & black sentiment banner using foam tape.

GIVEAWAY & BLOG HOP EXCLUSIVE PROMOTION!

Simon Says Stamp is giving away a $25 coupon to every stop on the hop. The winners will be chosen over the weekend and post on Simon Says Stamp blog on Wednesday, the 18th of May. ONE MORE! Get a FREE Beautiful die set with the code BEAUTY (This promotion will expire 5/15 at 11:59 pm EDT) at checkout when you purchase at Simon Says Stamp Store.

BLOG HOP LIST:
Simon Says Stamp Blog
Nina-Marie Trapani
Caly Person
Nichol Spohr
Cathy Zielske
Suzy Plantamura
Sidnie Des Jardins
Lisa Addesa
Keisha Charles
Heather Ruwe
Anna-Karin Evaldsson
Mindy Eggen
Barb Engler
Cheiron Brandon
Yoonsun Hur (Me!!)

Be sure to see what other ladies are sharing today. Iā€™m sure you really love them all!

Keep smiling and be blessed! God bless you all!
Love Love Love RejoicingCrafts

Paper Rose Little Foliage 2

Hello crafty friends!
Today is the 1st of May! When I think of May, I always think of fresh green so, today I am sharing with you a fresh leafy wreath card with Little Foliage 2 dies.


I started by die cutting many leaves from white cardstock using the Little Foliage 2 dies.

I then applied green & blue coloured Distress inks using blending brushes – I used Bundled Sage, Crushed Olive, Mowed Lawn, Evergreen Bough, Cracked Pistachio, Tumbled Glass Distress inks.

I dry embossed an A2 sized white paper panel using the Hand Stitching 2 Embossing Folder, lightly drew a circle on the centre of the panel with a pencil, and then adhered inked foliage die cuts along with the circle line using foam tape. I added the sentiment banner (from the All Occasions Sentiments A5 sheets) & metallic gold butterfly (from the Amaya Butterfly dies) on the bottom right corner of the leafy wreath using foam tape.


Thank you so much for stopping by. Have a great day.

Keep smiling and be blessed! God bless you all!
Love Love Love RejoicingCrafts