Hello crafty friends!
I finally started making Christmas cards this year! For my Christmas card today, I used so pretty Snowflake Set 2 die set.
Paper Rose Snowflake Set 2 Metal Cutting Die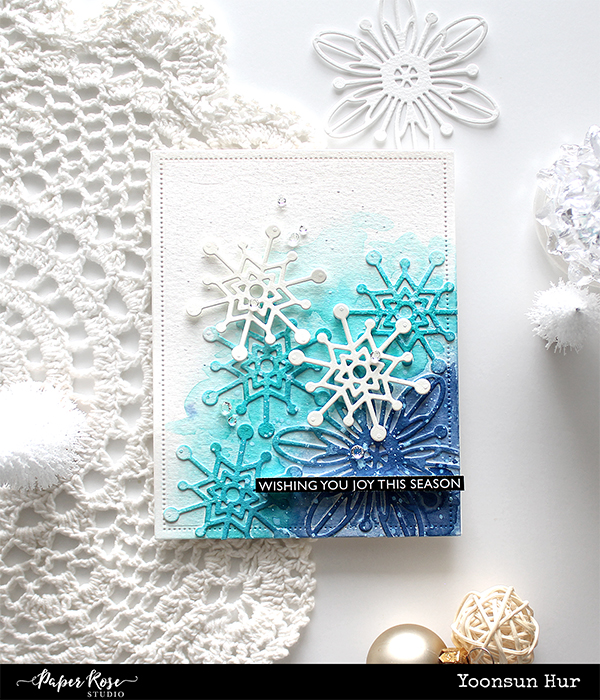
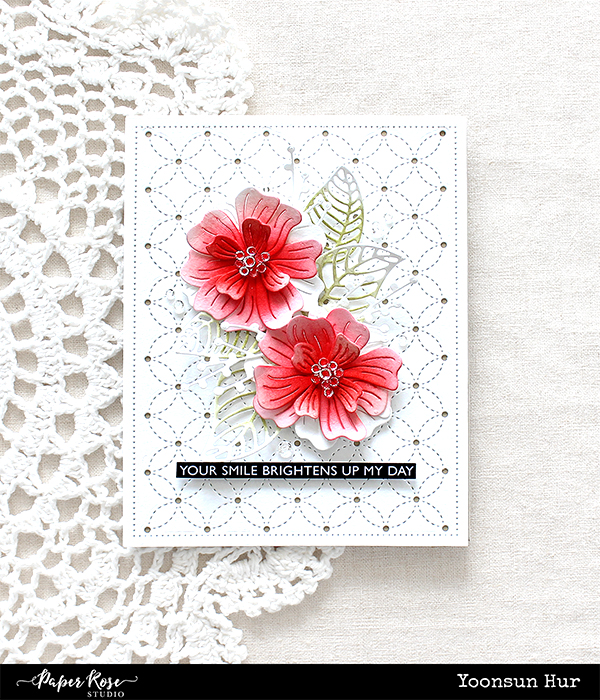
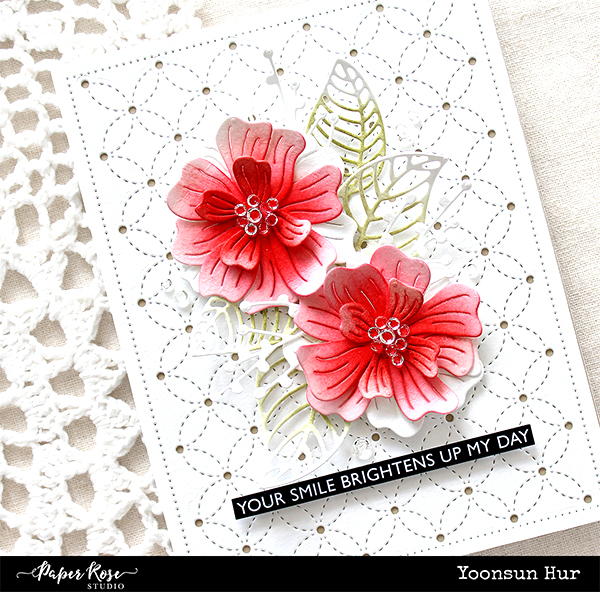
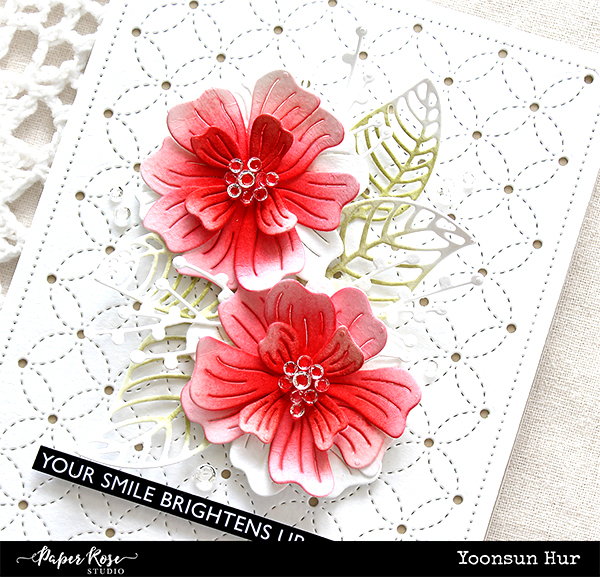
I started by die cutting snowflakes from watercolour paper using the Snowflake Set 2 die set. I then die cut the A2 sized Pierced Rectangle panel from watercolour paper. I adhered some snowflake die cuts onto the pierced rectangle panel, and then loosely coloured them with Peacock Feathers & Faded Jeans Distress inks.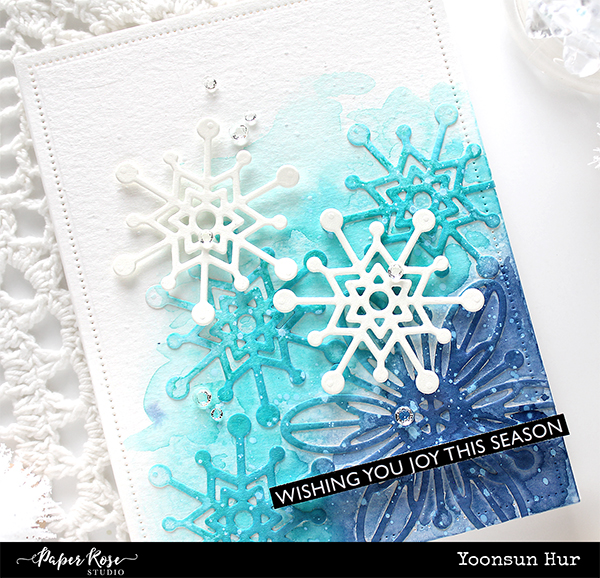
once the panel was dry, I mounted it on white card base using double-sided tape first, and then added two white snowflakes and sentiment banner using foam tape. I decorated the snowflakes with Clear Crystal Mix. :)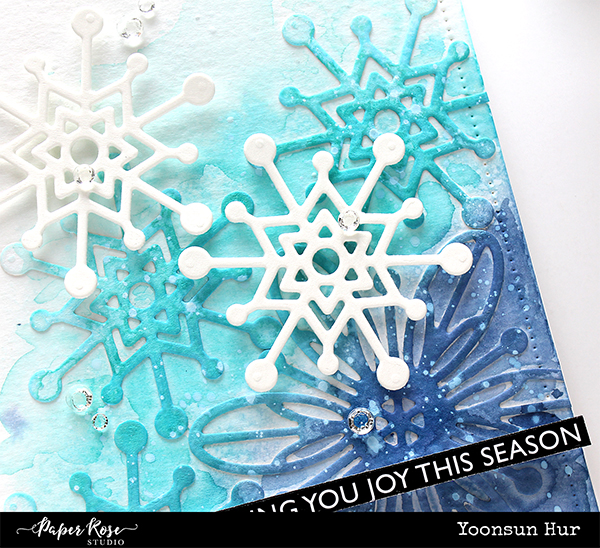
Thank you so much for stopping by. Have a great day.
Keep smiling and be blessed! God bless you all!
Love Love Love RejoicingCrafts