Paper Rose Palmy Foliage Wreath

Hello crafty friends!
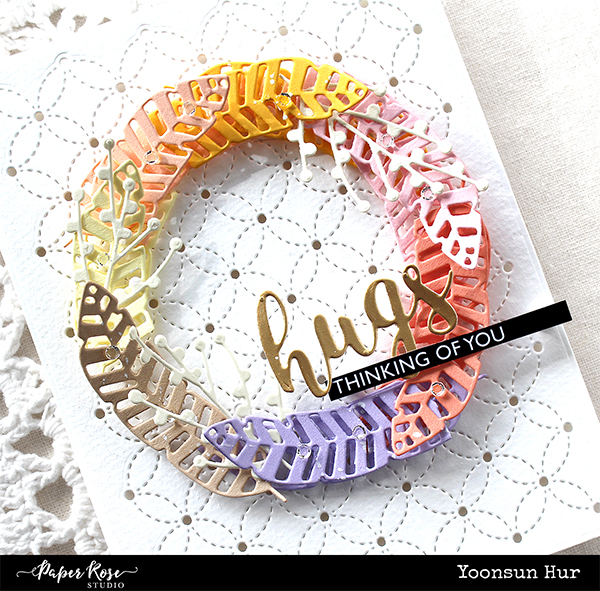
Today I have a leafy wreath card with the Paper Rose Studio Palmy Foliage and Little Foliage 2 dies.

I started by die cutting several palm leaves from warm tones cardstock using the Palmy Foliage die set. I then die cut tiny berries from white cardstock using the Little Foliage 2 die set as well. Next I applied the Hand Stitching Coverplate to an A2 sized thick white paper panel. I love this adorable background die – this will make floral or Christmas card even more wonderful. I mounted the Hand Stitching panel on white card base using foam tape first, and then added Palmy Foliage wreath and sentiments using foam tape.

Here is a closer look:
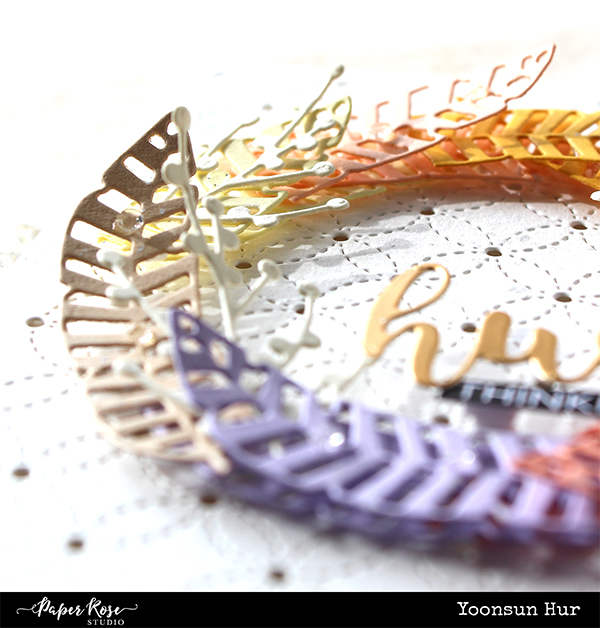


If you have assorted colour cardstock, you can make beautiful wreath cards with just one leaf die. :)

Thank you so much for stopping by. Have a great day.

Keep smiling and be blessed! God bless you all!
Love Love Love RejoicingCrafts
Paper Rose Rainbow Butterflies Card

Hello crafty friends!
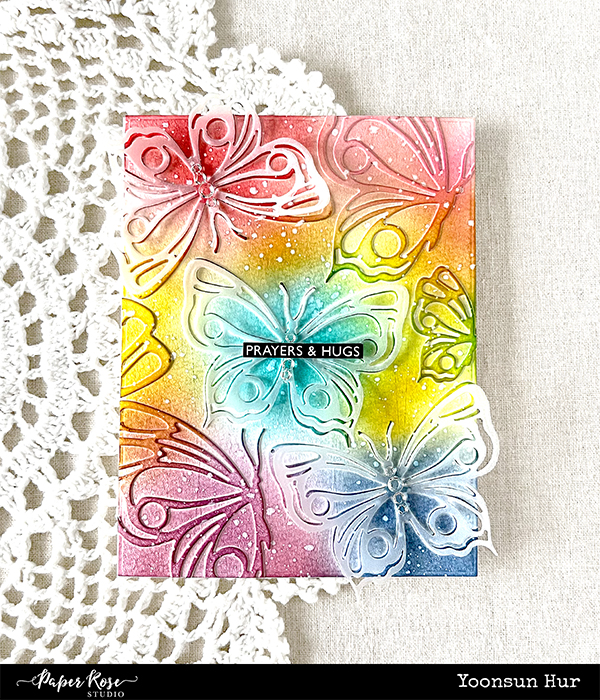
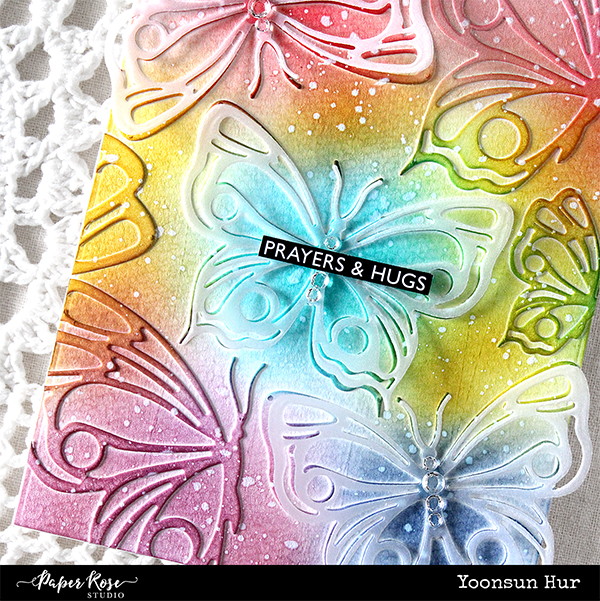
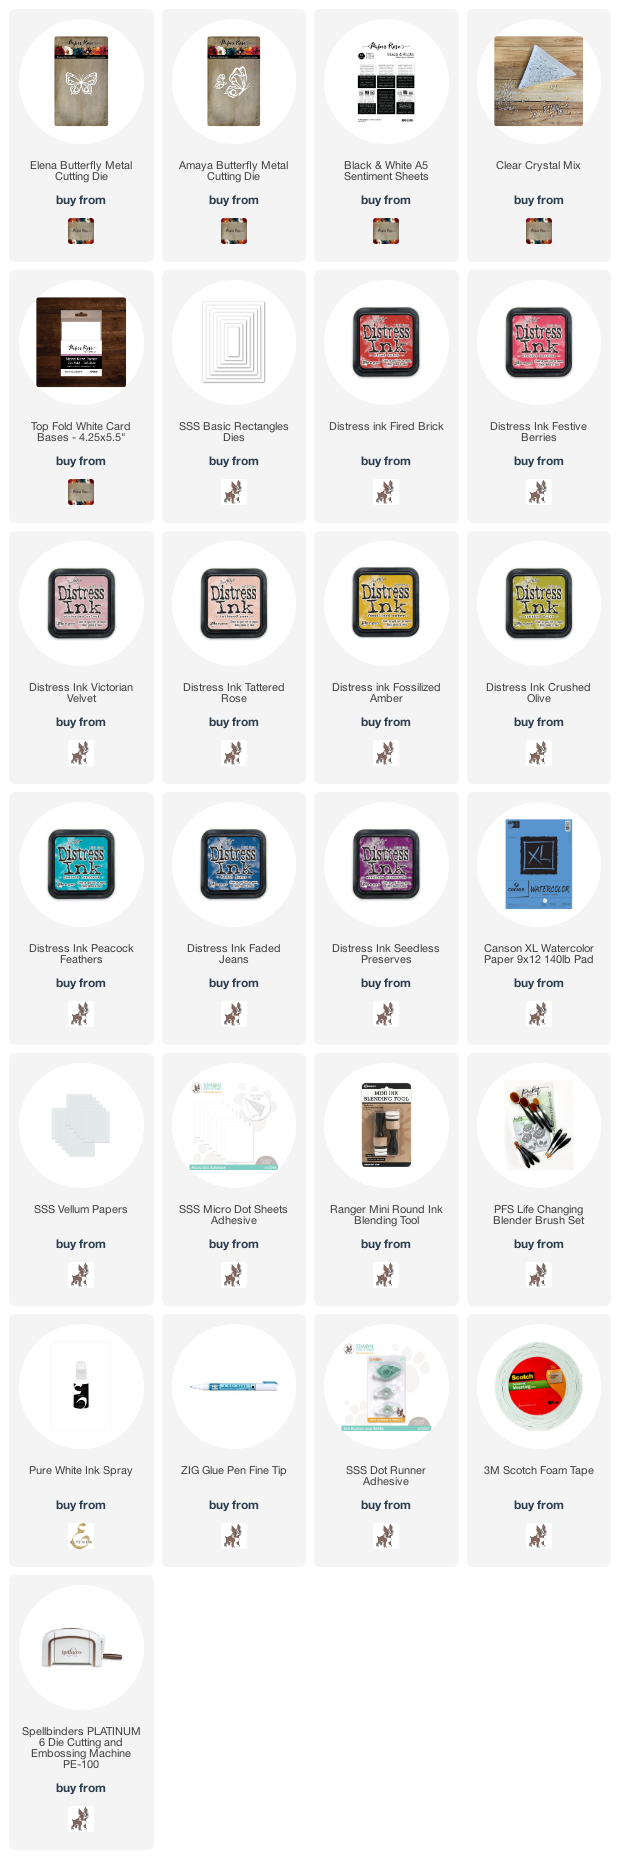
Today I have rainbow butterflies card with the Paper Rose Studio Elena Butterfly and Amaya Butterfly dies. These two butterfly die sets are really beautiful!!

I started by die cutting butterflies from watercolour paper. I then adhered butterfly die cuts onto an A2 sized watercolour paper panel using SSS Micro Dot Sheets Adhesive. Next, I ink blended the butterflies panel with some Distress inks in rainbow order – I used (from the top-left corner) Fired Brick, Tattered Rose, Fossilized Amber, Peacock Feathers, Crushed Olive, Faded Jeans and Seedless Preserves. I added opaque white ink splatters all around the panel. I die cut 3 Elena Butterflies from vellum paper, added them as shown in the picture. For a more shiny effect, I decorated the centre of butterflies with Clear Crystal Mix.

For the sentiment, I used “Prayers & Hugs” in the Black & White A5 Sentiment Sheets.

Thank you so much for stopping by. Have a great day.

Keep smiling and be blessed! God bless you all!
Love Love Love RejoicingCrafts
Paper Rose Floral Patterned Cards

Hello crafty friends!
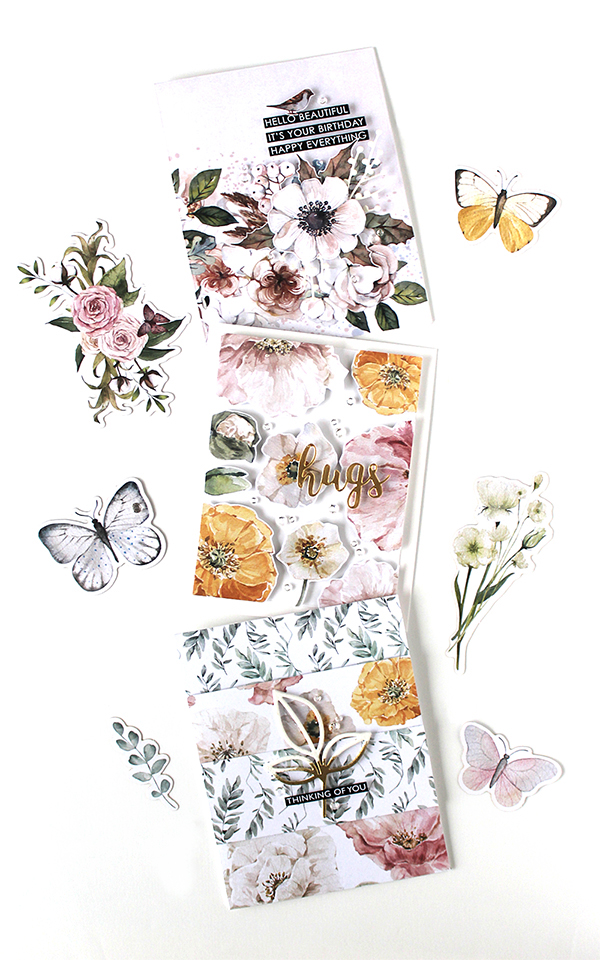
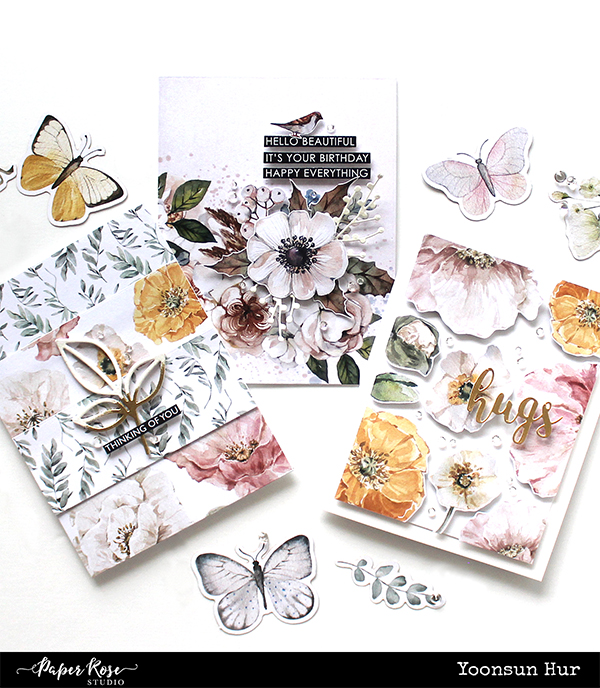
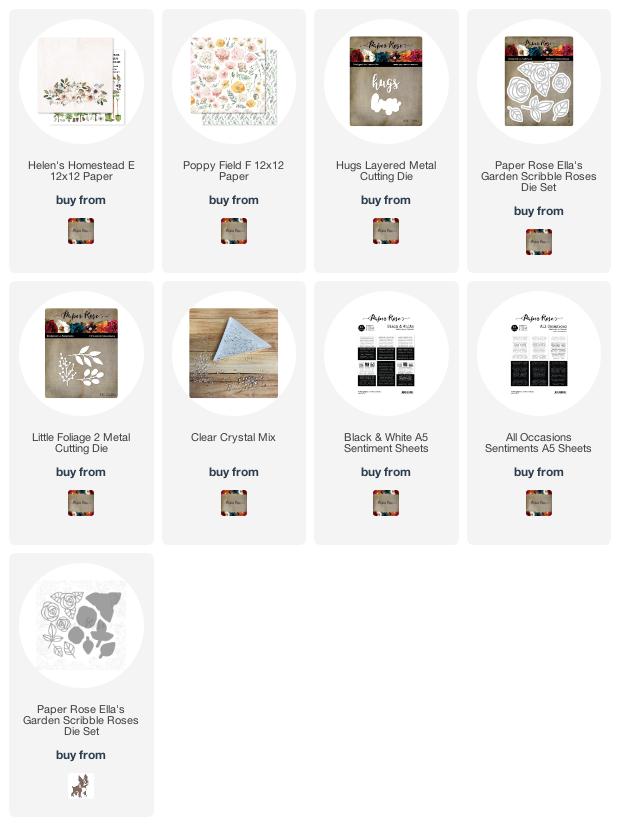
Today I have floral card trio with the Paper Rose Studio Helen’s Homestead & Poppy Field 12 x 12 pattern papers. Paper Rose Studio has so many beautiful floral pattern papers!

Ta-da! Aren’t they so beautiful?!! It’s really easy to make if you have floral pattern papers. :D


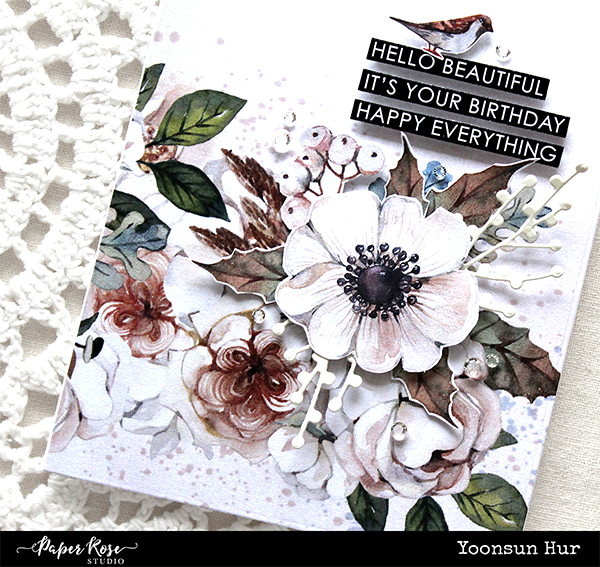
For my first card, I used the Helen’s Homestead E 12×12 Paper with Little Foliage 2 die set. I cut the pattern paper as an A2 sized rectangle panel, fussy cut the large sized flower & some leaves, and then added them on the right side of the card as shown in the picture. For the sentiment, I used the All Occasions Sentiments A5 Sheets.


For the second card, I used the Poppy Field F 12×12 Paper along with the Ella’s Garden Scribble Roses die set. I cut the floral pattern paper, the front has flowers and the back has leaves, into rectangular shapes, and then mounted them on the white card base as shown in the picture. I then added one leaf & black sentiment banner to the centre of the card.


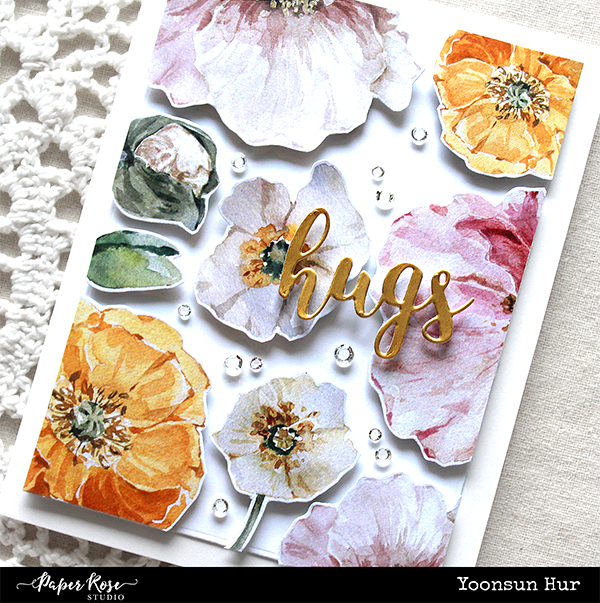
For my last card today, I fussy cut the flowers in the Poppy Field F 12×12 Paper, and then adhered them on the white paper panel using foam tape. I then added the metallic gold “hugs” sentiment on the floral patterned panel. Oh, I LOVE the Poppy Field F 12×12 Paper!!


Thank you so much for stopping by. Have a great day.

Keep smiling and be blessed! God bless you all!
Love Love Love RejoicingCrafts
Paper Rose Sketchy Hibiscus

Hello crafty friends!
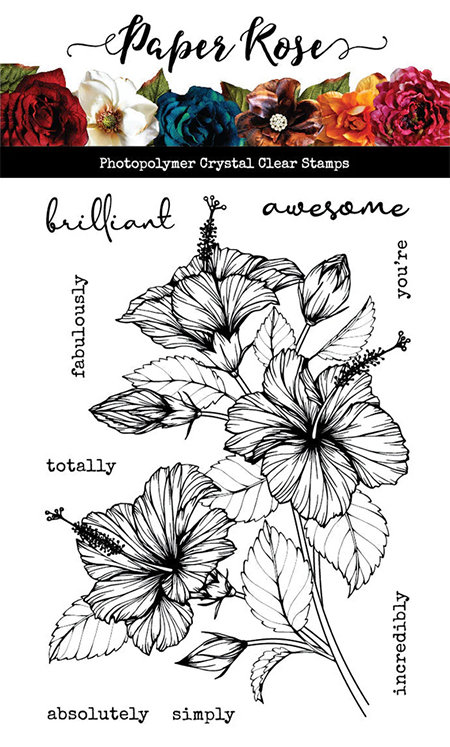
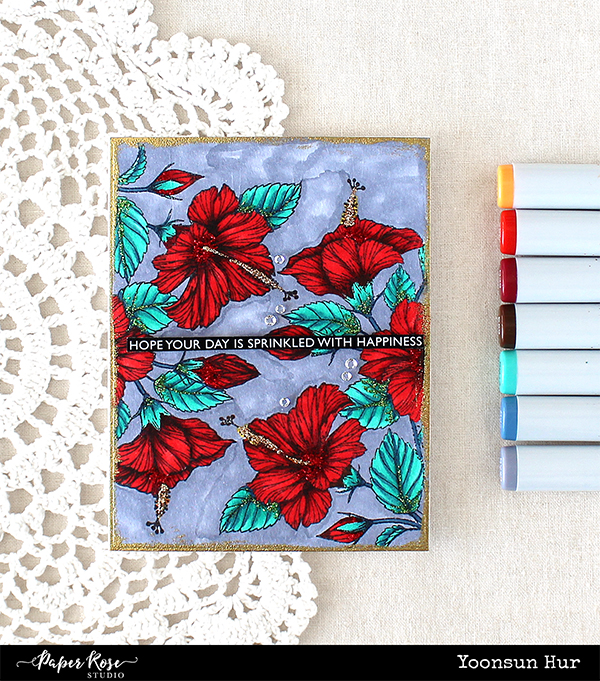
Today I have another floral card with the Paper Rose Studio Sketchy Hibiscus stamp set – it’s so detailed and beautiful!

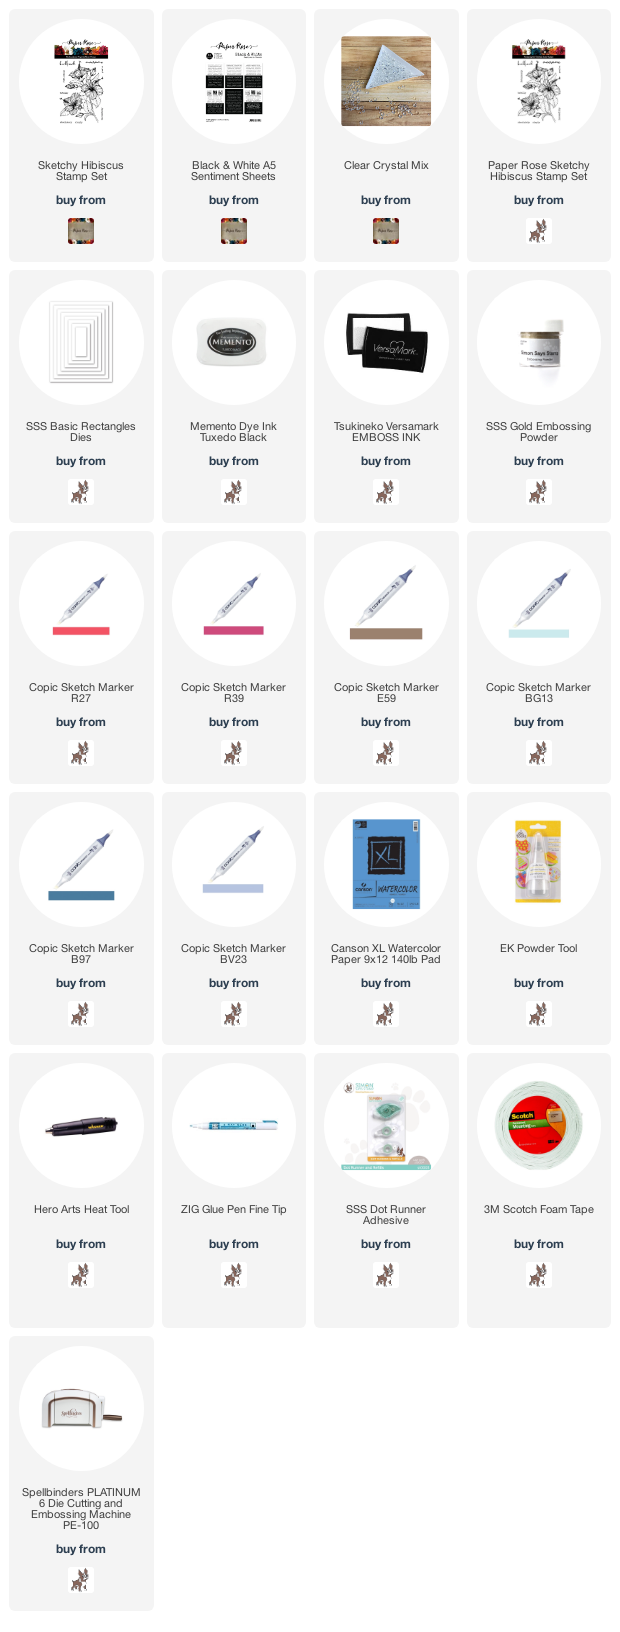
Paper Rose Studio Sketchy Hibiscus stamp set


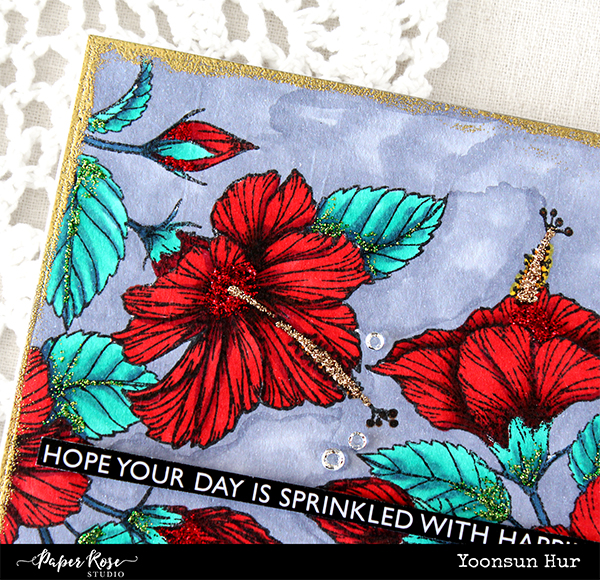
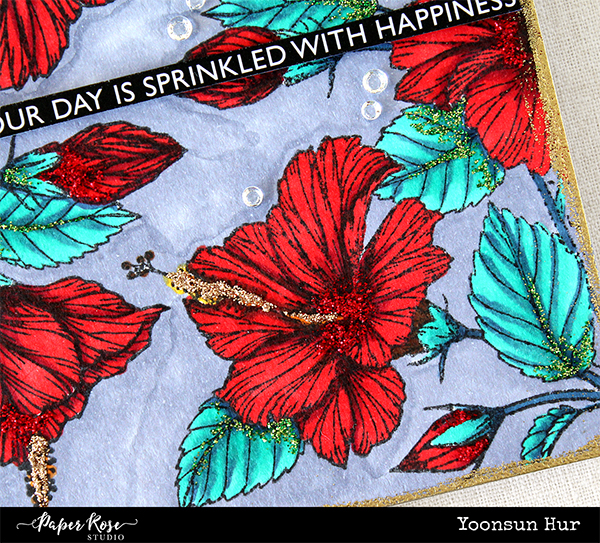
I started by stamping the Sketchy Hibiscus on watercolour paper using Memento Tuxedo Black dye ink. I then trimmed the stamped paper with the A2 sized rectangle panel die. Next, I coloured the stamped flowers with Copic markers:
Flower petals: R27(bright red), R39(dark red), E59(dark brown)
Leaves: BG13(bright blue), B97(dark blue) / BG: BV23.
After Copic colouring, I decorated some part of hibiscus with glitters.

Here is a closer look:


For the sentiment, I used it in the Black & White A5 sentiment sheets. I then added some Clear Crystals around the sentiment banner.

Thank you so much for stopping by. Have a great day.

Keep smiling and be blessed! God bless you all!
Love Love Love RejoicingCrafts
PPP June 2022 Product Release Blog Hop – Day 1

Hello crafty friends!
Welcome to Day 1 of the Pretty Pink Posh June 2022 Product Release Blog Hop. If you arrived here from the super talented Tammy Stark’s blog you are on the right track.

There are jam packed with so many fun & adorable products in June!

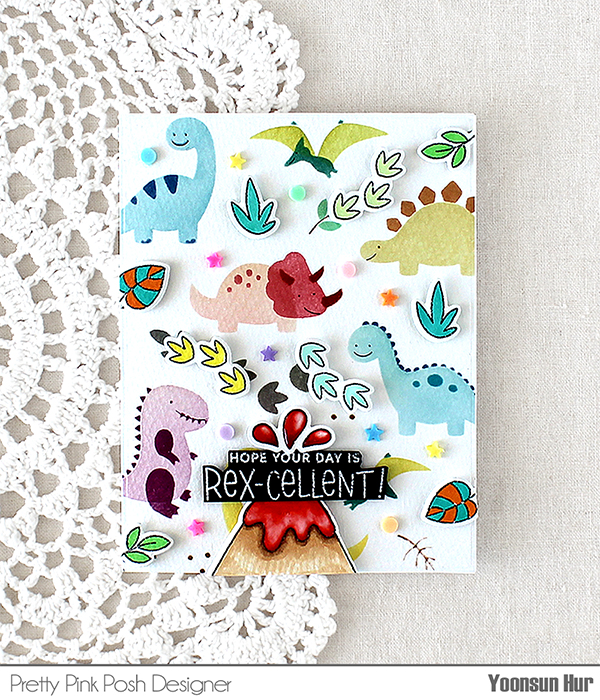
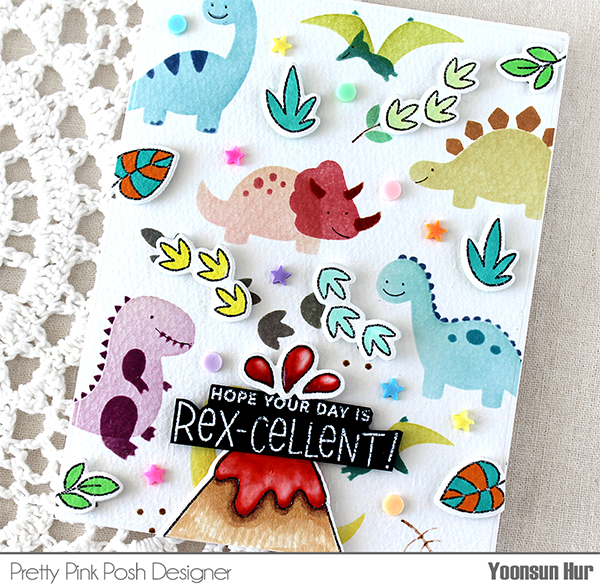
For my first card, I used so adorable dinosaurs. I used the 3 Layers Dinosaurs stencils to make a fun background. I applied soft coloured Distress inks to the base stencil, and then used darker colours to the details.

For the bottom of the card, I stamped volcano from the Dinosaur Additions set with black dye ink, coloured with Copic markers, and then die cut it with the matching dies. For the sentiment, I used the Dinosaur Friends stamp set.


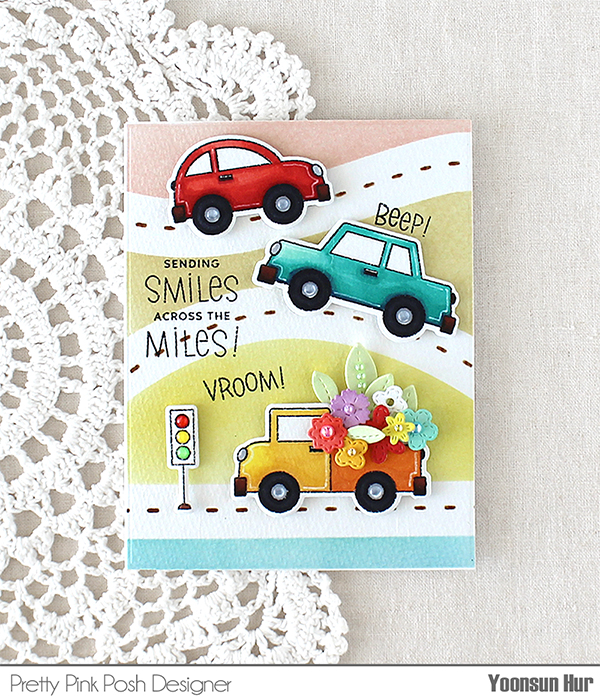
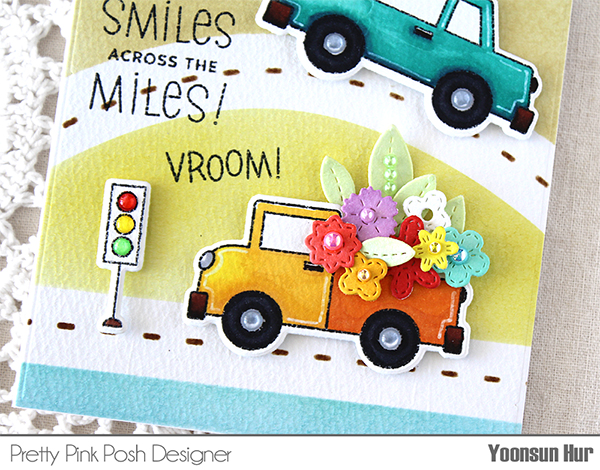
Here is another fun card with brand new layering stencils. For the roads, I used the Layered Roads (3 layer) Stencils. I then stamped the cards from the Across the Miles set on white cardstock using black dye ink first, coloured them with Copic markers, die cut them with the matching dies. I added tiny flowers & leaves on the bottom car using the Spring Foliage dies.

Isn’t it so adorable?!! I love it so much! :D

GIVEAWAY!!
There are 3 $30 gift certificates up for grabs (one winner each day). Winners will be picked randomly along the blog hop. Comments must be left by 11:59 PM PST on 6/23/2022. Winners will be announced on the PPP blog.

BLOG HOP LIST:
Pretty Pink Posh blog
Caly Person
Channin Pelletier
Laura Bassen
Nichol Spohr
Tammy Stark
Yoonsun Hur (Me!!)

Thank you so much for stopping by. Have a great day!

Keep smiling and be blessed. God bless you all.
Love Love Love RejoicingCrafts