Hello crafty friends!
There are many ways to show some love for our dad on Father’s day, and one of those ways is by sending him a Father’s day greeting card. So today I want to share with you my cool Father’s Day cards with SSS Old School Sunglasses dies!

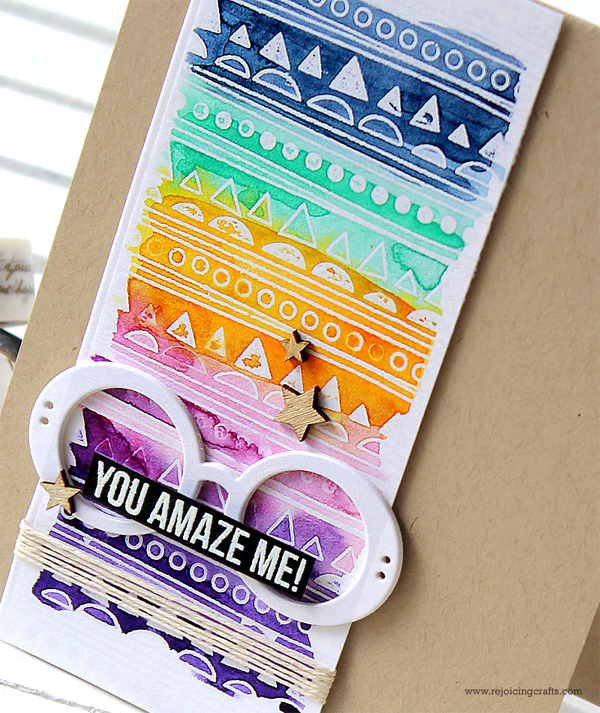
 For my first card, I 1) Die cut a piece of watercolour paper using Stitched Rectangles die. 2) Stamped the Tiny Alphabet background onto the watercolour panel using VersaMark Embossing ink, heat embossed with Hero Arts white embossing powder. 3) Watercoloured the stamped panel with Kuretake Gansai Tambi Watercolor using a wet flat brush. 4) Die cut the sunglasses from white card stock using Old School Sunglasses dies five times and then glued them together. 5) Stamped the sentiment from Big U Words set on black card stock using embossing ink, white heat embossed. 6) Mounted all elements as shown to A2 kraft card base using dimensional foam tape. 7) Embellished with a few star shaped wood veneers.

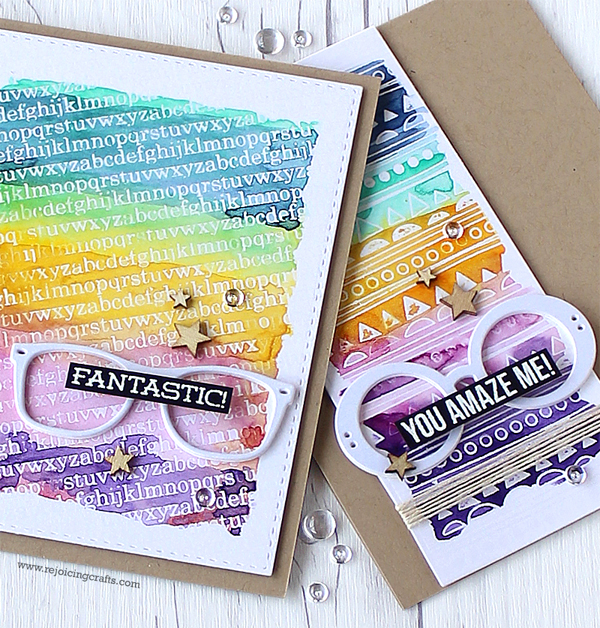
I just could not resist another play with the gorgeous Old School Sunglasses dies.
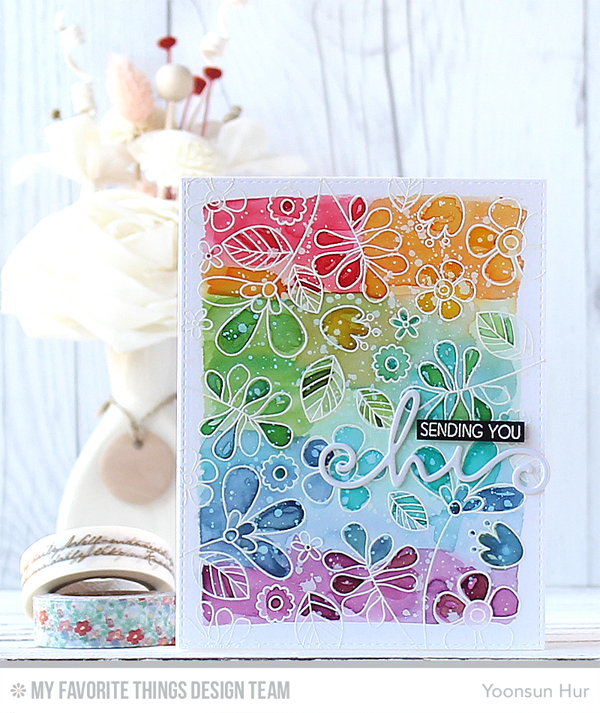
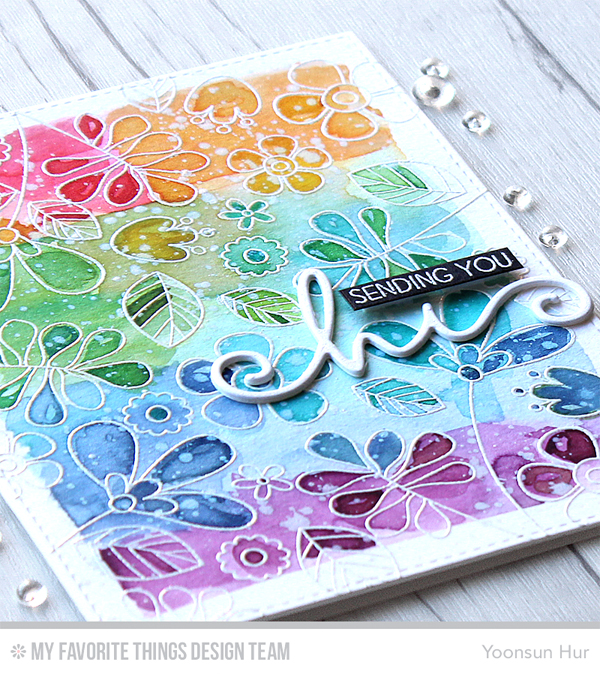
 To create this card, I used the Doodle Background stamp for the watercoloured panel and the Work Out stamp set for the sentiment.
That’s it for today. Thank you so much for stopping by. Happy crafting!!
Keep smiling and be blessed! God bless you all!
Love Love Love RejoicingCrafts


 As many of you already know that I love creating cards with flower stamps and the Altenew flowers… there’s no explanation necessary. Who can resist the Altenew flowers?! I’m so excited and overwhelmed and I feel like my dreams have come true.
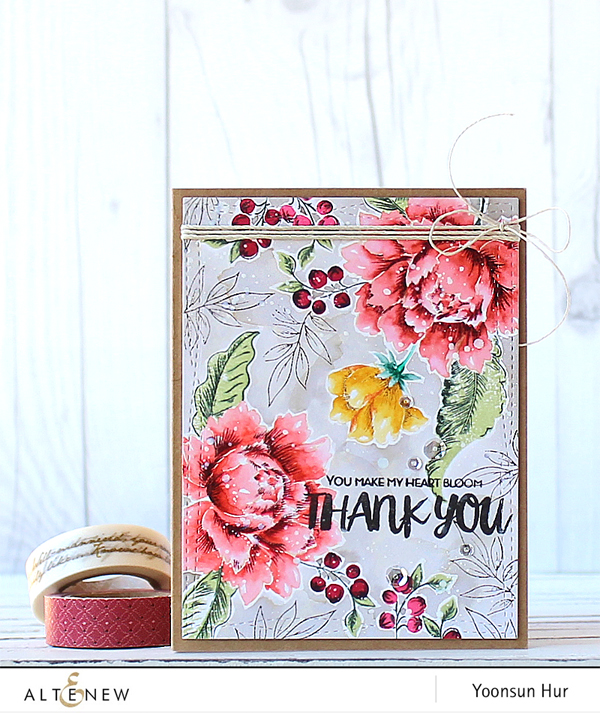 For my ‘Thank You’ card, I used the Altenew
 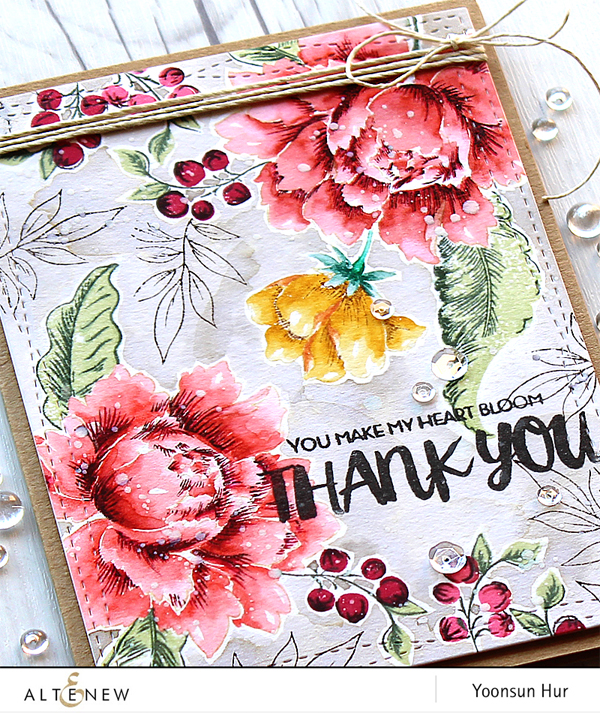 Thank you so much for stopping by. Happy crafting!!


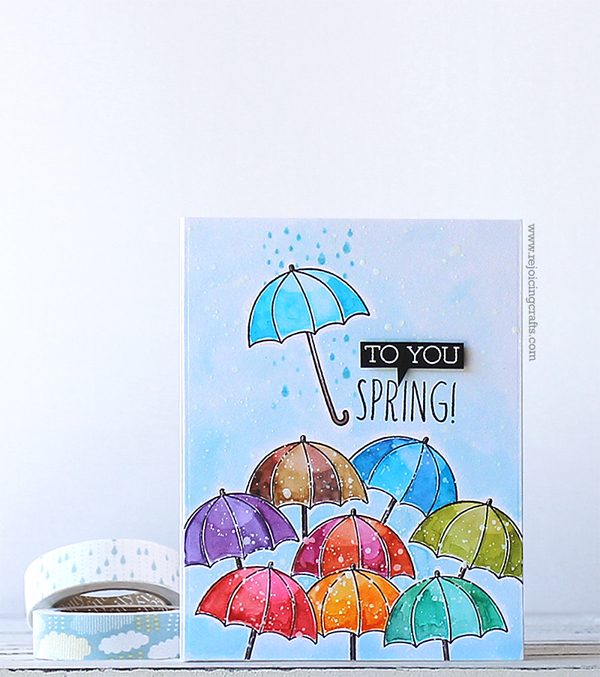 To create this card, I stamped the umbrellas from


 To create this card, I 1) Stamped the poppies and leaves from
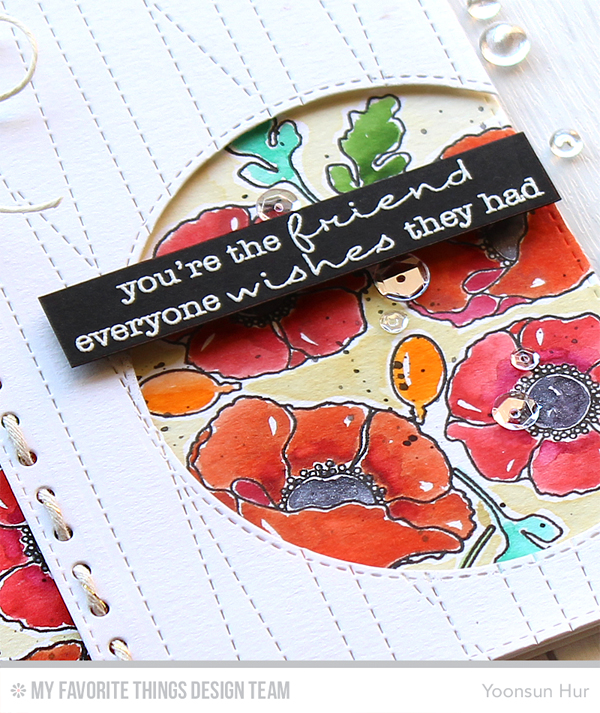


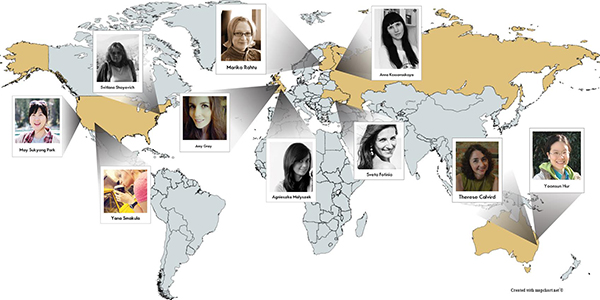
 In April, I am showcasing the amazing
 And, I want to show you this card once more. I created my own flower bouquet with the


