Hello, hello crafty friends, happy Monday.
Welcome to the first day of the Pretty Pink Posh 6th Birthday Celebration Blog Hop. Yes, Pretty Pink Posh turned 6! Come join this 3 days celebration for fun, inspiration and surprises!!

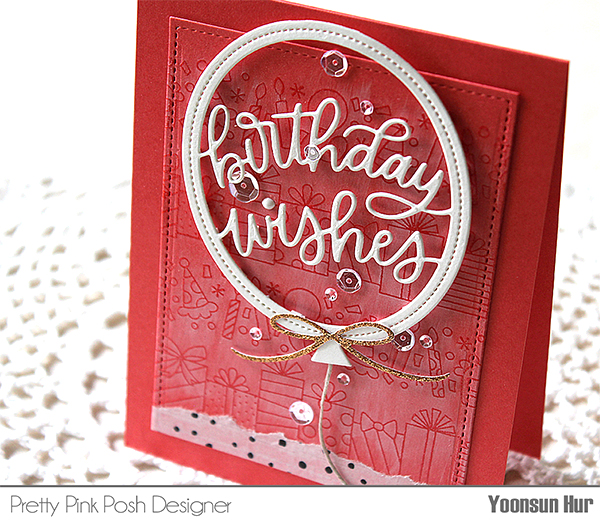
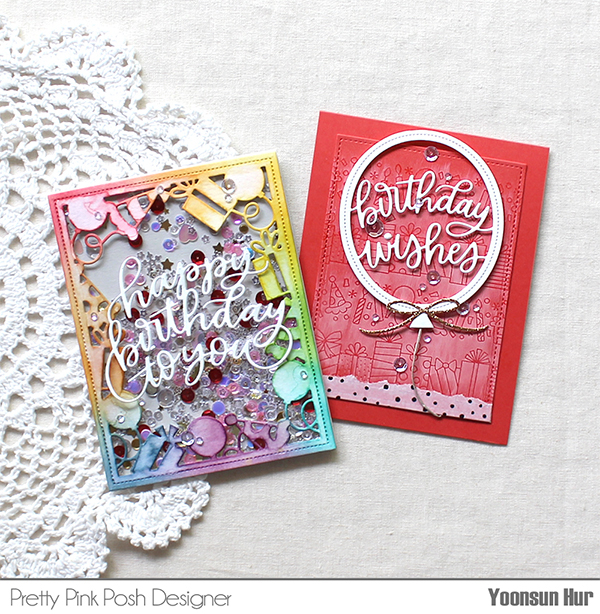
 For my first card, I’m featuring the new Balloon Shaker die – it’s my most favourite among the entire January released products. For the background panel, I die cut stitched rectangle panel from red cardstock using the Stitched Notes die. I heat embossed the birthday borders with clear embossing powder, then added white pigment ink all over the panel.
 I die cut the Balloon Shaker from white cardstock, I die cut a bow from the Twine and Bows die set from glitter gold cardstock. I mounted all elements as shown in the picture using foam tape, and then embellished with a few sparkling clear sequins mix.
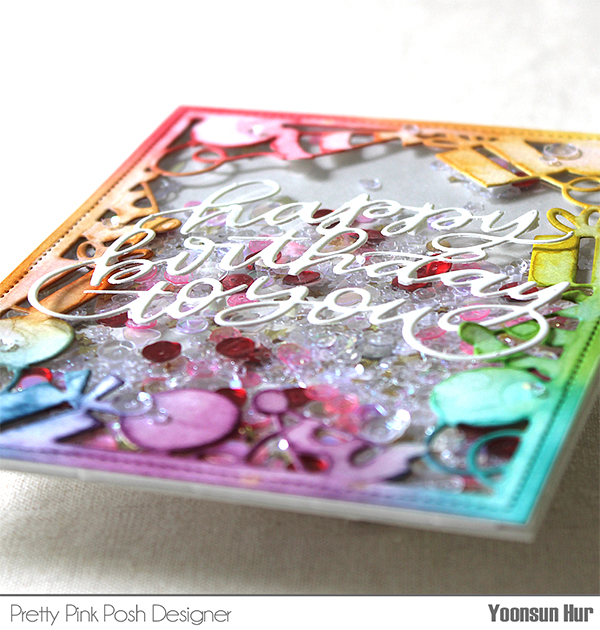
 Here is another fun birthday card using the Birthday Frame and the Happy Birthday to You Script dies. I started by die cutting the Birthday Frame from watercolour paper. I then inked some Distress inks to the Birthday Frame in rainbow order using blender brush. After inking up, I applied water to lighten colours.
 Once the frame was dry, I adhered the acetate behind the frame – made a shaker window panel. I added sequins to the centre of the gray card – I used mini sparkling clear flowers, gold mini star confetti, 6mm sweetheart mix and sparkling clear mix sequins. I then covered the birthday frame over the card. For the sentiment, I die cut the Happy Birthday to You from white cardstock, then added it to the centre of the card (as shown in the picture) using foam tape.
 GIVEAWAY!!
Pretty Pink Posh is giving away 2 $50 gift certificates to random comments left on the different stops today! That’s right, we’re giving away a total of SIX $50 gift certificates during the three day celebration.

DAY 1 BLOG HOP LIST:
Pretty Pink Posh blog
Kay Miller
Debbie Olson
Yoonsun Hur (Me!!)
Kelly Latevola
Ardyth Percy- Robb
Caly Person
Laura Bassen
“HAPPY 6TH BIRTHDAY, AMAZING PRETTY PINK POSH!!”
Thank you so much for stopping by. I really hope you have enjoyed my cards and many new PPP products.
Keep smiling and be blessed! God bless you all!
Love Love Love RejoicingCrafts


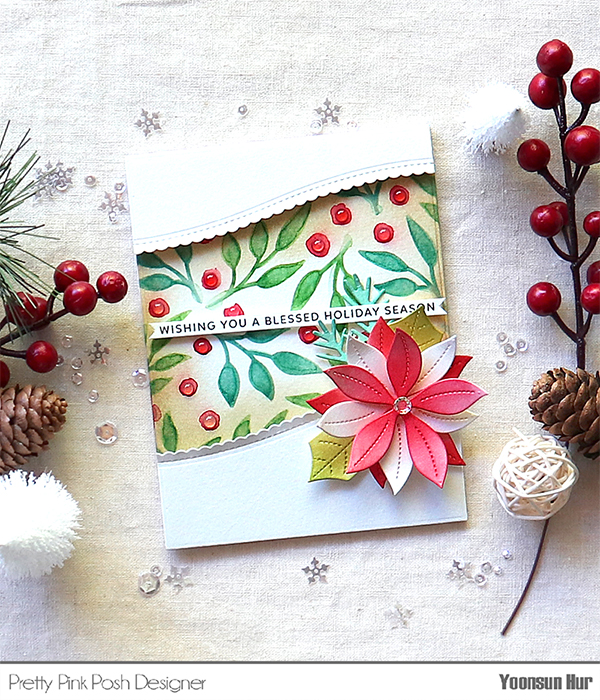 I started by creating watercoloured Christmas patterns with the
 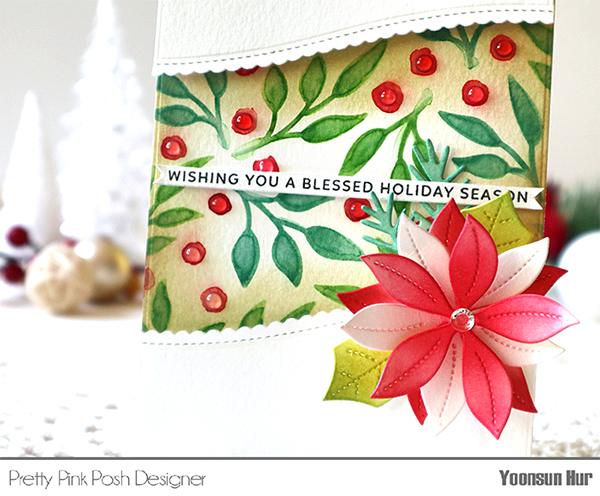 I die cut the
  I’m so in love with the new Stitched Poinsettias die set!!
 To top and bottom part of the card, I covered the card over with the
 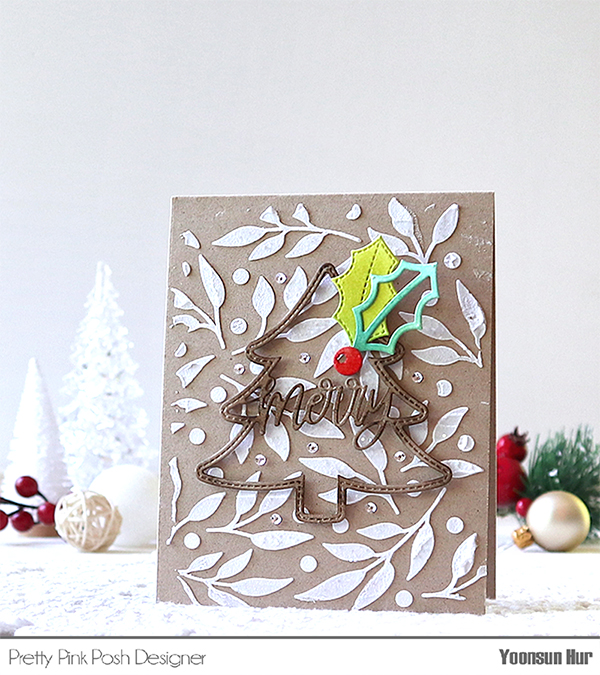 Here is another card with the
 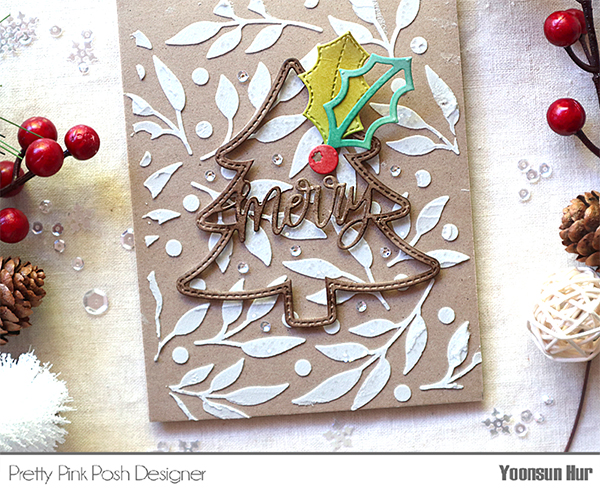 I die cut “Merry” sentiment tree from watercolour paper using the

 For my first card, I used the
  I die cut
 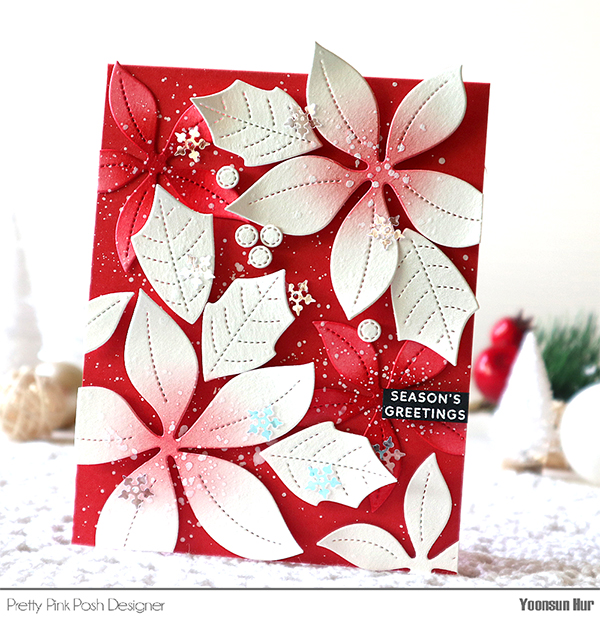 I adhered
 My second card is a shaker card! I die cut the
  Behind the shaker window frame, I placed the
  On the inside of the shaker window, I poured lots of sequins –
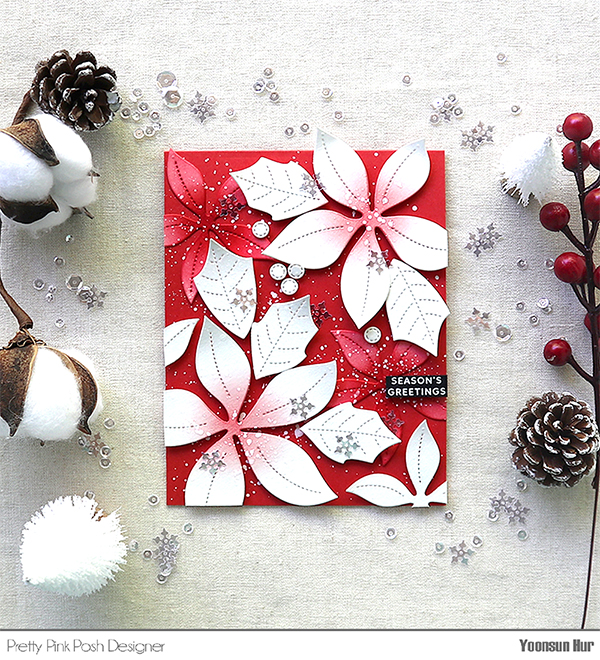
 One more card here! You might see it on the PPP blog a few days ago. I heat embossed the word “
 I die cut the poinsettia parts from watercolour paper, applied Distress inks onto them using blender brush, and then glued the layers together using foam tape. I LOVE this new
 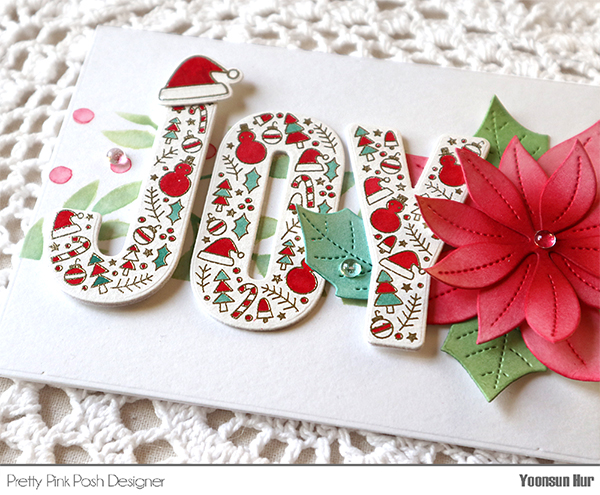 I mounted all elements as shown in the picture using foam tape, then embellished with a few

 I started by die cutting the 4″ x 5.25″
  Once the panel was dry, I mounted it on kraft card base using double-sided tape first, and then added
 Here is another card with the
 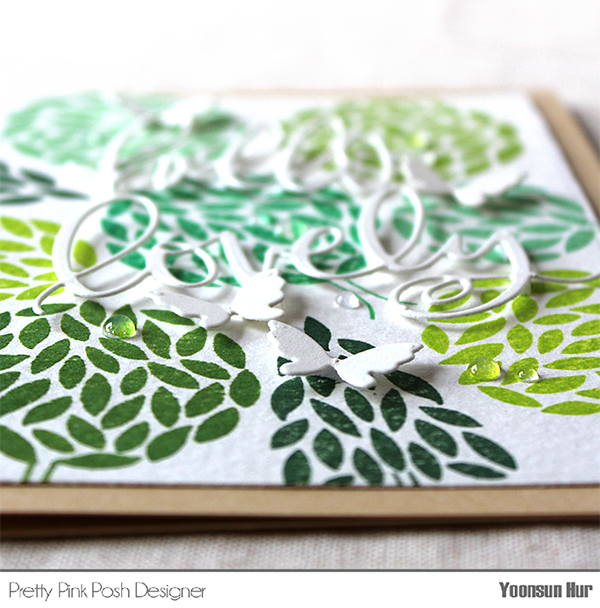 Make sure to check out the