Hello crafty friends, TGIF!
I am guest designing with Neat and Tangled this month. I am SO excited and happy to be a part of the amazing team!! I love Danielle’s bold design and there are oh-so-talented designers there!
Today, I want to show you my 2 cards with March released Dala Horse Stamp Set. Oh my… I am so in love with the set that Miriam designed. Seriously, it is so very beautiful stamp set!!
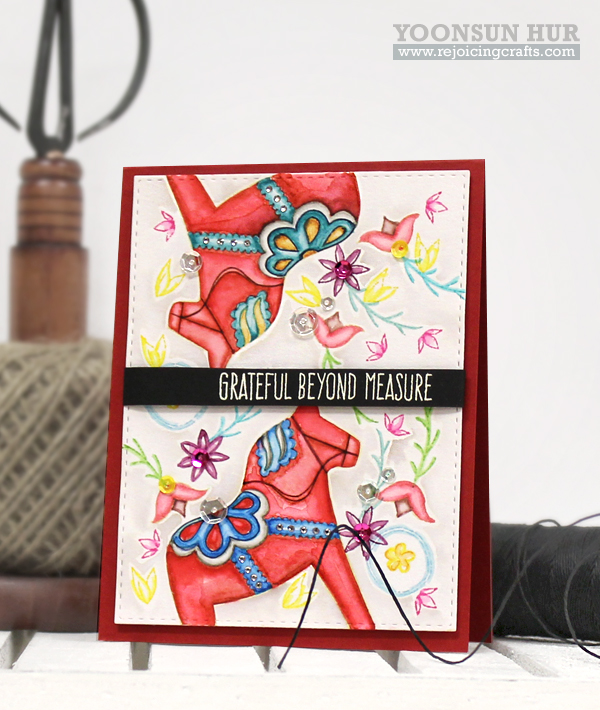
My first card here:
 To create the card:
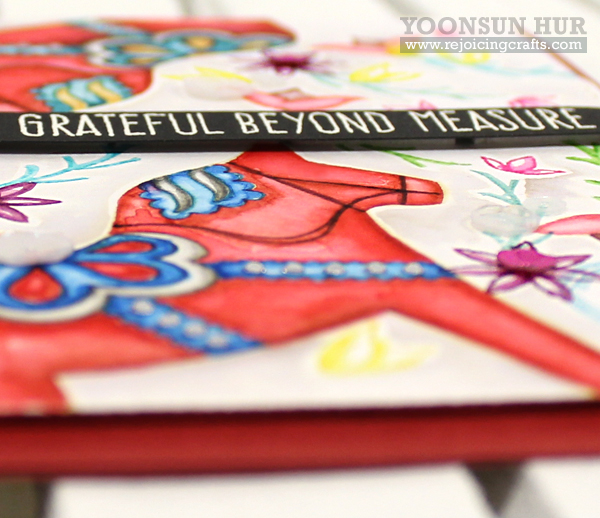
1)I stamped horse and other images on the watercolour panel using Distress Ink Antique Linen for no-line watercolouring. 2)I coloured them with Distress markers -Dala horse: Festive Berries, Barn Door, Pumice Stone, Salty Ocean, Peacock Feathers, Mustard Seed, Chipped Sapphire, Aged Mahogany / blossoms: Worn Lipstick, Squeezed Lemonade, Seedless Preserves, Mowed Lawn, Brushed Corduroy, Broken China, Evergreen Bough / background: Pumice Stone. 3)For the sentiments, I stamped it on the black cardstock using VersaMark Embossing ink, white heat embossed and adhered it over the watercoloured panel using dimensional foam tape. 4)To finish it off, I added the sequins here and there.
My second card with the set:
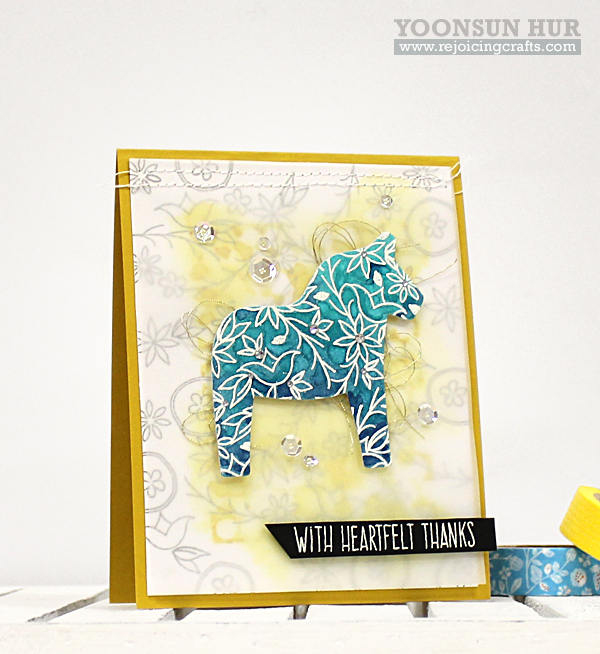 For this card, I used matching die with the stamp set. The size of the Dala Horse die is a perfect as a focal point in card.
To create the card:
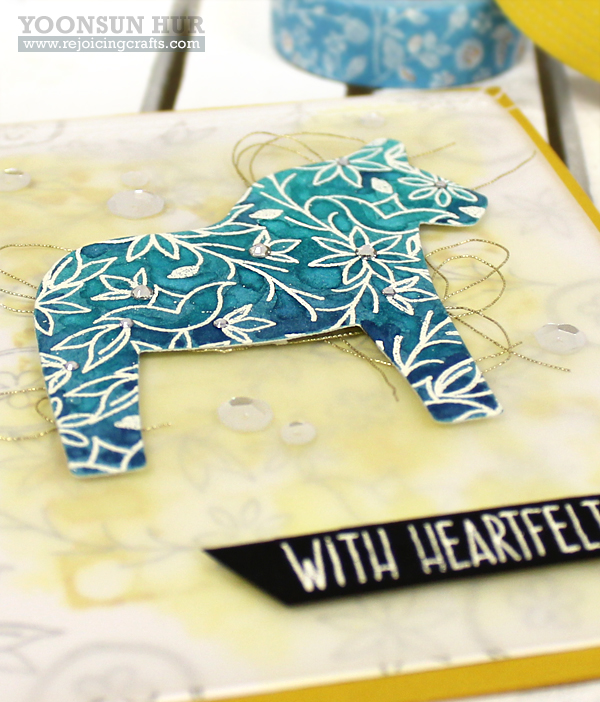
1)I drew the pencil line on the watercolour paper a bit bigger than actual size of the largest Dala horse die and then blended with Distress ink Peacock Feathers, Stormy Sky using mini blending tool. 2)Once completely dry, I randomly stamped mini blossoms using VersaMark Embossing ink and white heat embossed. 3)I spritzed a bit of fresh water on the stamped image for getting watercolour stains, dry it using heat tool and then die cut the Dala horse from the stamped paper. 4)For the background panel, I stamped mini blossoms on the white cardstock with grey pigment ink here and there and watercoloured in the middle of the stamped panel with Distress ink Mustard Seed using paint brush. 5)Using vellum paper, I covered whole area of the stamped background and machine stitched on the top, mounted it to the yellow cardstock. 6)To finish it off, I positioned the Dala horse, sentiment banner on the custom background panel, adhered them in place using dimensional foam tape, added mixed clear sequins.
 I had a great time with this beautiful stamp & die set!
That’s it for today. Thank you so much for stopping by. Have a wonderful weekend!!
 If you want to see more just click to the Simon Says Stamp Blog! Hope you have time to take a look :D


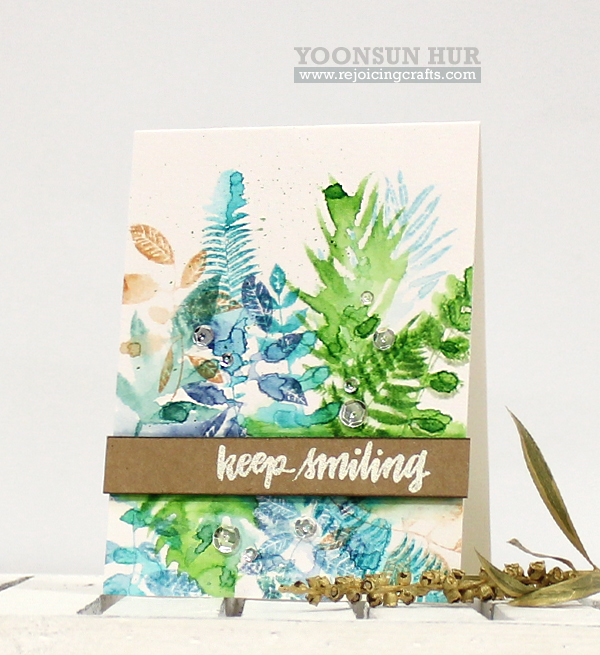
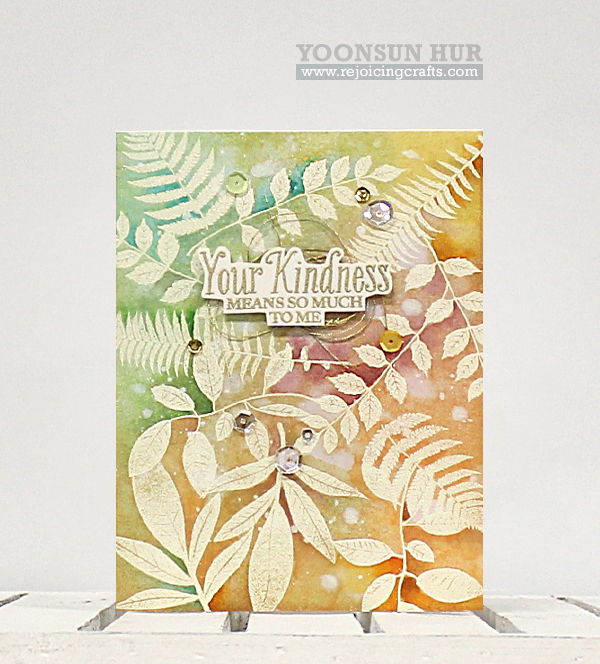 Those gorgeous leaves are perfect for making watercolour card :D
 To create the card:
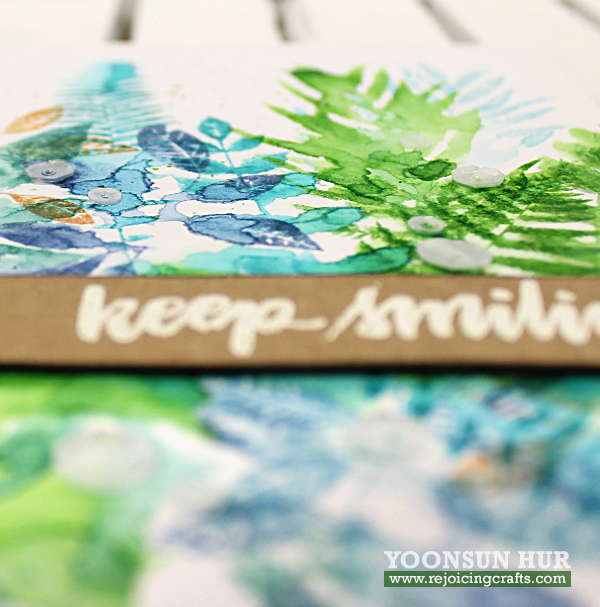


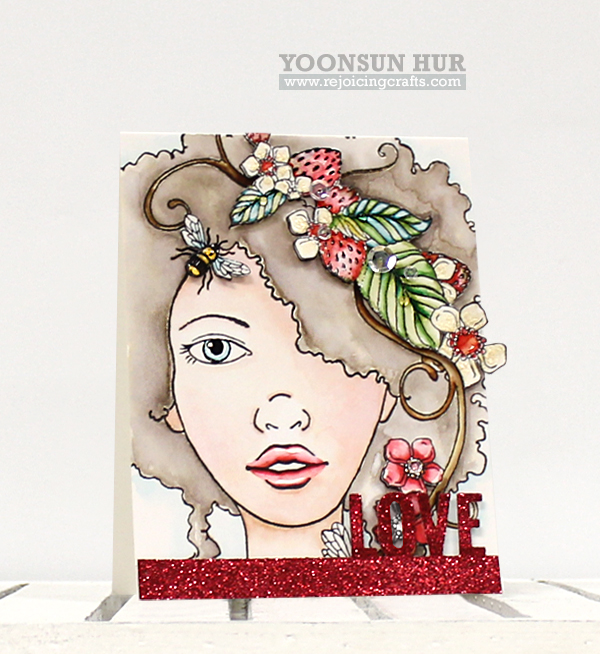
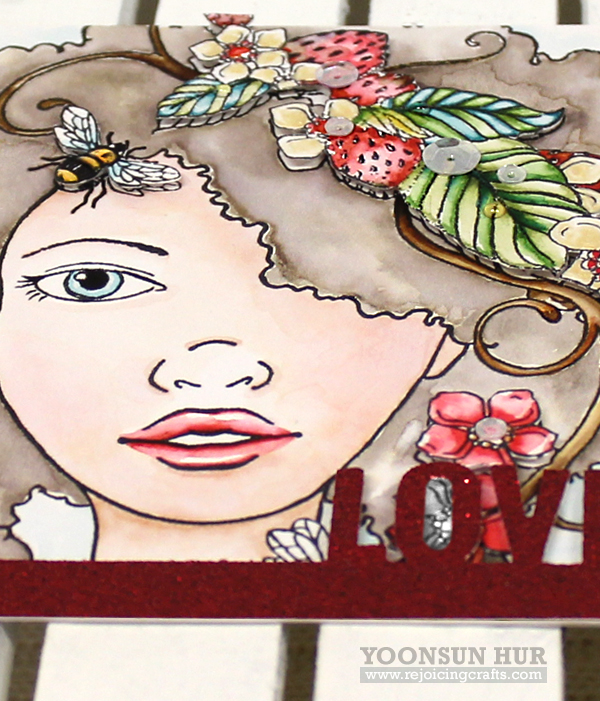


 Isn’t this girl so adorable? This cute girl alone is worth adding to my stamp collection :D
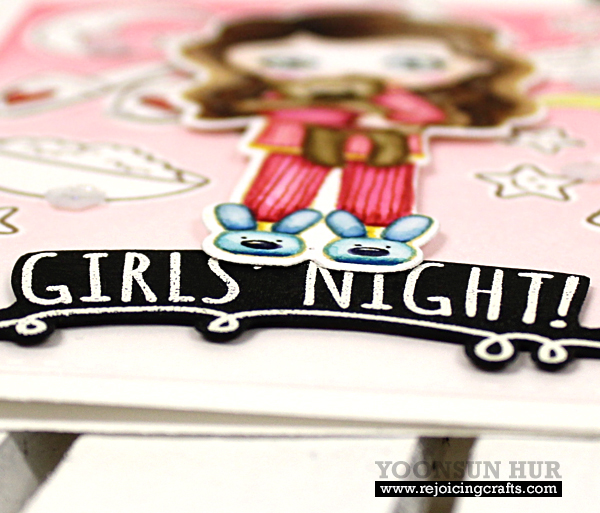 My teenage niece love this card SO much and she asked me to make 7 cards -exactly same design- for her sleepover birthday party in April lol! ;)


