Hello crafty friends!
I’m up on the Altenew blog today with my floral thanks card using the Hello Sunshine stamp set and Thanks word die.
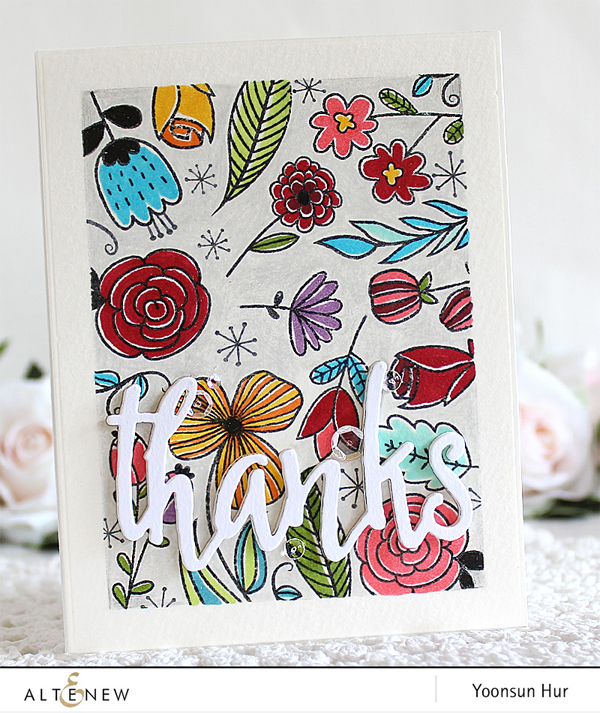
 To start, I die cut a piece of watercolour paper using an A2 sized rectangle panel die in the SSS Basic Rectangles die set. I didn’t use watercolours but just wanted to add a light grainy paper texture to my card. After masking off all edges of the panel with washi tape, I stamped lots of small flowers from the Hello Sunshine set randomly onto the panel in MFT Black Licorice hybrid ink. I then coloured them with the Artist Markers (yellow & purple colors are Copic markers). I coloured the background with Faber Castell cool gray polychromos pencil. For the sentiment, I die cut the word “Thanks” from white card stock. Finally, I mounted the flower panel on white card base using double-sided tape first, and then added the sentiment die cut using foam tape. I embellished with a few PPP clear sequins & droplets.

 Thank you so much for stopping by. Happy crafting!!
Keep smiling and be blessed! God bless you all!
Love Love Love RejoicingCrafts
Altenew store (affiliate links)


Simon store (affiliate links)


 There are so many talented crafty friends around me and my card was inspired by
  I started by creating a layered watercolour background. I die cut a piece of watercolour paper using A2 sized rectangle panel die in the
  Next, I die cut the
  For the sentiment, I used the
  Thank you so much for stopping by. Happy crafting!!


 To create this card, I 1) Die cut a piece of kraft card stock using 3.75″ x 5″ rectangle panel die in the SSS
  The
The 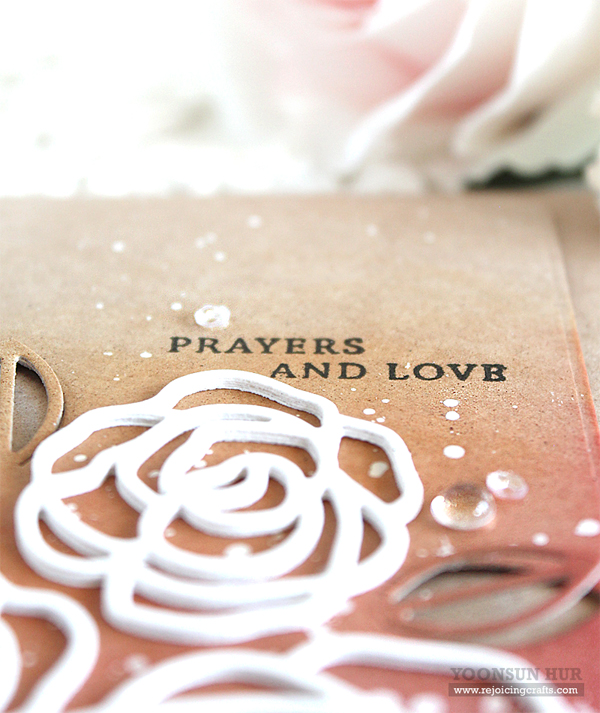


 Today I will be sharing with you my watercolour flower card with the
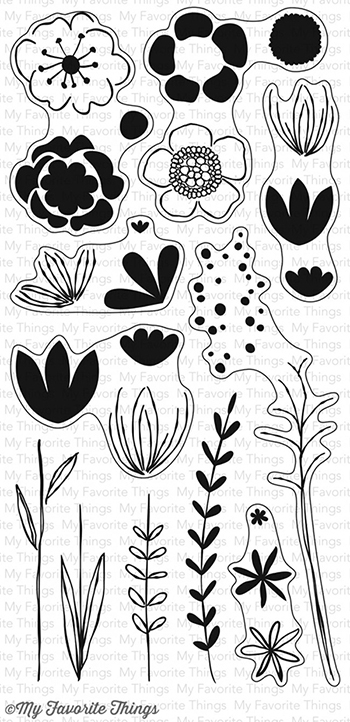
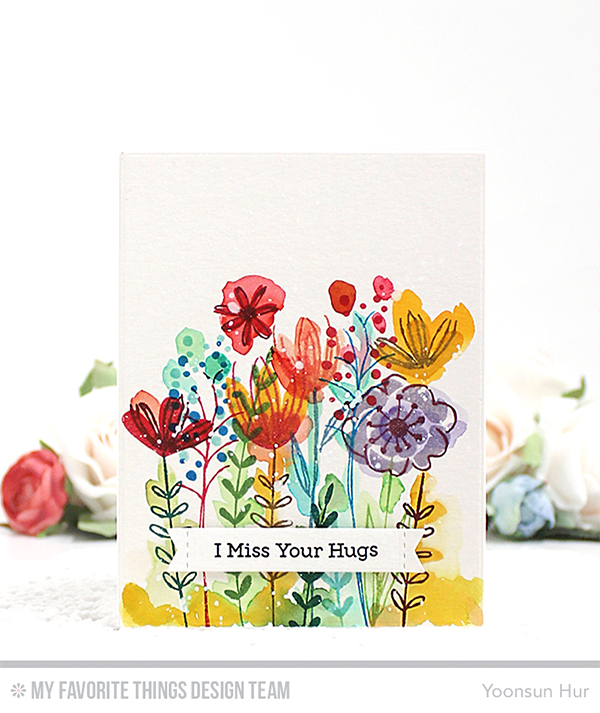 I started by stamping beautiful flowers and leaves from the
 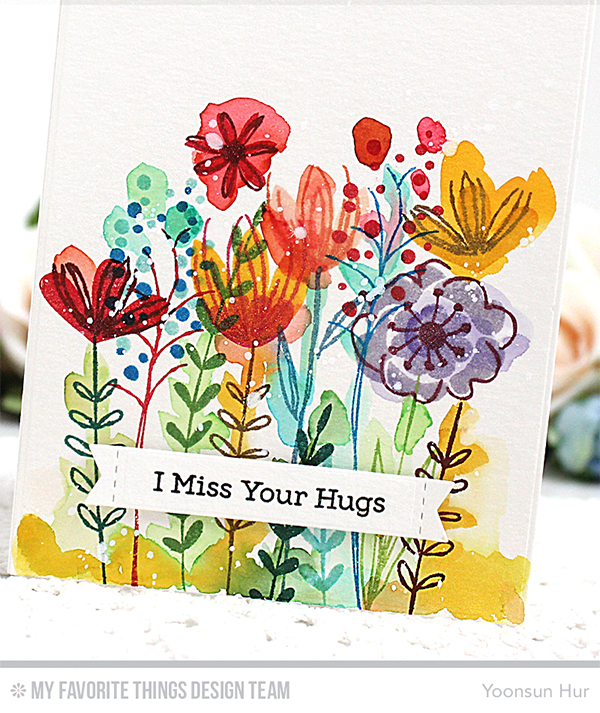 Don’t forget to check out the


 Today I will be sharing with you my wine tag with the
  To create the tag, I 1) Die cut the
  Make sure to check out


