Hello crafty friends! Happy STAMPtember®!!
 It’s September, my favourite time of year, and I am SUPER excited to be a part of the first day of the Simon Says Stamp STAMPtember® Blog Hop today!!
For my first two cards, I used the brand new You Got This stamp set & Damask stencil along with other SSS products.
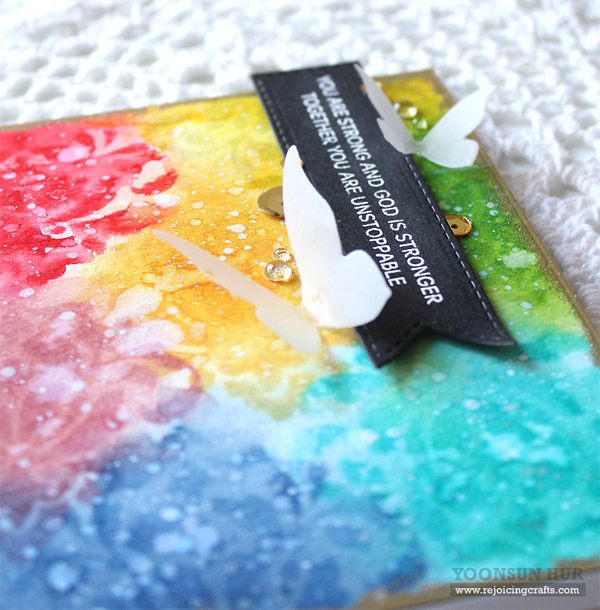
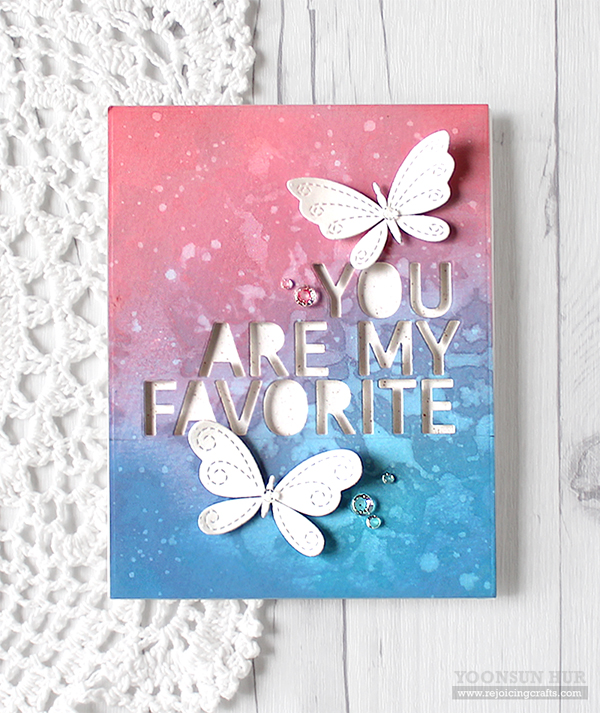
 To create this card, I laid the Damask stencil over the watercolour panel, and then inked over the stencil using some Distress inks and sponge daubers in rainbow order: (from the top left corner) Festive Berries, Scattered Straw, Mowed Lawn, Peacock Feathers, Faded Jeans, and Victorian Velvet. I then freely brushed on the panel with a wet paint brush – Distress inks react with water!! I added water drops and opaque white ink splatters all over the panel. Once the panel was dry, I heat embossed the edges of the panel with gold. For the sentiment, I heat embossed it from the You Got This set on black card stock in white, and then die cut it with the Stitched Banner die. I mounted the background panel on white card base using double-sided tape first, and then added the sentiment banner, vellum butterflies (I used the Butterfly Drift die), gold sequins, clear droplets.
 “You are strong and God is stronger, together you are unstoppable.” – I love this sentiment so much!!
 For my second card, I created my own damask patterns on soft navy card base using the Damask stencil and white embossing paste. I die cut nearly half of the soft navy panel using the Wavy Scallop Stitches die. I then applied the damask pattern on the soft navy panel using white embossing paste. Once the panel was dry, I added some metallic silver & opaque white ink splatters. For the sentiment, I heat embossed it from the You Got This set on red card stock in white, and then trimmed it down as a small banner. I mounted the background panel on top-folded white card base using foam tape first, and then added the sentiment banner & gold sequins.


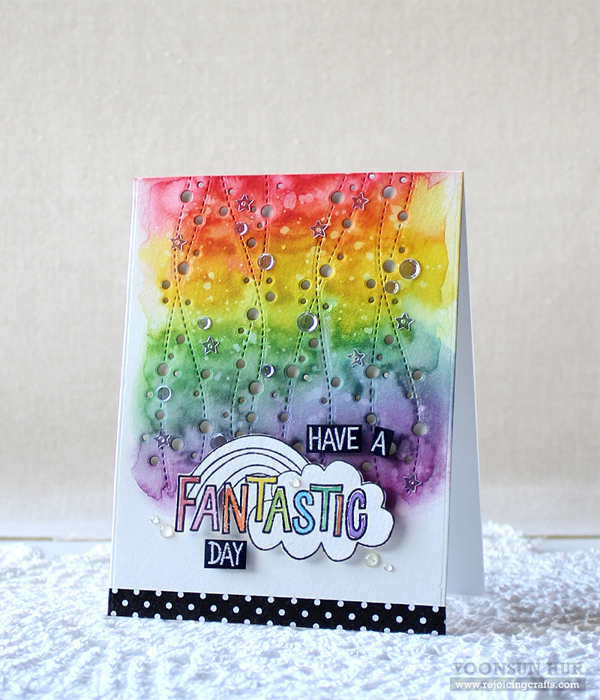 For my last card, I used the new Amazing Messages stamp set along with the Tickle Breeze die. I die cut the Tickle Breeze from an A2 sized watercolour panel, and then added rainbow colours using Distress inks and a wet paint brush: Festive Berries, Mustard Seed, Mowed Lawn, Faded Jeans, and Seedless Preserves. I added water drops. Next, I stamped the image from the Amazing Messages set on white card stock using Onyx Black pigment ink, lightly coloured inside the alphabets with watercoloured pencils, then fussy cut it. For other words, I heat embossed them on black card stock in white. Once the background panel was dry, I mounted it on white card base using foam tape first, and then added all elements as shown to the card front using foam tape as well.


GIVEAWAY!!
Simon Says Stamp is giving away a $50 coupon to every stop on the hop, so leave a comment for your chance to WIN. Winners will be selected on September 5.
BLOG HOP LIST:
Your next stop on the hop is super talented Kathy Racoosin! I hope you have all enjoyed our fun and inspirational blog hop!!
Simon Says Stamp Blog
Jennifer McGuire
Kristina Werner
Yana Smakula
Kay Miller
Yoonsun Hur (Me!!)
Kathy Racoosin
Amy Rysavy
Nina-Marie Trapani
Kelly Latevola
Heather Ruwe
Anna Kossakovskaya
Bibi Cameron
Thank you so much for stopping by. Have a fabulous weekend!
Keep smiling and be blessed! God bless you all!
Love Love Love RejoicingCrafts
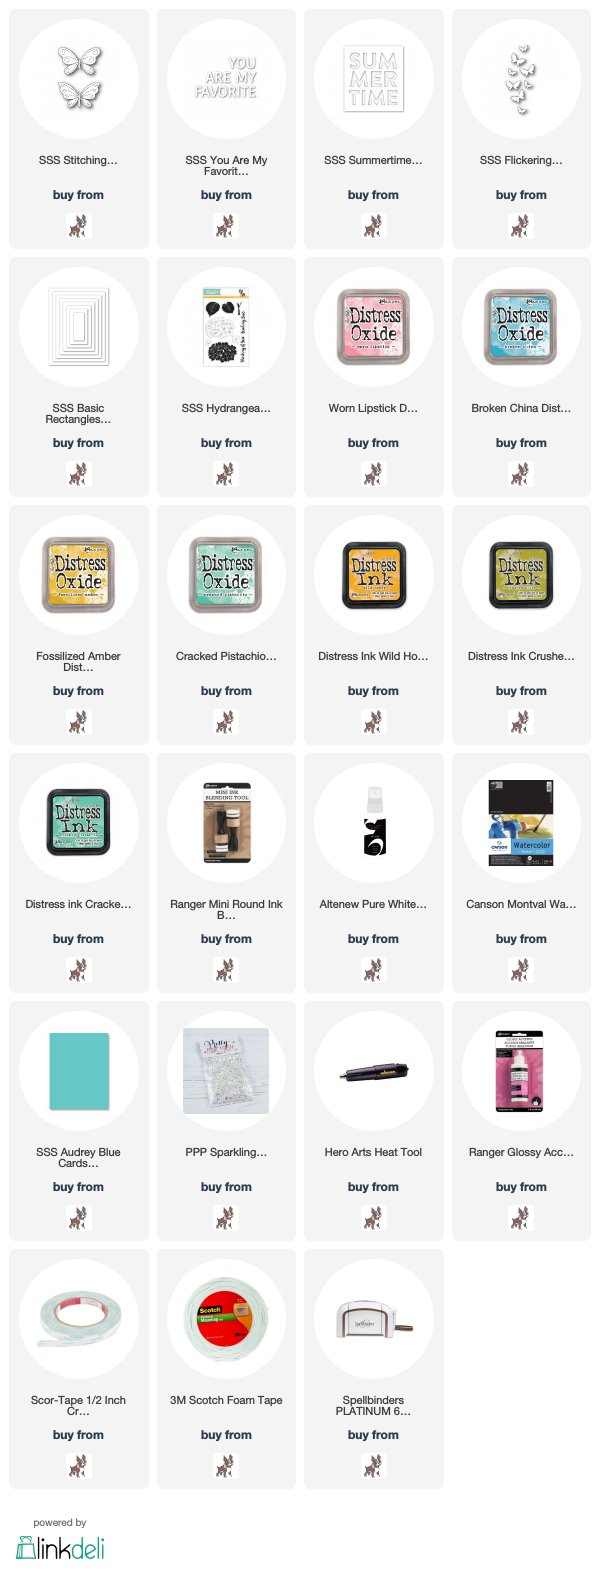
Products what I used:
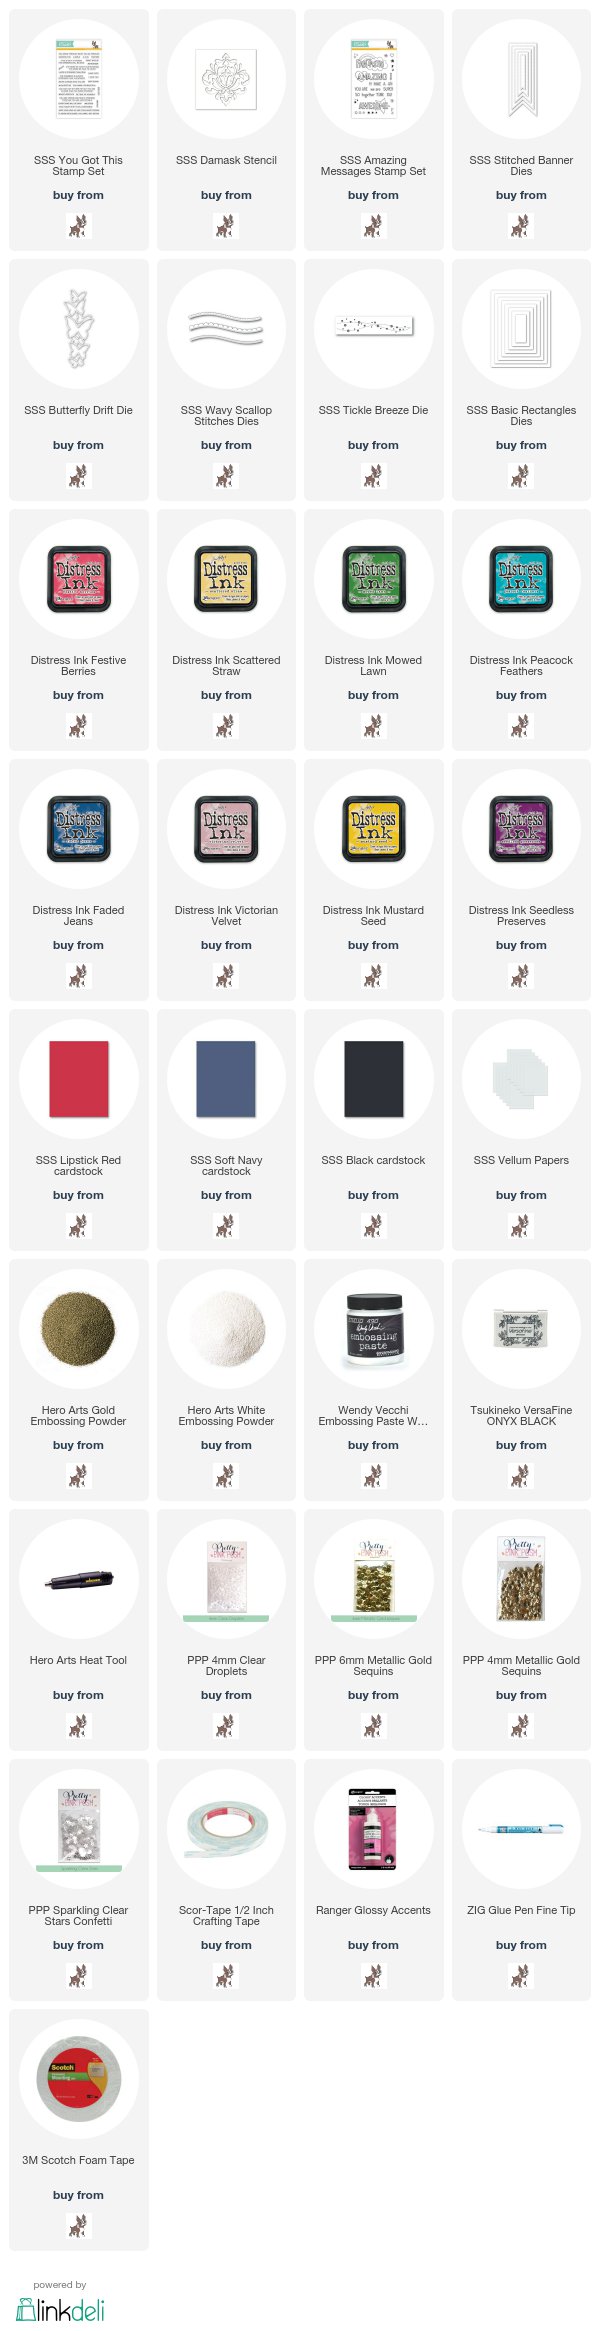
STAMPtember release:

https://linkdeli.com/widget.js?1504173782969

 To create the card, I die cut watercolour paper to 5 ½” x 4 ¼” using the Basic Rectangles Panel die first. I then stamped the sentiment from the Yes You Can set on the bottom right corner of the panel using VersaFine Onyx Black – I used MISTI Stamping tool. Next, I stamped butterflies from the same Yes You Can set on the right side of the panel with Antique Linen Distress ink, coloured them with Hero Arts Watercolor Wheel.
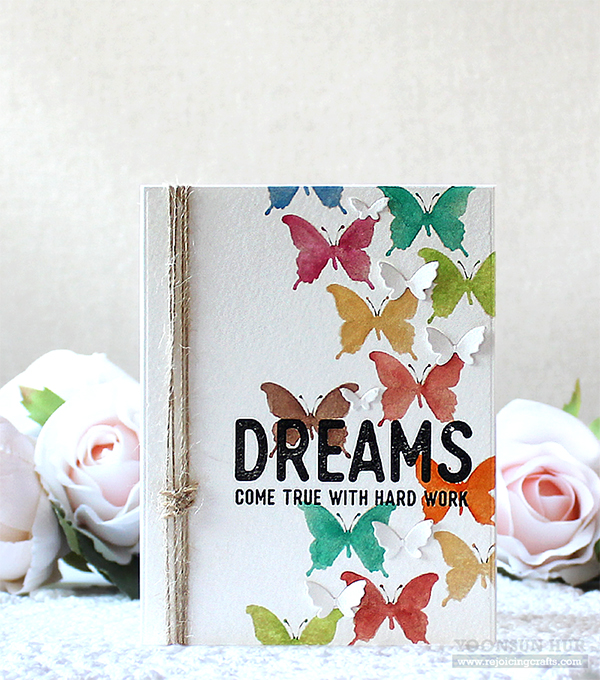 Once the panel was dry, I decorated the left side of the panel with natural twine, and then mounted it on white card base using double-sided tape. To finish it off, I added tiny white butterflies (from the Flickering Butterflies die) on the card front using fine tip glue pen.
 These colourful butterflies make me so happy!!

 For my first card, I ink blended onto watercolour paper panel with
  I added butterflies around the sentiment area using the
  For my second card, I ink blended onto watercolour paper panel with
  For the sentiment, I die cut the


 1) Die-cut
 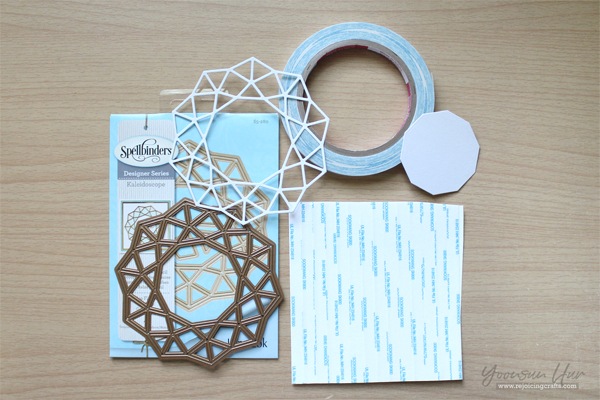 2) Make own adhesive panel using double-sided tape. Overlap the tapes carefully so there are no gaps.
 3) Adhere Geo Flower die cut on adhesive panel. Trim outside of the die cut out using a scissors.
 4) Apply glitters onto the sticky part of the die cut panel. Rub glitter with fingers to set in place.
 5) Stamp butterflies from the
 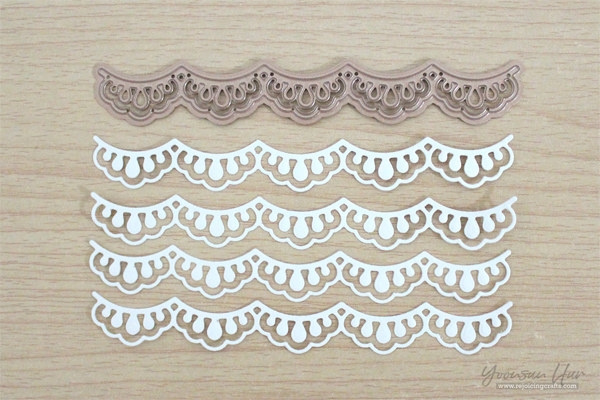 6) Die-cut 4 laces from pale grey card stock using one of the beautiful lace borders in the
  Lastly, I stamped sentiment from the


 I love watercolour! I love it, you know!! I stamped leaves (from the
  I want to breathe fresh air in this leafy forest! :D
 Thank you so much for stopping by. Happy crafting!


