Hello crafty friends, TGIF!
I am guest designing with Neat and Tangled this month. I am so happy to be a part of this amazing company once again!!
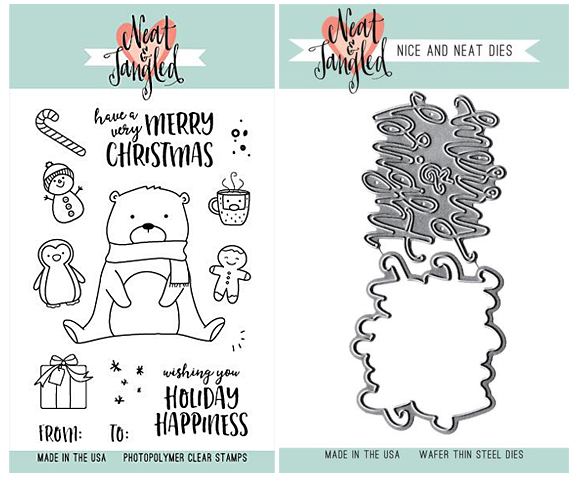
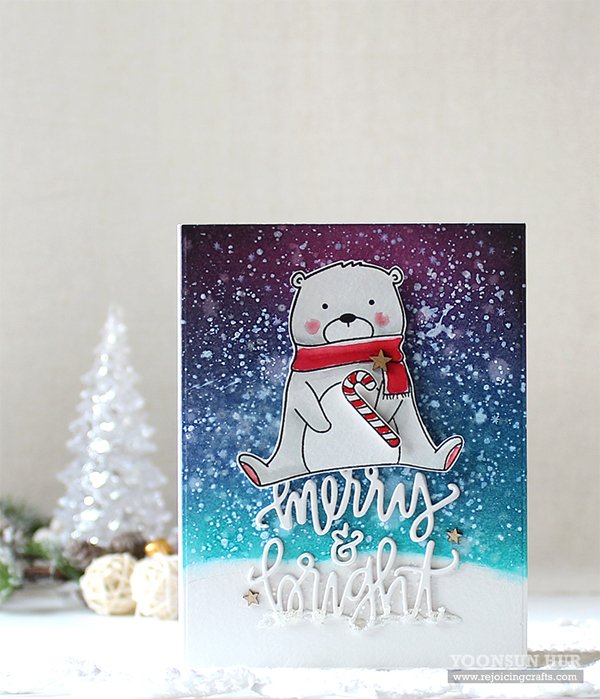
Today I want to share with you my fun Christmas card with so adorable Beary Merry Stamp Set and the Merry and Bright Nice and Neat Die.
Here is what I came up with:
 I started by stamping cute polar bear and candy cane from the Beary Merry set on watercolour paper using VersaFine Onyx Black pigment ink. I then watercoloured and fussy cut them. You can use the matching dies to cut stamped images. It is so much easier than use scissors. ;)
 For the snowy night background, I ink blended on watercolour paper panel with Mermaid Lagoon, Faded Jean, Seedless Preserves, Black Soot Distress inks and mini blending tool, and then added white ink splatters all around the panel. For the sentiment, I die cut the word “Merry & Bright” from white card stock fine times, and then stacked them up using glue pen.
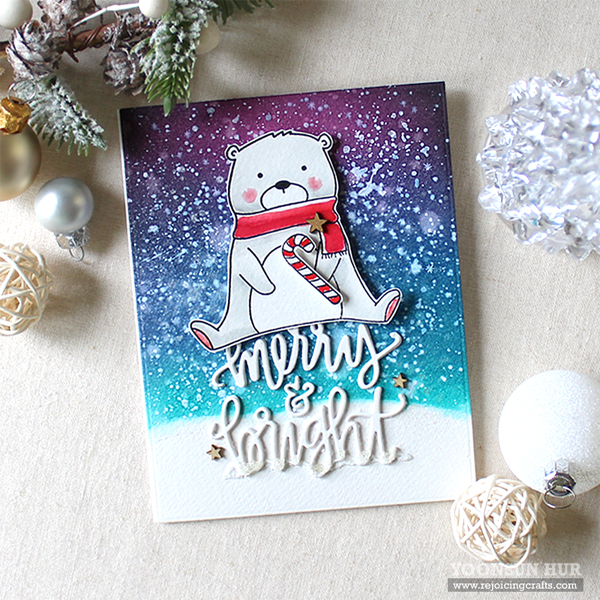 Once the panel was completely dry, I mounted it on white card base using double-sided tape first, and then added the sentiment die cut and the polar bear holding a candy cane on the card front using foam tape.

Thank you so much for stopping by. Have a wonderful weekend!!
Keep smiling and be blessed! God bless you all!
Love Love Love RejoicingCrafts
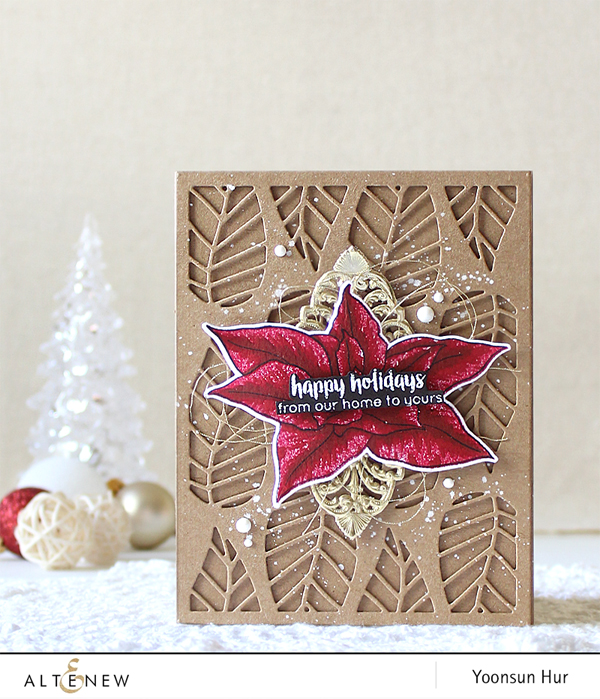 To create this card, I stamped & die cut the layered poinsettia from the
  For the background, I die cut the
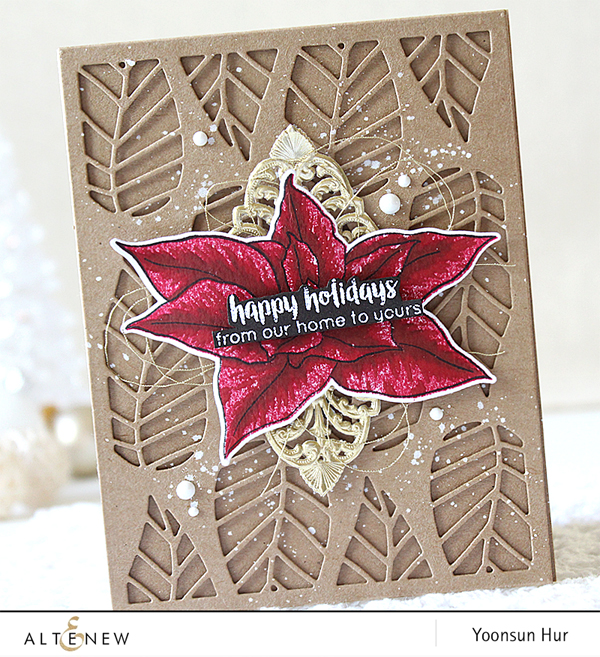
 Thank you so much for stopping by. Happy crafting!!
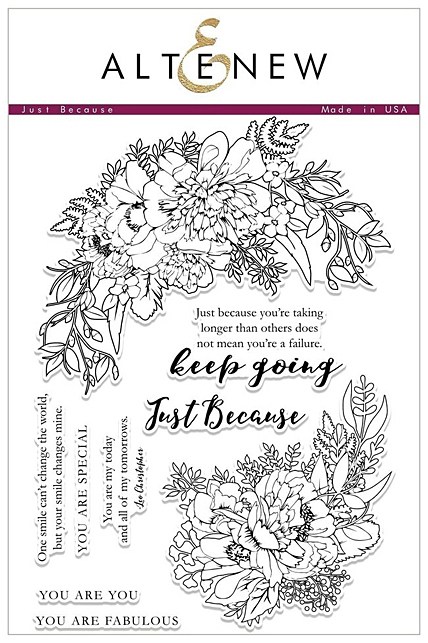
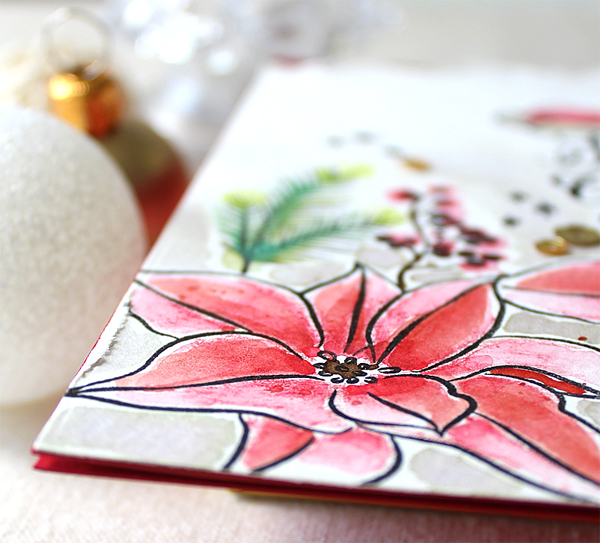
 For my first card, I made a watercolour card using watercolour pencils and water brush. I stamped larger arch-shaped flower bouquet image from the
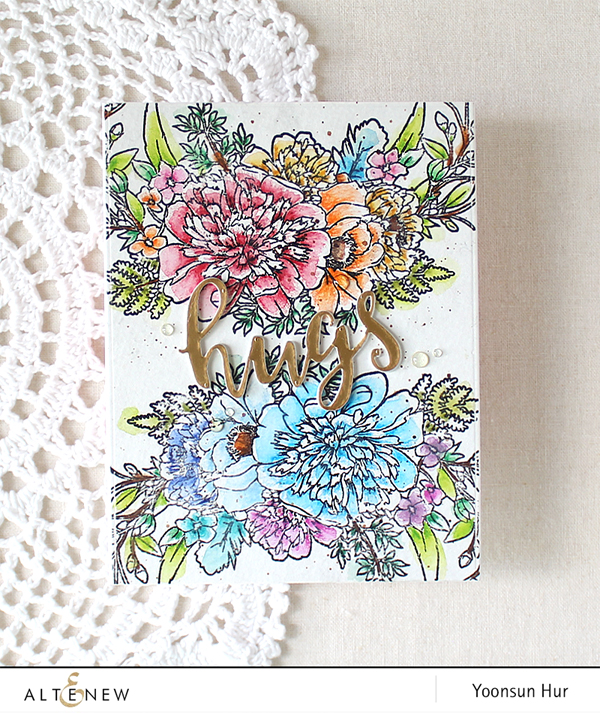

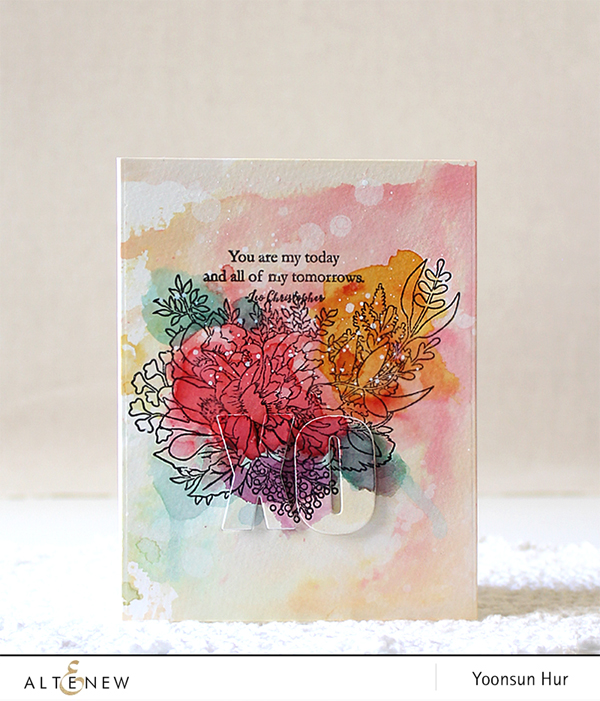 For my second card, I created a watercolour smoosh background – This is a very pretty and unpredictable watercolour background technique!! I stamped a flower bouquet and sentiment from the
  Once the watercoloured panel was completely dry, I die cut the word “XO” from the panel using the
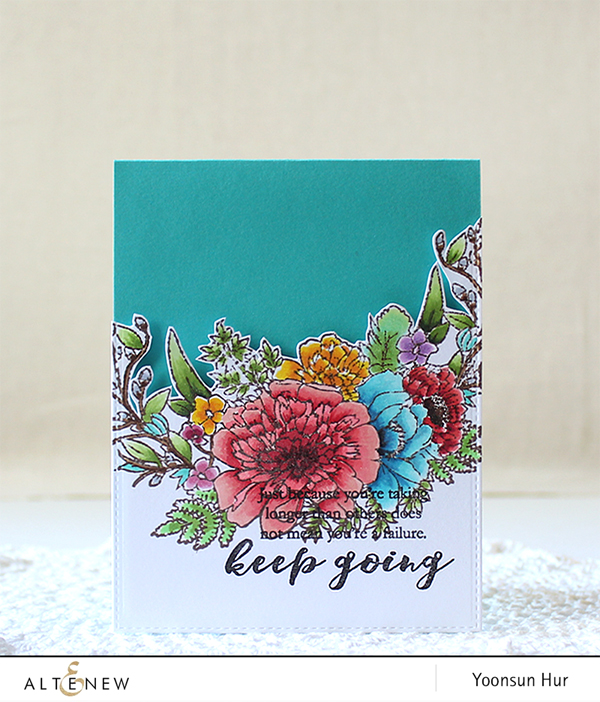 For my last card, I coloured the flowers with the

 I started by stamping poinsettias (from the
  Before mounting it on red card base, I tore the top part of the panel – Tearing it off at the top is something I rarely do, but works well on this card!!