Floral Friday: Floral Butterflies

Hello crafty friends, TGIF!

Today I want to share with you beautiful floral butterfly trio using the Spellbinders Bibi’s Butterflies Collection So Many Butterflies Etched dies & the Hero Arts Envelope Accessorise dies.

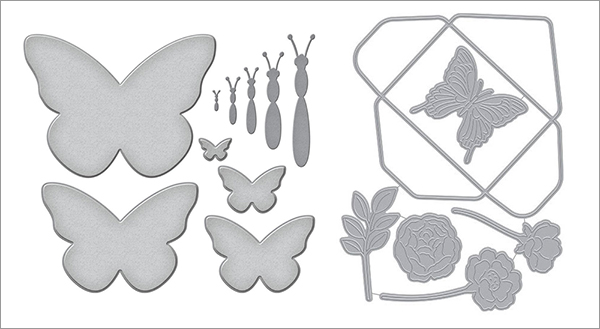
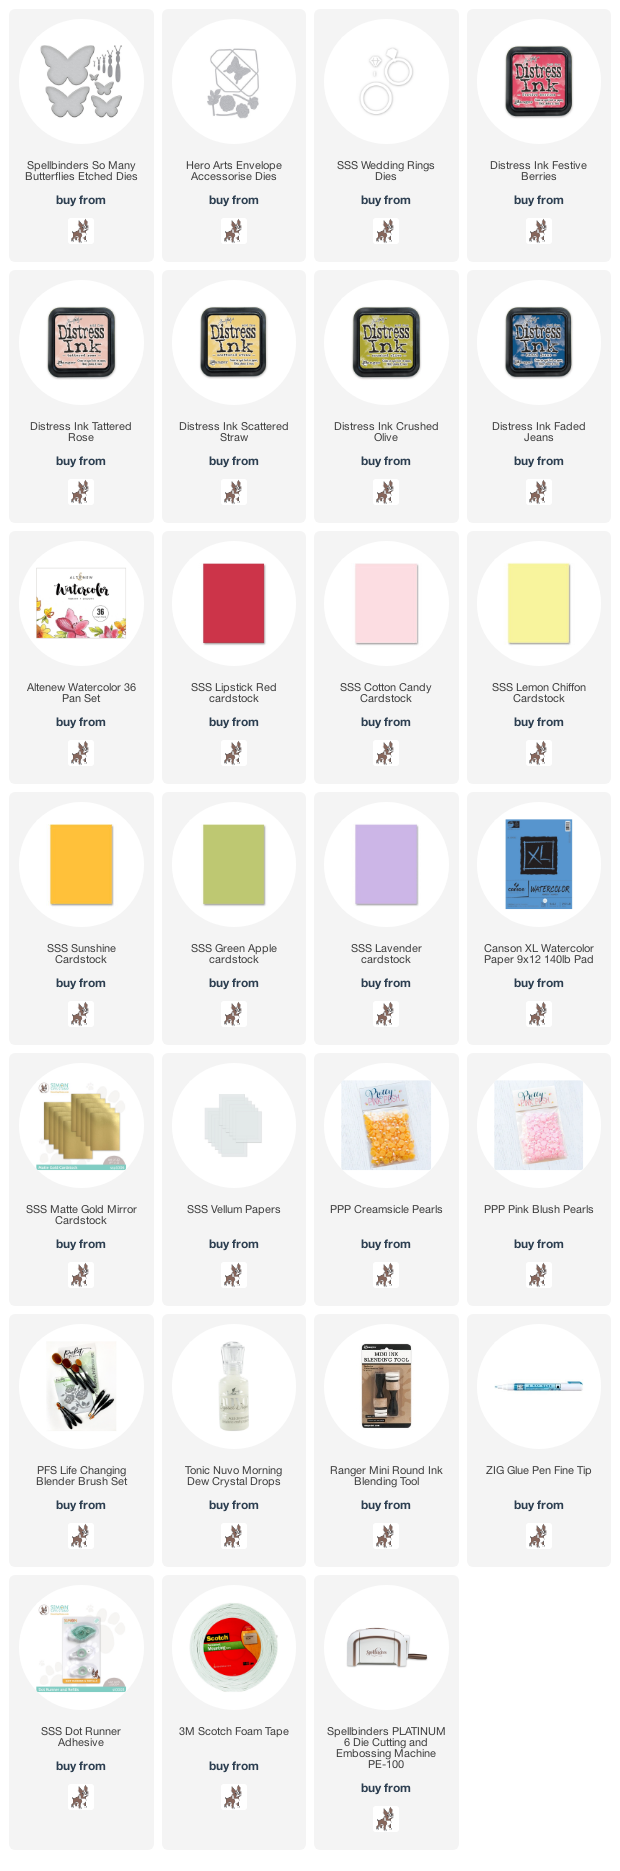
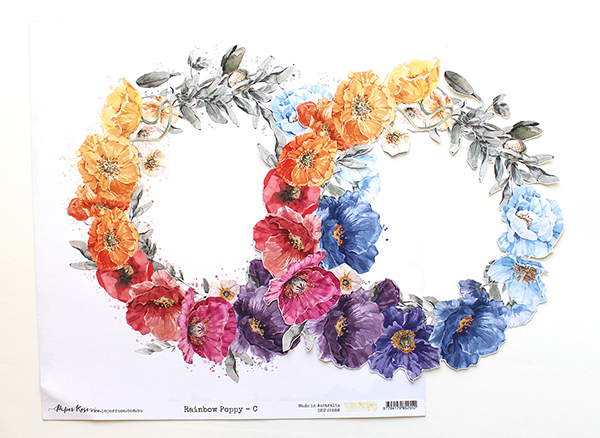
(Left) Spellbinders Bibi’s Butterflies Collection So Many Butterflies Etched Dies
(Right) Hero Arts Envelope Accessorise Dies


Ta-da! Aren’t they so beautiful to put small flowers, leaves, butterflies on top of the large sized, almost A2 sized, butterfly base? Oh, I love them so much!!

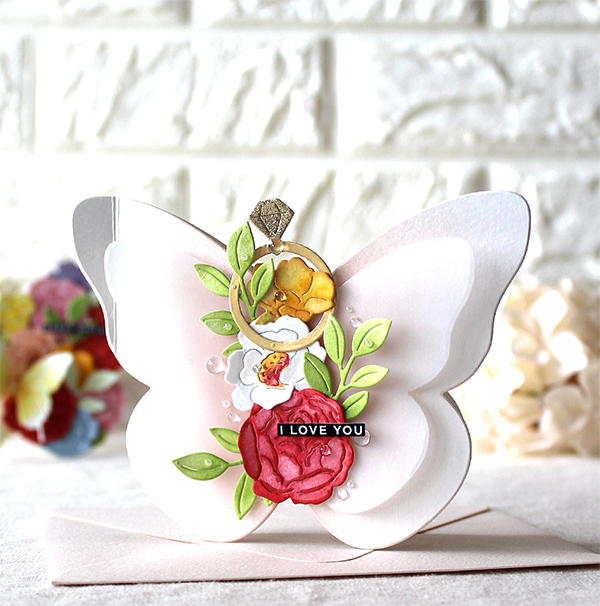
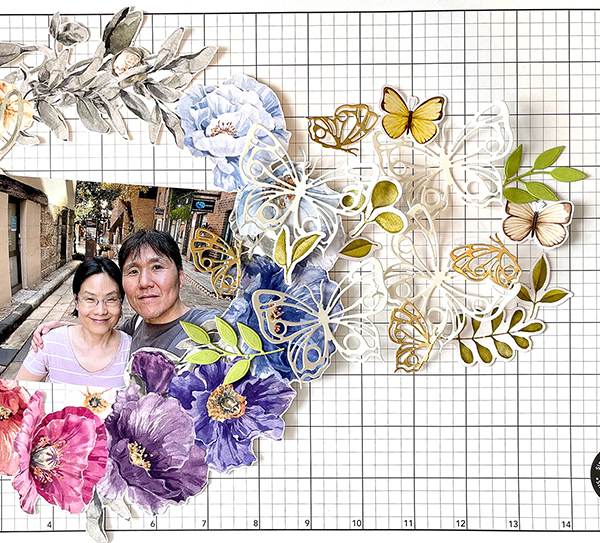
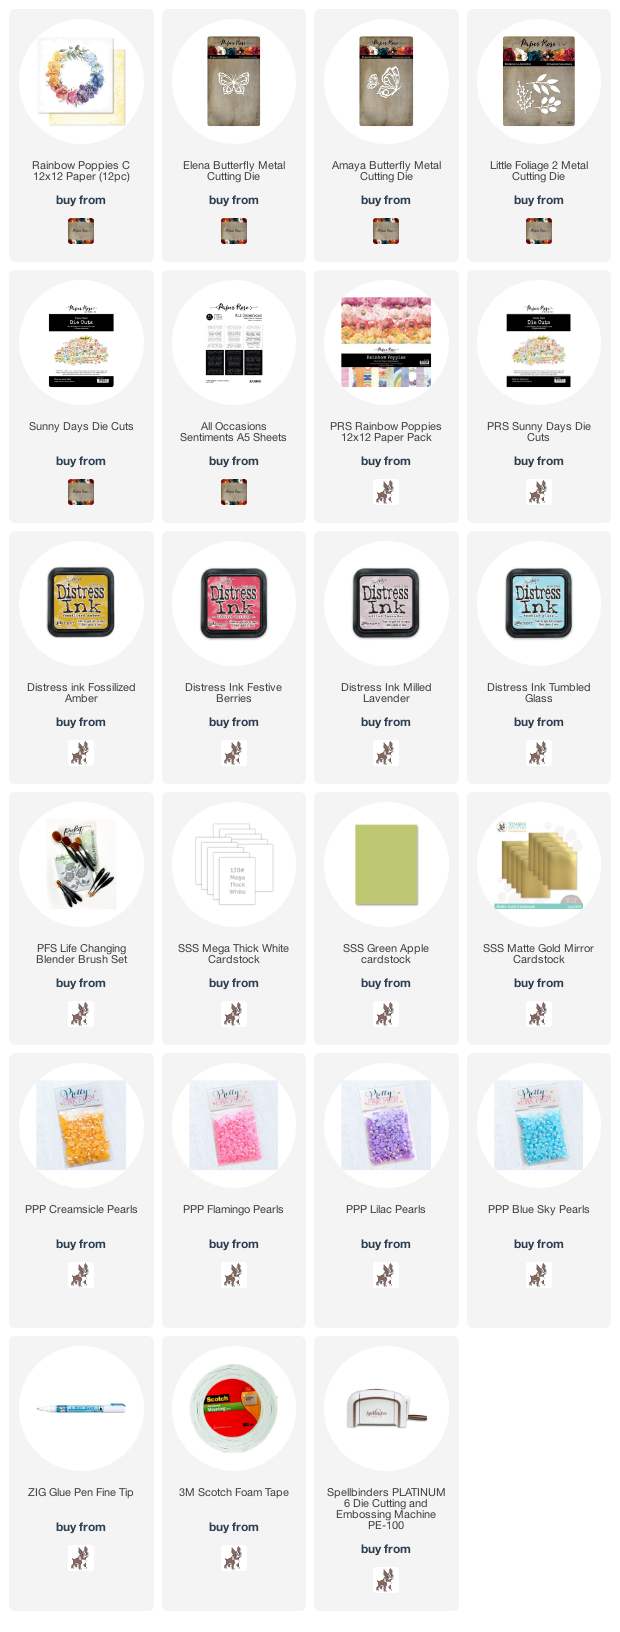
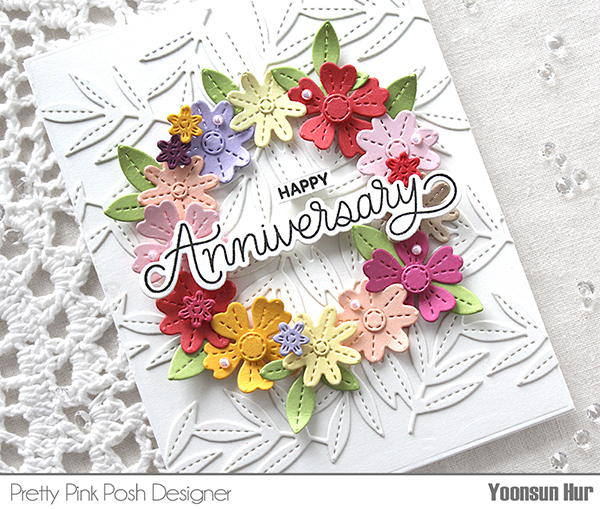
My first butterfly card is a proposal card. I die cut flowers & leaves from watercolour paper using the Hero Arts Envelope Accessorise dies, coloured them with Altenew Watercolor 36 pan set. I also die cut wedding ring from SSS Matte Gold Mirror cardstock using the SSS Wedding Rings dies.

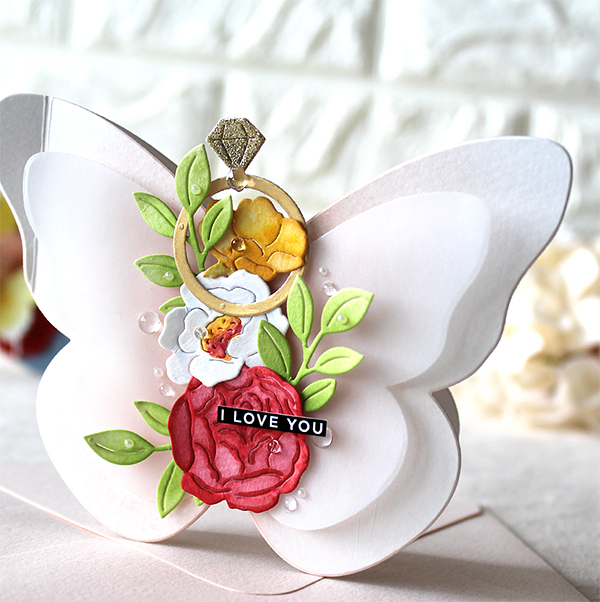
I adhered all watercoloured flowers & leaves, wedding ring on the centre of the white butterfly base using foam tape. I decorated the card with small clear droplets.


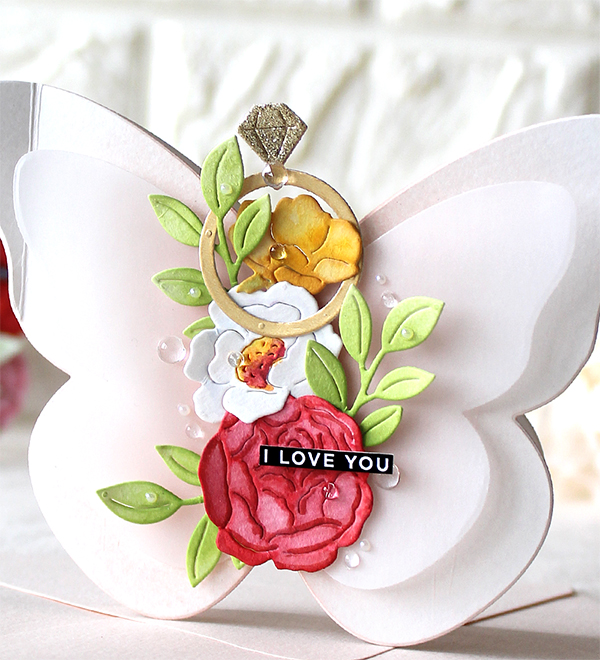
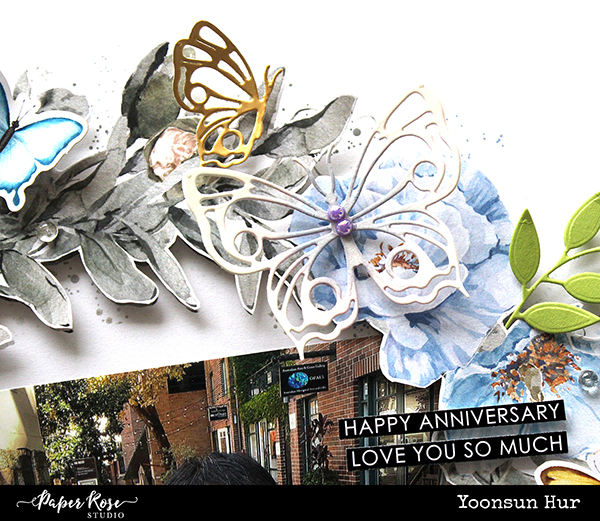
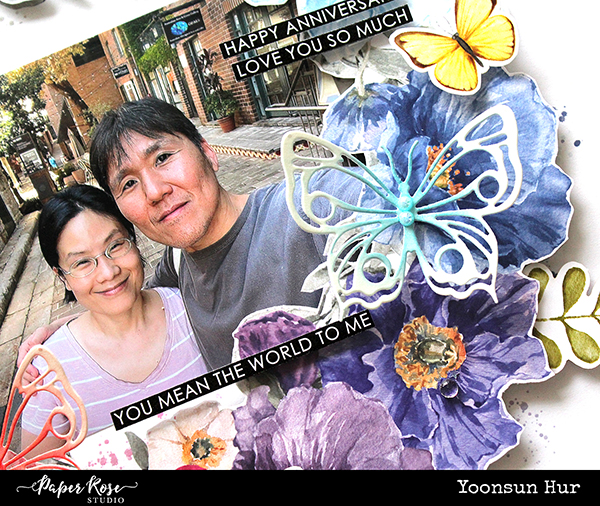
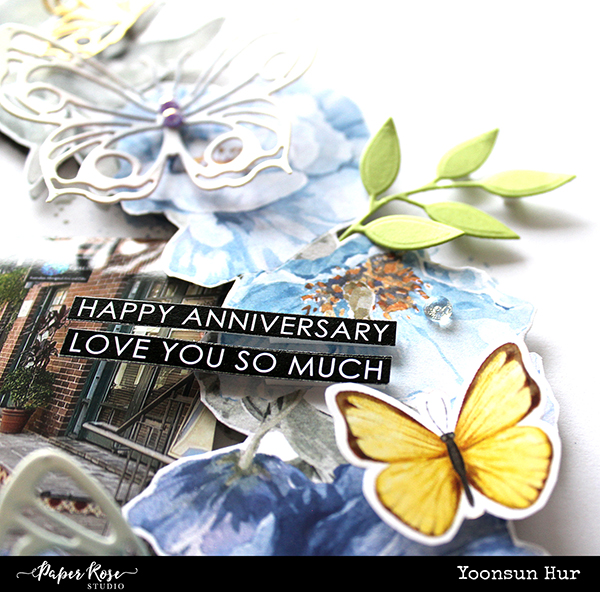
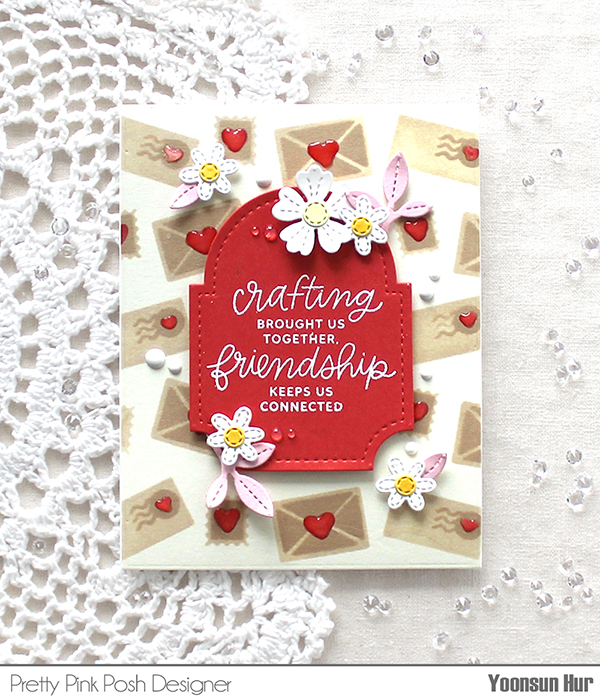
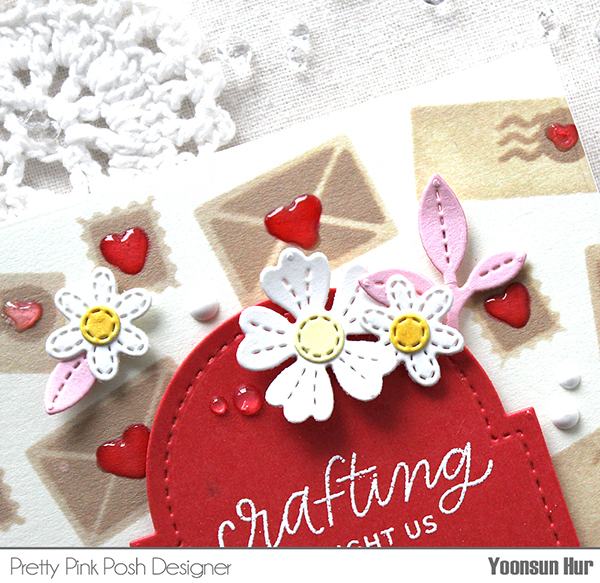
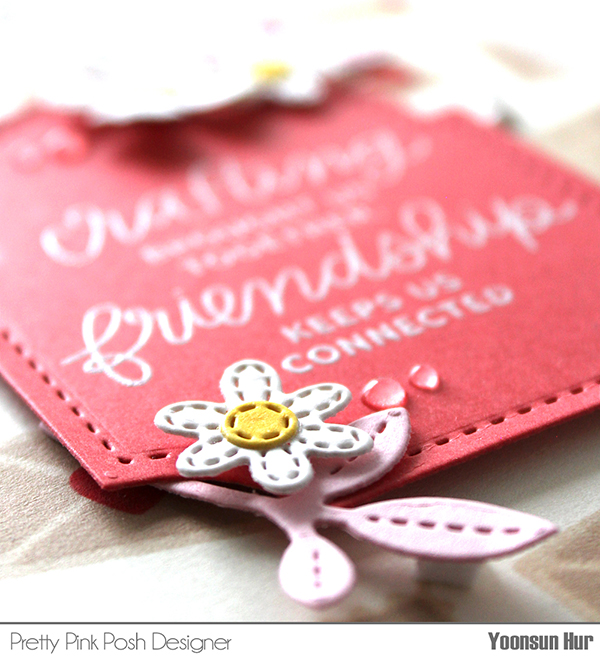
For the second butterfly card, I die cut flowers & leaves from watercolour paper using the Hero Arts Envelope Accessorise dies, randomly glued all die cuts on white butterfly card base using fine tip glue pen, and then ink blended it with some Distress inks in rainbow order. I added smaller vellum butterfly die cut, pearls and Hero Arts small butterfly on the card.


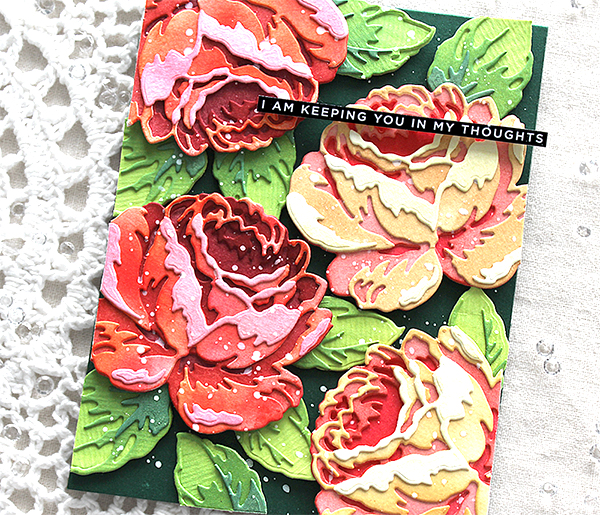
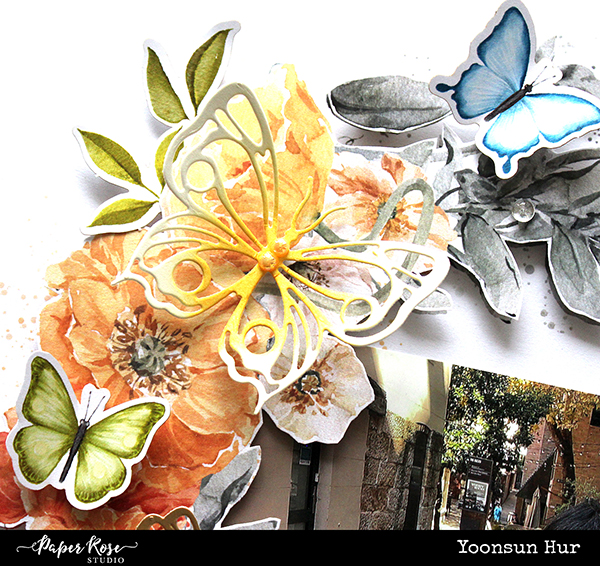
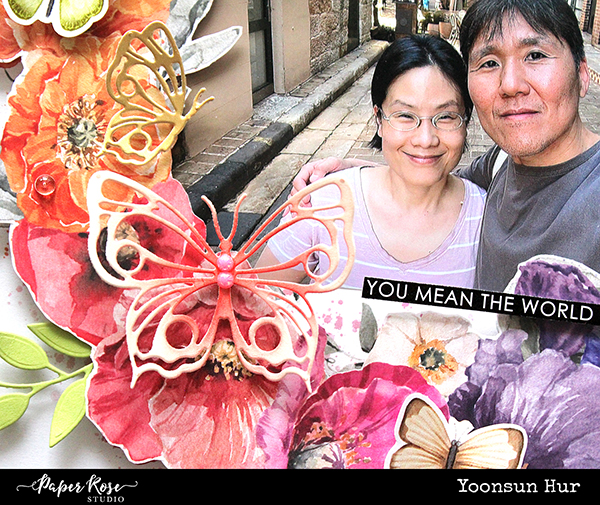
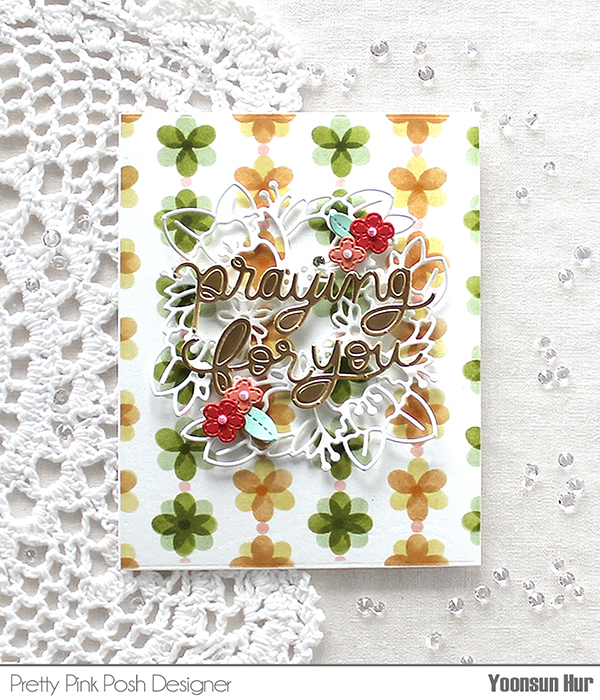
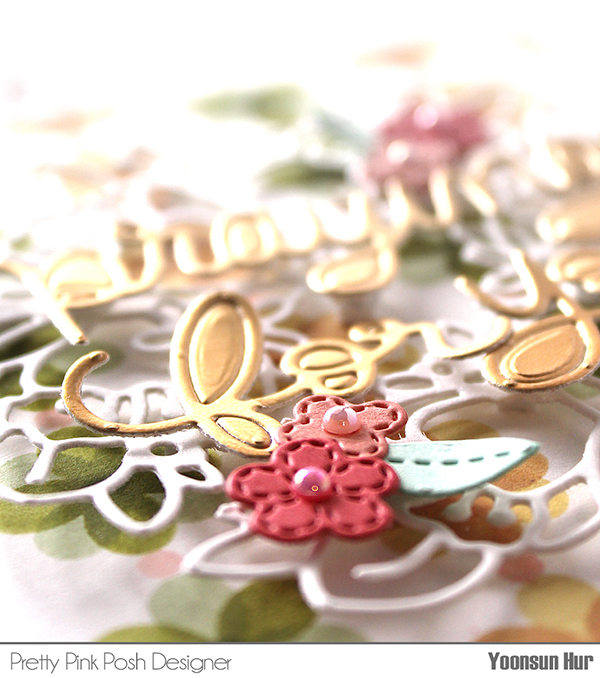
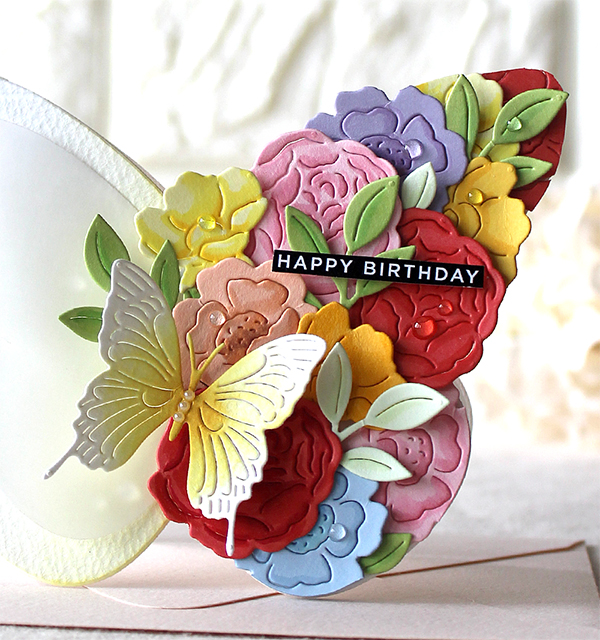
Here is the last but not least, I decorated the right part of the butterfly with colourful flowers & butterfly. I die cut Hero Arts small flowers & leaves from various colour cardstock, butterfly from white cardstock first. I then lightly added colour each die cut with Copic markers, and then arranged all flowers & leaves onto the right side of the white butterfly card base using foam tape.


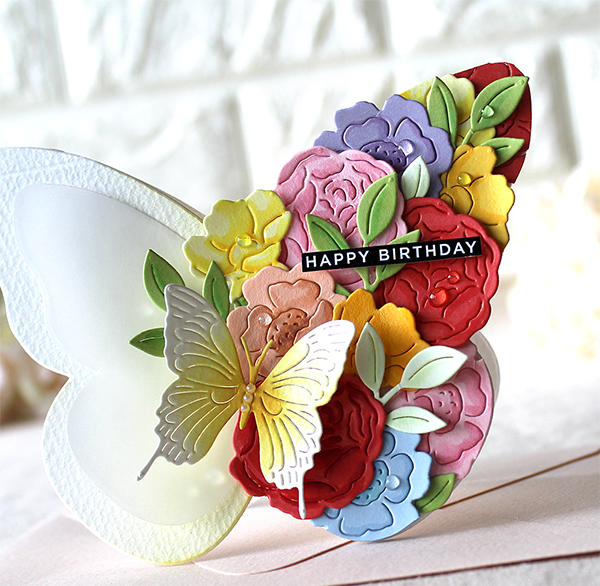
Isn’t it so lovely?!! I am so very pleased with the result, haha! :D

Thank you so much for stopping by. Have a wonderful weekend!

Keep smiling and be blessed! God bless you all!
Love Love Love RejoicingCrafts

Paper Rose Etched Pansy

Hello crafty friends!
Today I want to share with you a pretty pansy card with the Paper Rose Studio Etched Pansy 2 die set.

Etched Pansy 2 Metal Cutting Die


I started by die cutting petals and leaves from watercolour paper using the Etched Pansy 2 dies first, and then inked each die cut with some Distress inks as below:
Petals: Seedless Preserves / Centre: Wild Honey / Leaves: Crushed Olive.

For the background, I used one of pattern paper in the Amberley Grove 6×6 Paper Collection. I die cut an A2 sized panel using the SSS Basic Rectangles dies. I mounted an A2 sized pattern paper on the white card base using SSS Dot Runner Adhesive first, then added purple pansies as shown in the picture.


Thank you so much for stopping by. Have a great day.

Keep smiling and be blessed! God bless you all!
Love Love Love RejoicingCrafts

Floral Friday: Altenew Layered Antique Rose

Hello crafty friends, TGIF!

Today I want to share with you a beautiful floral card using the Altenew CAF Antique Rose Layering die set. Altenew has so many gorgeous layering floral dies and this set is my most favourite among them.

Altenew Craft-A-Flower Antique Rose Layering die set


Ta-da! Isn’t it so pretty?!! I love it sooooo much. :D

I started by die cutting many pieces of Antique Rose from watercolour paper. I then inked all pieces with some Distress inks and dye inks:
1) RED ROSE
Base layer: SSS Merlot dye ink / 2nd layer: Festive Berries Distress ink
3rd layer: Dried Marigold Distress ink / Last layer (top layer): Tattered Rose Distress ink

2) BEIGE ROSE
Base layer: Festive Berries Distress ink / 2nd layer: Tattered Rose Distress ink
3rd layer: Tea Dye Distress ink / Last layer (top layer): Antique Linen Distress ink

3) LEAVES
Base layer: SSS Green Apple dye ink / 2nd layer: SSS Green Leaf dye ink
3rd layer (darkest colour): SSS Evergreen dye ink

After inking all pieces, assembled them as roses and leaves, then adhered them on dark green card base using foam tape.

Here is a closer look:


I added opaque white ink splatters all around the card.


Thank you so much for stopping by. Have a wonderful weekend!

Keep smiling and be blessed! God bless you all!
Love Love Love RejoicingCrafts

Paper Rose Scrapbook in May 2022

Hello crafty friends! I hope you had a wonderful weekend.
Today, I am going to post a special project unlike other days. As you know, I mostly make and share handmade cards but today I have a scrapbook.

Yay! It is my very first scrapbook!! I never ever imagined I could make a scrapbook because I thought it would be too difficult for me to do but, the moment I saw the Rainbow Poppies Wreath, I really wanted to make it. I love the Paper Rose Studio Rainbow Poppies Paper Collection!! :D

I prepared two sheets of paper with the same pattern first, then cut one of the Rainbow Poppies Wreath according to the shape with scissors.

There were Rainbow Poppies wreath, butterflies, leaves and photo – ready to make scrapbook! I mounted the photo & Rainbow Poppies wreath on the base using foam tape first, and then added all elements.

Here is a closer look:


I lightly applied Distress inks to the centre of all butterflies and added pearls. They are so pretty, right?!! Haha!

Thank you so much for stopping by. Have a great day.

Keep smiling and be blessed! God bless you all!
Love Love Love RejoicingCrafts

PPP May 2022 Product Release Blog Hop – Day 2

Hello crafty friends!
Welcome to Day 2 of the Pretty Pink Posh May 2022 Product Release Blog Hop. If you arrived here from the super talented Leica Palma’s blog you are on the right track.

All of my cards today, I’m featuring the new Spring Foliage die set. This mini floral dies are super-duper pretty!! I really love this set. :D

Some of you may have already saw it as a sneak peak card on Pretty Pink Posh blog. I die cut many flowers and leaves from various coloured cardstock, assembled them as a floral wreath.

Here is a closer look:


For the sentiment, I stamped them from the Celebration Scripts set on white cardstock using black pigment ink, then die cut it with the coordinating die.


For the second floral card, I used many new products – Spring Foliage dies, Floral Arch die, Praying for You Script die and Layered Spring Flowers stencil. With the Layered Spring Flowers stencil, I made a (kind of) geometric floral patterns, haha! I added white Floral Arch, metallic gold Praying for You Script, and some tiny spring flowers on the centre of the card front using foam tape.


For my last card, I made letters pattern using the Layered Letters stencil. I then heat embossed the sentiment from the Crafty Sentiments set on red cardstock using white embossing powder, trimmed it down using mailbox shaped die in the Spring Circles coordinating die set.


I die cut tiny flowers from white & yellow cardstock, leaves from pink cardstock using the Spring Foliage die first, and then decorated the sentiment banner with these flowers.


GIVEAWAY!!
There are 3 $30 gift certificates up for grabs (one winner each day). Winners will be picked randomly along the blog hop. Comments must be left by 11:59 PM PST on 5/22/2022. Winners will be announced on the PPP blog.

BLOG HOP LIST:
Pretty Pink Posh blog
Davina Cantrell
Alberto Gava
Rachel Arribas
Gemma Campbell
Leica Palma
Yoonsun Hur (Me!!)

Thank you so much for stopping by. Have a great day!

Keep smiling and be blessed. God bless you all.
Love Love Love RejoicingCrafts