Altenew February 2024 Release Blog Hop + Giveaway

Hello crafty friends!
Welcome to the Altenew February 2024 Release Blog Hop. I’m so excited to be a part of this amazing blog hop! Altenew flowers are always! always so beautiful!!
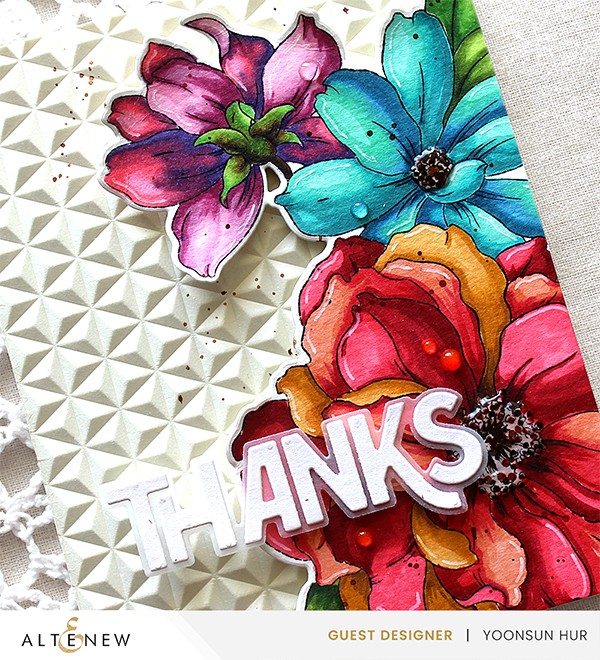
For my first card, I am featuring brand new Blooming Delight set. I love this large sized outline floral design so much!
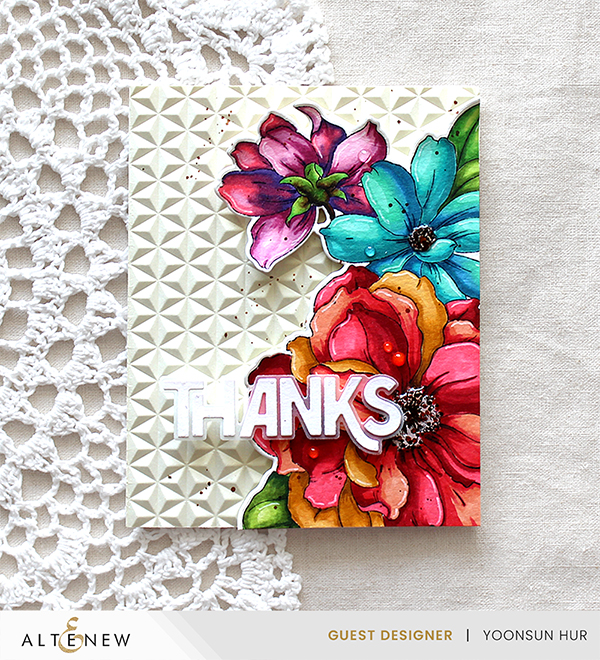
I stamped the outline flowers onto white cardstock using black dye ink first, coloured the stamped images with alcohol markers, and then die cut it with the matching die. For the background, I dry embossed it with the Diamond Stars 3D embossing folder. For the sentiment, I used the Bold Thanks die.
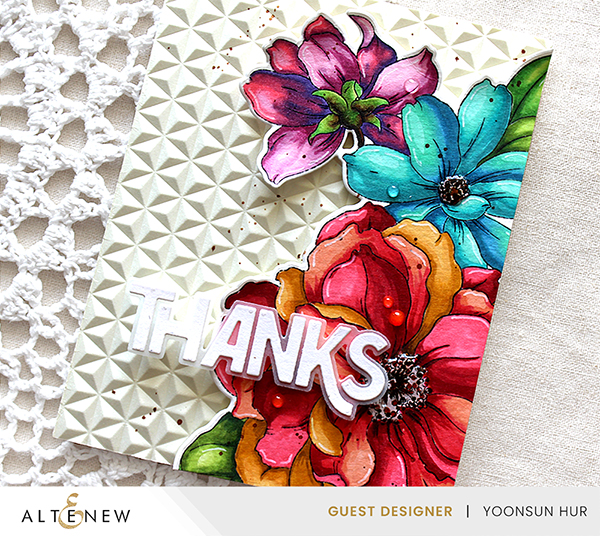
I made colourful floral card with lots of alcohol markers. :)
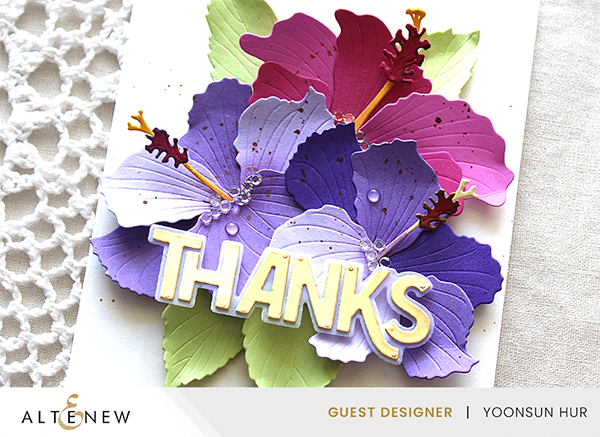
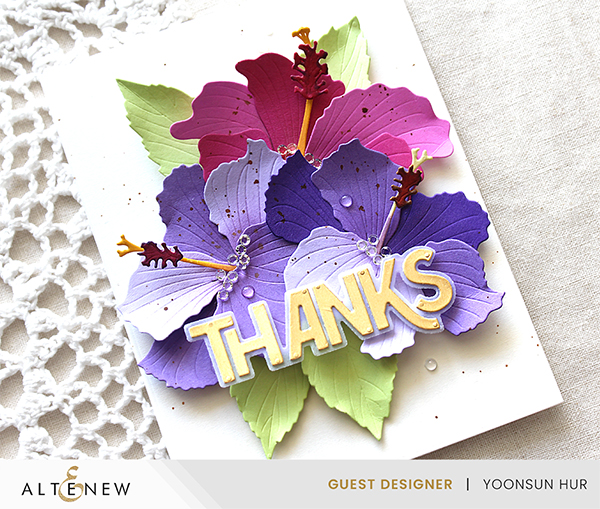
For my second “Thanks” card, I used the new Craft-A-Flower: Hibiscus Layering die set.
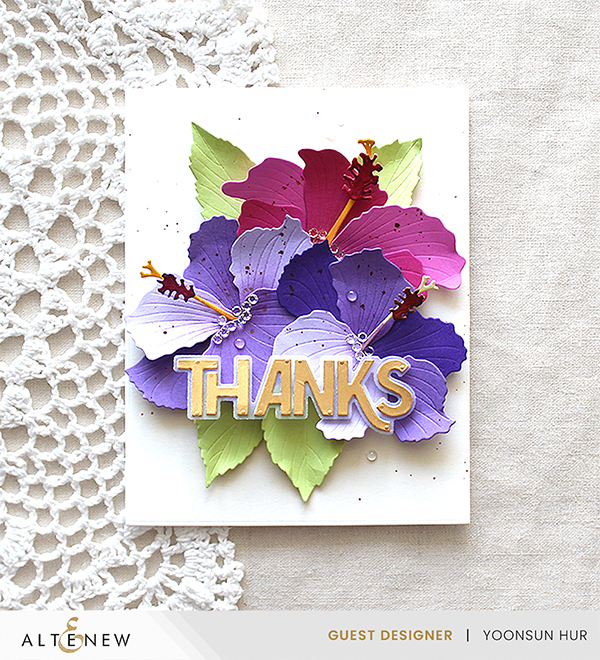
I die cut petals & leaves from Gradient Cardstock Set – Rose Petal & New Purple. I then made Hibiscus by putting the pieces together.

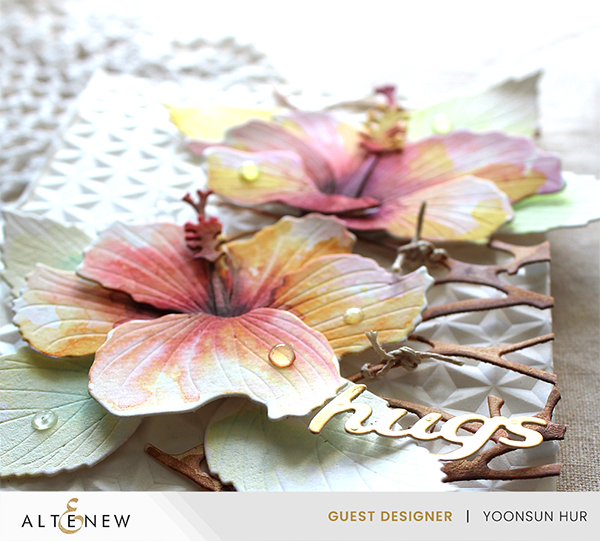
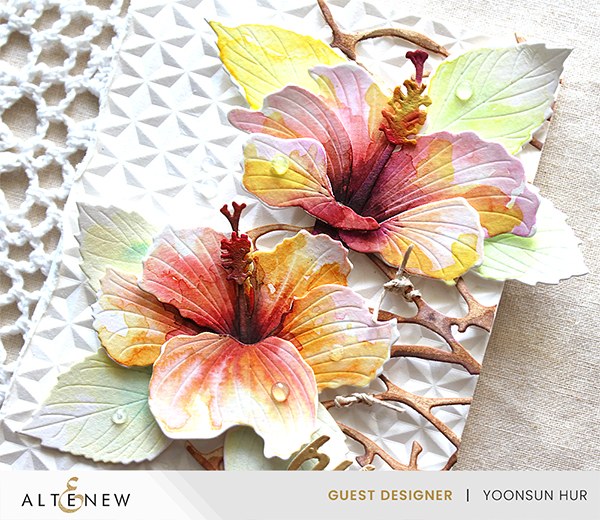
Last (but not least) card for today’s hop is watercolour flower card!! You know what? I LOVE this card so much. I am very satisfied with the result, haha! :)
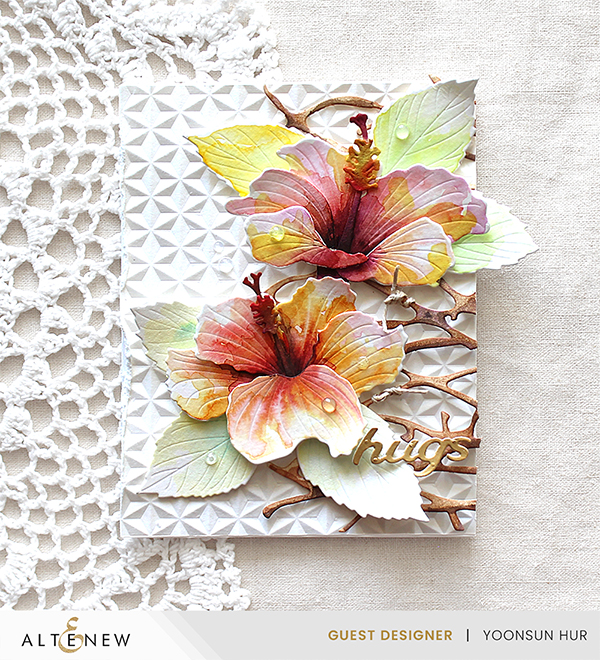
I die cut all pieces from watercolour paper using the Hibiscus Layering die set first, assembled them together, then watercoloured them. Behind the flowers, I die cut Reflections die from watercolour paper, coloured it using Vintage Photo distress ink.

GIVEAWAY!

$300 in total prizes! To celebrate this release, Altenew is giving away a $100 gift certificate to 1 lucky winner and a $50 gift certificate to 4 winners! Please leave a comment on the Altenew Card Blog and/or each designer’s blog post on the blog hop list below by 02/13/2024 for a chance to win. Altenew will draw 5 random winners from the comments left on each stop of this blog hop and announce the winners on the Altenew Winners Page on 02/15/2024.

BLOG HOP LIST: Click here InLinkz Link-up

Thank you so much for stopping by. Have a wonderful day!

Keep smiling and be blessed! God bless you all!
Love Love Love RejoicingCrafts
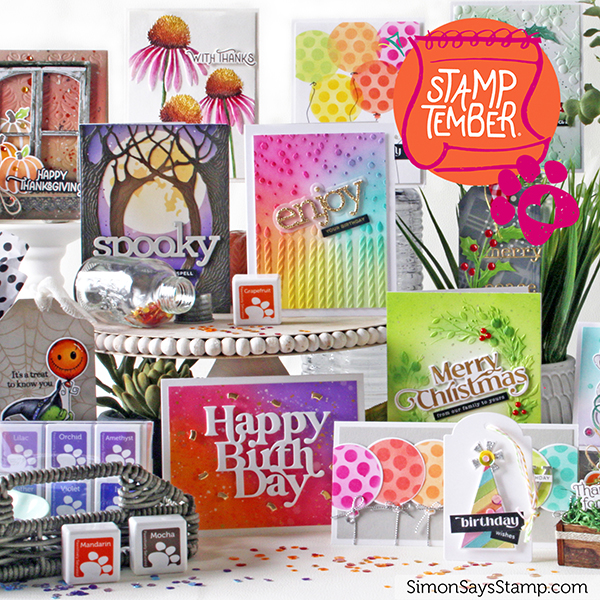
SSS STAMPtember® 2023 Blog Party!!

Hello crafty friends, happy STAMPtember 2023!
Can you believe fall is already everywhere (not in Australia, though)? As many of you already know, September is the best month for cardmaking and even we have the month-long STAMPtember festival! Today we have a huge STAMPtember Party with lots and lots of super talented card makers. I am SO SUPER excited and honoured to be a part of this awesome party. YAY!!

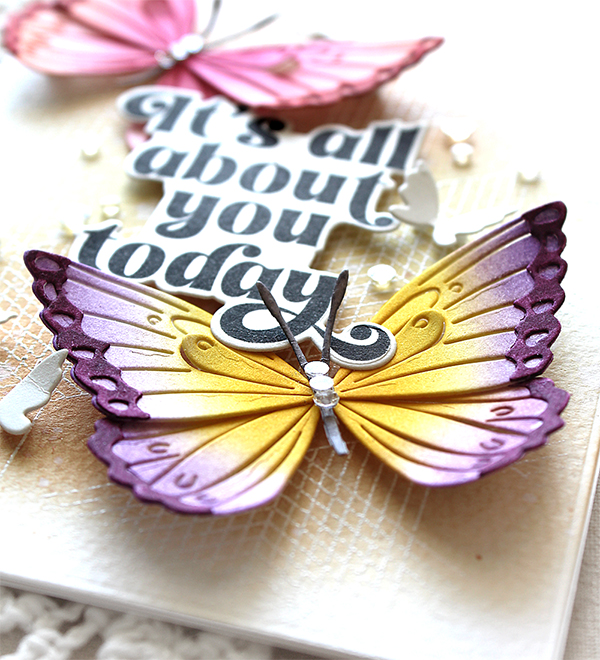
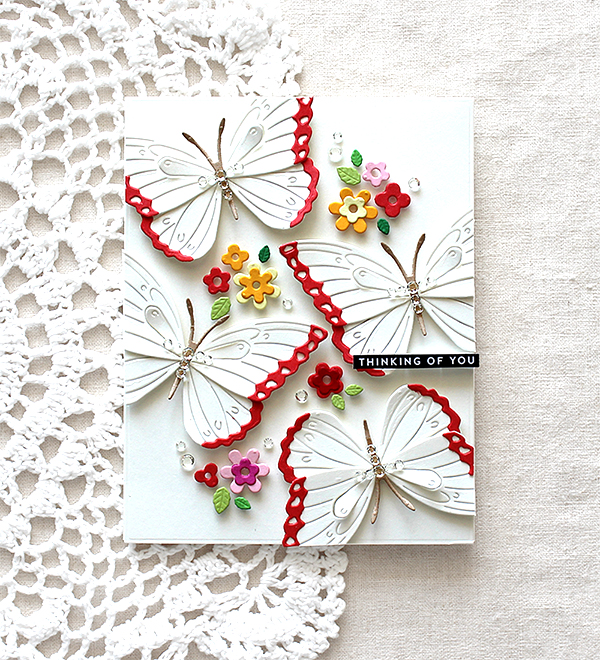
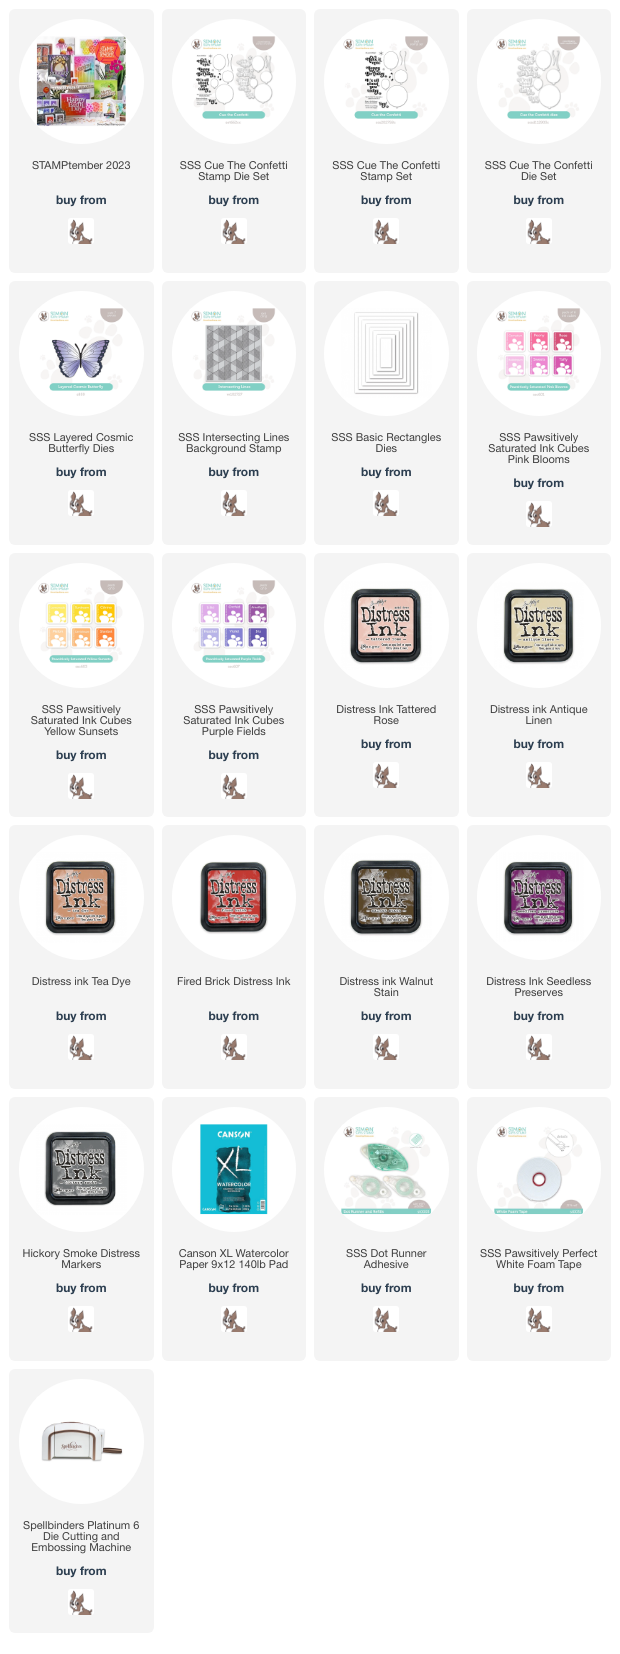
I made a couple of butterfly cards for this amazing party today! I used brand new Layered Cosmic Butterfly die, Intersection Lines Background stamp and Cue the Confetti stamp set.

For my first card, I made a butterfly birthday card. For the background panel, I heat embossed Intersection Lines Background on watercolour paper panel with white embossing powder, lightly applied some pale coloured distress inks (Tattered Rose, Antique Linen, Tea Dye). For the butterflies, I die cut two butterfly sets from white cardstock using the Layered Cosmic Butterfly die, blended them with warm coloured Pawsitively Saturated inks as below:
Pink butterfly: Rose & Sherbet / Purple butterfly: Citrine & Amethyst.
For the sentiment, I used the Cue the Confetti stamp set.


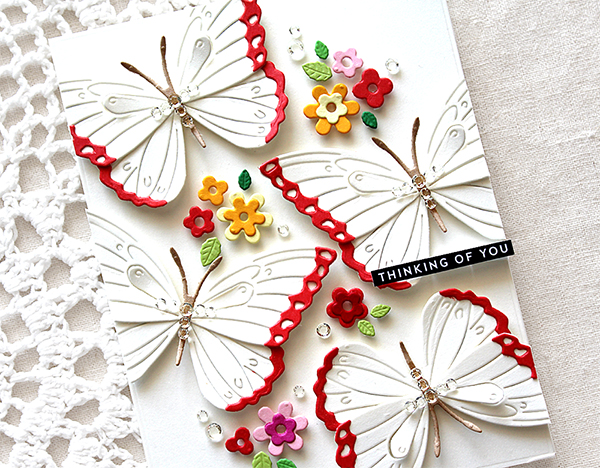
Here is another butterfly card with the Layered Cosmic Butterfly die.

I simply die cut all elements, butterflies and tiny flowers, from white & coloured cardstock and arranged them on A2 sized white card using foam tape. It’s so easy to make, right? :)


SPECIAL PROMOTION!!

It would be no fun if there’s no gift at the party, right?!! We have a special promotion for YOU! Get a FREE exclusive Fireworks Embossing Folder at checkout when you purchase $30 or more at Simon Says Stamp Store.

Redeem your FREE GIFT in 3 easy steps!
1. Search sf338 in the store
2. Add 1 to your card
3. Enter code FWEF at chechout to get this item for free!*

Thank you so much for stopping by. Have a wonderful day!

Keep smiling and be blessed! God bless you all!
Love Love Love RejoicingCrafts
SSS Floral Happy Birthday

Hello crafty friends, long time no see!
I’ve been MIA for a while (actually over 7 months).. Life has been quite hectic recently, with a combination of personal and professional commitments demanding my full attention. Though I’ve had a lot on my plate, I will make and share my cards with YOU!!

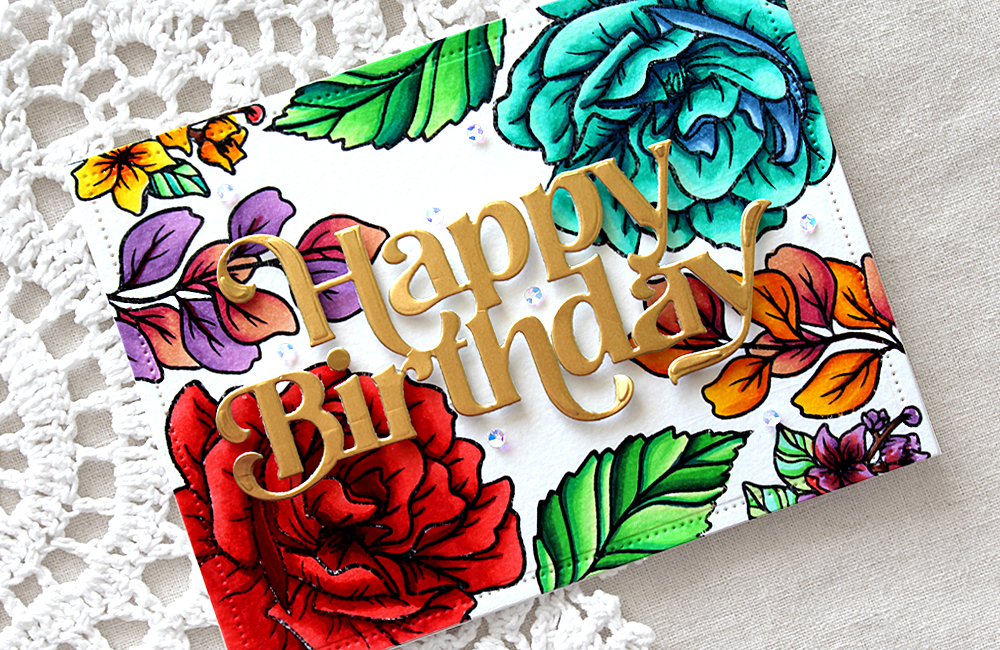
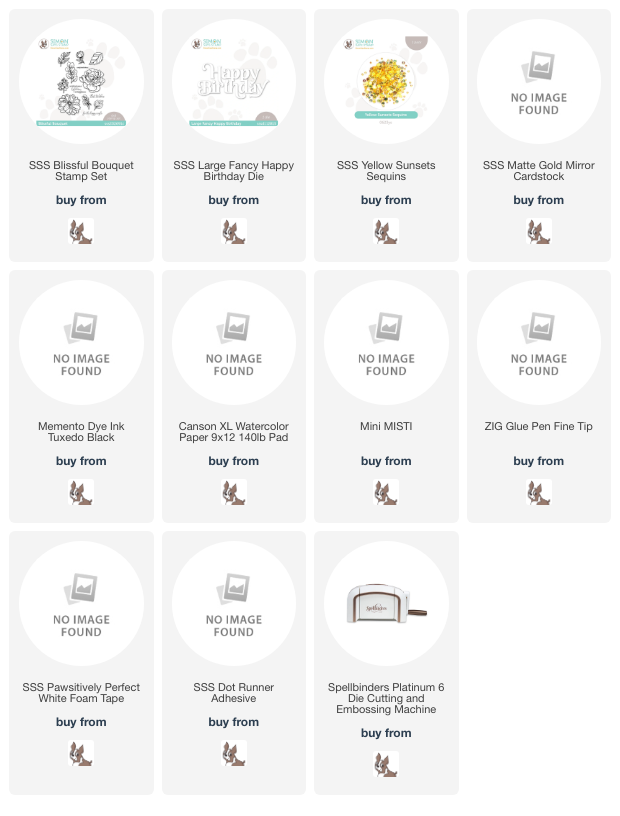
My card today, I made a floral “Happy Birthday” card with the SSS Blissful Bouquet stamp and the Large Fancy Happy Birthday die.

I started by stamping beautiful flowers and leaves from the Blissful Bouquet set onto a watercolour paper using Memento Tuxedo Black. I then simply coloured all stamped images with Copic markers. I trimmed it as an A2 sized card using an A2 sized stitched rectangle panel die.

For the sentiment, I die cut the Large Fancy Happy Birthday from Matte Gold Mirror Cardstock first, and then added it to the centre of the floral card using foam tape. I embellished 3mm clear cup sequins around the birthday sentiment.

Thank you so much for stopping by. Have a wonderful week.

Keep smiling and be blessed! God bless you all!
Love Love Love RejoicingCrafts

SSS Hugs and Kisses Release Blog Hop – Day 2

Hello crafty friends, happy weekend!
Welcome to Day 2 of the Simon Says Stamp Hugs and Kisses Release Blog Hop. I am so happy to be a part of this beautiful blog hop! If you arrived here from super talented Miriam Prantner’s blog you are on the right track.

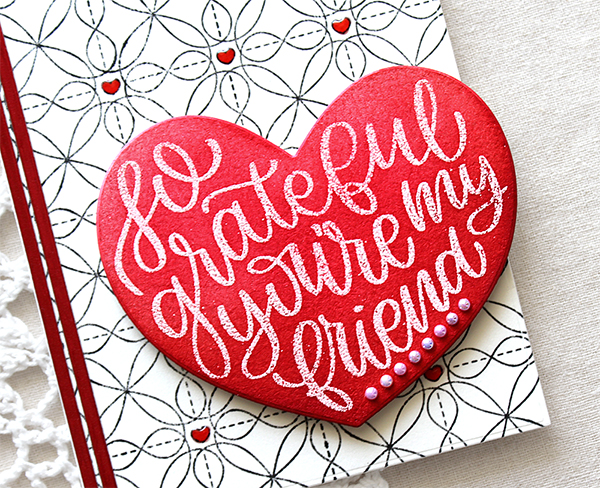
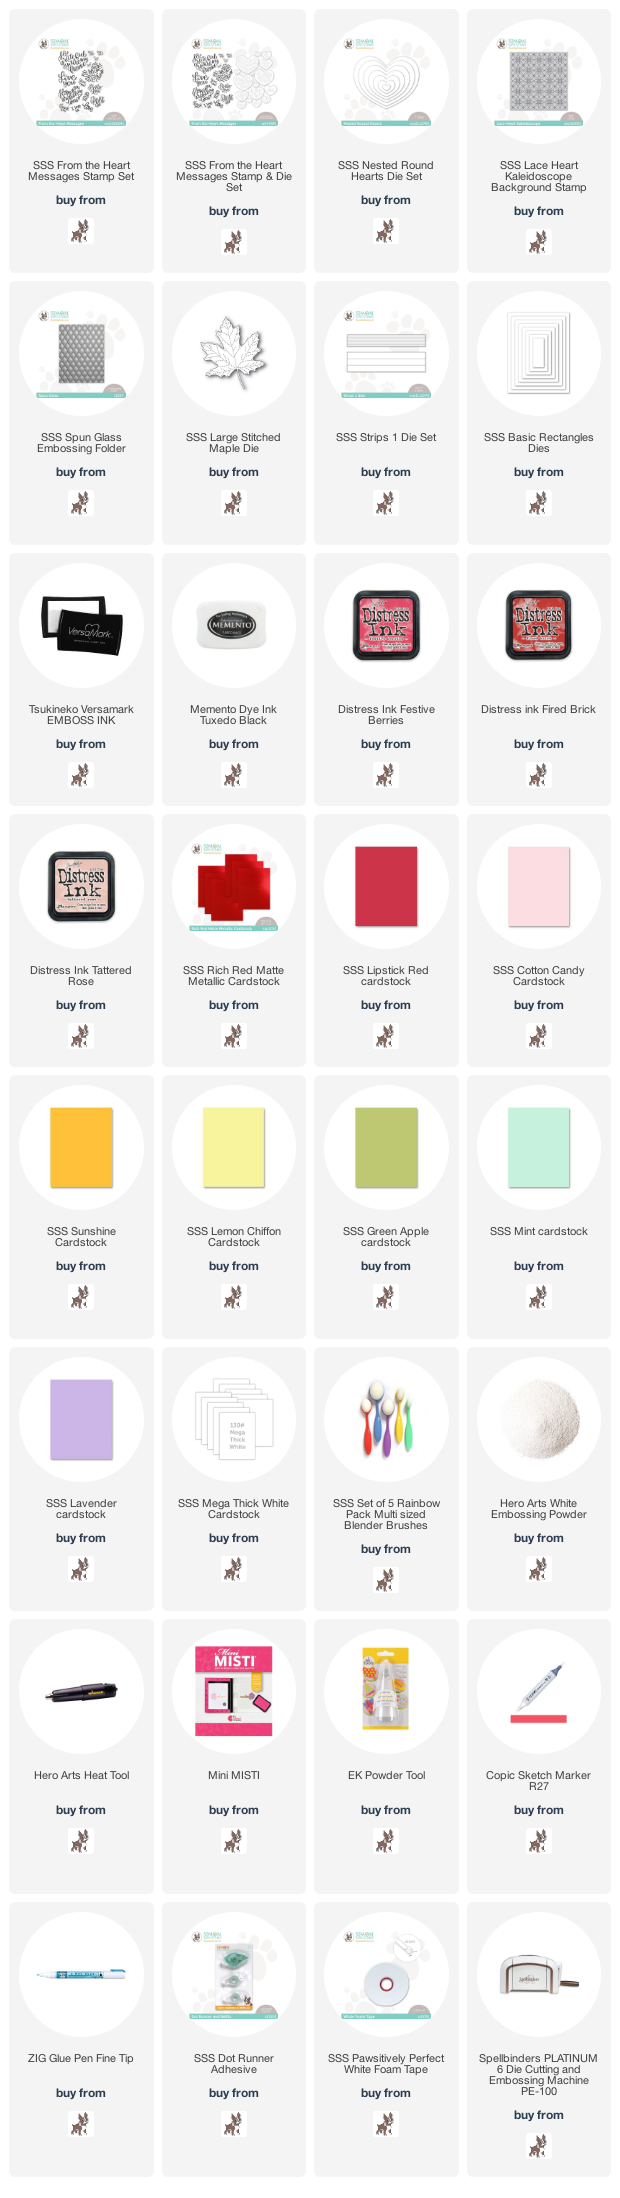
For my first card, I used the From the Heart Messages, Nested Round Hearts and Lace Heart Kaleidoscope Background. I heat embossed the beautiful sentiment in the From the Heart Messages set onto white cardstock in white, die cut it with the largest sized heart die, and then ink blended it with Festive Berries & Fired Brick Distress inks. For the background, I stamped the Lace Heart Kaleidoscope using Memento Tuxedo Black dye ink. I coloured all tiny hearts with Copic R27.


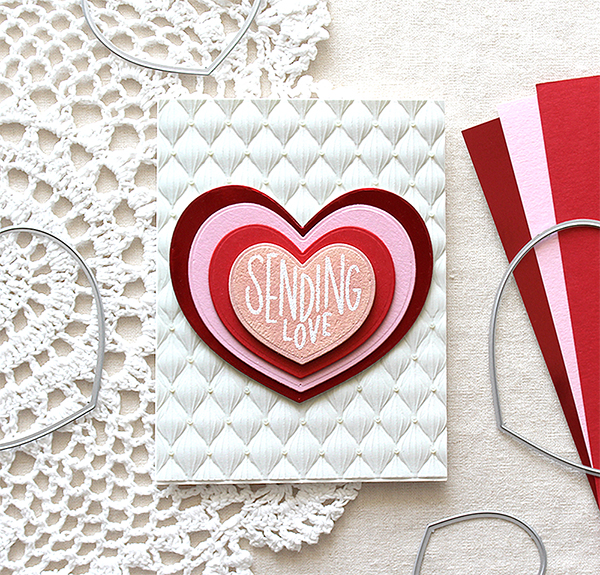
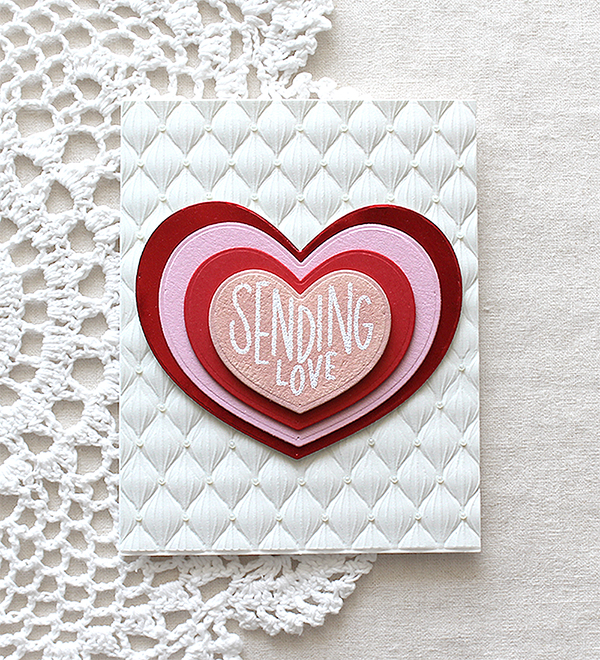
Here is another heart card with the From the Heart Messages and Nested Round Hearts. I die cut 4 different hearts from colour cardstock – I used Rich Red Matte Metallic, Cotton Candy and Lipstick Red cardstock. For the sentiment heart die cut, I heat embossed the sentiment on watercolour paper in white, inked it with Tattered Rose Distress ink.

For the background, I used the Spun Glass embossing folder.


For my last card, I used the Large Stitched Maple die. This maple die is not belong to the Hugs and Kisses Release but I thought, I really don’t know, it was one of the new products, haha! More card, happy to see, right?!!

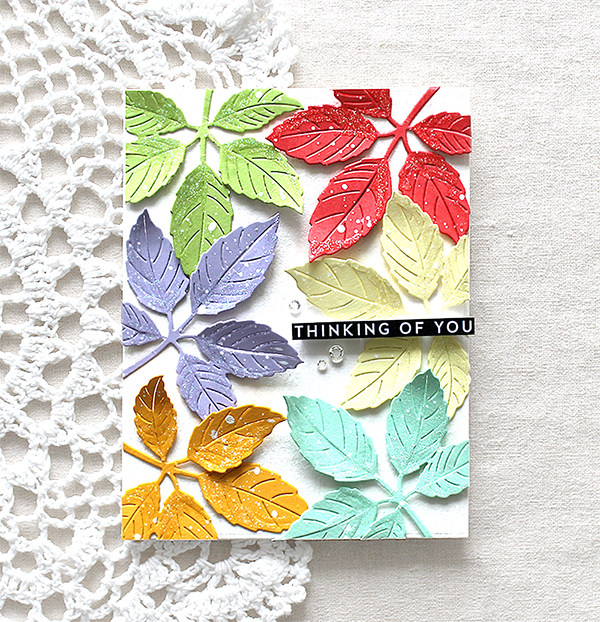
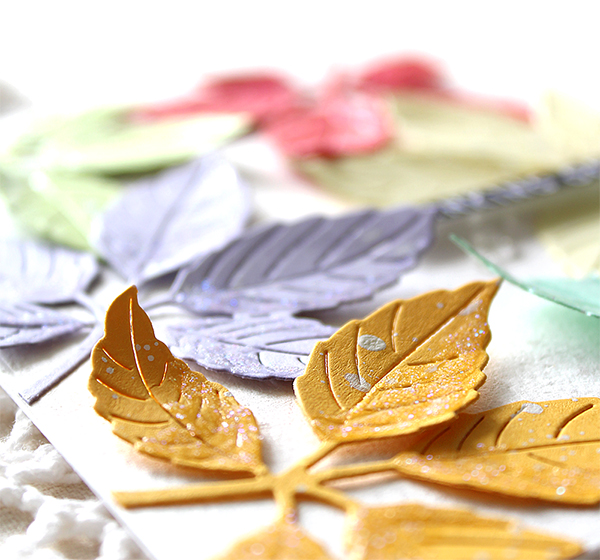
I die cut the Large Stitched Maple from pastel coloured cardstock, randomly adhered them on an A2 sized white card base using foam tape. Easy-peasy, right?! :)


GIVEAWAY & BLOG HOP EXCLUSIVE PROMOTION!

Simon Says Stamp is giving away a $25 coupon to every stop on the hop. The winners will be chosen over the weekend and post on Simon Says Stamp blog on Wednesday the 25th of January. ONE MORE! Get a FREE End of the Rainbow Stamp Set with the code RBW23 (This promotion will expire 1/22 at 11:59 pm EST) at checkout when you purchase at Simon Says Stamp Store.

BLOG HOP LIST:
Simon Says Stamp Blog
Nina-Marie Trapani
Caly Person
Debby Hughes
Amy Rysavy
Suzy Plantamura
Lisa Addesa
Bibi Cameron
Miriam Prantner
Yoonsun Hur (Me!!)
Barb Engler
Heather Hoffman
Dilay Nacar
Jean Doeringsfeld
Kim Hamilton
Lorraine Aquilina


Be sure to see what other ladies are sharing today. I’m sure you really love them all!

Keep smiling and be blessed! God bless you all!
Love Love Love RejoicingCrafts


Altenew Nostalgic Memories Release

Hello crafty friends!
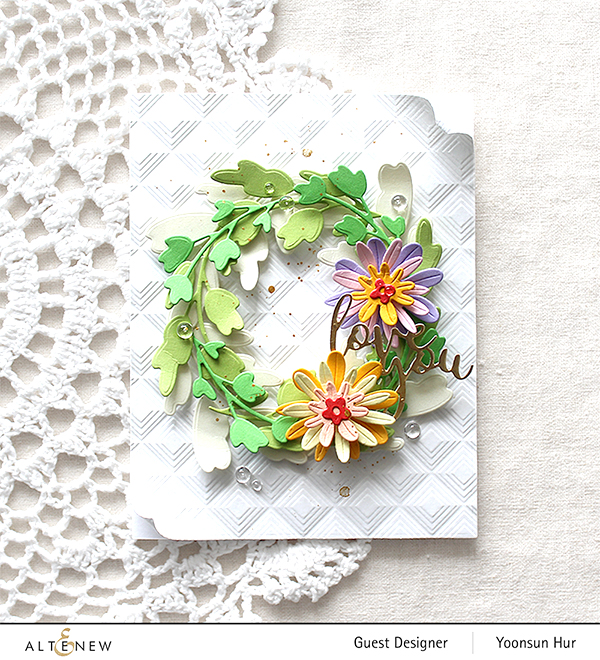
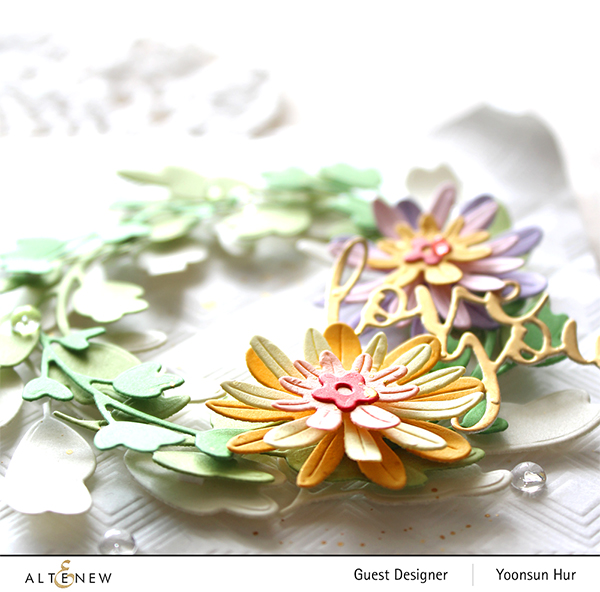
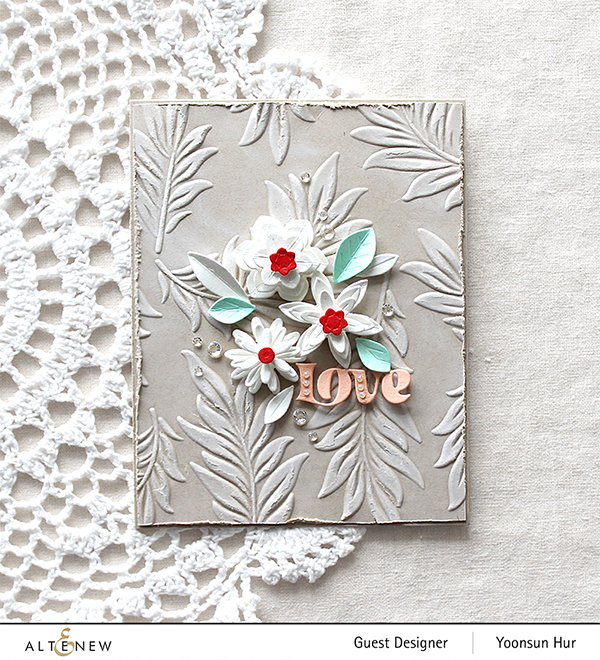
Today I want to share with you a couple of floral cards with brand new Altenew Nostalgic Memories Released products. :)

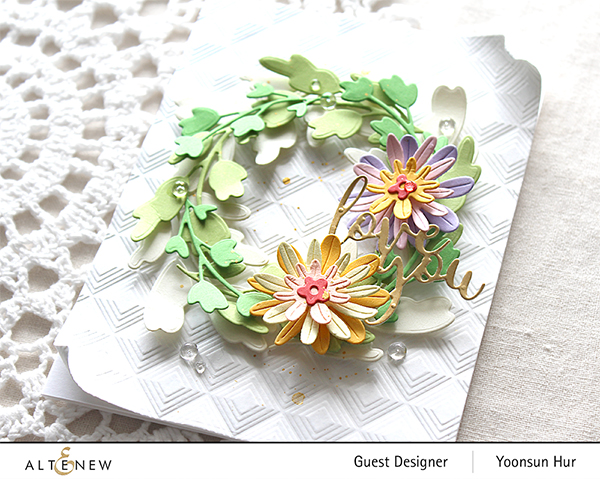
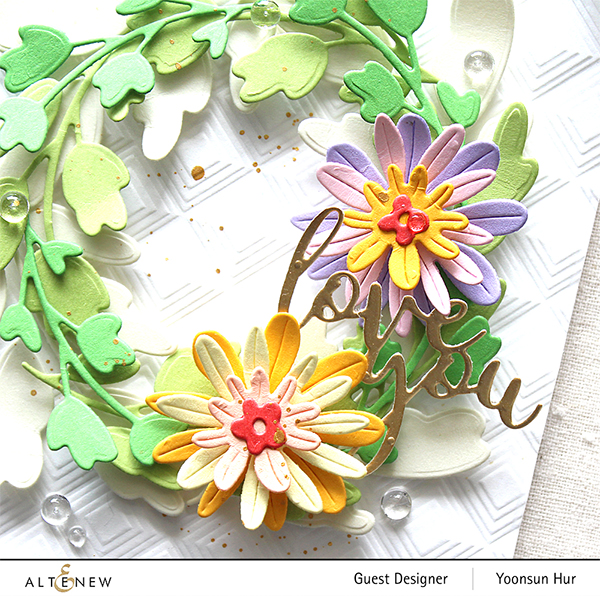
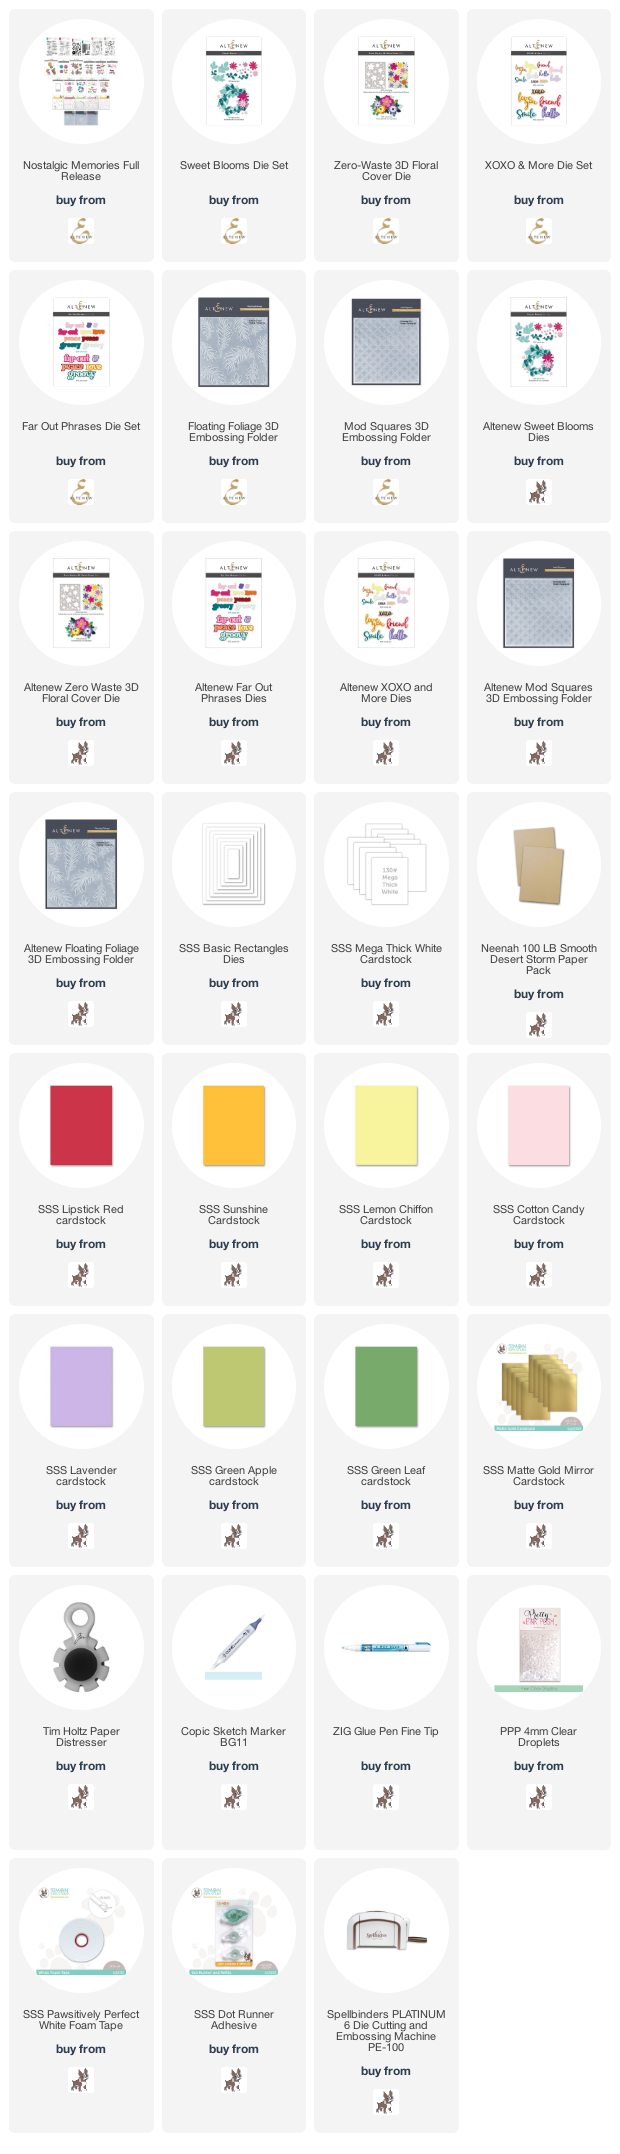
For my first card, I used the Sweet Blooms die set. I simply die cut the flower petals and leaves from coloured cardstock first, and made a floral wreath with all die cuts. Floral wreath is my all-time favourite item!!

For the background, I dry embossed an A2 sized white paper panel with the Mod Squares 3D embossing folder. I then rolled top-right and bottom-left corner of the panel.

For the sentiment, I used the word “For You” in the XOXO & More die set.


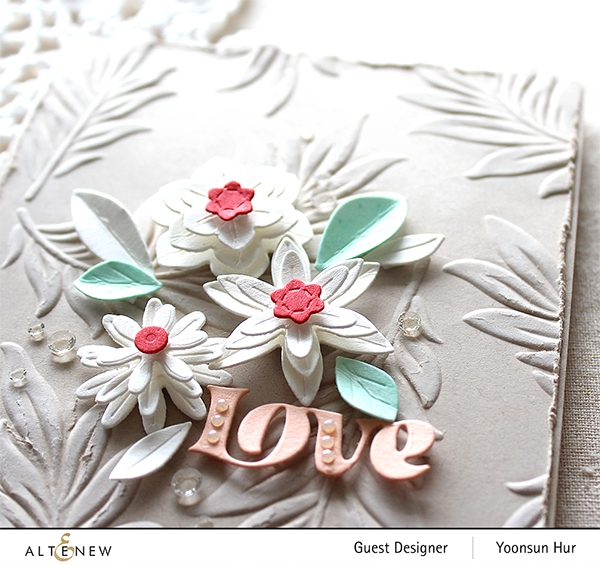
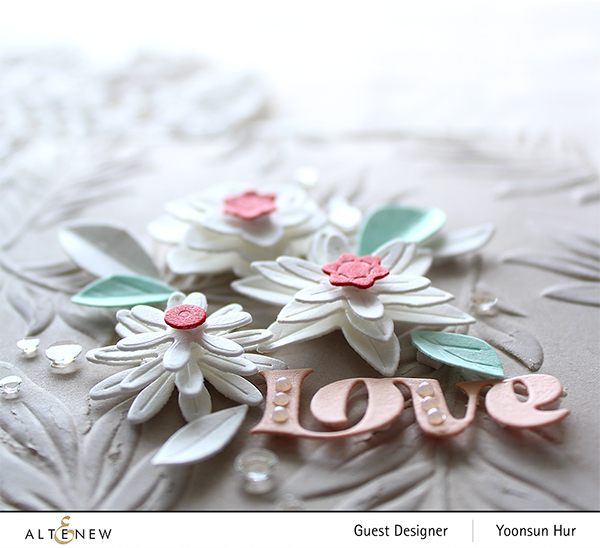
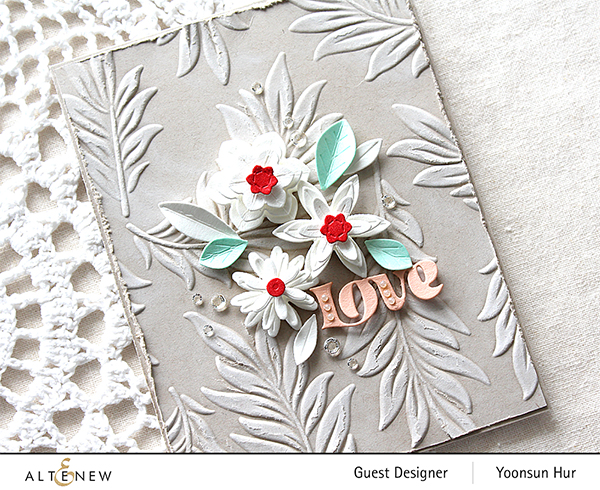
For my second card, I used the Zero-Waste 3D Floral Cover die. I die cut the Zero-Waste 3D Floral Cover from thick white cardstock and used flowers & leaves die cuts only. I made three layered flowers. Pale green leaves, I coloured with BG11 Copic marker.

For the background, I applied the Floating Foliage 3D embossing folder to Neenah Smooth Desert Storm paper panel. I slightly distressed to the edge of panel.

For the sentiment, I used the word “Love” in the Far Out Phrases die set.

Altenew floral dies are really amazing!!

Thank you so much for stopping by. Have a great day.

Keep smiling and be blessed! God bless you all!
Love Love Love RejoicingCrafts