Long time no see, crafty friends!!
It’s been a whole year-I am finally back on the blog after such a long time! I had such a strong desire to connect with you all through cards every single day, but time just wouldn’t allow it. During this precious long Easter holiday, as I sat down to make cards again, I realised just how much joy cardmaking brings me. I’ve decided to reconnect with all of my crafty friends through cards once more. :D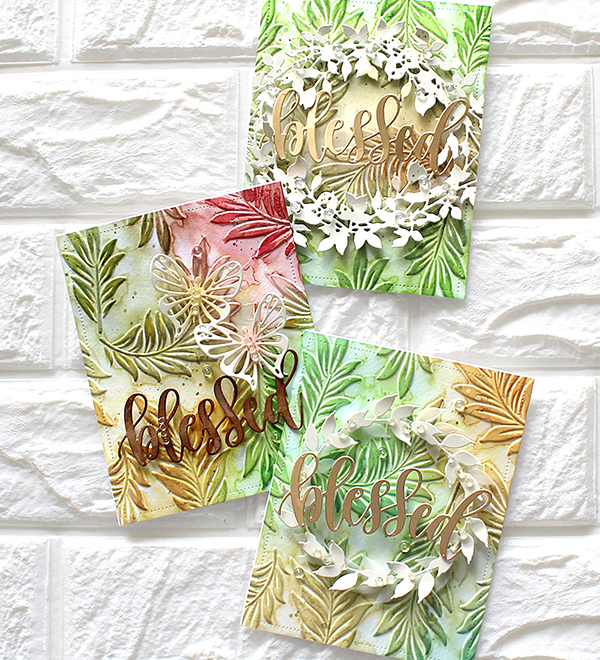
Today, I will share with you three of my leafy “Blessed” cards. Can’t lie, I made them and I’m kinda obsessed! Haha!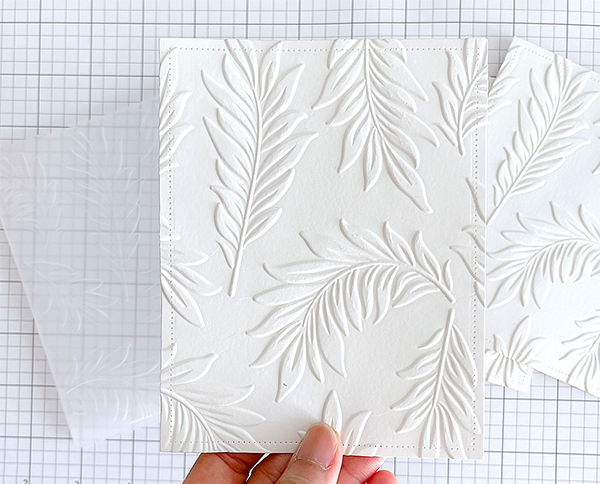
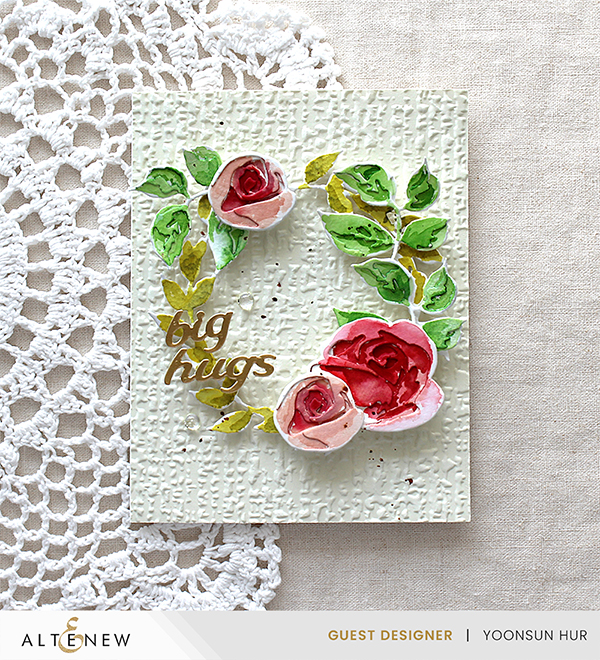
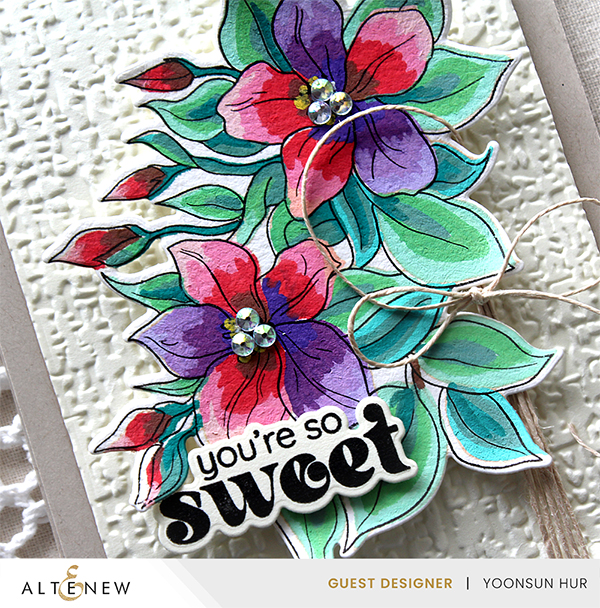
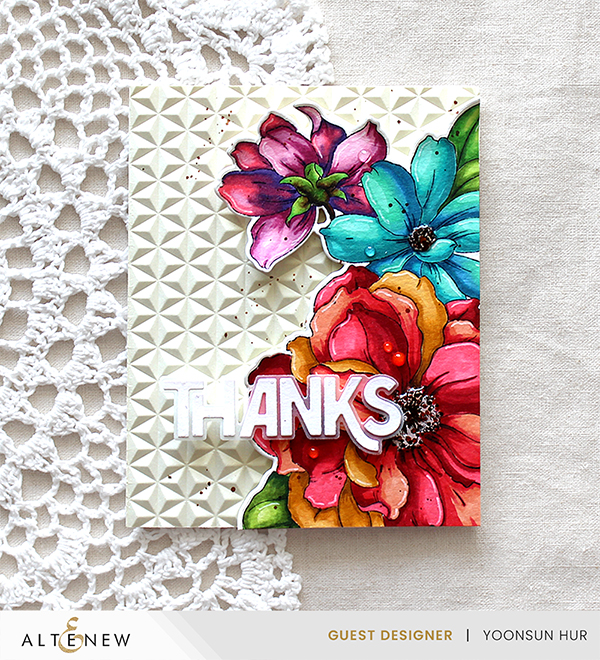
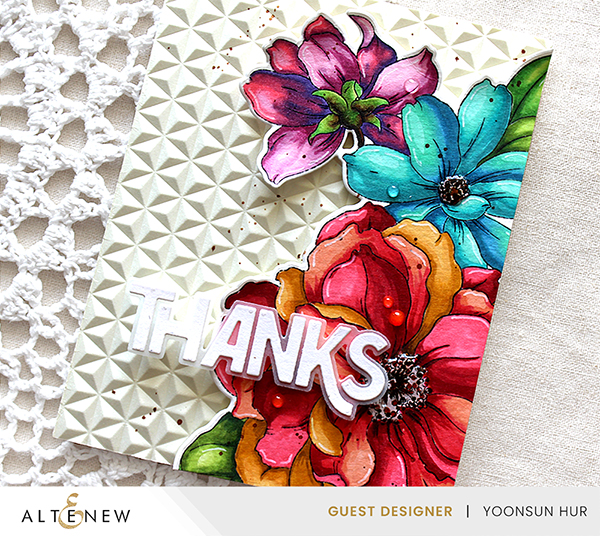
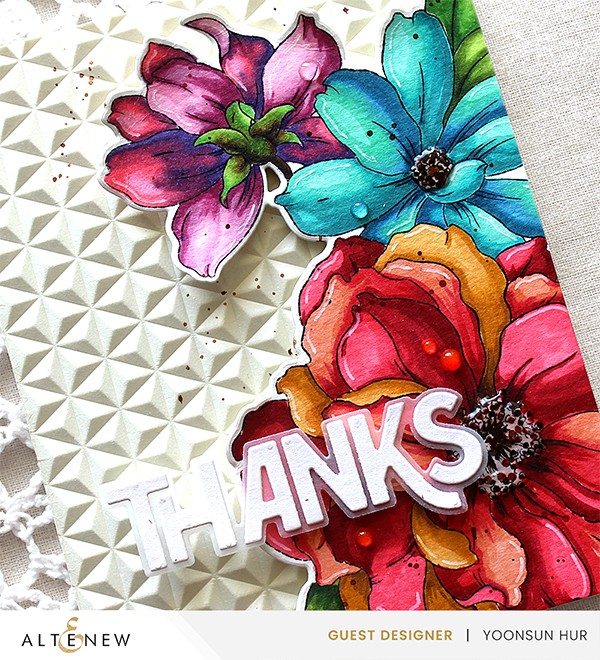
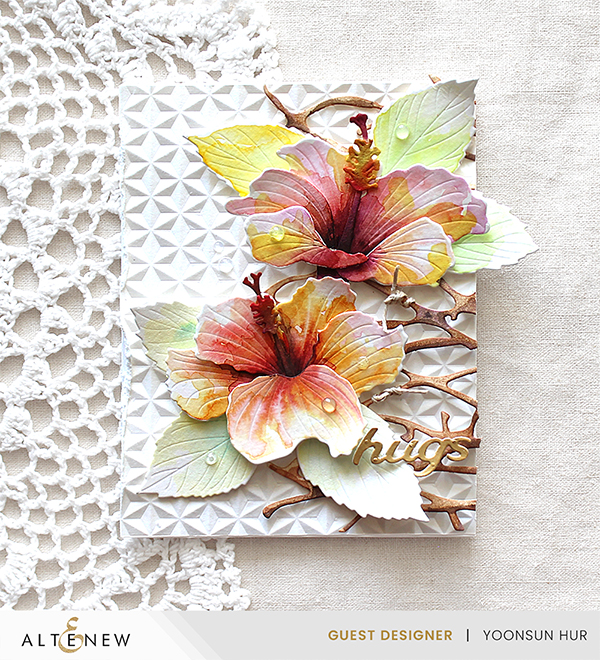
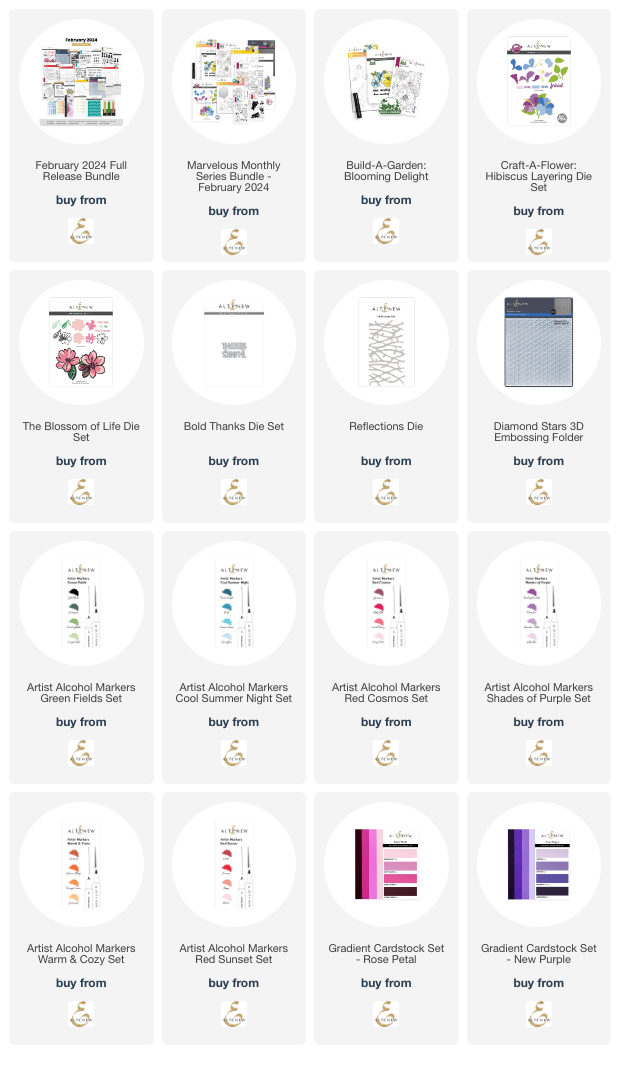
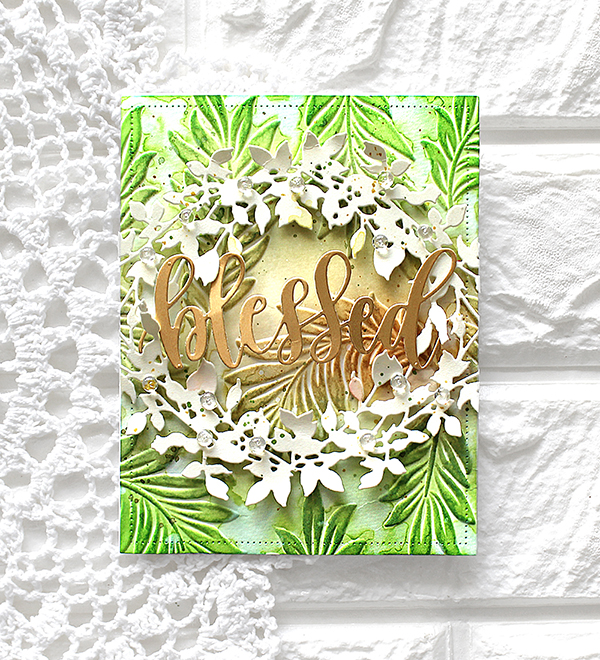
The main supply for my today’s cards is the Altenew Floating Foliage 3D Embossing Folder – the leafy background is really gorgeous, even just this leafy pattern on the white cardstock is so pretty, don’t you think?!!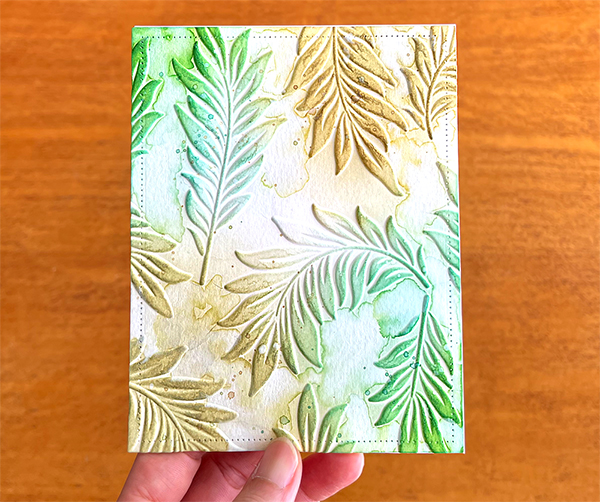
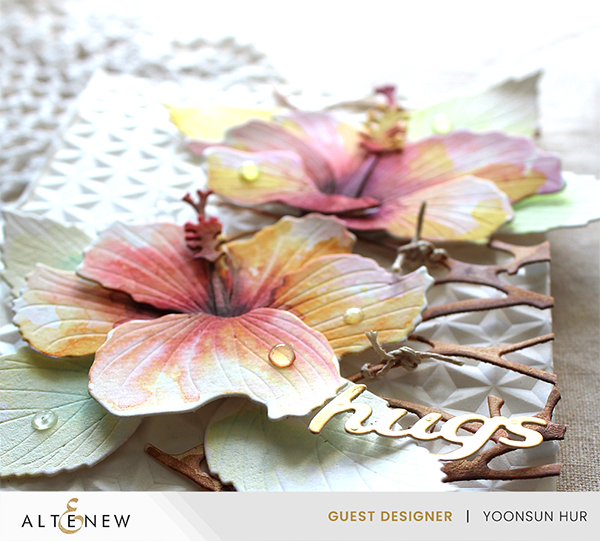
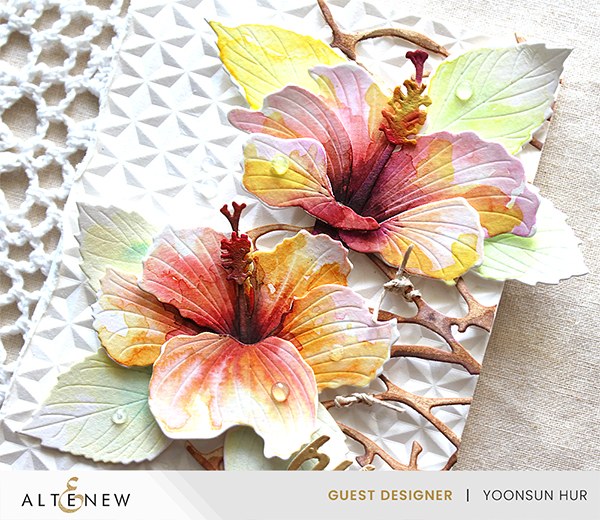
I ink blended with several green and yellow distress inks on the leafy background using ink blending tool and, to give it a watercolour look, I lightly touched the ink-blended pattern with a water brush. For the ink blended background panel, I used Mowed Lawn, Crushed Olive, Bundled Sage, Antique Linen, Scattered Straw and Aged Mahogany Distress inks.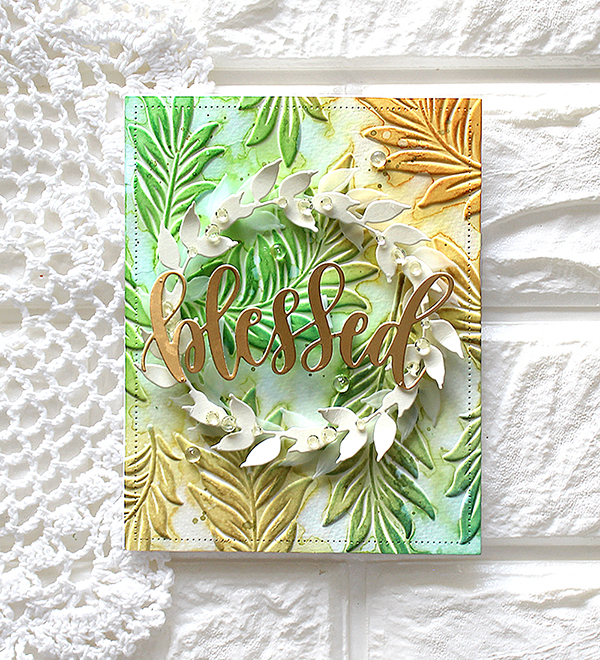
For the first card, I added white and vellum Leafy Wreath from Altenew and gold “Blessed” sentiment from MFT on the A2 sized leafy pattern card.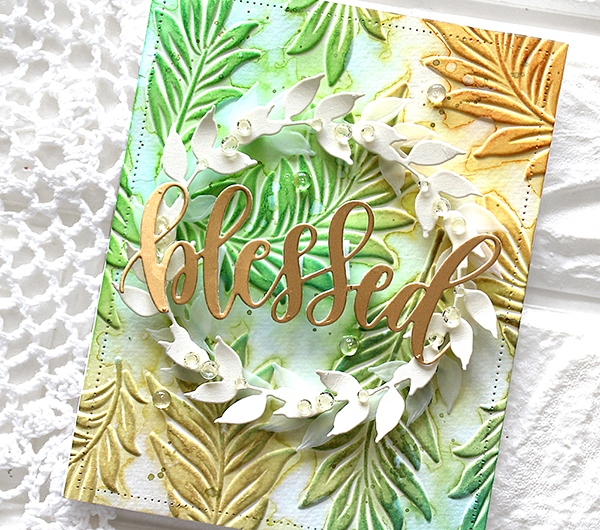
I decorated the wreath using clear crystals from Paper Rose Studio. I love this bling-bling, shiny wreath so much!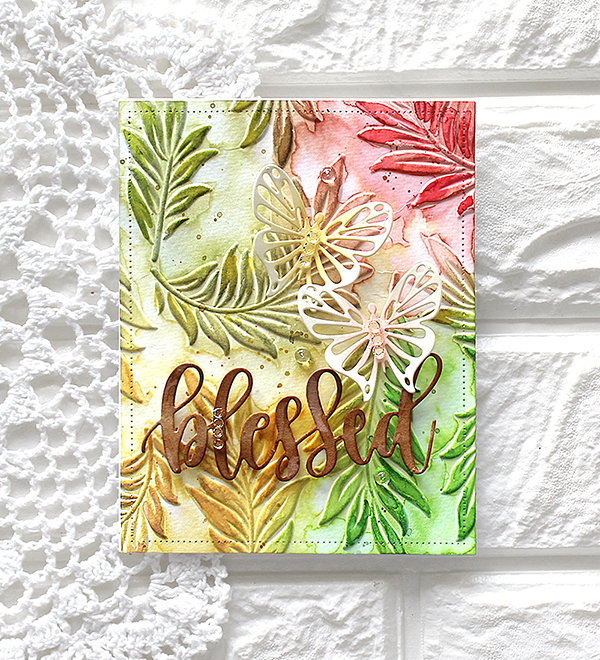
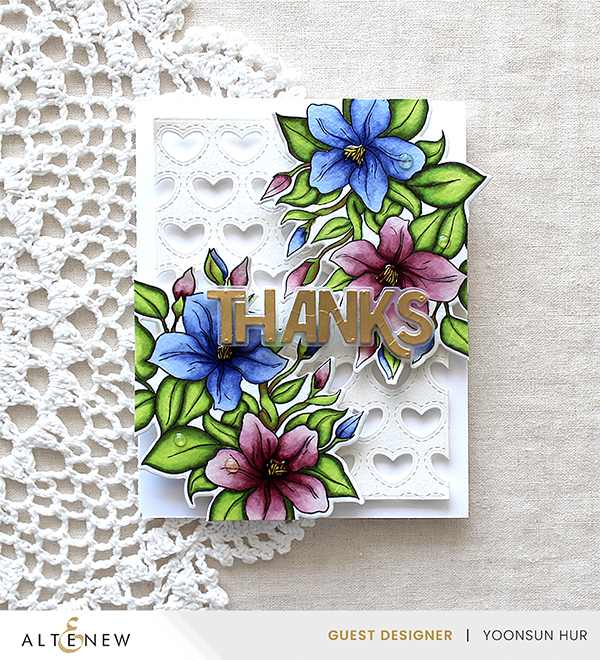
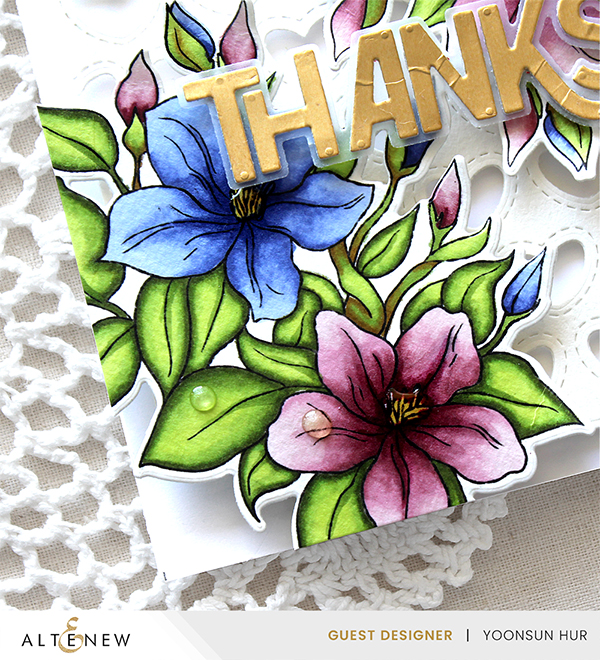
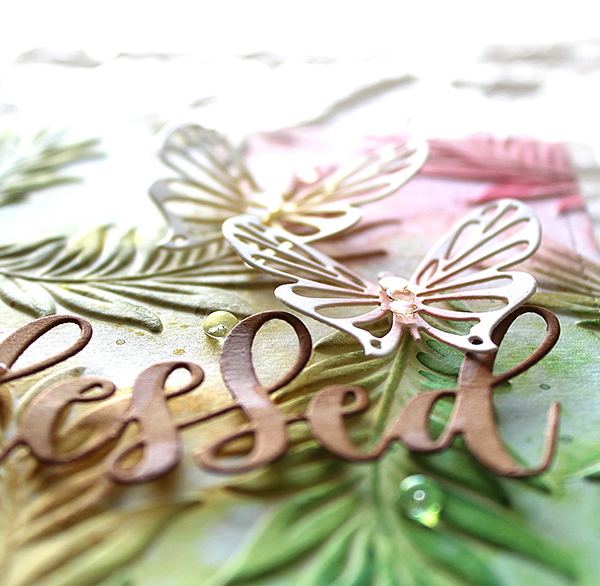
For my second card, I added beautiful butterflies and “Blessed” sentiment from MFT over the A2 sized leafy pattern card. For the “Blessed” sentiment, I die cut it from kraft cardstock and applied Vintage Photo distress ink.
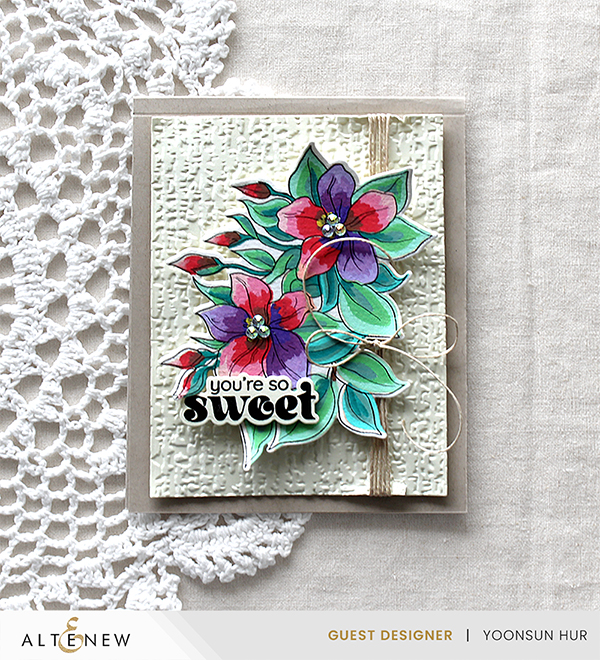
For my last card today, I added white Leafy Garland from Altenew and gold “Blessed” sentiment from MFT on the A2 sized leafy pattern card.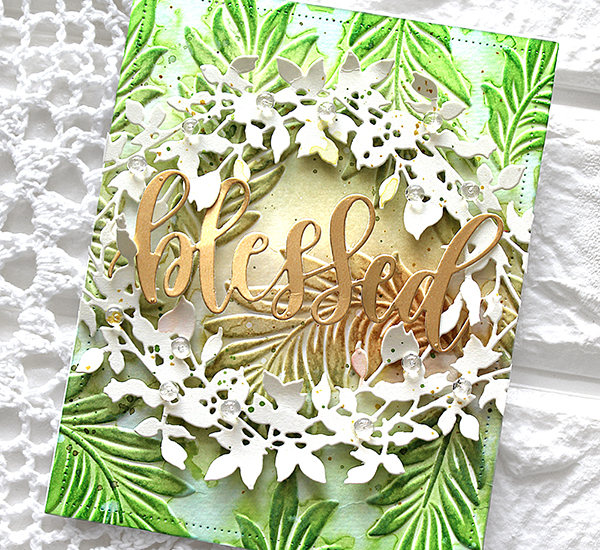
I decorated the wreath using PPP 4mm clear droplets. I love how sparkly and shiny this wreath turned out! :)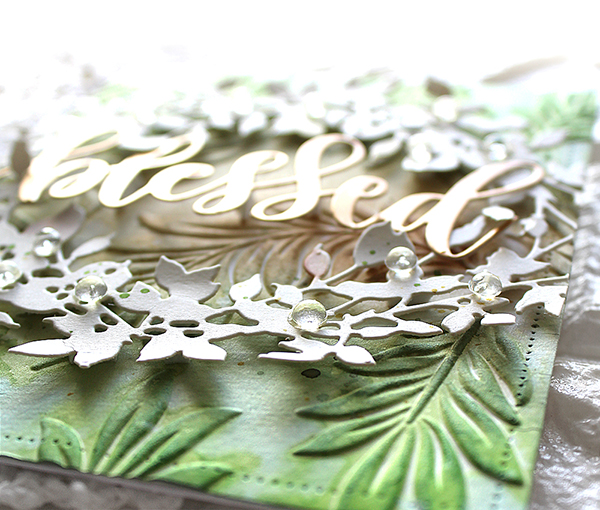
From now on, I plan to share cards I make on my blog, then give away through Instagram (@rejoicingcrafts). I want to give back the joy and happiness I’ve received from my wonderful followers by sharing it through my handmade cards. I hope for your warm support and interest! :D
Thank you so much for stopping by. Have a wonderful day!
Keep smiling and be blessed! God bless you all!
Love Love Love RejoicingCrafts