Hello awesomely creative friends!
I believe that all of you and your family there are well! Today is a very special day. Simon Says Stamp threw a very exciting party called “United We Craft! Blog Party”. I’m so happy to be a part of this EPIC party today.

For my first card, I used the Botanical Heart stamp & die set – it’s definitely one of my favourites among Simon products. Colouring large sized floral image takes time but I don’t care. I just feel so great like being an artist during this time. :D
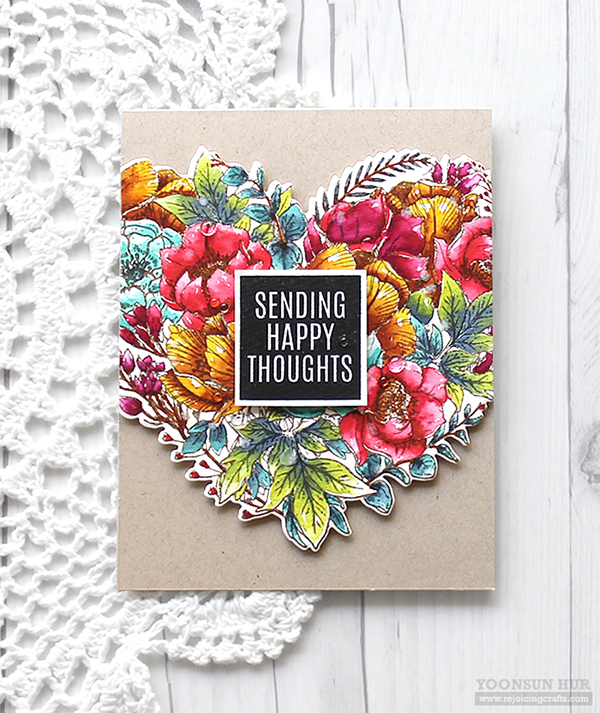 I stamped the floral image from the Botanical Heart set onto watercolour paper using VersaFine Vintage Sepia pigment ink, then coloured the stamped image with Tonic Nuvo Aqua Flow Pens – these aqua pens are also one of my favourite watercolour mediums. Once the watercoloured floral image was dry, I die cut it with the matching die.
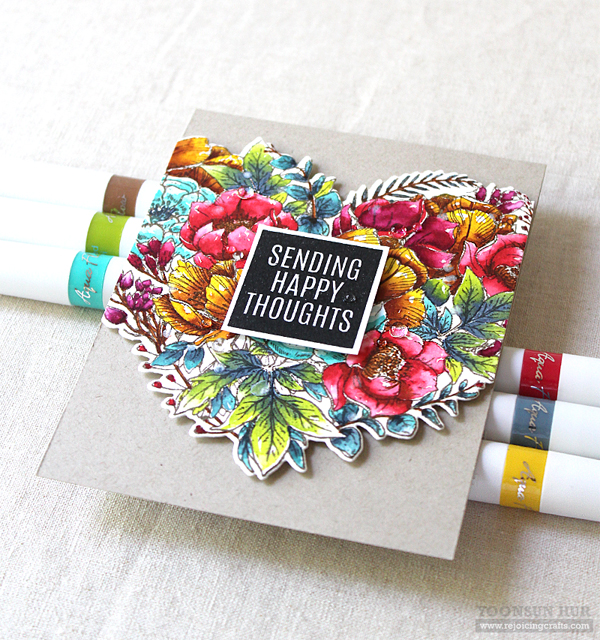
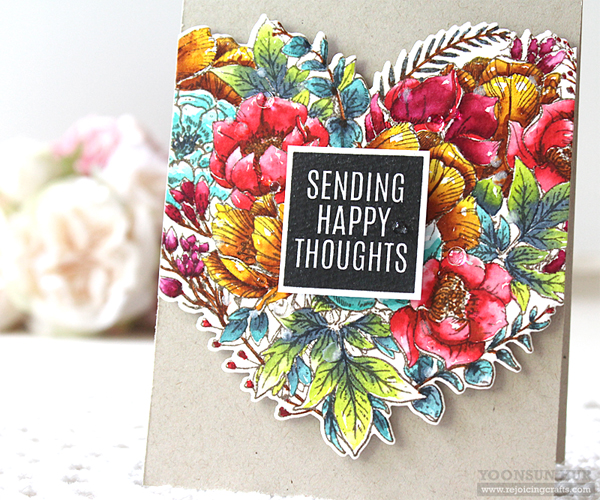 For the sentiment, I stamped it from the Just Because Word Mix 2 set on white cardstock using VersaFine Onyx Black, and then die cut it.
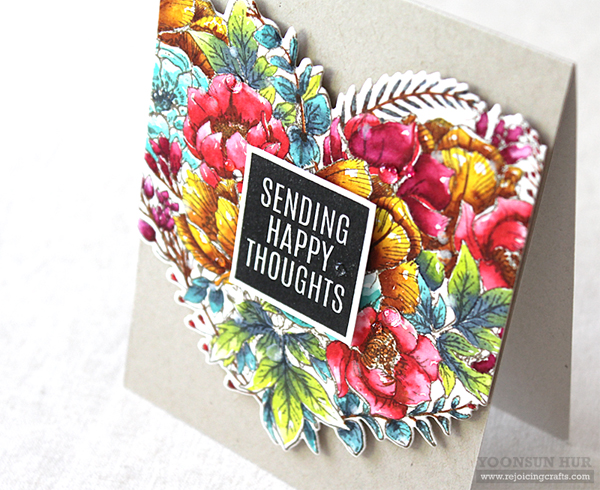
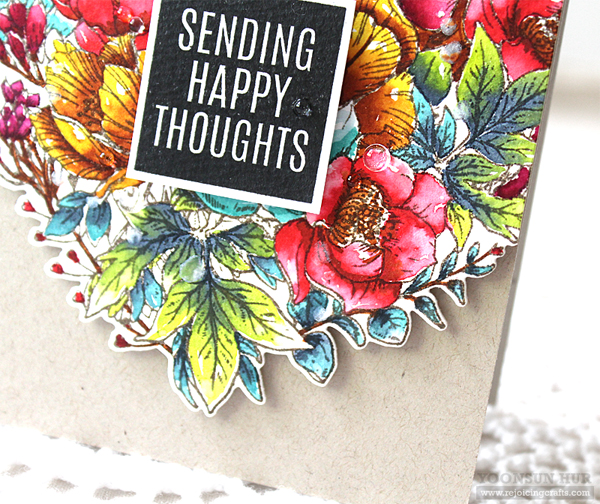 I added clear droplets here and there.
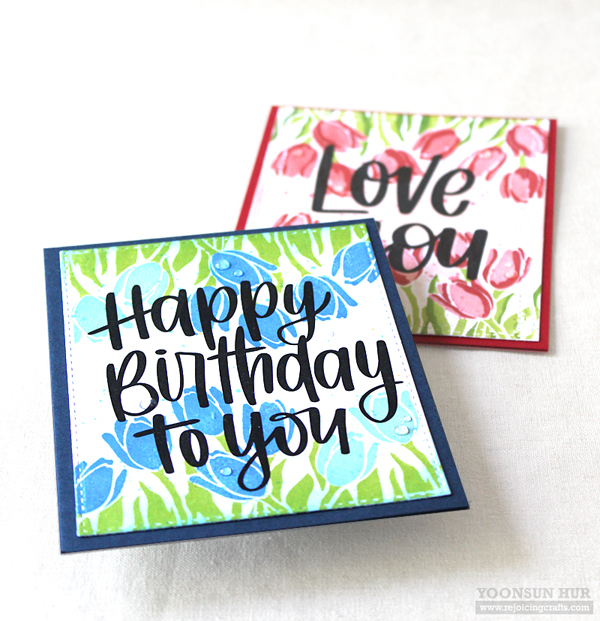
For my other two cards here, I used the Layered Tulips stamp set along with the Lettered Greeting Cards Sentiment Strips – it took less than 20 minutes to make each card!
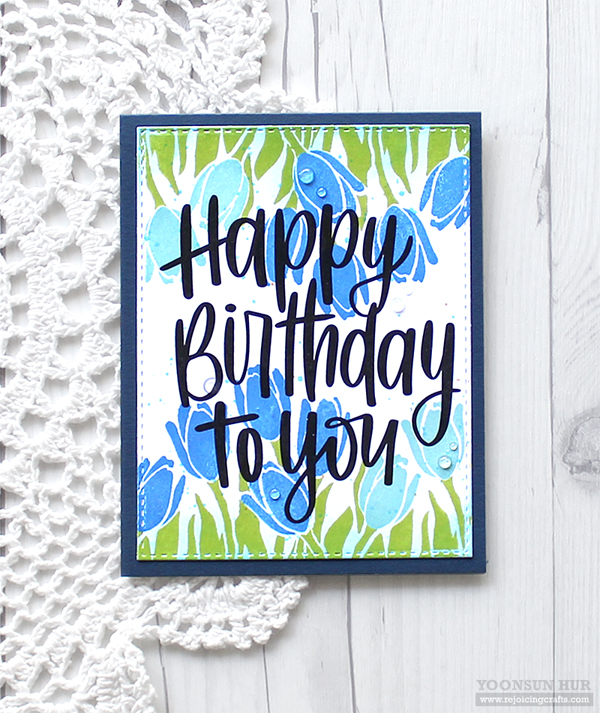 For the blue tulips, I used Lake Shores & Blue Jay dye inks.
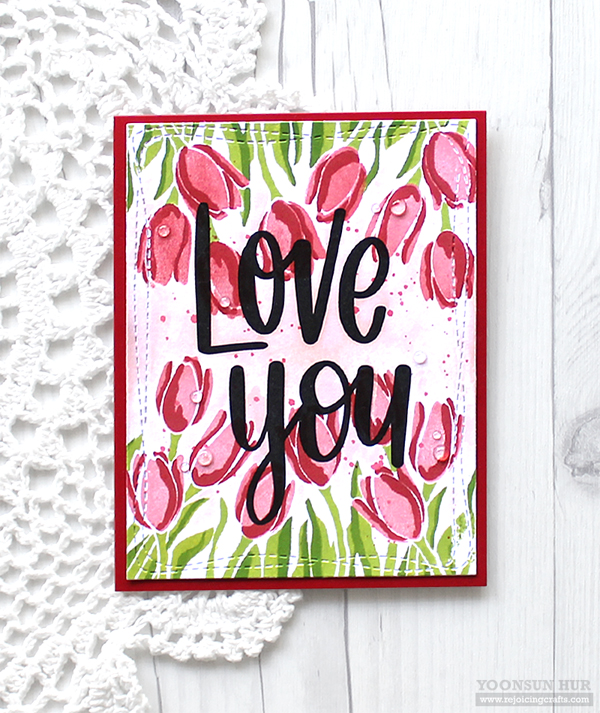 For the layered red tulips, I used Rose Apple & Lipstick Red dye inks.
Our intention in creating the #SSSUnitedWeCraft hashtag was to encourage everyone to show the human side of our quarantined creativity (as well as the beautiful things that everyone is creating). We would love for you to share photos with you and your family creating – your kids, your significant other, your pets, or anyone else in your house OR photos of Zoom craft sessions or Instagram story parties that you are having with your creative friends. We want to show how crafting is bringing us together in new ways. You can share your photos in your blog post (if you are doing a blog), but we would really love for you to share sweet, crafty faces on Instagram and use the hashtag #SSSUnitedWeCraft to allow us to see the happiness that our craft is bringing to the world.
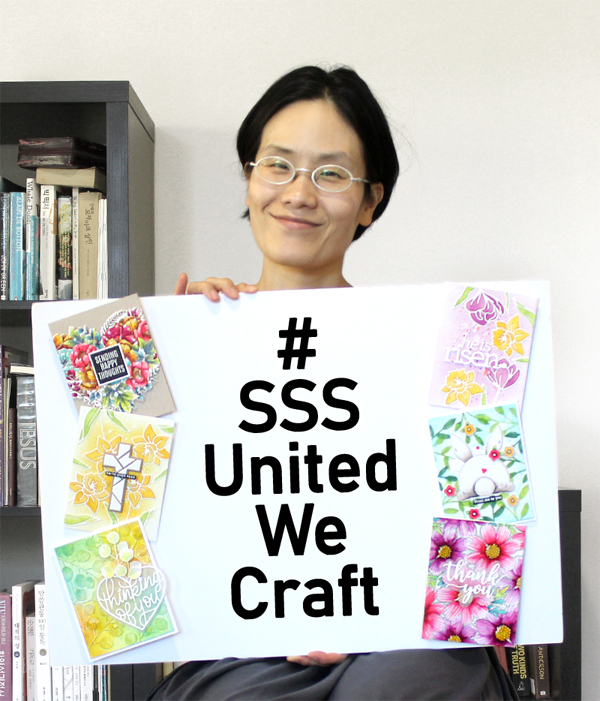 Ta-da! I will give away these 6 of my cards in the picture to 6 of my precious IG followers! Please visit my IG (Click HERE).
Thank you so much for stopping by. Have a safe and healthy weekend!
Keep smiling and be blessed! God bless you all!
Love Love Love RejoicingCrafts
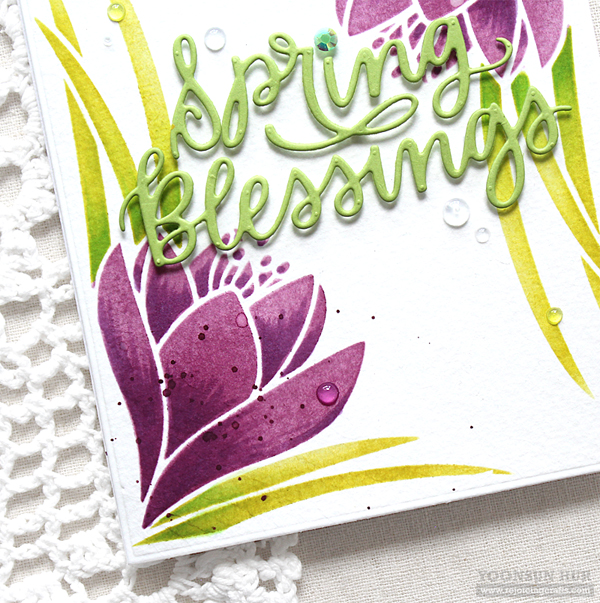
 I started by making floral background with the new
  For the sentiment on the centre, I used the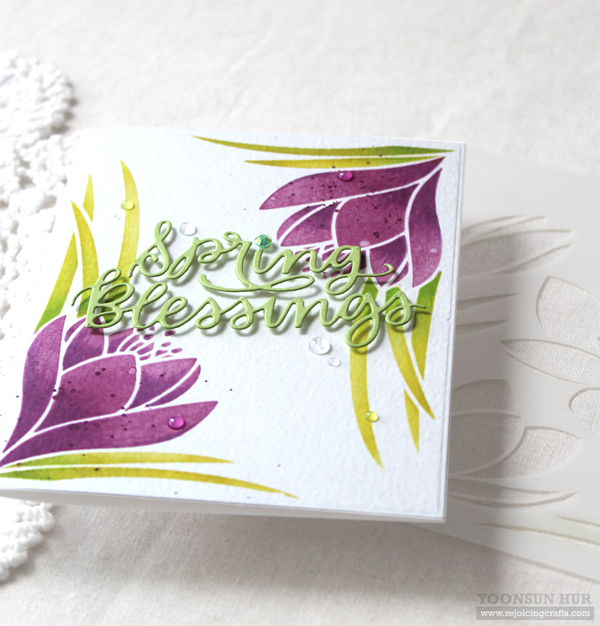
 I heat embossed the word “
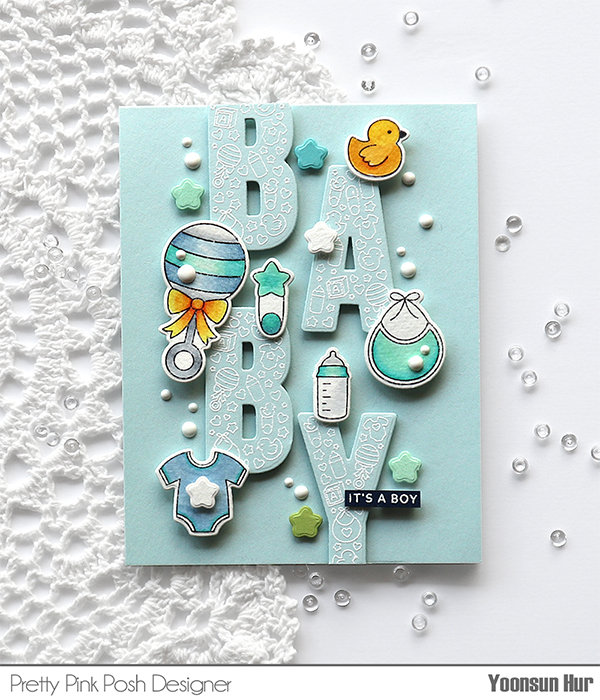
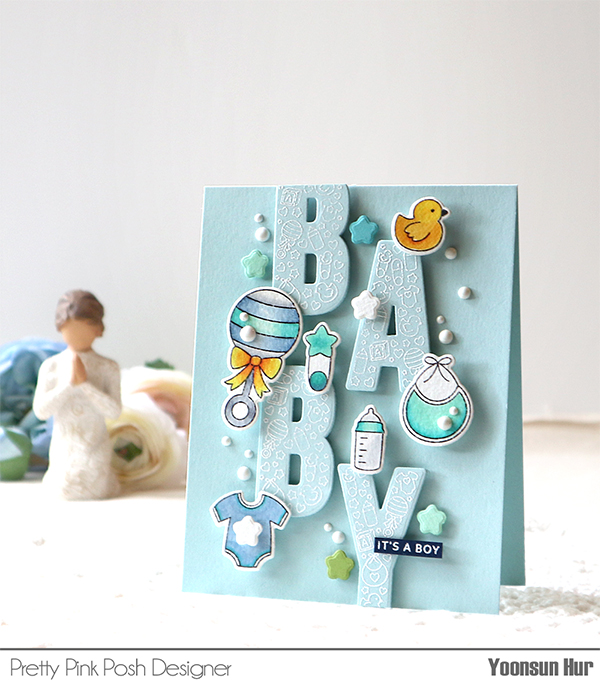 I stamped several cute images from the
 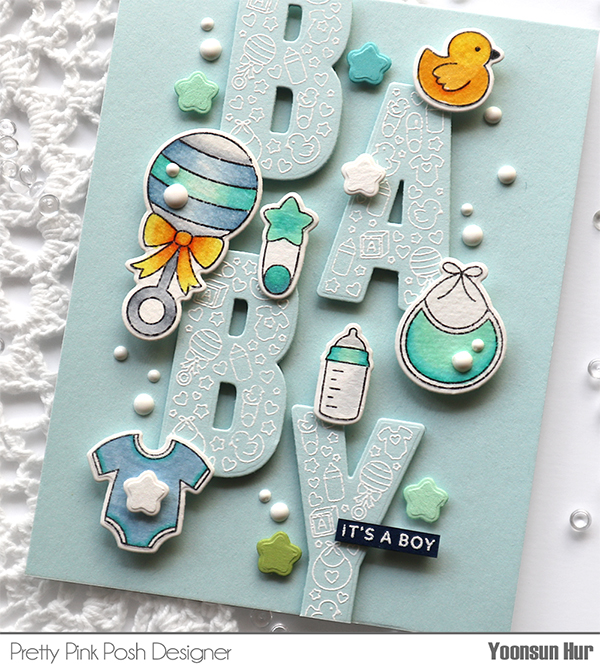 I added white dots here and there using
 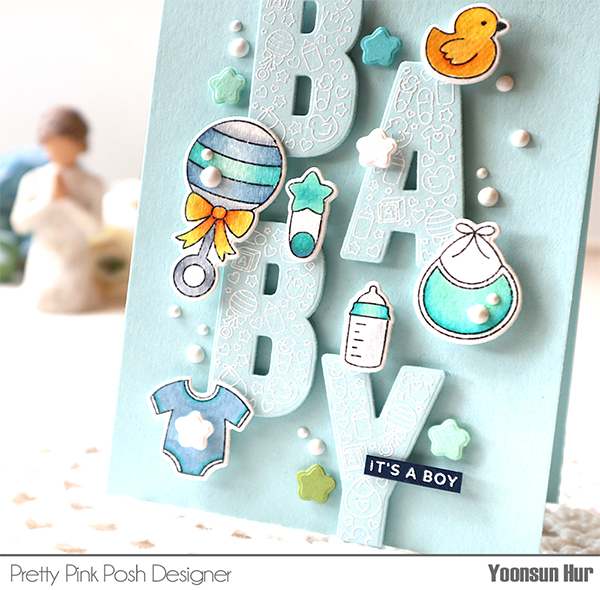 As you may know,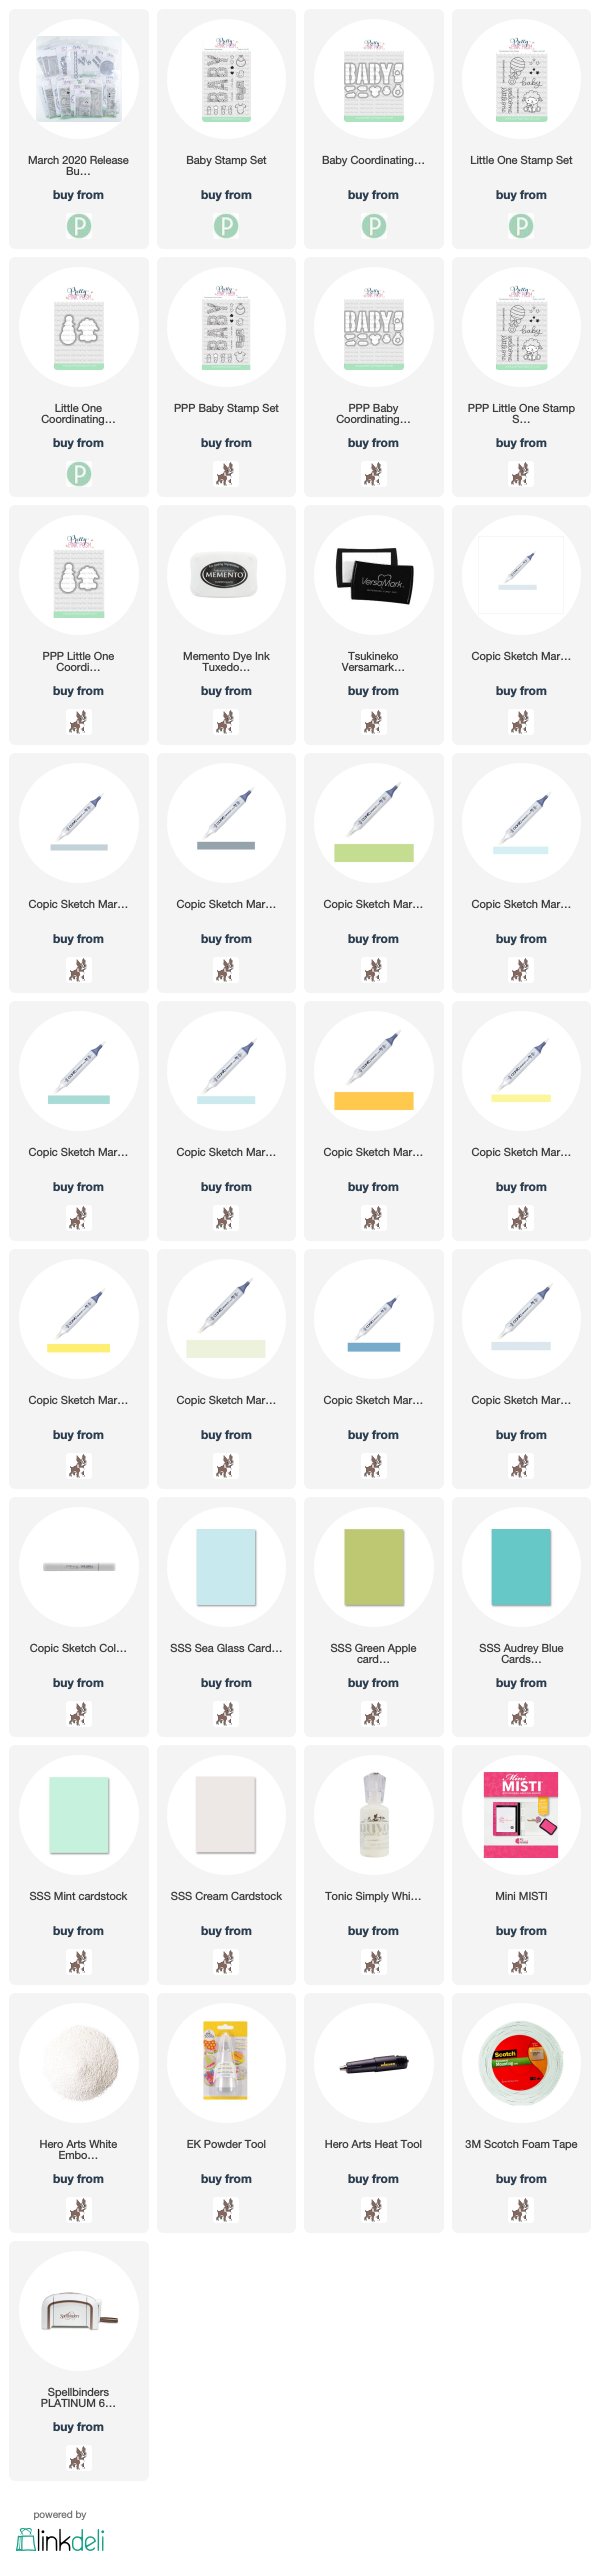
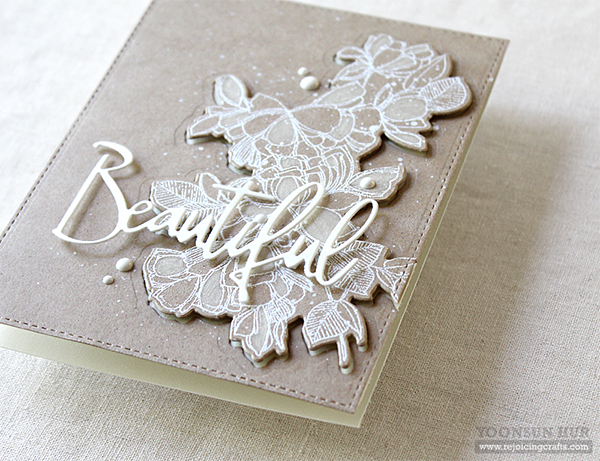
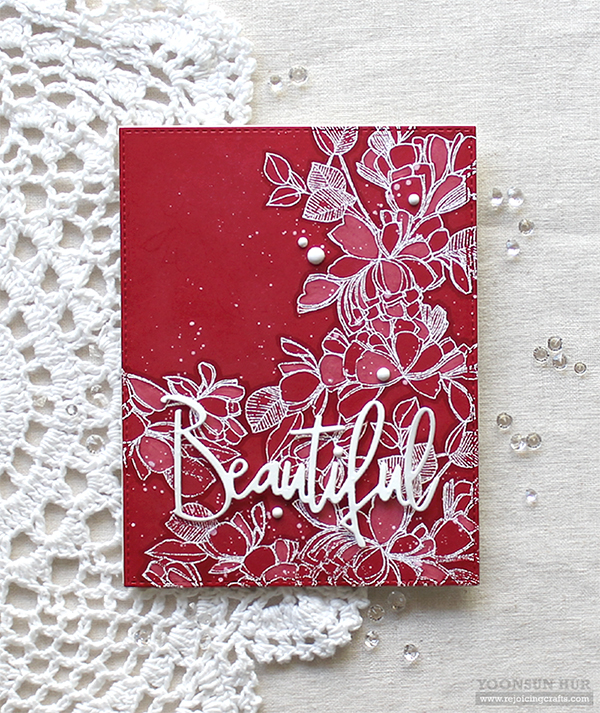 It’s so easy to make! I heat embossed floral image from the
 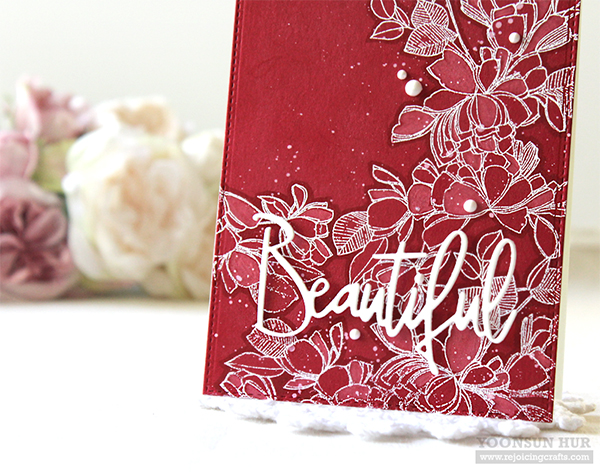 Once the panel was dry, I mounted it on white card base using double-sided tape, then added
 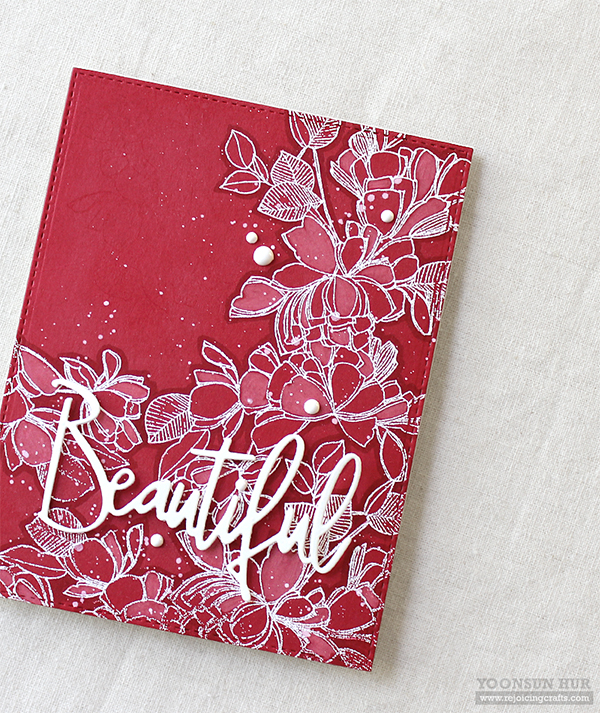 For the sentiment, I die cut the word “Beautiful” from white cardstock using the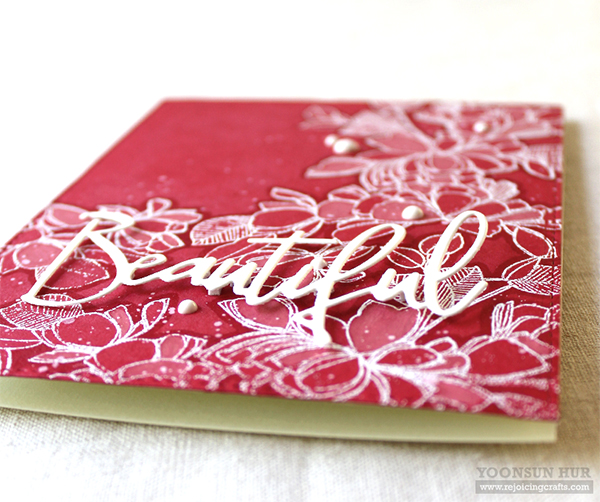


 In this card, I used the
  I mounted the Soft Navy panel on white card base using double-sided tape first, and then added the flower image on the top-right corner using foam tape.
 I hope, pray and believe that the whole nation will recover soon. Stay safe!
 To create this card, I die cut flowers & leaves from watercolour paper using the
 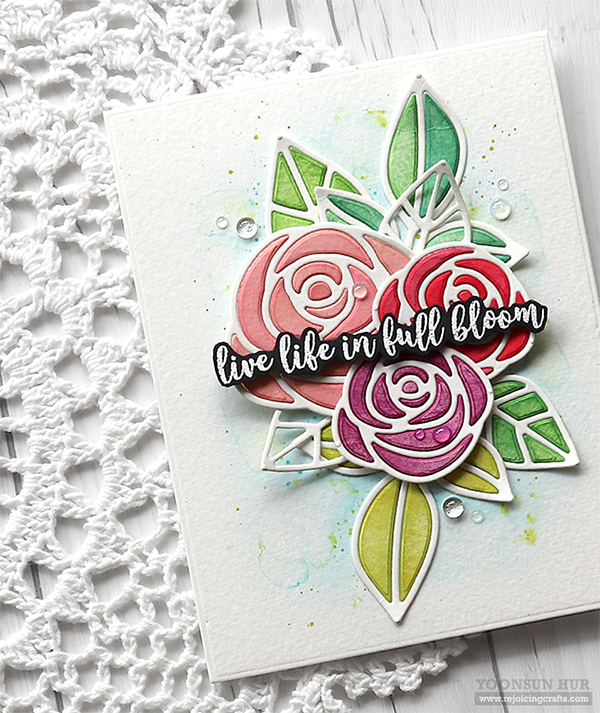 For the background panel, I lightly painted with
 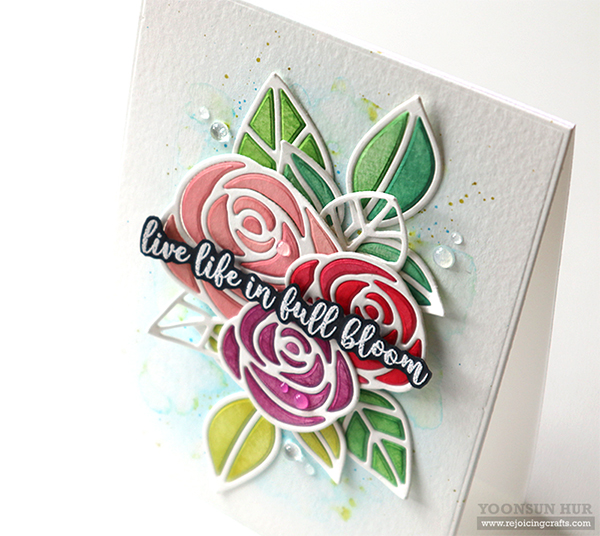 I added water drops here and there using
  Here is another card with the
 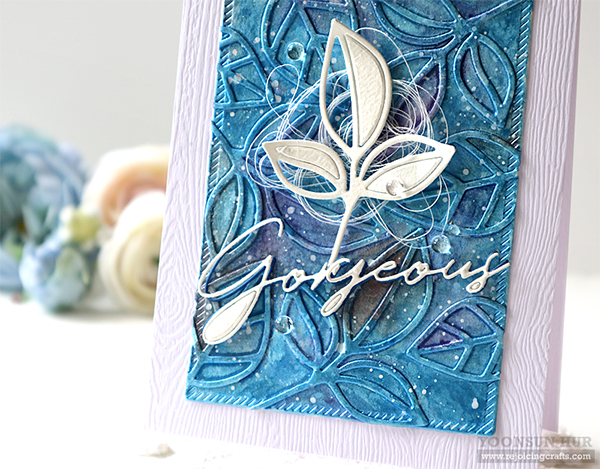 For the metallic blue leafy background panel, I die cut the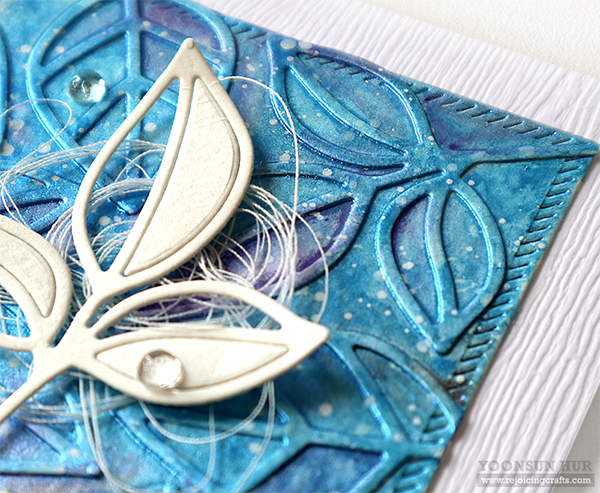
 Oh, I’m so satisfied with the result!! :D