Hello, hello crafty friends, TGIF!
Welcome to the Simon Says Stamp Hey Love Release Blog Hop!!
 I have three Valentine’s Day themed cards featuring several new products from the Hey Love Release!
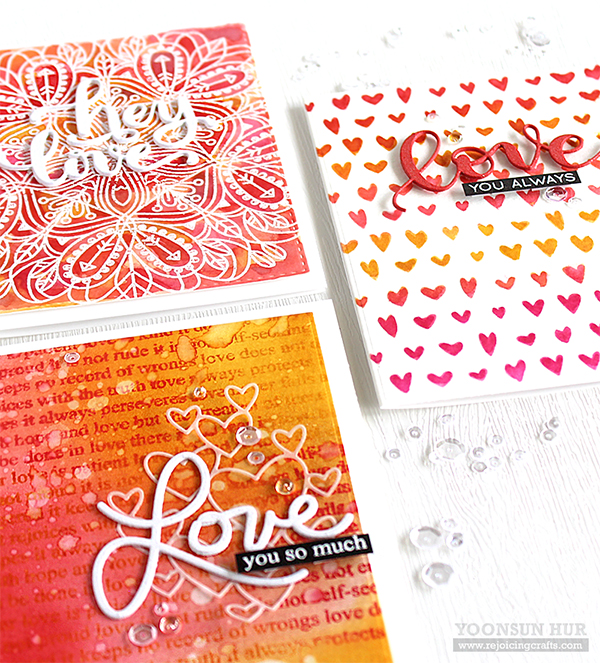 The Hey Love release is so pretty! I had so much fun working with these new stamps and dies!!
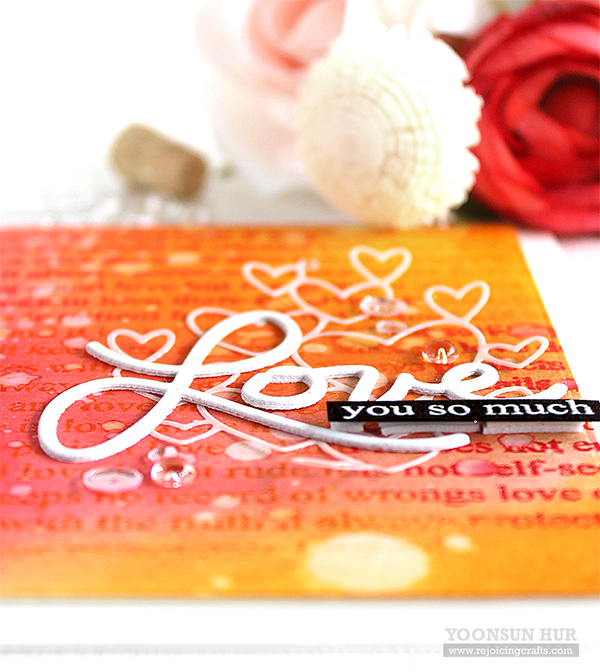
 For my first card, I used so gorgeous Laura’s Love stamp and die set. I 1) Blended a reddish background using Festive Berries, Wild Honey, Worn Lipstick Distress inks and the mini ink blending tool. 2) Stamped the Love Is background on the ink blended paper using Festive Berries Distress ink. 3) Trimmed the background panel with the Basic Rectangles die. 4) Added water drops on the panel. 5) Die cut the word “Love” from white card stock 3 times, then glued them together using the fine tip glue pen. 6) Die cut the Clipping Heart from vellum paper. 7) Heat embossed the sentiment “you so much” from the All My Love set on black card stock in white, then cut it the small banner. 8) Mounted all elements as shown to the Ivory card base using some adhesives. 9) Embellished with a few PPP clear sequins.
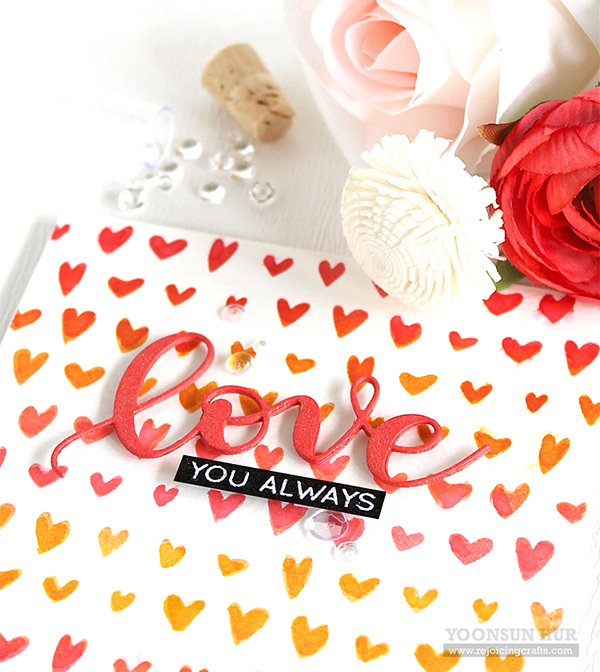
 To create the second card, I 1) Laid the Drawn Hearts stencil over the watercolour paper panel. 2) Inked on the panel with Distress inks and the mini ink blending tool – I used (from the top) Festive Berries, Wild Honey, Worn Lipstick, Fossilized Amber, and Picked Raspberry. 3) Die cut the word “Love” from the Lipstick Red card stock using the Kristina’s Love die 3 times, and then glue them together. 4) Heat embossed the sentiment from the Love set on black card stock in white, then cut it the small banner. 5) Mounted all elements as shown to white card base using foam tape.

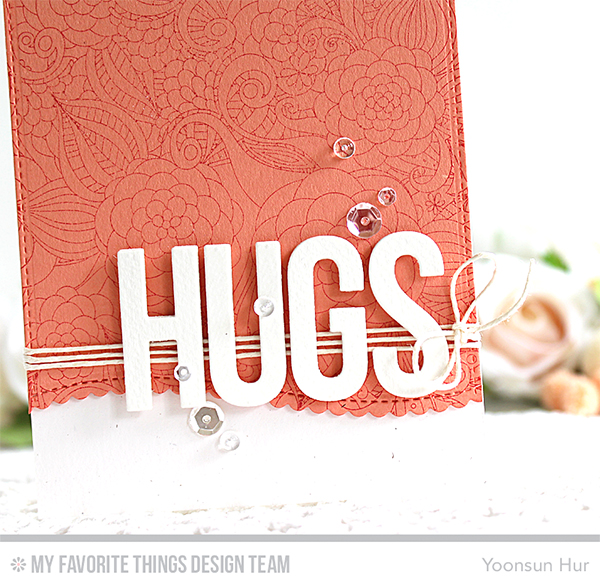
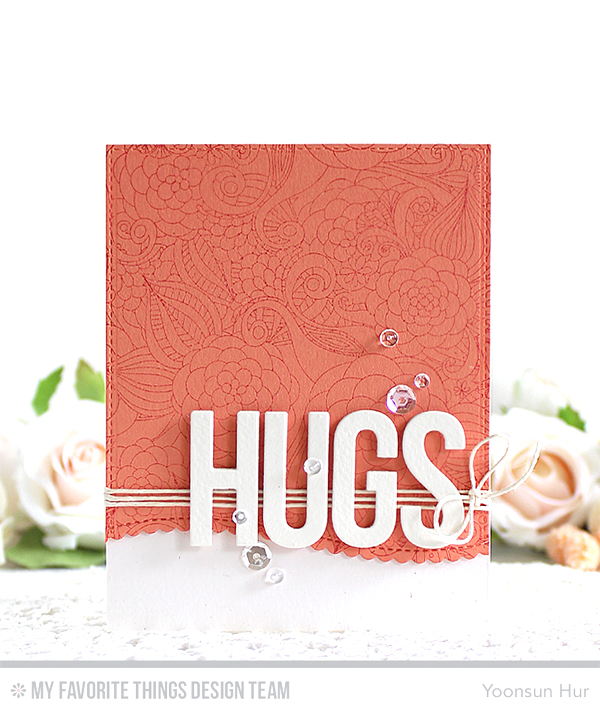
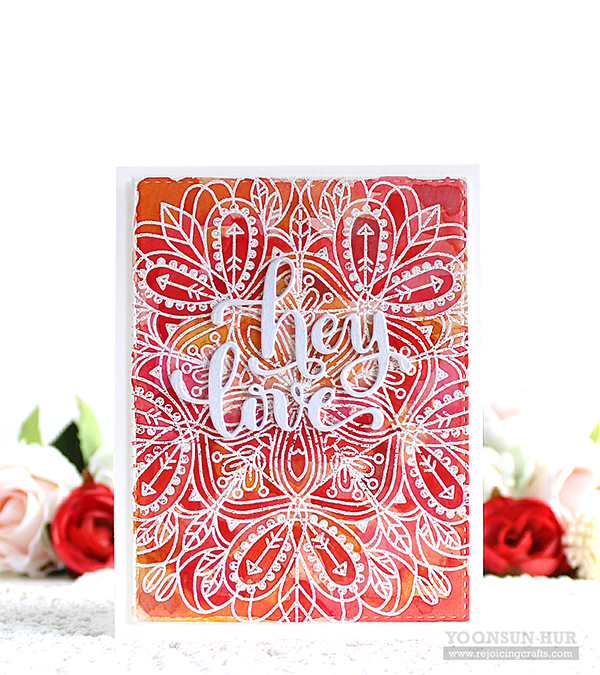 For my last card, I used a fabulous Emma background stamp. I 1) Heat embossed the Emma background on watercolour paper in white. 2) trimmed the panel with the Stitches Rectangles die. 3) Watercoloured the panel with Festive Berries, Wild Honey, Worn Lipstick Distress inks and a wet paint brush. 4) Die cut the sentiment “Hey Love” from pearl white card stock five times, and then glue them together using the fine tip glue pen. 5) Mounted all elements as shown to white card base with some adhesives.
 GIVEAWAY!!
Simon Says Stamp is giving away a $25 gift card on each stop of the hop, so leave a comment for your chance to WIN. Winners will be selected on January 16.
Your next stop on the hop is super talented Yana Smakula! We hope to inspire you with some beautiful card projects as you hop along to each of the designer’s blogs!
Simon Says Stamp Blog
Kristina Werner
Shari Carroll
Laura Bassen
Debby Hughes
Nichol Spohr
Yoonsun Hur (Me!!)
Yana Smakula
Heather Hoffman
Lisa Addesa
Amy Rysavy
Heather Ruwe
Wanda Guess
Nina-Marie Trapani
Thank you so much for stopping by. Have a fabulous weekend!!
Keep smiling and be blessed! God bless you all!
Love Love Love RejoicingCrafts
https://static.inlinkz.com/ppr.js
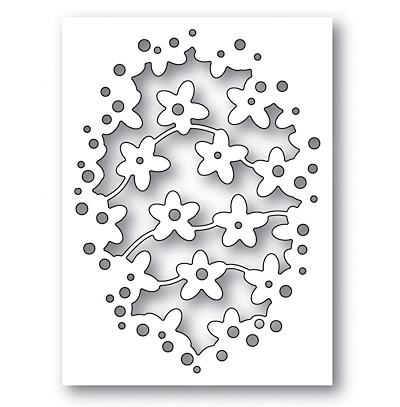
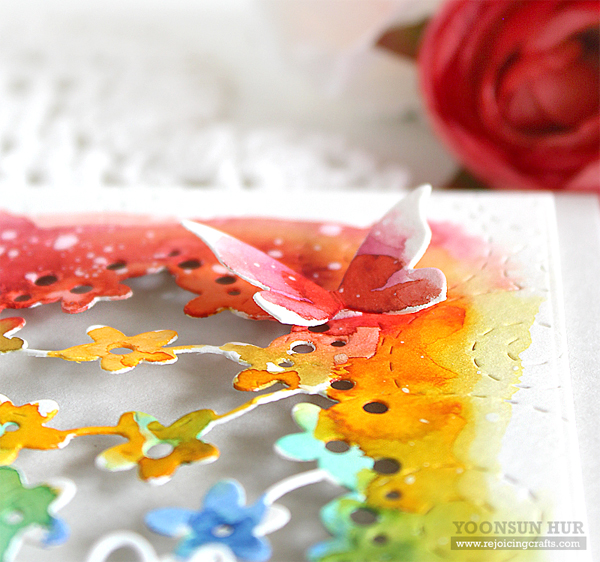
 I like to use all the colours of the rainbow for my project!! To create this card, I 1) Die cut a piece of watercolour paper using the Basic Rectangles die. 2) Added Stitched Whirls all over the watercolour paper panel. 3) Die cut the centre of the panel using the Floral Dot Collage die – it’s so pretty die!! 4) Watercoloured around the floral die cut with Kuretake Gansai Tambi Watercolor and a wet paint brush in rainbow order, added some opaque white ink splatters. 5) Die cut butterflies from a separate watercolour paper using the Butterfly Drift die, roughly watercoloured them with Gansai Tambi Watercolor as well. 6) Die cut the word “Hello” from white card stock using the Handlettered Greetings dies. 7) Mounted all elements as shown to the Fog Gray card base using foam tape.
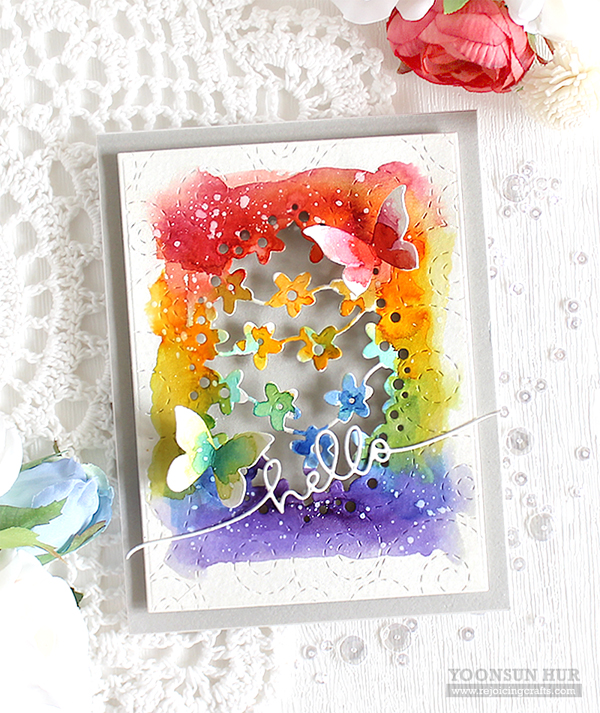 There is everything I love here – the rainbow colours, flowers, butterflies! :D
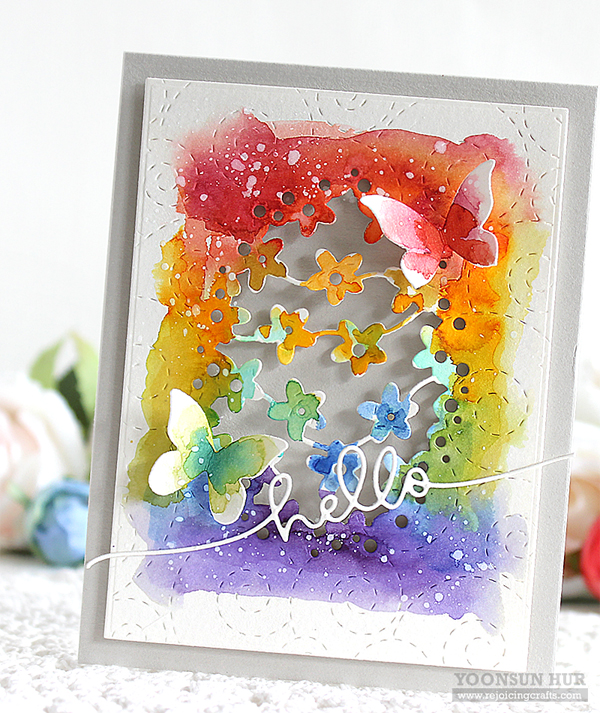
 Thank you so much for stopping by. Have a wonderful day!!


 Simon Says Stamp has many elegant and beautiful dies and I love this newly released
  To start, I die cut the
 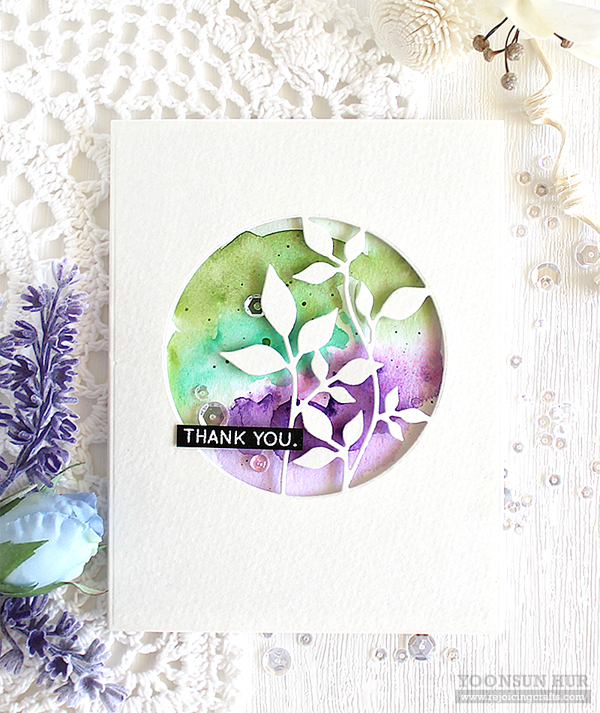 As you may know, I like to make my own patterned background with stamps or dies, like to fill the background with stamped images but this time, I didn’t do it. This white background without images makes the watercoloured leaves more shining and beautiful!
 Thank you so much for stopping by. Have a wonderful weekend!!


 Today I will be sharing with you a couple of simple watercolour cards that I’ve made using the
 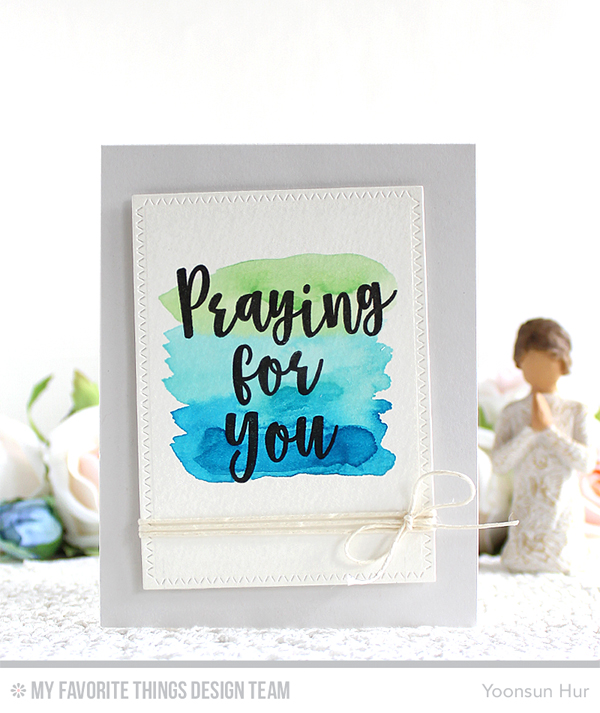 For my first card, I made the “Praying for you” card. I stamped the sentiment from the
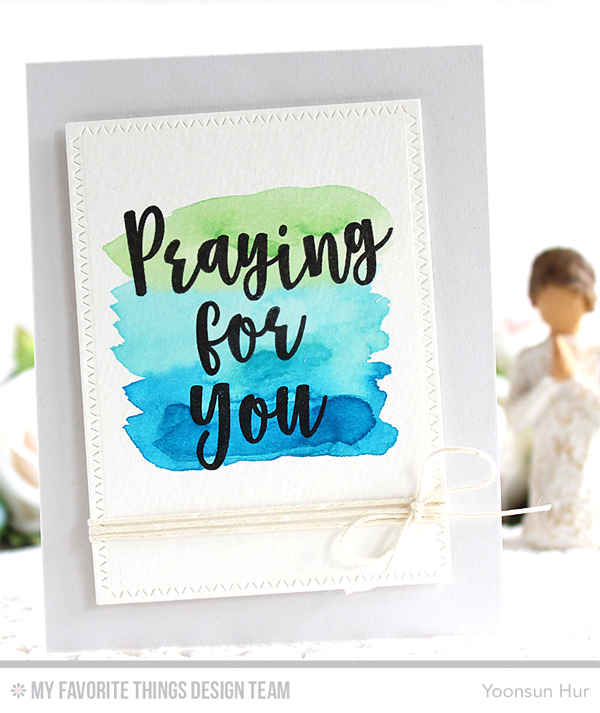
 For my second card, I made a wedding card! I stamped the “Happily ever after” from the set on watercolour paper in black pigment ink, then painted pink on it – I used Geranium Pink and Arbutus Pink Peerless watercolors.


 Today I am featuring so gorgeous
 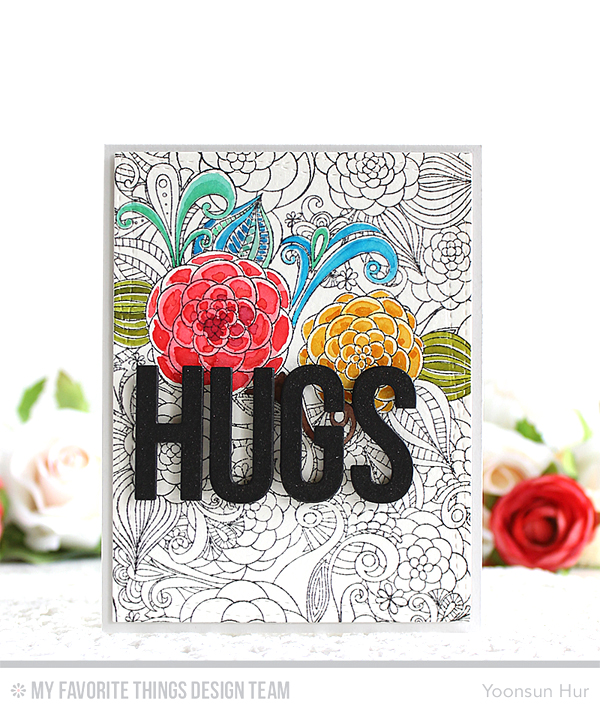 For my first card, I 1) Stamped the
  I added the
 For my second card, I 1) Stamped the