Happy World Card Making Day!

Hello crafty friends, happy World Card Making Day!
Today is a DAY to celebrate handmade card making and it’s also a great time to share Christmas cards! Woohoo!!

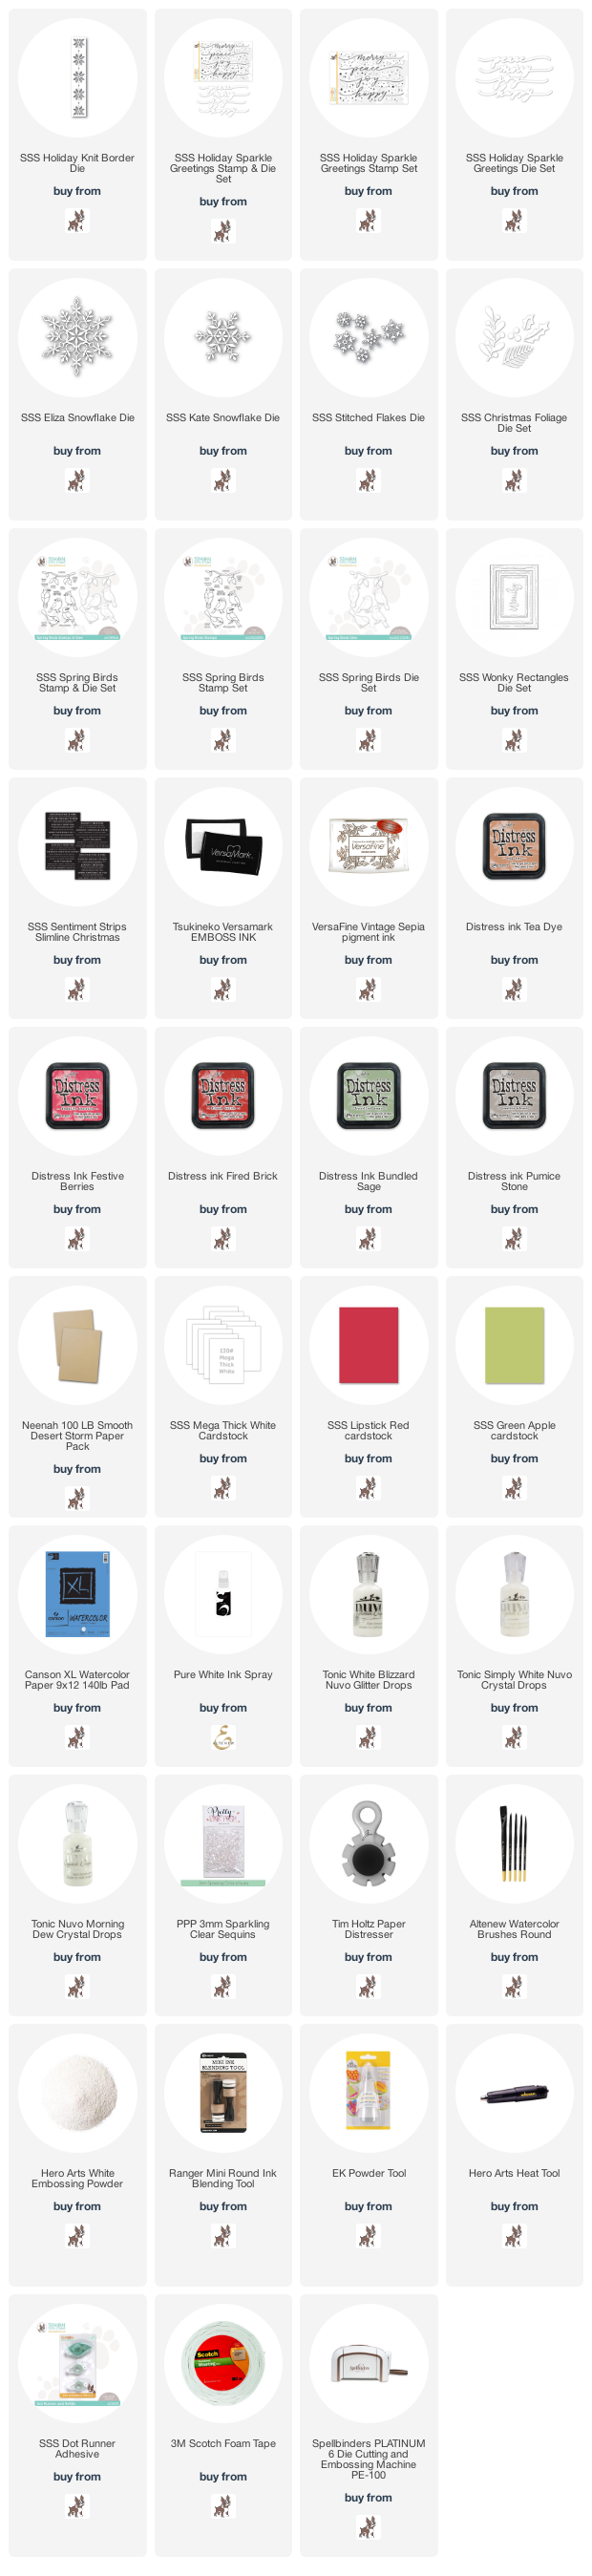
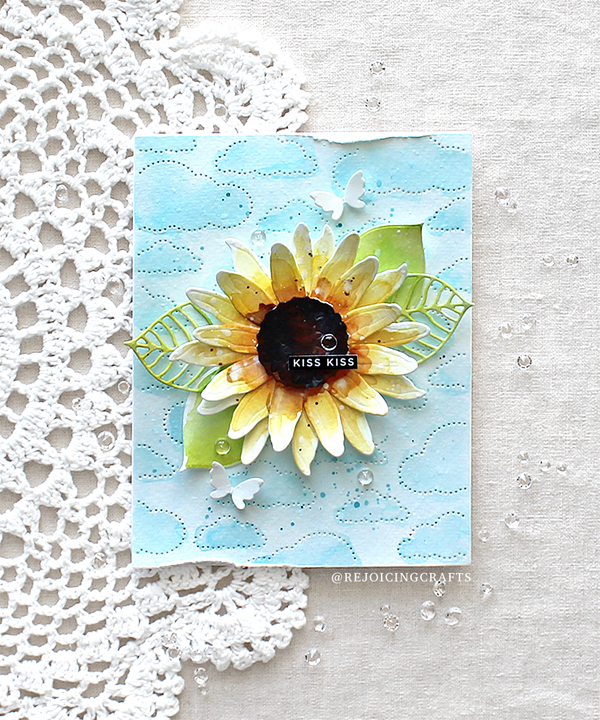
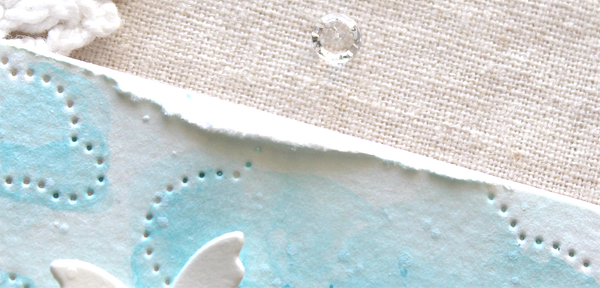
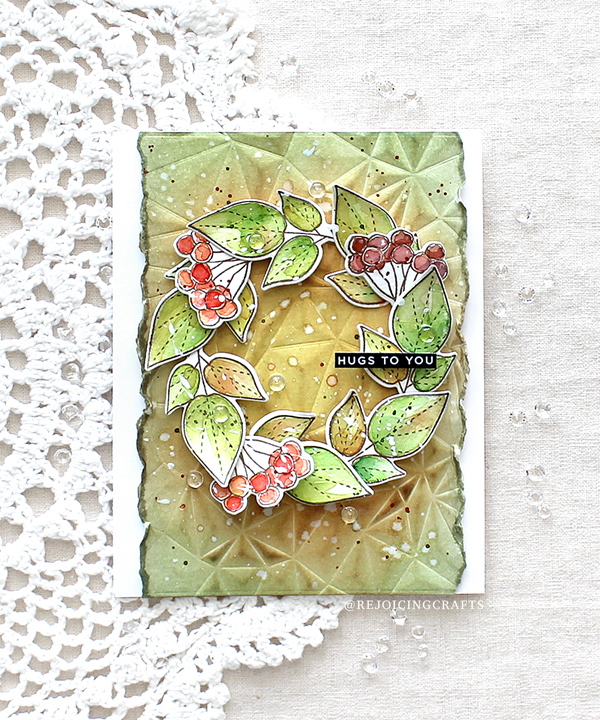
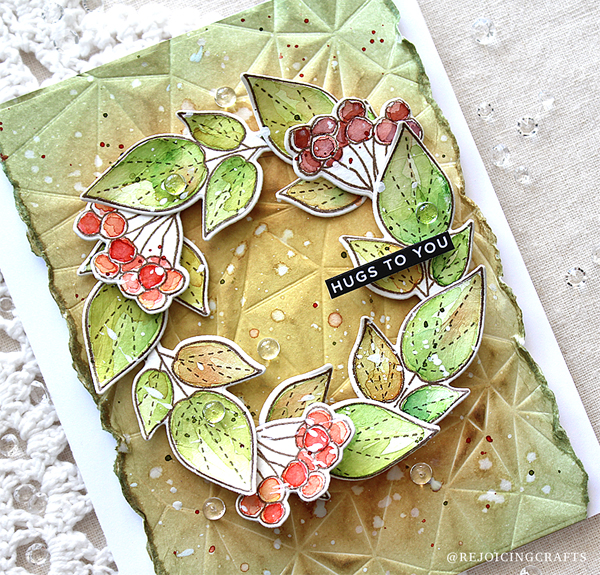
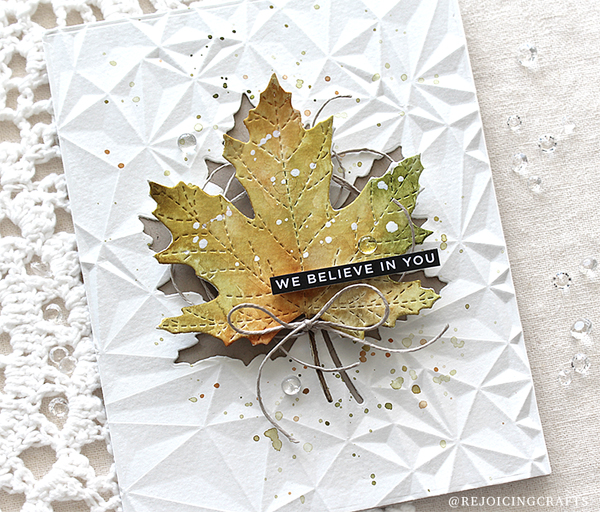
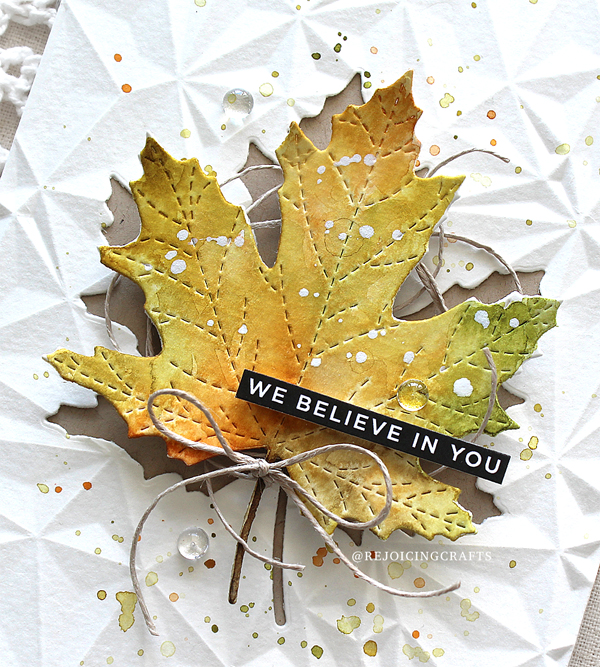
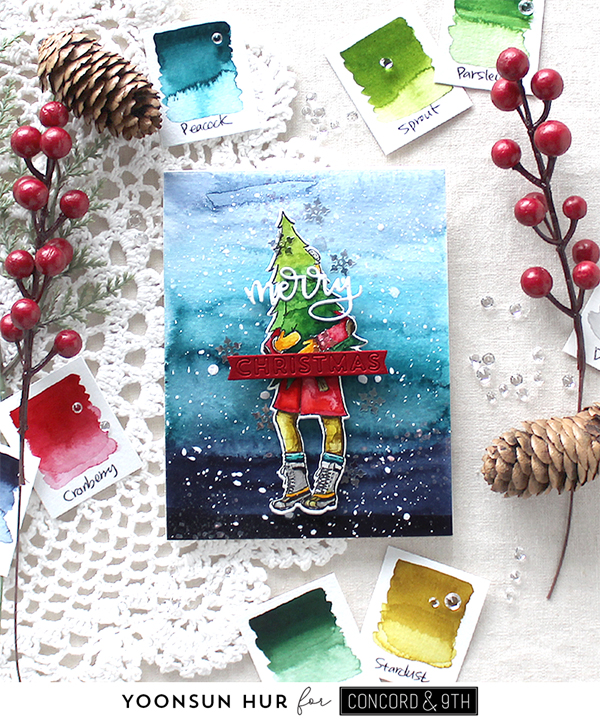
I want to share my kraft Christmas card trio with some SSS Christmas products. I did distressing on edges, added lots of white ink splatters & glitters on my today’s cards because it is Christmas card, right?!! Oh, and I used the Holiday Knit Border die & Holiday Sparkle Greetings set as my main supplies.


I started by die cutting the Wonky Rectangle panel from Neenah Smooth Desert Storm cardstock. I then die cut the Holiday Knit Border at the bottom part of the kraft panel. I distressed on edges of the panel using Tim Holtz Paper Distresser, and then lightly ink blended it with Tea Dye Distress ink. For the main sentiment, I heat embossed the word “Merry” in the Holiday Sparkle Greetings stamp set on Desert Storm cardstock in white, die cut it with matching die. For the black sentiment banner, I used the Sentiment Strips Slimline Christmas.

I mounted the Holiday Knit Border panel on the same Neenah Smooth Desert Storm card base using foam tape, added opaque white ink splatters, and then added all elements as shown in the picture using foam tape. The large snowflake is the Eliza Snowflake, and two tiny snowflakes that I used the Stitched Flakes die. I never forgot adding white enamel dots using Nuvo Simply White Crystal Drops. ;)


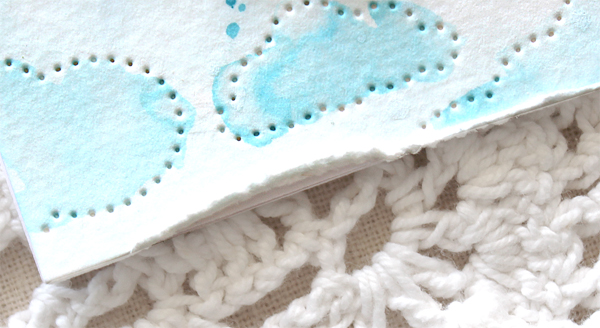
For my second kraft Christmas card, I die cut diagonally the Holiday Knit Border at the bottom part of the kraft panel. I then used the word “Peace” in the Holiday Sparkle Greetings stamp set, added two adorable birds & snowflakes.

For these birds, I stamped them from the Spring Birds set on watercolour paper using VersaFine Vintage Sepia pigment ink, lightly watercoloured them using red & green Distress inks, then die cut them with the matching dies.


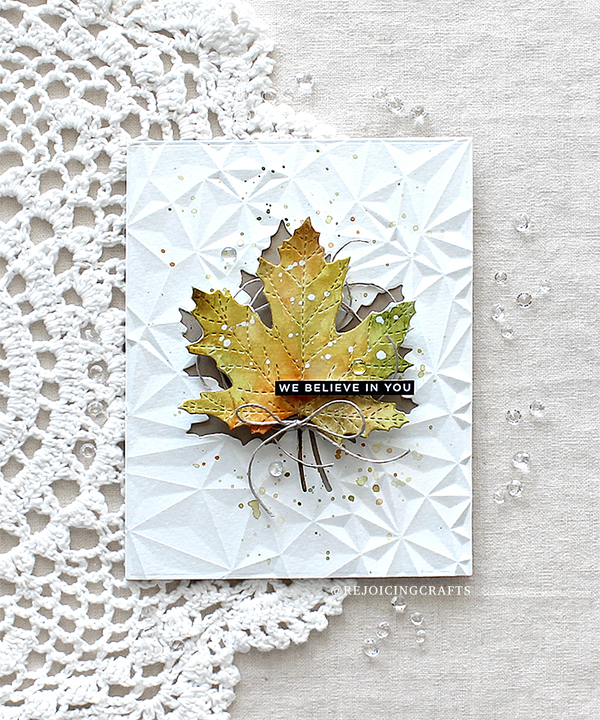
For the last card today, I made “Joy” Christmas card. I die cut vertically the Holiday Knit Border at the right part of the kraft panel, then added the sentiment “Joy”, Christmas foliage and tiny snowflakes.

I CAN’T WAIT TO SEE what you’re making!!

Thank you so much for stopping by. Have a happy World Card Making Day!

Keep smiling and be blessed! God bless you all!
Love Love Love RejoicingCrafts


SSS Detail Cloud Plate

Hello crafty friends, happy STAMPtember!
Today I have another sunflower card with some SSS old & new products. We love sunflowers, especially in autumn, right?!!

I started by making background panel with the new Detail Cloud Plate die.


I applied the Detail Cloud Plate onto A2 sized watercolour paper panel first, and then lightly coloured it with Tumbled Glass Distress reinker. I added ink splatters as well. I then made a sunflower using the Sunflower Petals & Detailed Rose die sets – I die cut all pieces from watercolour paper, then roughly coloured them with some Distress reinkers.


To give my card a bit of antique look, I simply played with Tim Holtz Paper Distresser. :D


The GOLDEN BONE GIVEAWAY lasts until the end of September!
WIN an assortment of Simon Says Stamp brand products from every release for an ENTIRE YEAR! 5 bones to give out, and EVERY purchase made in STAMPtember® is eligible to WIN! DON’T MISS OUT!

Thank you so much for stopping by. Have a wonderful day!

Keep smiling and be blessed! God bless you all!
Love Love Love RejoicingCrafts

SSS Autumn Leaves

Hello crafty friends, happy STAMPtember!
I believe that you had a wonderful and “artistic” weekend. :D
My first torn edge autumn card was loved so much – oh, I was so happy!! So, I have another torn edge autumn card with the gorgeous Crystal Distortion embossing folder today.


I started by making torn edge background with the Crystal Distortion embossing folder. I placed an A2 sized watercolour paper into the embossing folder, ran it through the die cutting machine. I then tore the edges, applied some autumn coloured Distress inks to the dry embossed panel – I used Antique Linen, Tea Dye and Bundled Sage. I added ink splatters and water drops all around the panel.

For the leafy wreath on the centre of the card, I used the Autumn Leaves set. I stamped the images onto watercolour paper using VersaFine Vintage Sepia pigment ink first, and then coloured them with Distress inks:
Leaves: Crushed Olive, Mowed Lawn, Bundled Sage, Tea Dye and Dried Marigold
Berries: Festive Berries, Dried Marigold and Seedless Preserves.


For my second card, I used the Large Stitched Maple die along with the Crystal Distortion embossing folder.

In this card, I debossed using embossing folder. I applied Crystal Distortion pattern to white paper panel first, and then added ink splatters.


I die cut the Large Stitched Maple from watercolour paper, then coloured it with some autumn coloured Distress inks like the first card here. I decorated the back of the maple die cut with a natural twine to make it look more like autumn. :D


The GOLDEN BONE GIVEAWAY lasts until the end of September!
WIN an assortment of Simon Says Stamp brand products from every release for an ENTIRE YEAR! 5 bones to give out, and EVERY purchase made in STAMPtember® is eligible to WIN! DON’T MISS OUT!

Thank you so much for stopping by. Have a wonderful day!

Keep smiling and be blessed! God bless you all!
Love Love Love RejoicingCrafts

Concord & 9th Feature Friday – Week 3

Hello crafty friends, TGIF!
I’m back today with my last cards for Concord & 9th as a guest designer for August. I have a couple of watercolour cards with the Heartfelt Blooms & Flowers A La Carte stamp sets. These outline stamp sets are perfect for beautiful watercolour cards.

Heartfelt Blooms

Flowers A La Carte


For my first card, I used the Heartfelt Blossoms Bundle along with liquid watercolours. I stamped a large sized outlined floral image onto watercolour paper using dark brown pigment ink first, and then coloured the stamped image with some liquid watercolours:
Red flowers: Sorbet / Yellow flowers: Buttercup & Stardust
Leaves: Sprout, Parsley and Evergreen / Frame: Wheat

For the sentiment, I used it in the Heartfelt Blossoms die set. I used White cardstock for letters, Wheat cardstock for shadow.

Here is a closer look:


You know what? I really, really love Sorbet, Buttercup, Sprout and Wheat colours – oh, so beautiful!!


For my second card, I used the Flowers A La Carte Bundle – isn’t this set so lovely?!!

I stamped the images onto watercolour paper using dark brown pigment ink, then coloured them with liquid watercolours like the first card. I used all of C9 liquid watercolours to make this card.

I tried to make a wooden rustic flower cart with Wheat, Stardust, Dove and Mushroom liquid watercolours. I’m so happy with the results!


I really hope my cards inspired all of you to make something beautiful.

Thank you so much for stopping by. Have a wonderful weekend!

Keep smiling and be blessed! God bless you all!
Love Love Love RejoicingCrafts

Concord & 9th August Liquid watercolours

Hello crafty friends!
Concord & 9th has been released pigment based liquid watercolours this month and all 22 colours are truly, truly fantastic!

I made colour charts to make it easier for you to see as below:

They are so nice warm colours!

These green colours make me want to keep making autumn cards. So gorgeous!!

Fantastic, aren’t they?!!

These 22 liquid watercolours are really intense and concentrated by themselves but it’s easy to make various shades of the same colour by adding or reducing the amount of water I used on my brush. And they blend extremely well.

For my card with liquid watercolors, I used the Festive Friends set.


For my snowy winter night background, I used the Peacock & the Midnight liquid watercolour. I just painted Midnight onto the bottom of watercolour panel without water, then painted Peacock mixed with a little water, and then added more water to Peacock and Midnight on top of the panel as shown in the picture. And the woman holding the Christmas tree, I stamped it from the Festive Friends set using pigment black ink, and then coloured it with liquid watercolours.

Once the watercoloured panel was dry, I added opaque white ink all around the panel. For the sentiment, I used them in the Festive Friends die set.


For my second watercolour card, I used the Fine Line Florals set.

I stamped a large sized flower image from the Fine Line Florals set onto watercolour paper using Wheat dye ink first, and then coloured the stamped image with several liquid watercolours.


I adore these liquid watercolors so much!!

Thank you so much for stopping by. Have a wonderful day!

Keep smiling and be blessed! God bless you all!
Love Love Love RejoicingCrafts