Hello crafty friends, I hope you had a wonderful weekend!
Today I have three floral cards to share with you using so beautiful Altenew Forever and Always stamp set.
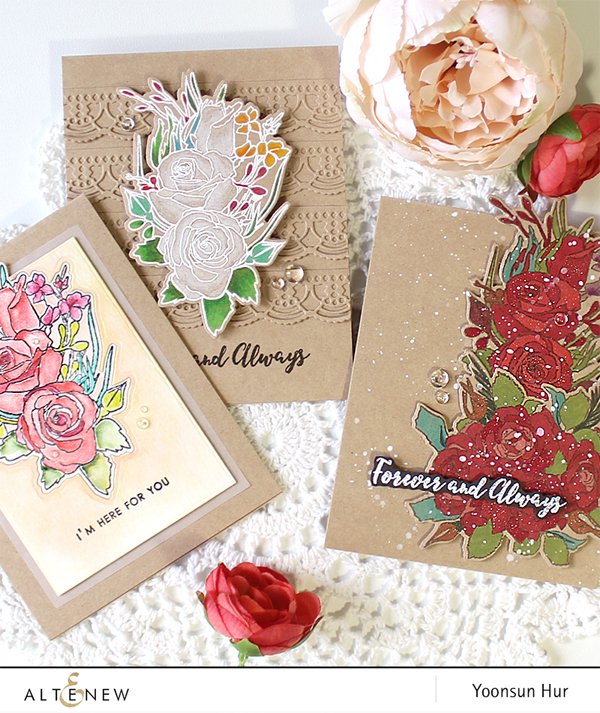
 Doesn’t it look like a real rose? Oh, these two rose bouquets are so beautiful!
 For my first card with the Forever and Always set, I created a watercolour card. I stamped the rose bouquet on a watercolour paper using VersaFine Onyx Black pigment ink, watercoloured it, and then die cut it with the matching die.
 I ink blended on a rectangle watercolour paper panel with Tattered Rose Distress ink, and then stamped the sentiment at the bottom of the panel in black. I die cut from the sentiment panel using the same die, then inlaid the watercoloured rose die cut. Finally, I mounted it on a top-folded kraft card base using double-sided tape.

 For my second card, I used the Altenew Artist Markers for flower colouring. I stamped the roses from the Forever and Always set on kraft cardstock using Altenew Mocha dye ink, coloured them with the Artist Markers, and then die cut them with the matching dies. For the sentiment, I heat embossed it onto dark brown cardstock with white embossing powder, and then fussy cut it.

 For my last card today, I used polychromos coloured pencils for flower colouring. I heat embossed the rose bouquet on kraft cardstock with white embossing powder first, coloured it with polychromos coloured pencils, and then die cut it using the matching die.
 For the card base, I die cut 4 laces from kraft cardstock using the Altenew Creative Edges: Lace die, and then adhered them on the same kraft card base using fine tip glue pen. I stamped the sentiment on the bottom of the card in black and then added the rose bouquet on the centre of the card front using foam tape.

Thank you so much for stopping by. Have a wonderful day!
Keep smiling and be blessed! God bless you all!
Love Love Love RejoicingCrafts
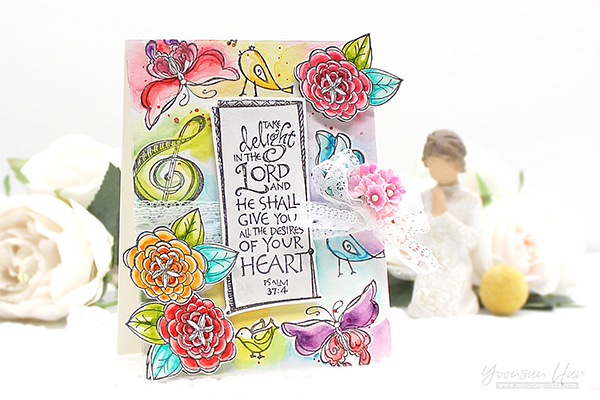 I started by stamping the sentiment from the
  I brushed over the stamped images with clean water first, and then coloured them with watercolours just the way I like! I also coloured another stamped flowers (from the
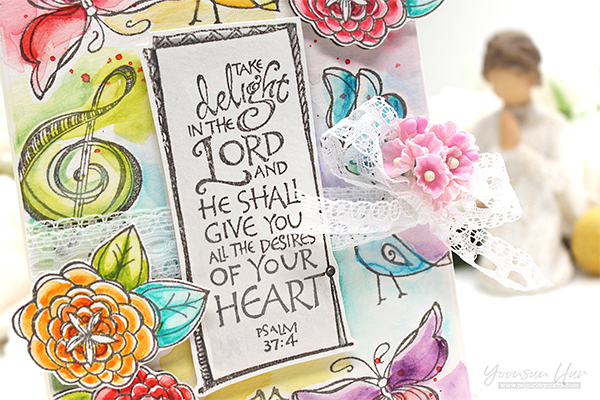
  Once the panel was completely dry, I decorated the panel with lacy ribbon & small flowers as shown to the picture, and then mounted the panel on white card base using double-sided tape. Finally I added the sentiment panel & flowers using foam tape. :)
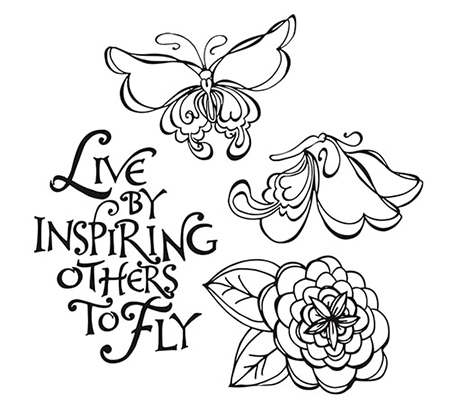

 1) Die-cut
 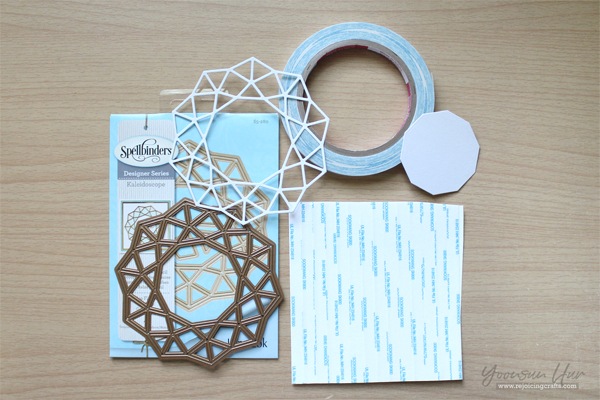 2) Make own adhesive panel using double-sided tape. Overlap the tapes carefully so there are no gaps.
 3) Adhere Geo Flower die cut on adhesive panel. Trim outside of the die cut out using a scissors.
 4) Apply glitters onto the sticky part of the die cut panel. Rub glitter with fingers to set in place.
 5) Stamp butterflies from the
 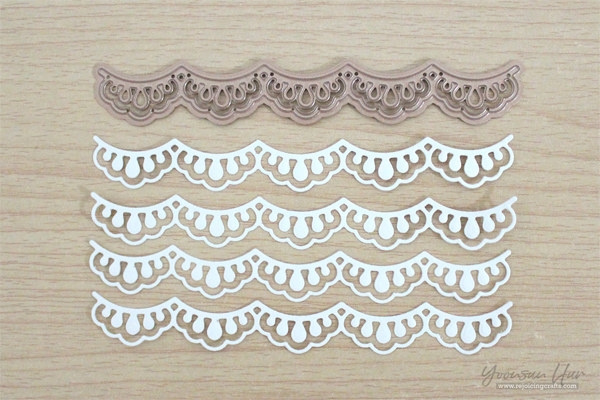 6) Die-cut 4 laces from pale grey card stock using one of the beautiful lace borders in the
  Lastly, I stamped sentiment from the


 My cards today, I am featuring the
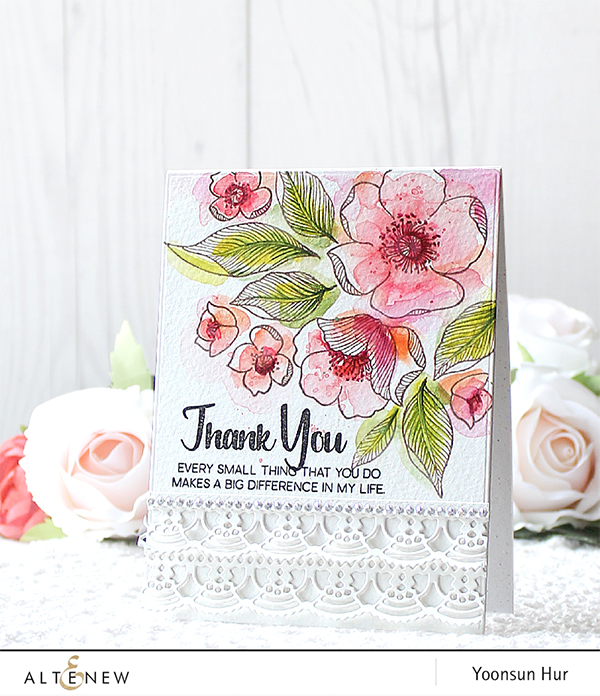
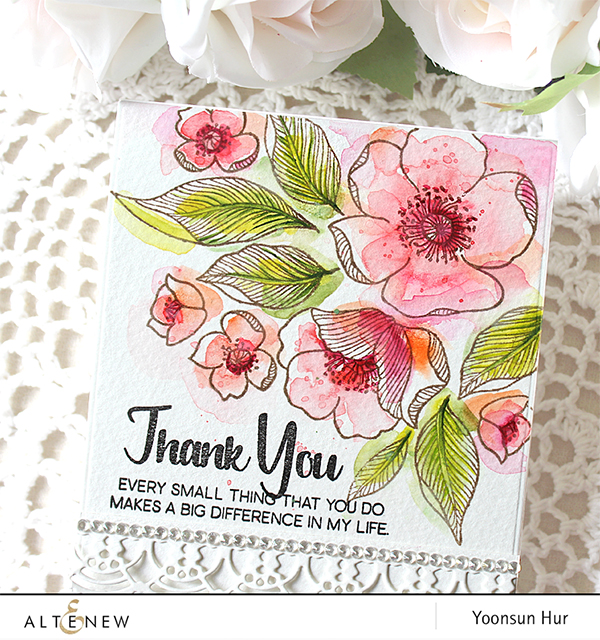
 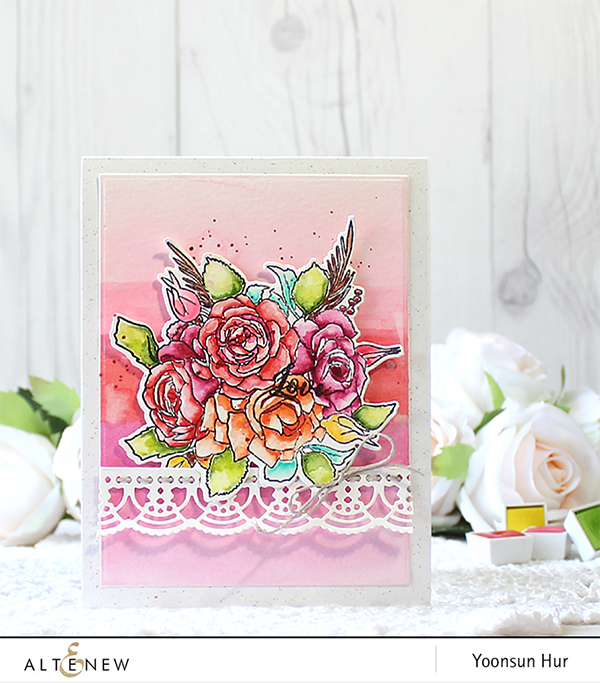 For my first card, I made a watercolour flower card with the
 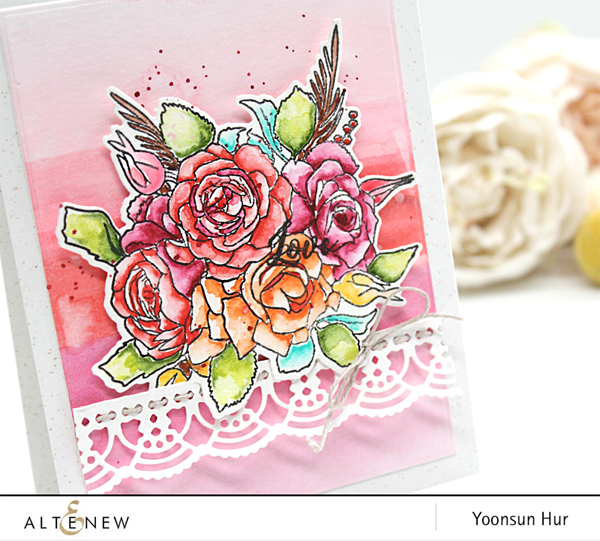 I mounted the watercoloured panel on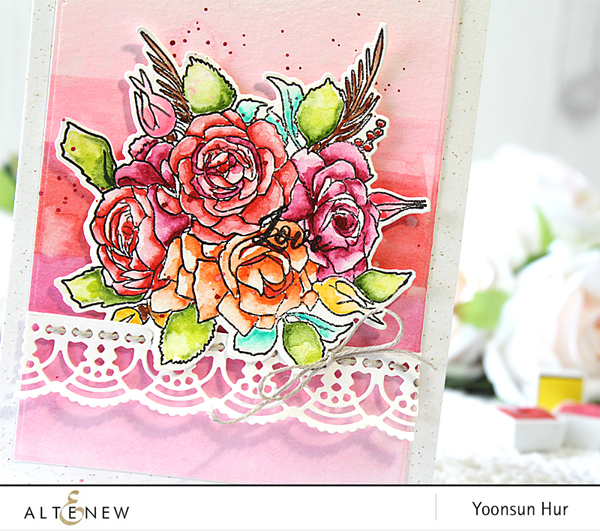
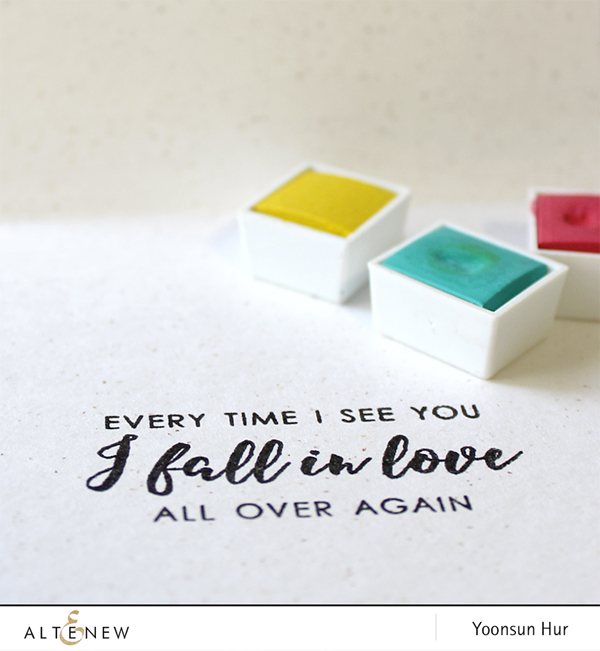 I stamped the sentiment from the
 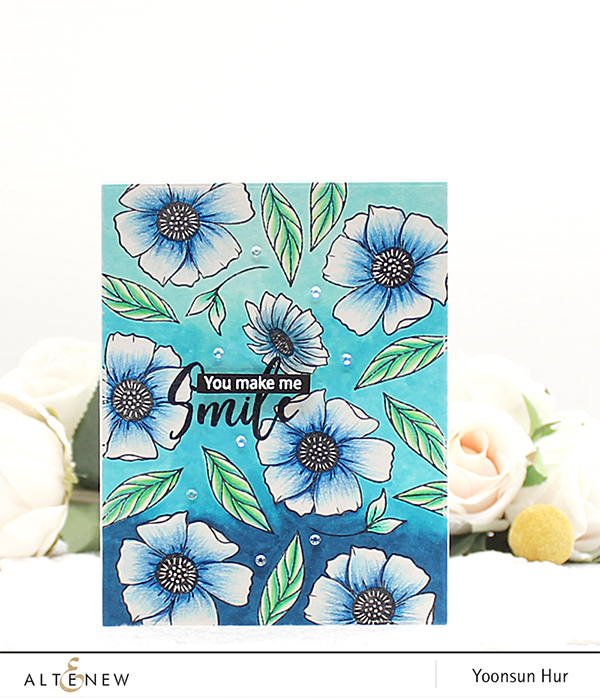 For my second card, I used the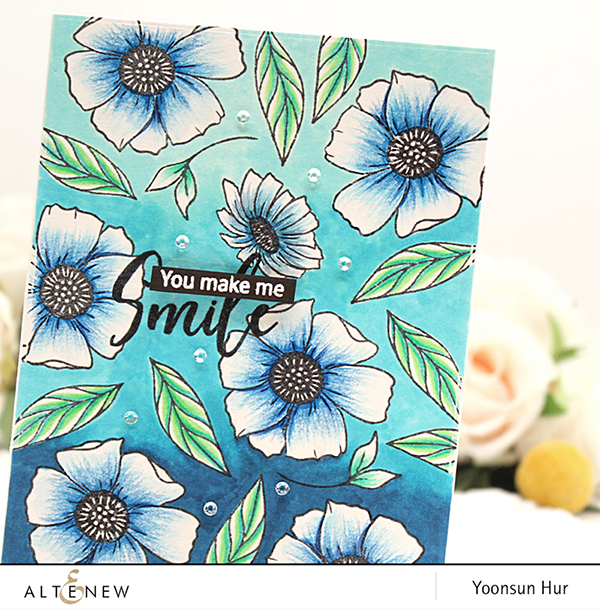
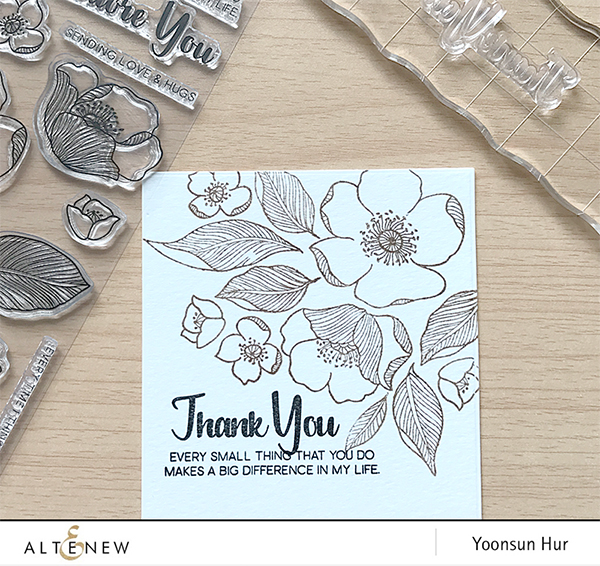 I started by stamping flowers and leaves from the
 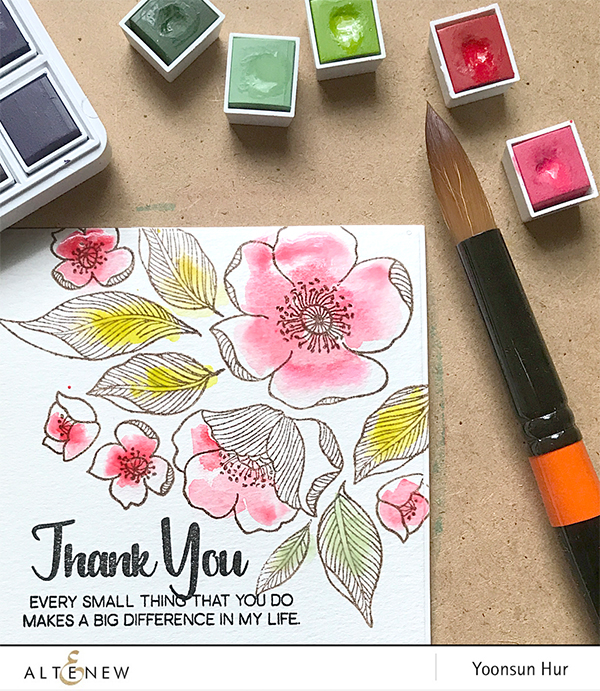 I brushed over the stamped images with clean water first, and then coloured them with watercolours.
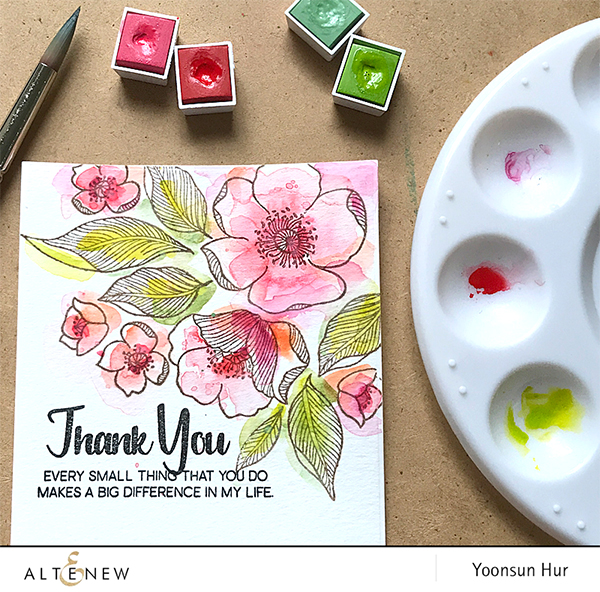 I roughly watercoloured all the stamped images. This is a very exciting way to paint outlined flowers!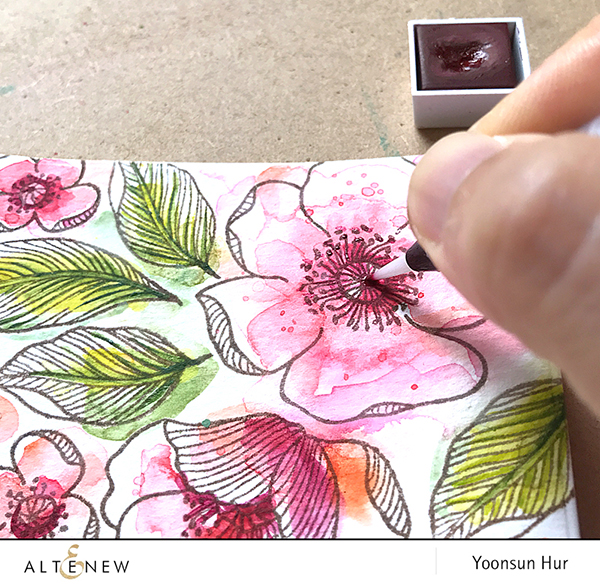

 Thank you so much for stopping by. Have a wonderful day!

