Hello crafty friends!
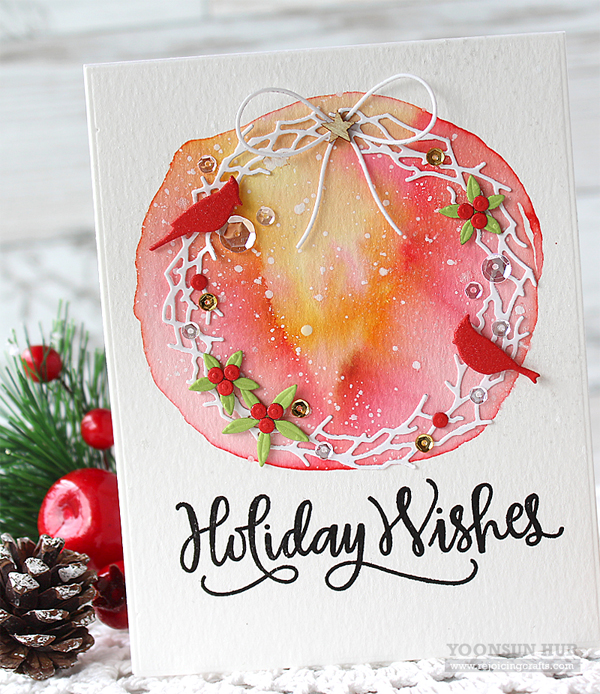
Oh my, the end of August already?! Time goes really fast! It’s time to start thinking about the holidays! (I can’t believe it’s already THAT time of year.) So today I have another Christmas card to share with you using so beautiful SSS Chisholm Wreath Dies.
 To start, I created my own watercolour background on cold press watercolour paper panel with Festive Berries and Wild Honey Distress inks using a wet paint brush. I added white ink splatters. Once the panel was dry, I stamped the sentiment from the Big Scripty Greetings Holiday set on the bottom of the panel using VersaFine Onyx Black. I die cut all elements for building a Christmas wreath using the Chisholm Wreath Dies. I mounted all elements as shown to an A2 sized white card base using foam tape.
 See you tomorrow for more fun with the STAMPtember! Yay!!
Keep smiling and be blessed! God bless you all!
Love Love Love RejoicingCrafts


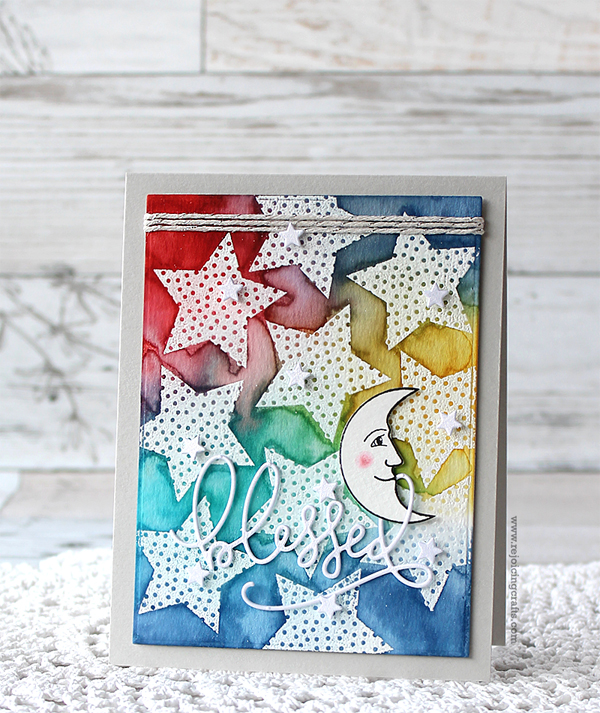 To start, I randomly stamped one of the star images in the
 Baby is a blessing from Heaven!! :D


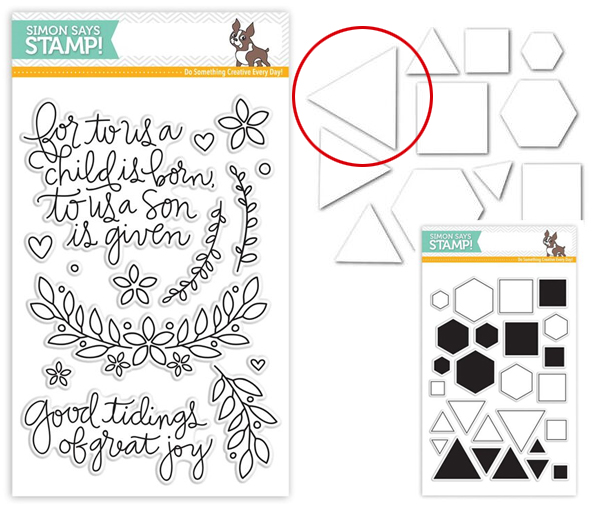
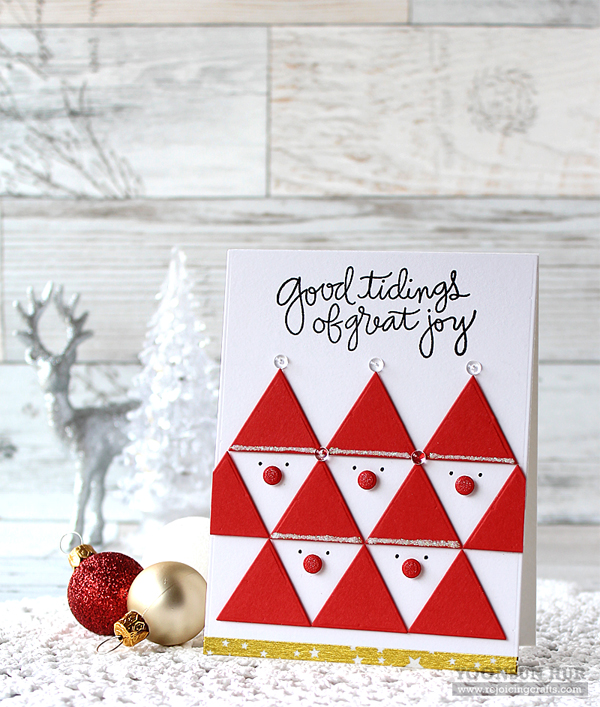 To start, I die cut Santa’s hat from the
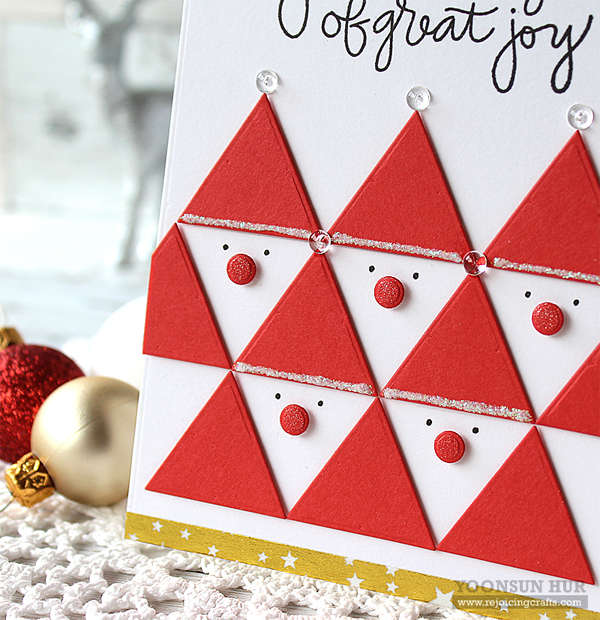

 Simon Says Stamp STAMPtember is just around the corner!! All of awesome autumn and winter holiday products will be revealed in September 1st! Can’t wait!!!


 To start, I made the floral background with the
 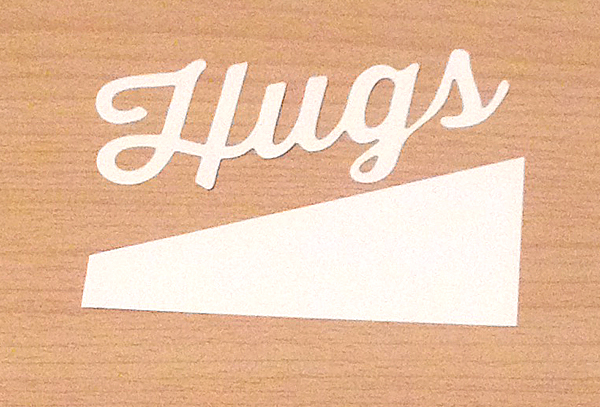 For the sentiment panel, I die cut the word ‘Hugs’ from white card stock using the
  I used washi tape to secure the word die in place and then run it through die cutting machine.
 I then inserted the word die cut into the spaces in the top edge of the die-cut panel using double-sided tape.
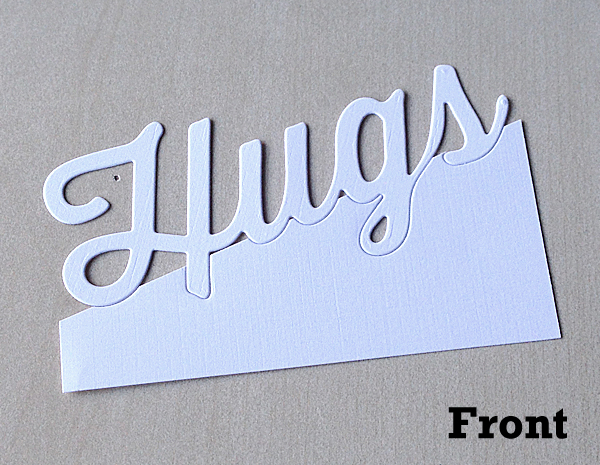
 Lastly, I mounted the floral background on an A2 sized white card base using double-sided tape first, and then added the sentiment panel on the bottom of the card using foam tape. The word ‘Hugs’ and pretty flowers are so gorgeous together!!
 Here is another card with the same design but different colour combos! For the tropical background, I used the


 For my first card, I made a fun shaker card with the
 Here is another happy card for you! I 1) Die cut the rainbow stripes from white card stock using the


