Hello crafty friends, TGIF!
Welcome to the My Favorite Things August Release Countdown Day 5.

Every month, MFT releases fabulous products, and this time was no exception!! You can enjoy (and of course, have) lots of gorgeous and fun stuff from this month!
Today I am sharing with you my floral cards with so beautiful Scribble Roses Stamp & Overlay Die-namics.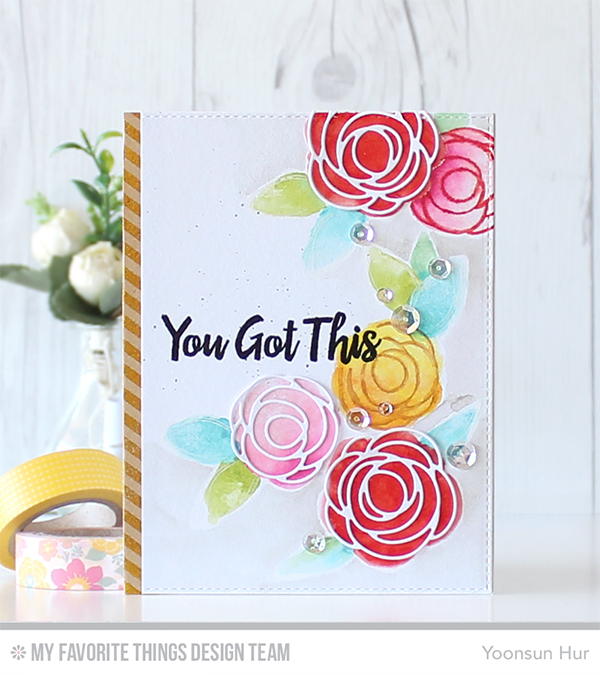 My first card is watercoloured flower card. I 1) Stamped the solid flower images on the watercolour panel with Wild Cherry, Lemon Drop, Tickled Pink dye inks, the solid leaves with Sour Apple, Summer Splash, Spearmint dye inks and then brushed them using waterbrush. 2) Stamped the outlined flowers with Safety Orange, Red Hot dye inks. 3) Die cut Scribble Roses Overlay from the white card stock, positioned them over the stamped images and then adhered them. 4) Stamped the sentiment from the Encouraging Words Stamp Set using black pigment ink. 5) Mounted the stamped panel to the white card base, embellished with clear sequins.
 For my second card, I used Scribble Roses Overlay Die-namics as my main supply.
1) For my own watercolour background, I coloured on the watercolour panel with Red Hot, Bubblegum, Orange Fizz, Lemon Drop dye inks using a wet paintbrush and then added white ink splatters. I then trimmed it with Blueprints 25 Die-namics. 2) I die cut the roses from the white card stock using Scribble Roses Overlay Die-namics. 3) The watercoloured panel dry completely, I positioned the rose die cuts over the panel, added machine stitches. 4) For the sentiment, I stamped it from For the Boys Stamp Set on the black card stock using embossing ink, white heat embossed and then trimmed it. 5) To finish it off, I embellished with enamel dots.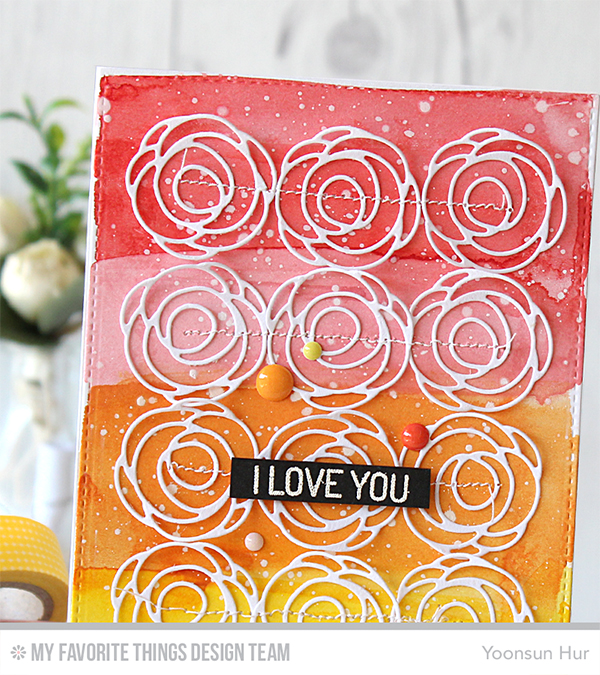
Make sure to check out MFT Blog for all the info for today along with links to all the other DT member’s blog posts.
See you tomorrow for more countdown fun! Have a wonderful day!
Keep smiling and be blessed! God bless you all!
Love Love Love RejoicingCrafts


 To create the card, I 1) Blended on the top portion of the watercolour panel with


 To create the card, I 1) Stamped


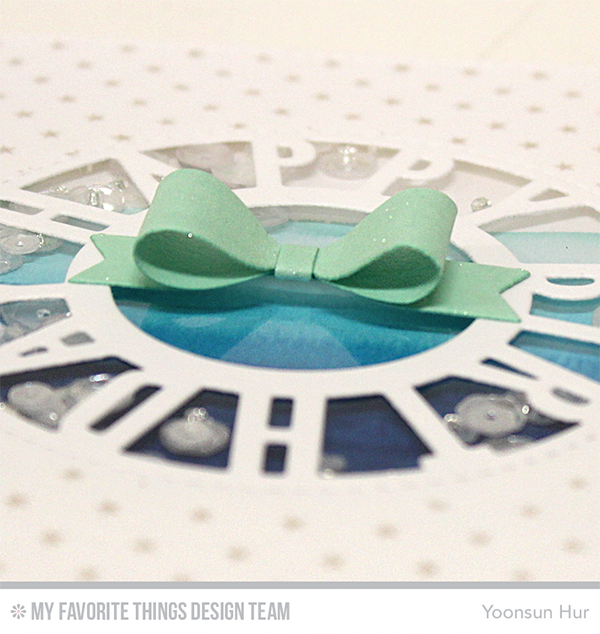
 A monochromatic colour scheme is created by taking any one of the twelve hues from the basic colour wheel and repeating it in various shades and tones. This scheme looks clean and elegant and very easy on the eyes, especially with blue or green hues.
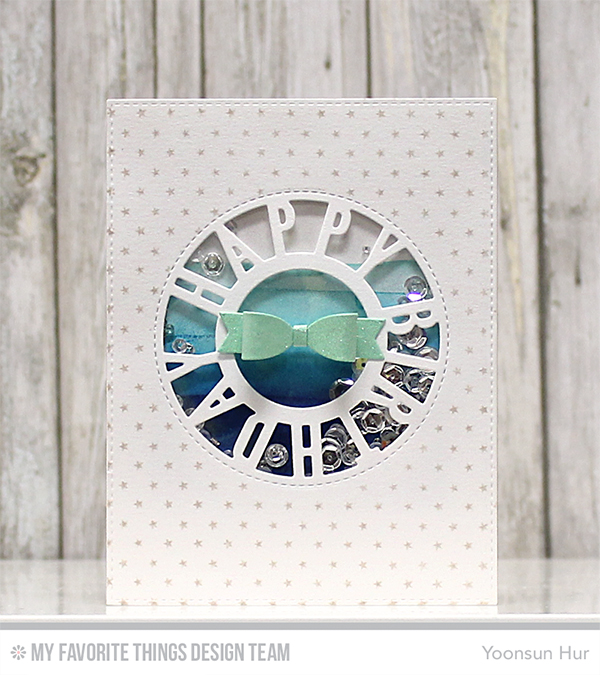 To create the card, I 1) Prepared a circle mask die cut, the same size as the
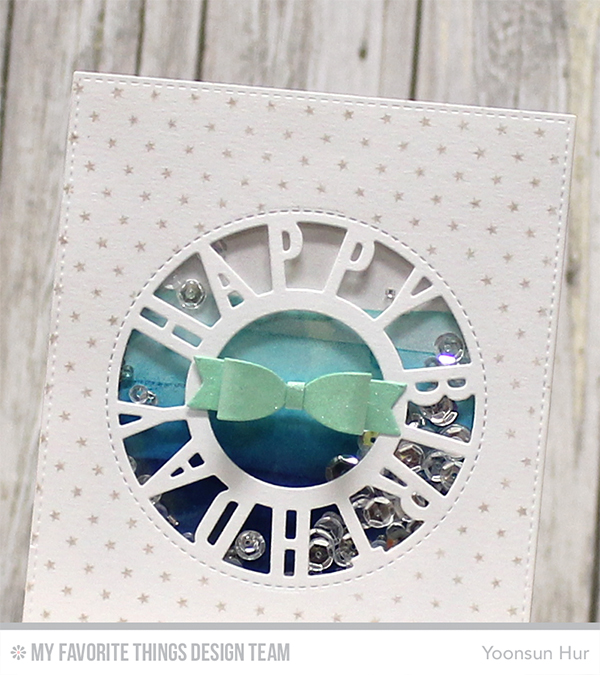
 Make sure to head over to the


