Hello crafty friends, happy Wednesday!
Today I want to share with you my card for the My Favorite Things Wednesday Sketch Challenge 291.
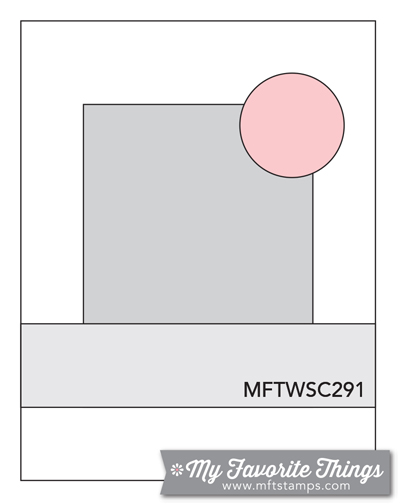
Here is what I came up with:
 For my card today, I made a fun birthday card. I 1) Stamped the bunny and teddy from the Snuggle Bunnies set on watercolour paper in Black Licorice hybrid ink, watercoloured them, then die cut them with the matching dies. 2) Stamped the Watercolor Stripes Background on heavy white card stock in Latte hybrid ink, then trimmed the paper using the Cross-Stitch Rectangle STAX Die-namics. 3) Heat embossed the sentiment from the Big Birthday Sentiments set on black card stock in white, then die cut it with banner die in the Blueprints 27 Die-namics. 4) Die cut the balloon from white card stock using the Big Birthday Balloons Die-namics, then inked it with Festive Berries Distress ink using mini ink blending tool. 5) Mounted all elements as shown to white card base using dimensional foam tape. 6) Embellished with a few PPP clear sequins.
 It is fun, fun, FUN to make birthday cards!!
Thank you so much for stopping by. Have a wonderful day!!
Keep smiling and be blessed! God bless you all!
Love Love Love RejoicingCrafts


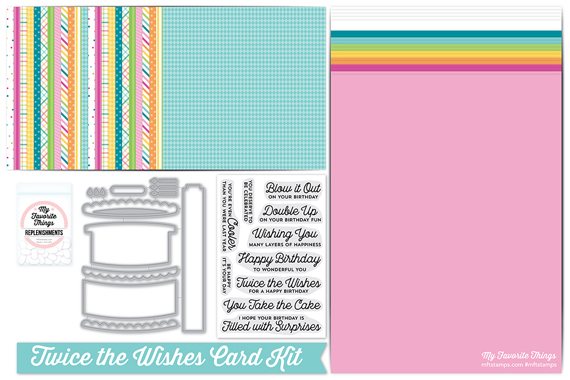 Twice the Wishes Kit
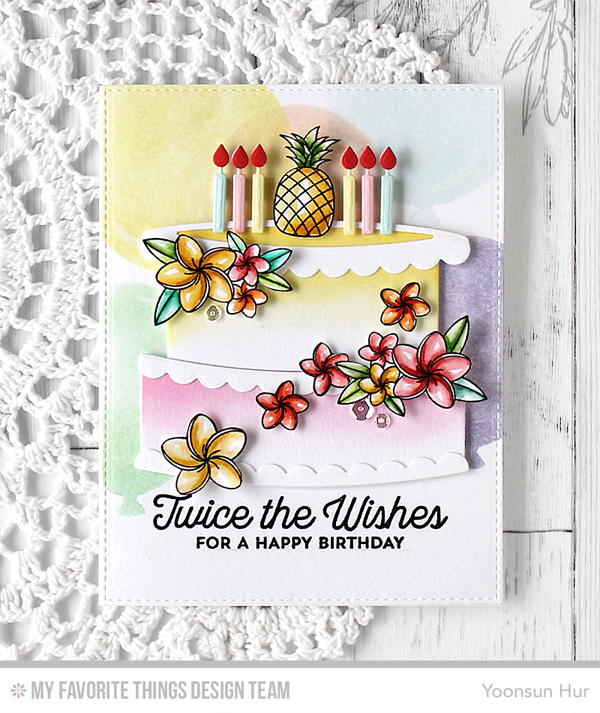 To start, I made a soft pastel balloon background with the
  Make sure to check out


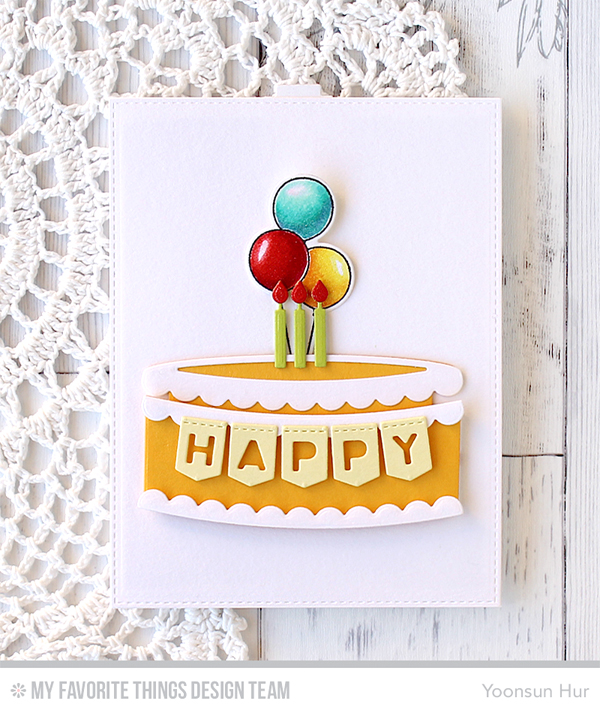 For my card today, I just wanted to make a clean and simple on white base. To start, I die cut the elements – to assemble two-layer cake – from the Pineapple and Smooth White card stocks using the
  A secret message in the top layer of the cake, isn’t it cool?
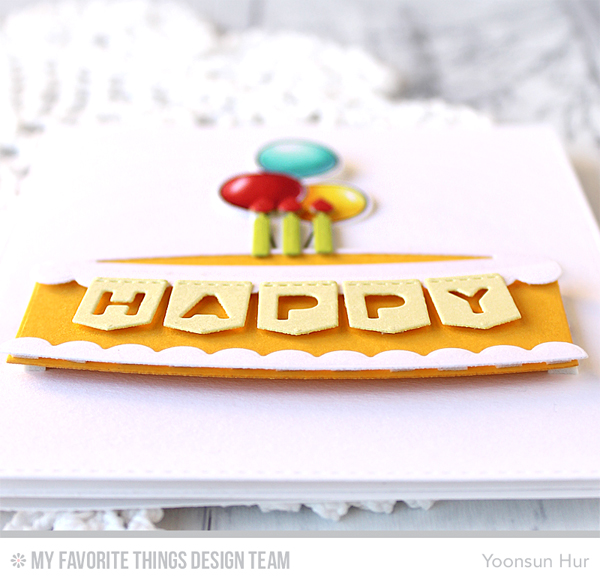 “Happy birthday! You deserve to be celebrated!!”


 Here is another card with a birthday balloon! I tried to make a clean and simple layered card. I die cut a piece of watercolour paper using the


 My card features the
 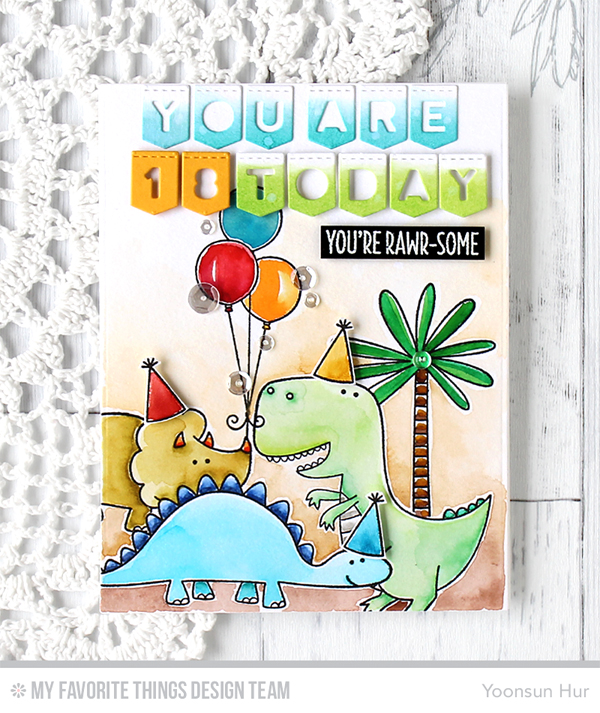 To create the card, I die cut the
  Don’t forget to check out the


