Happy Sunday crafty friends!
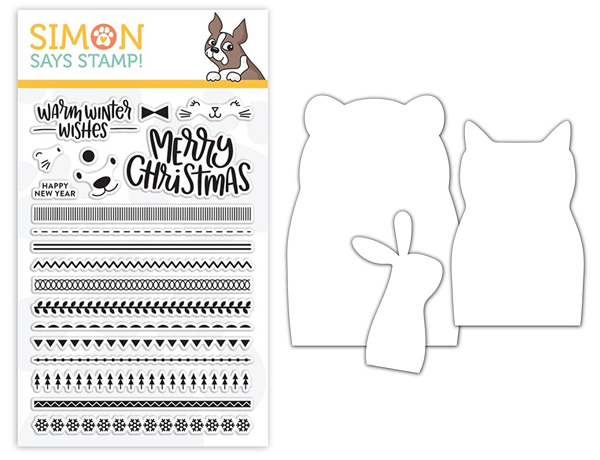
Today I have another winter holiday cards with Simon Says Stamp Critter Sweaters Stamp & Die Set – it’s so cute!!
Here is what I came up with:
 I die cut 4.25 x 5.5″ rectangle panel from watercolour paper using the Basic Rectangles die set first, and then heat embossed Christmas sweater patterns on the bottom part of the watercolour panel using white embossing powder.
 I die cut a bear from white heat embossed panel using the Critter Sweaters die, then applied Candied Apple Distress ink to the stamped areas as shown in the picture. I adhered sentiment panel on white card base first, and then adhered a bear in its place using foam tape.
 I decorated a card front with snowflakes, jingle bell as well.

Thank you so much for stopping by. Have a wonderful weekend!
Keep smiling and be blessed! God bless you all!
Love Love Love RejoicingCrafts

 I die cut
  Once the watercoloured panel was completely dry, I mounted it on kraft card base using


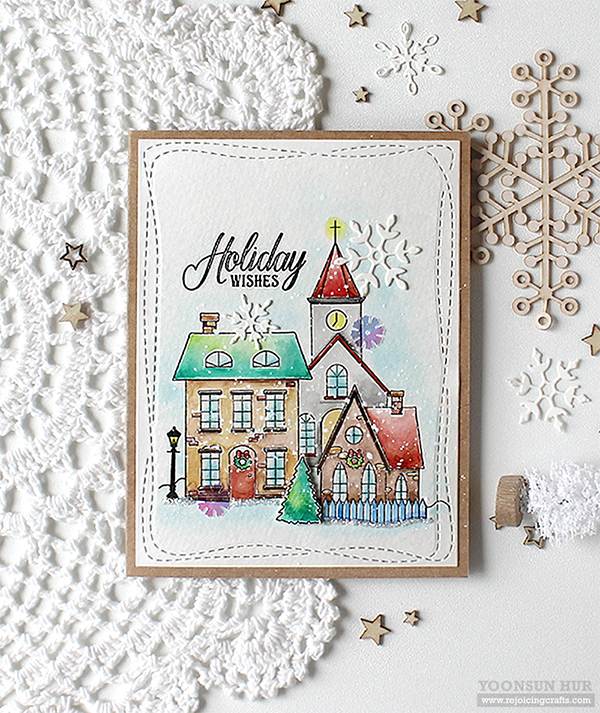
 I stamped Christmas lights, reindeers, trees, sentiment on Wonky Rectangle watercolour panel using VersaFine Onyx Black first, and then watercoloured them. To Christmas lights, I applied Tonic

 I hope you’ve enjoyed my winter holiday cards today. I will bring another SSS Christmas cards soon!
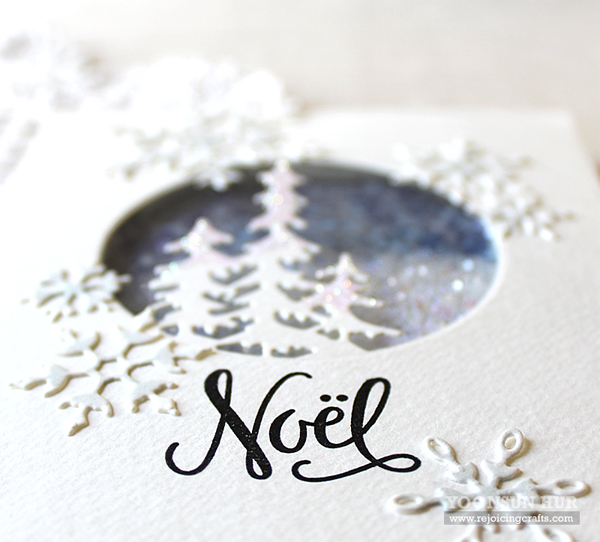
 It is a clean and simple Christmas shaker card. I die cut the
 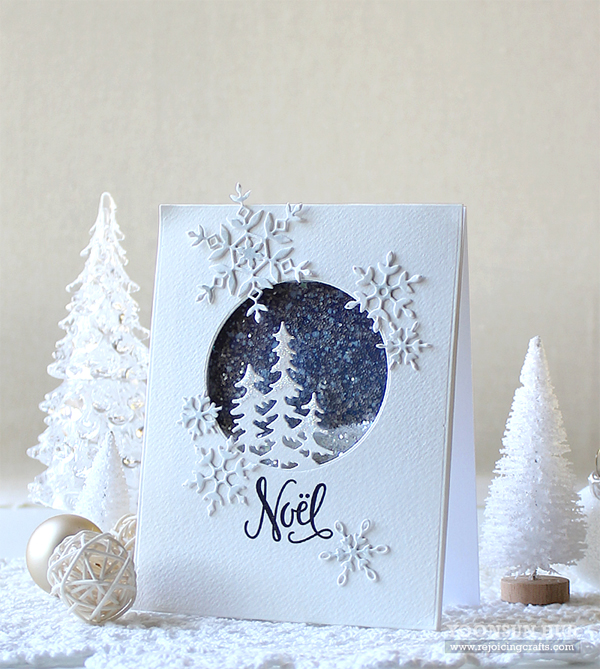 I die cut snowflakes from watercolour paper using the SSS
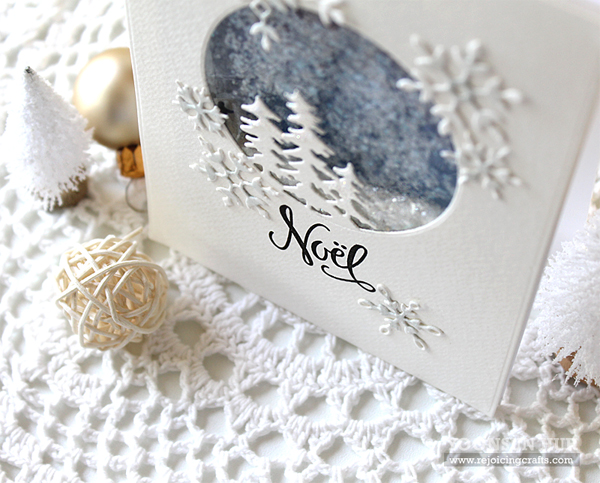

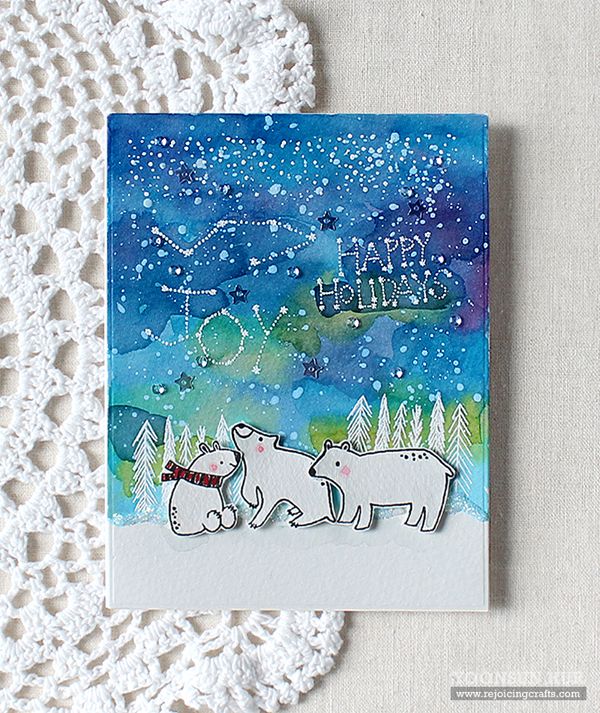 For my first card, I created a snowy night background with the
 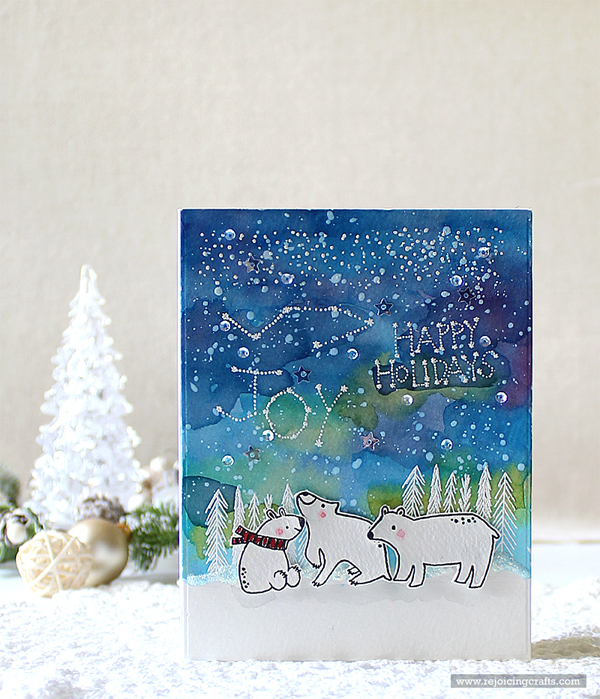 I stamped & lightly watercoloured three polar bears, then fussy cut them. Once the background panel was completely dry, I mounted it on white card base using double sided tape first, and then added polar bears on it using foam tape.
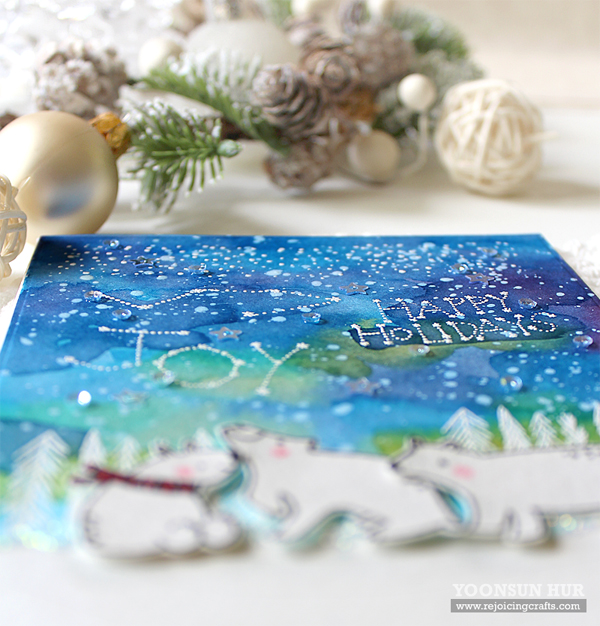

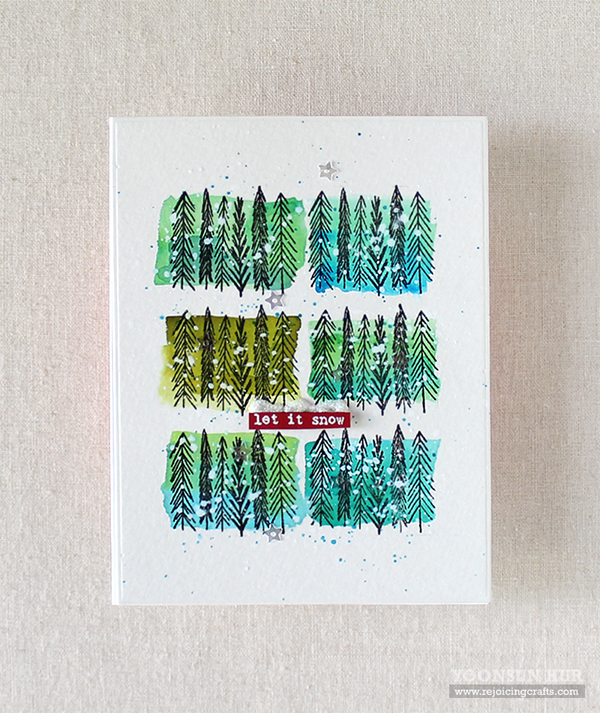 For my second card, I made a simply watercolour card. I just repeatedly stamped trees on watercolour panel in black, and then roughly watercoloured each tree using
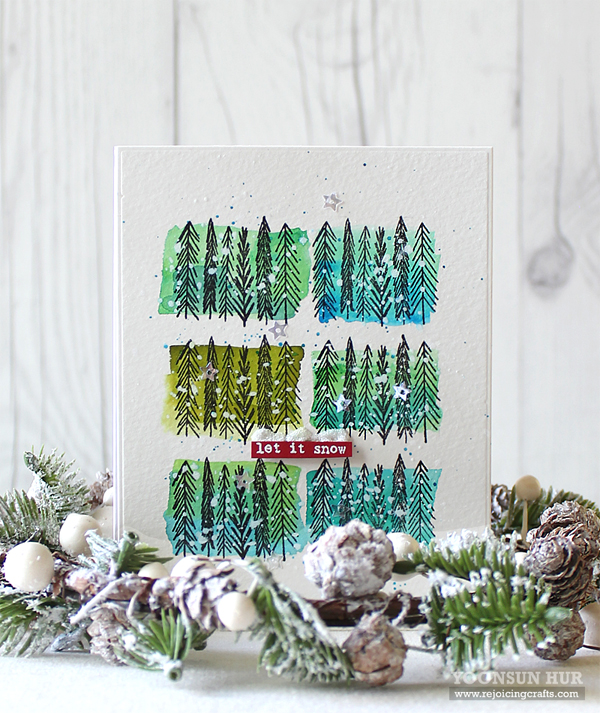
 Thank you so much for stopping by. Happy crafting!


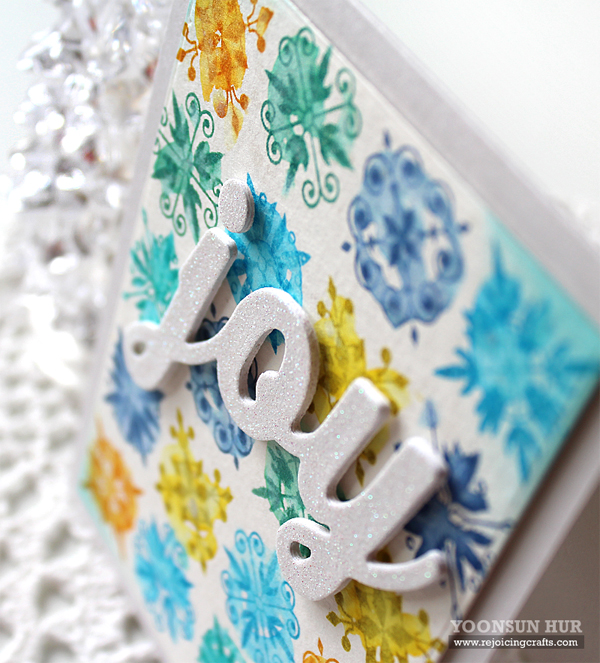
 To create this card, I 1) Drew grid lines on watercolour paper panel using a pencil. 2) Stamped damask images from the
  I tried to create a clean and simple Christmas card. :D
 Thank you so much for stopping by. Happy crafting!
