Hello crafty friends, I hope you had a wonderful weekend.
October is so soon, this means it’s the month we start making Christmas cards (many of us are already making though). I will also make and share as many Christmas cards as time permits.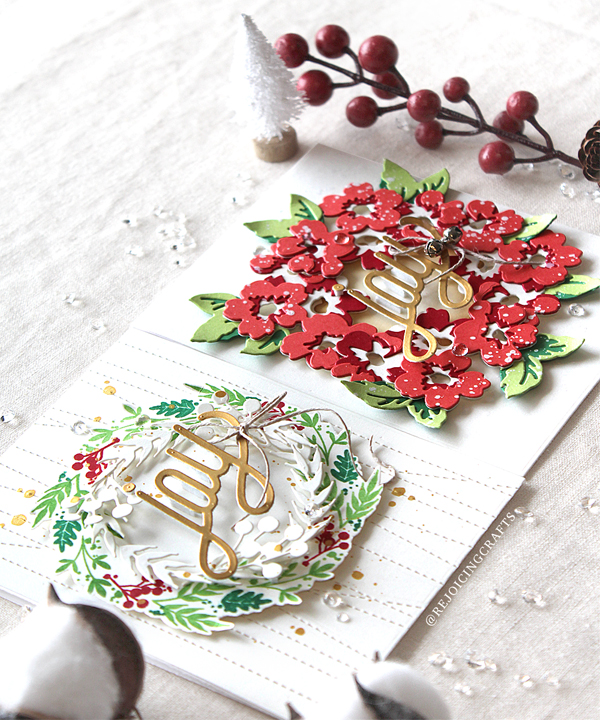
Today I have a couple of winter holiday cards with non Christmas products, lol!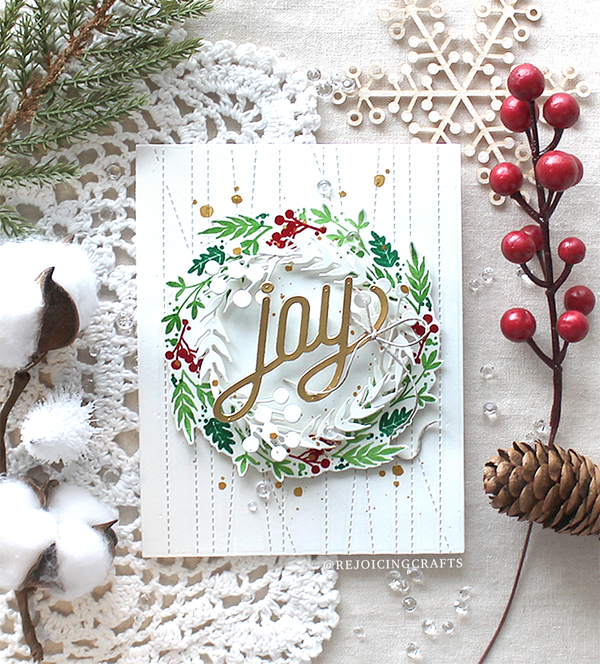
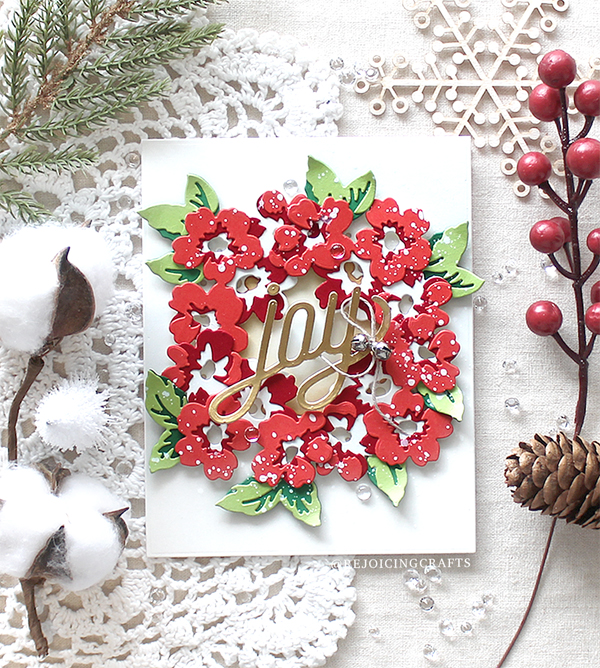
For my first card, I used the Concord & 9th Harvest Wreath set – it’s of course autumn-themed product but with red, green and gold on white, we can make Christmas cards as much as we want, right?!!
I started by stamping Christmas wreath from the C9 Harvest Wreath Turnabout set on white cardstock using C9 Cranberry, Parsley and Clover dye inks. I then cut the outer part of the wreath. I die cut some leaves & berries from white cardstock using the C9 Harvest Wreath die set as well. I mounted the leafy Christmas wreath on the centre of the card using foam tape first, and then added white leafy wreath as shown in the picture. I also added metallic gold ink splatters using Altenew Gold Pearl Metallic Watercolor.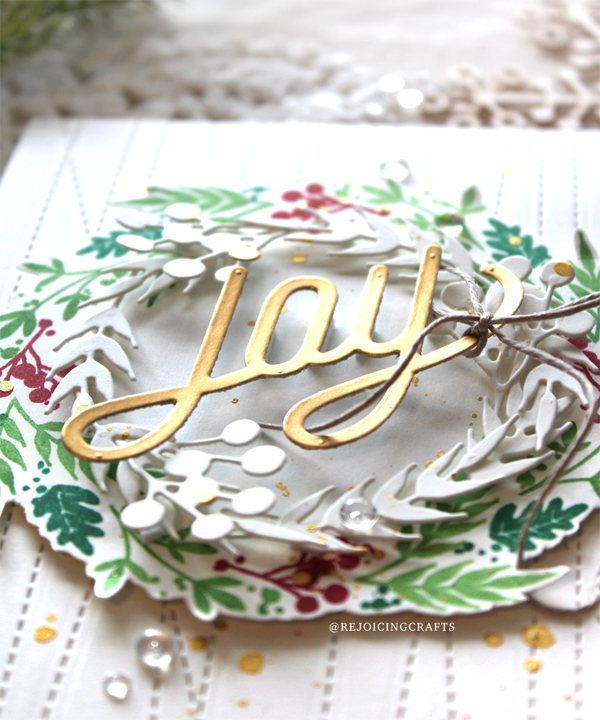
I die cut the word “Joy” from metallic gold cardstock using the SSS CZ Design Joy Script die, then added it on the card.
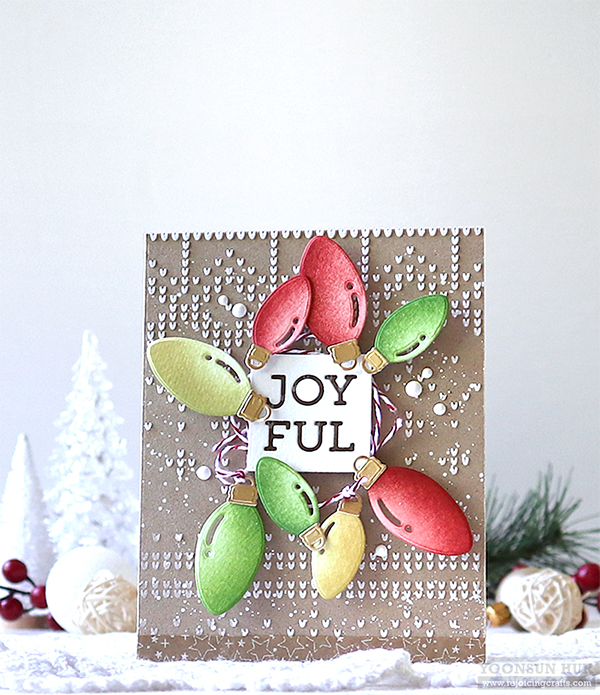
Here is another “Joy” Christmas card with the Altenew Mini Flower Cluster Layering die set. With this non Christmas product, I used only red & green cardstock.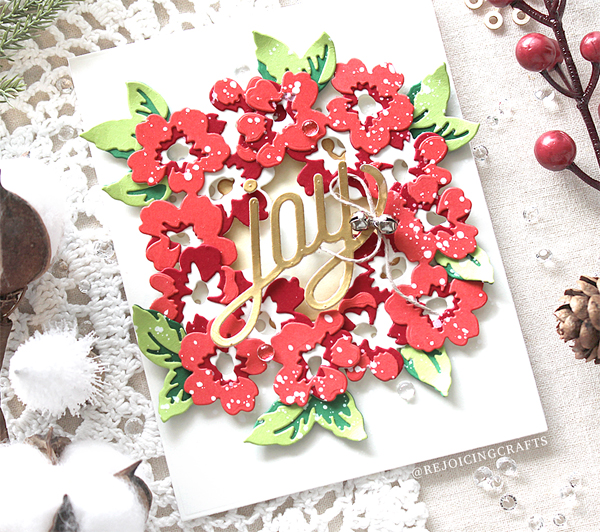
At first, I die cut flower petals from red & white cardstock. I used SSS Mega Thick White for the base layer, SSS Schoolhouse Red for the second layer and SSS Lipstick Red for the top layer. I then used green cardstock to die cut several leaves. I used C9 Evergreen & C9 Clover for the base layer, SSS Green Apple for the top layer. After die cutting, I adhered the pieces all together using ZIG fine tip glue pen.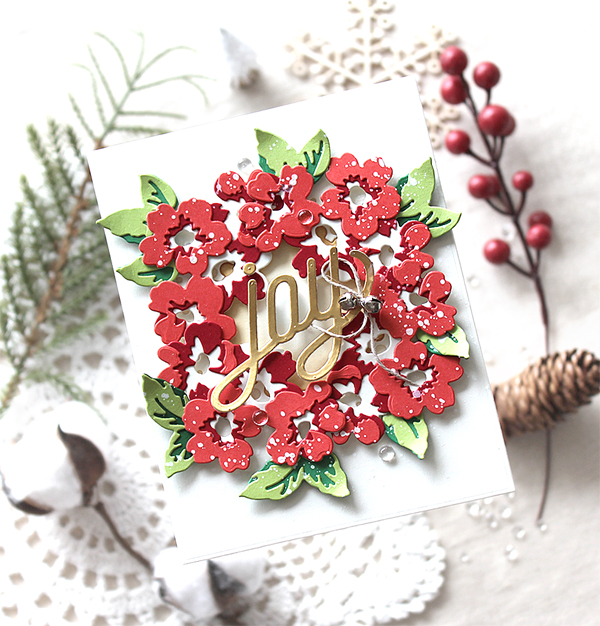
I mounted floral wreath on the centre of the A2 sized white card base using foam tape, added metallic gold “Joy” sentiment, jingle bells and opaque white ink splatters.
How about making Christmas cards with your non Christmas products today? I’m sure it’ll be fun! :D
Thank you so much for stopping by. Have a great day!
Keep smiling and be blessed! God bless you all!
Love Love Love RejoicingCrafts


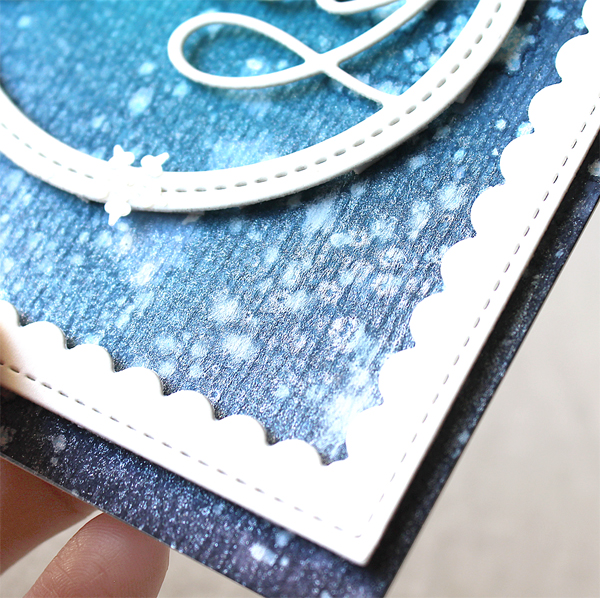

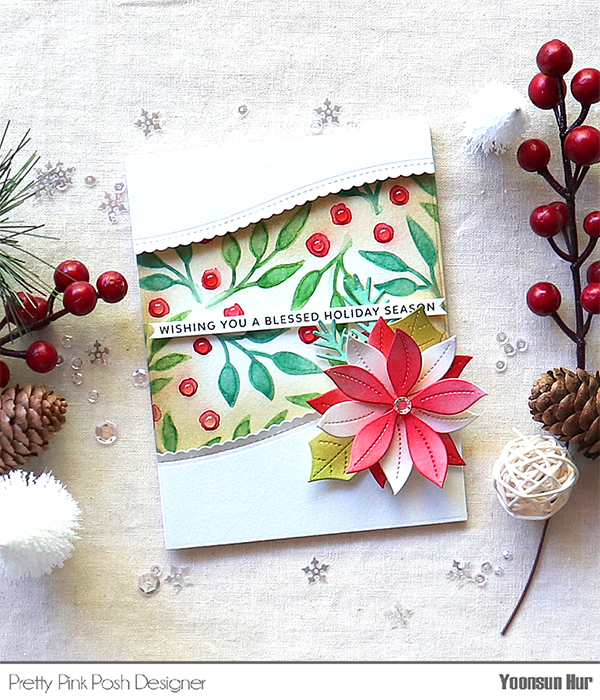 I started by creating watercoloured Christmas patterns with the
 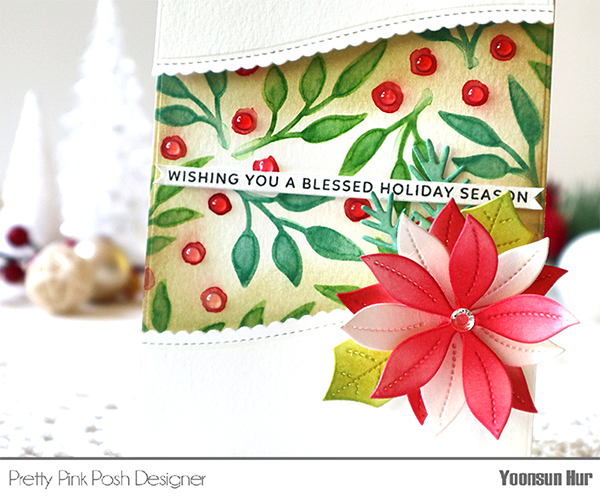 I die cut the
 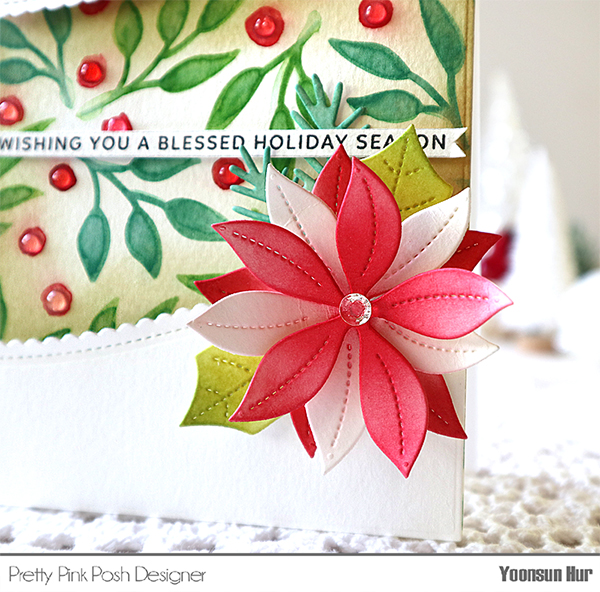 I’m so in love with the new Stitched Poinsettias die set!!
 To top and bottom part of the card, I covered the card over with the
 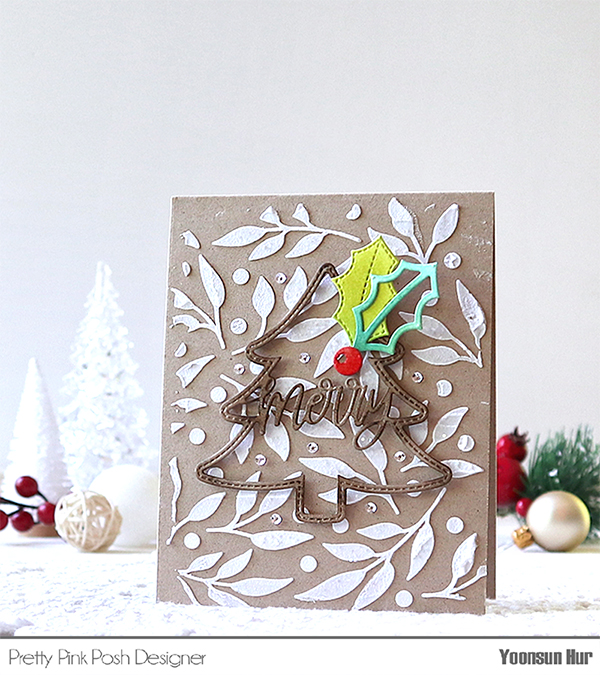 Here is another card with the
 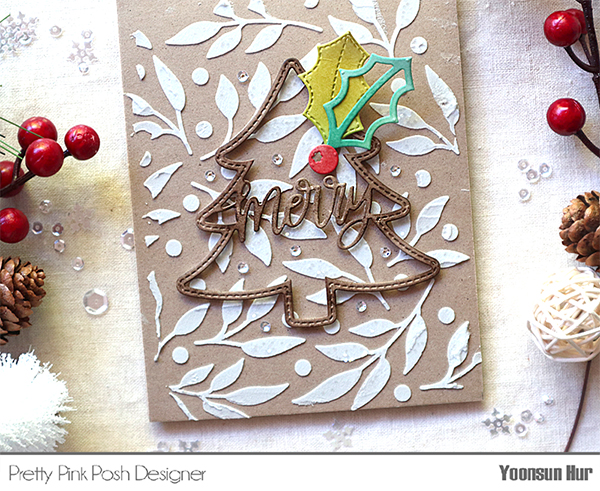 I die cut “Merry” sentiment tree from watercolour paper using the
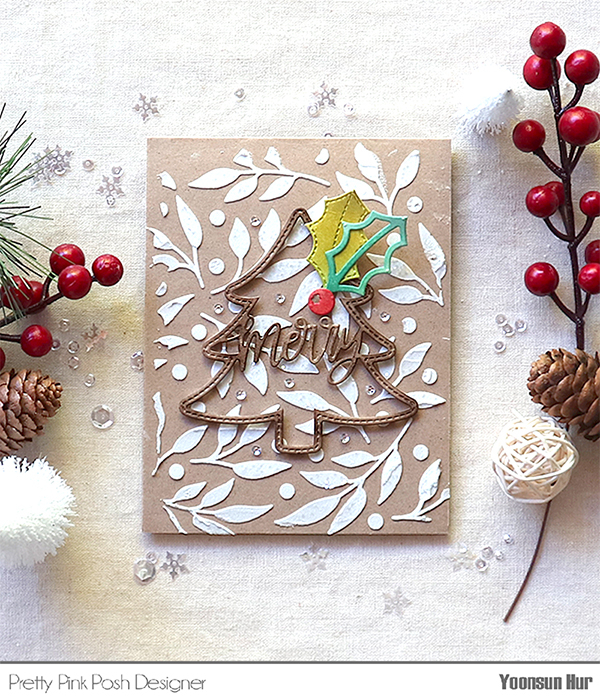
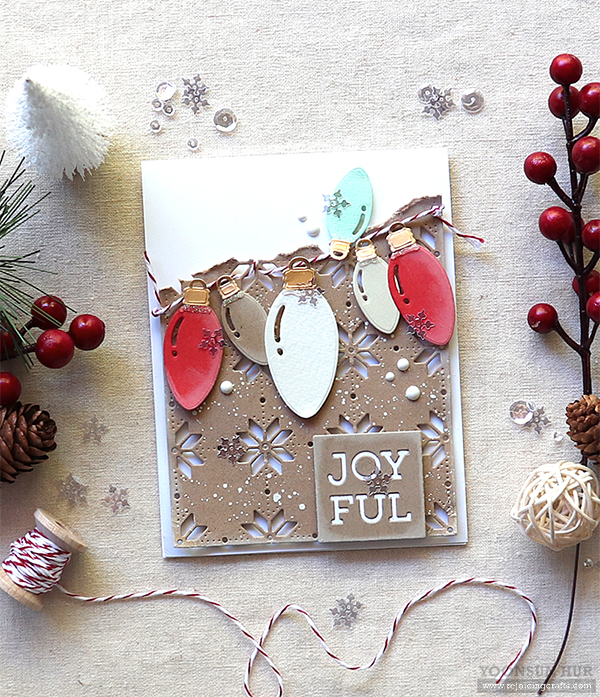
 I started by making Christmas patterns on kraft card base. I placed the
 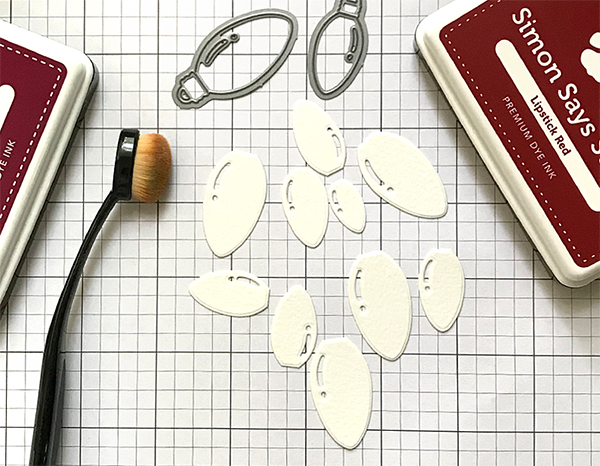 Next, I die cut some
 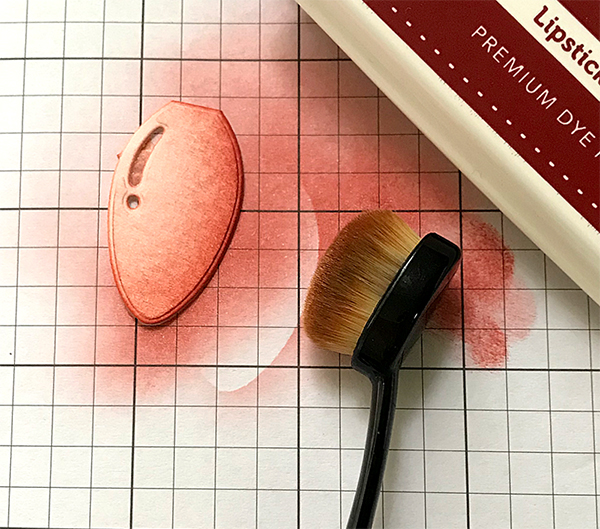 I inked to Christmas bulb die cut with
 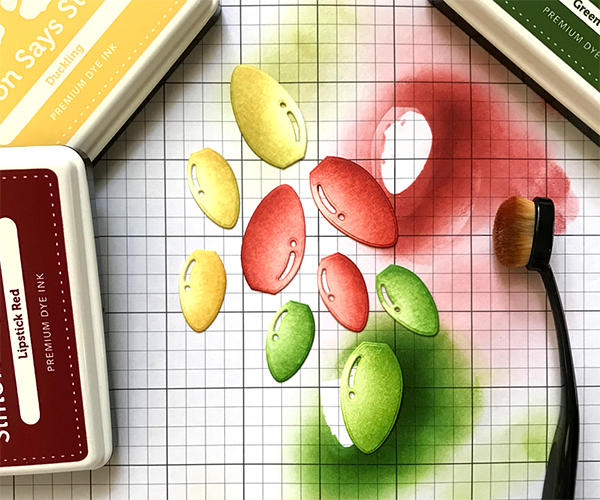 For these Christmas bulbs, I used
 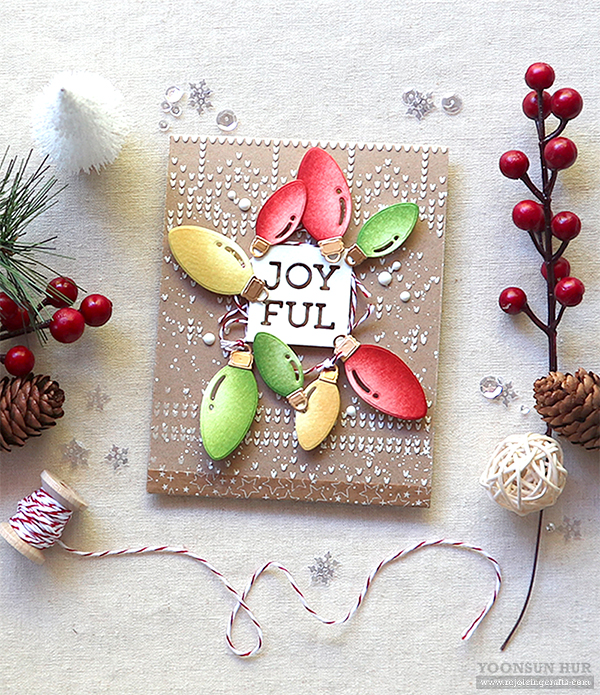 I die cut the
 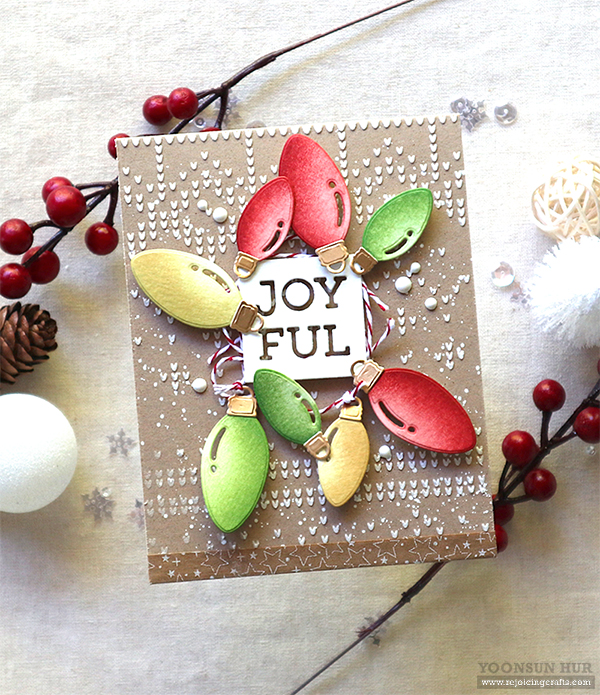 I added some white enamel dots using
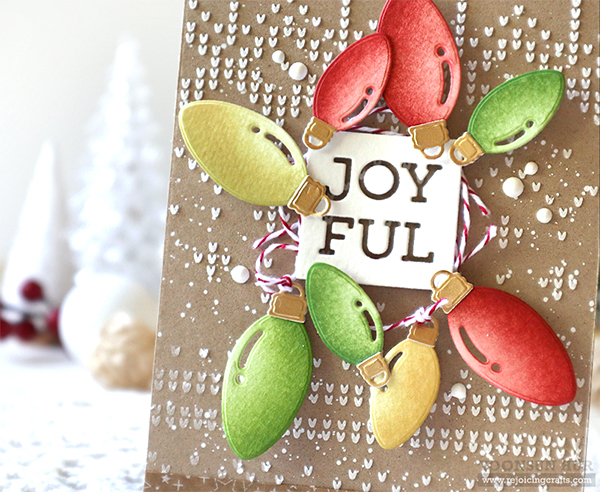
 Here is another card with the
  In this card, I die cut some


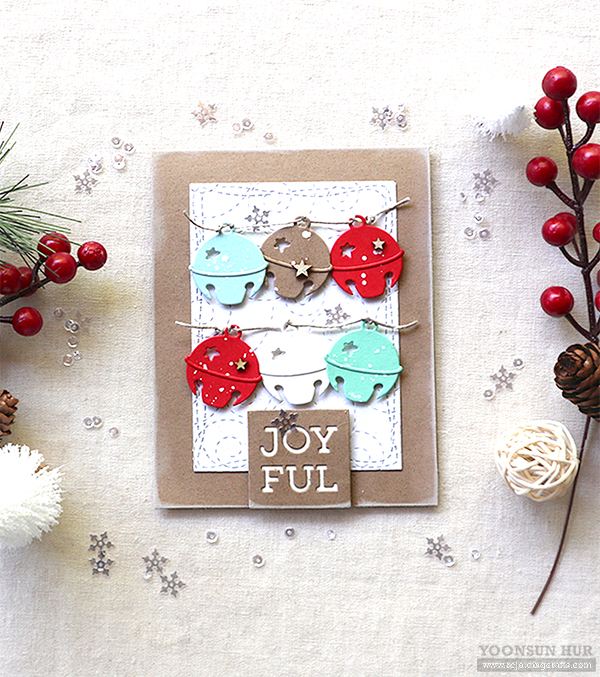
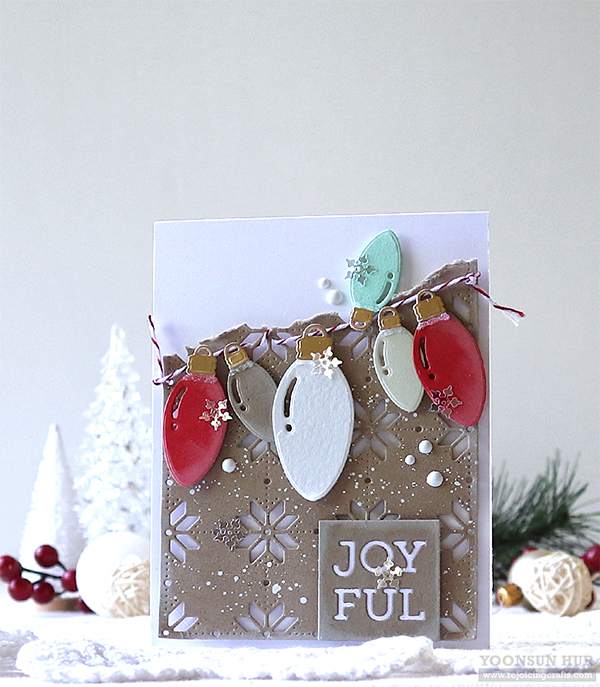
 I started by die cutting 6 adorable jingle bells from multiple cardstock colours using the
 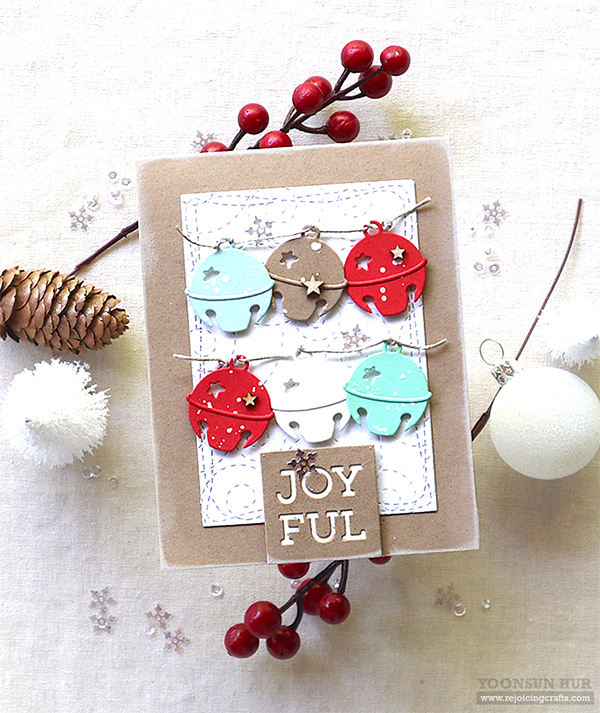 I die cut the 3″ x 4.25″
 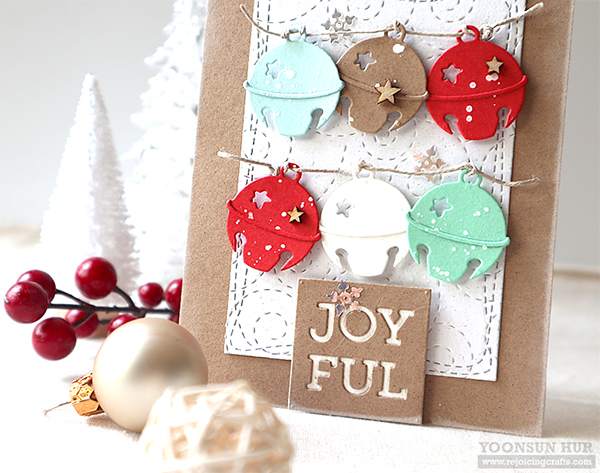 I mounted all elements as shown in the picture using foam tape. I embellished with a few