Hello crafty friends, happy Wednesday!
 I am so delighted (and honoured!) to be a guest designer on Concord & 9th. They have a full of unique & trendy stamp sets, dies and I especially love their own Happy Hues Cards!!
In December, I will show you my cards using the newly released Tree Hugs and Written in the Stars stamp sets.
 Today I am focusing on the Tree Hugs stamp set.
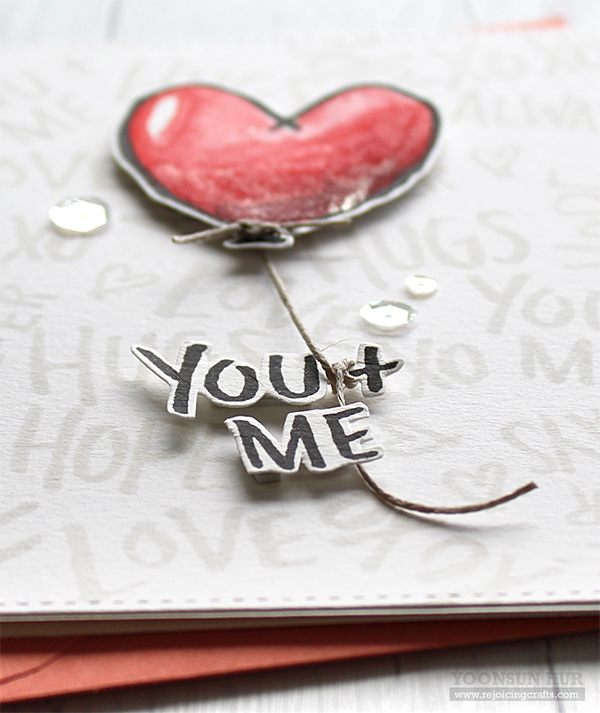
 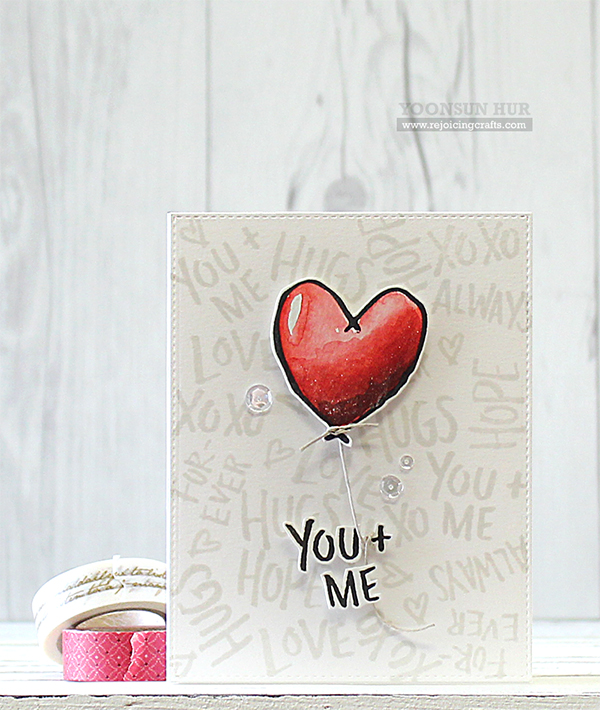 To create this card, I 1) Stamped the sentiments from the Tree Hugs stamp set randomly onto A2 size white paper panel using SSS Fog Gray dye ink. 2) Stamped the balloon and “YOU + ME” sentiment on watercolour paper using black pigment ink, coloured the balloon with MFT dye inks using a waterbrush, then fussy cut both of them. The heart-shaped balloon and sentiment are connected by natural twine :D 3) Mounted all elements as shown to the finished card base using dimensional foam tape. 4) Embellished with a few PPP clear sequins.
 Oh, I love their brushstroke sentiments so much!
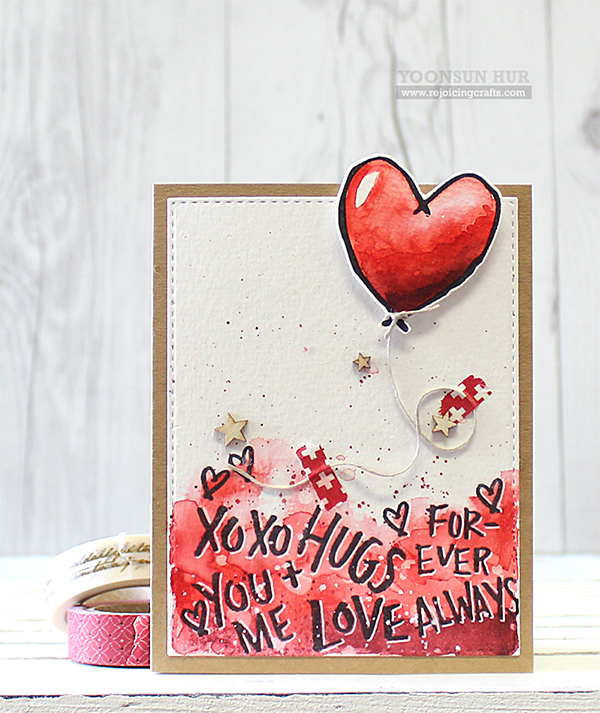 For my second card, I used the same stamps and color scheme but it is somewhat different in design. First I 1) Stamped the sentiments at the bottom part of watercolour paper panel using black pigment ink, coloured around the sentiments with MFT Red Hot, Paver Red dye inks using a wet paintbrush. I then added some red ink splatters. 2) Stamped the heart-shaped balloon on watercolour paper using black pigment ink, coloured it and then fussy cut it. 3) Mounted all elements as shown to A2 size kraft card base using double-sided tape. 4) Embellished with Studio Calico wood veneer stars.


Make sure to check out Concord & 9th Blog for more inspiration with the new Tree Hugs stamp set!!
Thank you so much for stopping by and happy crafting!!
Keep smiling and be blessed! God bless you all!
Love Love Love RejoicingCrafts


 I have a couple of cards using the newly released
 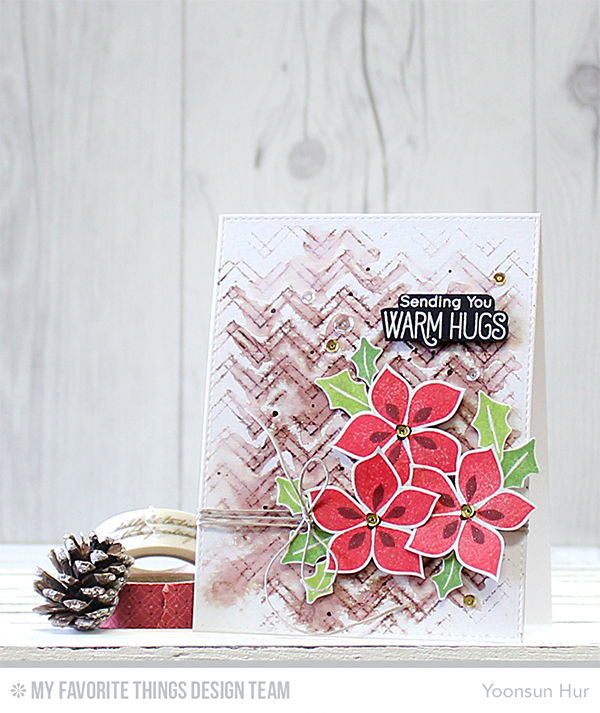 For my watercolour background, I stamped the
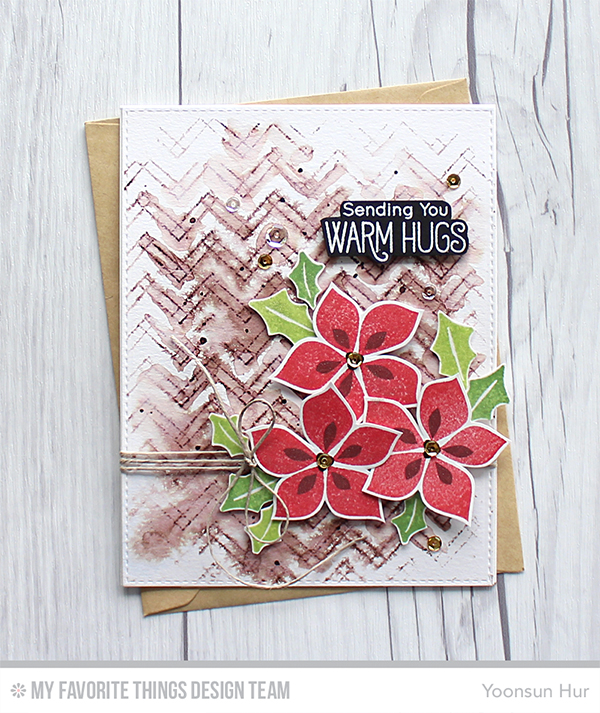

 My second card, I am focusing on the
  I 1) Die cut 3 different shaped hills from A2 size watercolour paper panel, die cut


 Today I want to share with you three cards that I’ve made using
 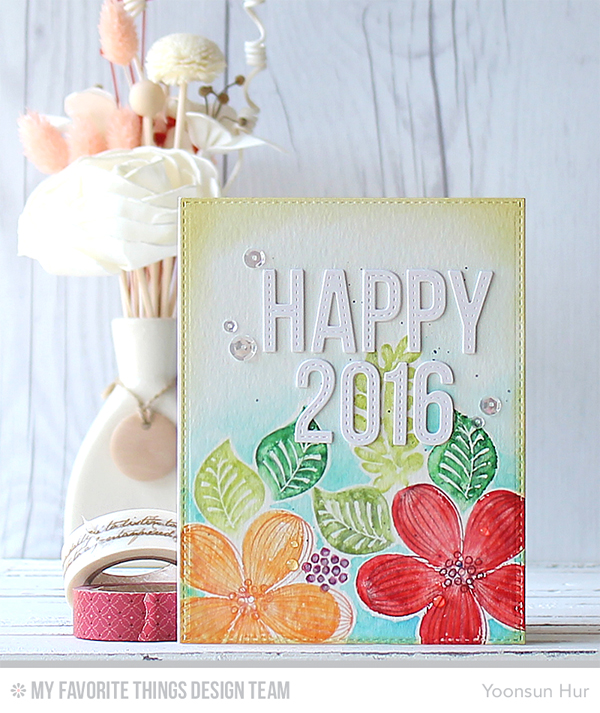 Large size flower and leaves images make my card making much easier!! First I 1) Stamped the solid images from the
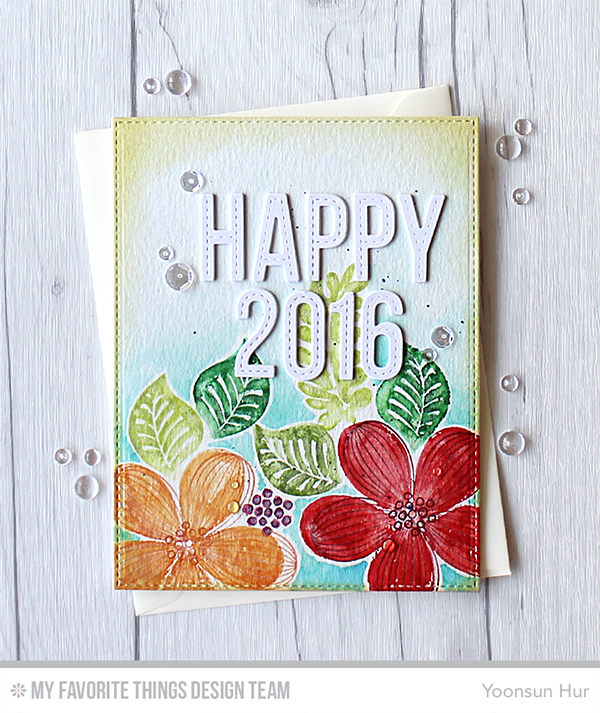
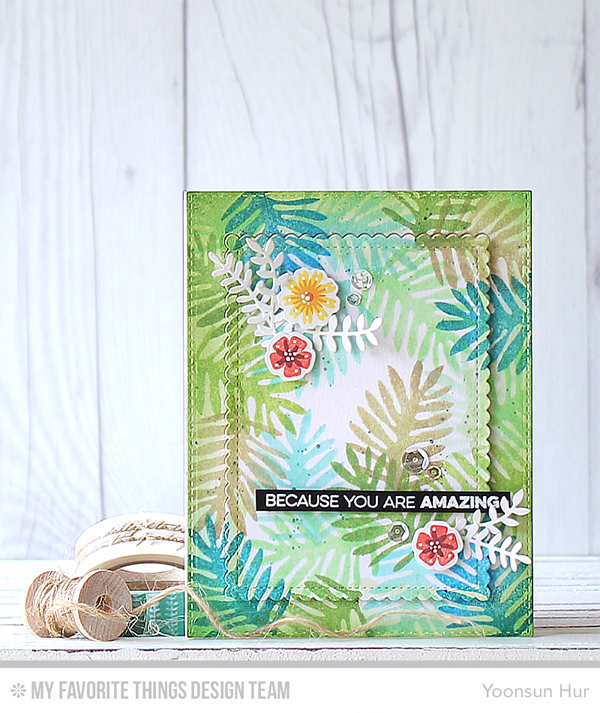
 For my second card, I made (kind of) messy but (I feel) artsy foliage card :D First I randomly stamped the leaves from the
 This is the last sample with gorgeous


 Today I want to share with you my no-line watercolour card with a new
 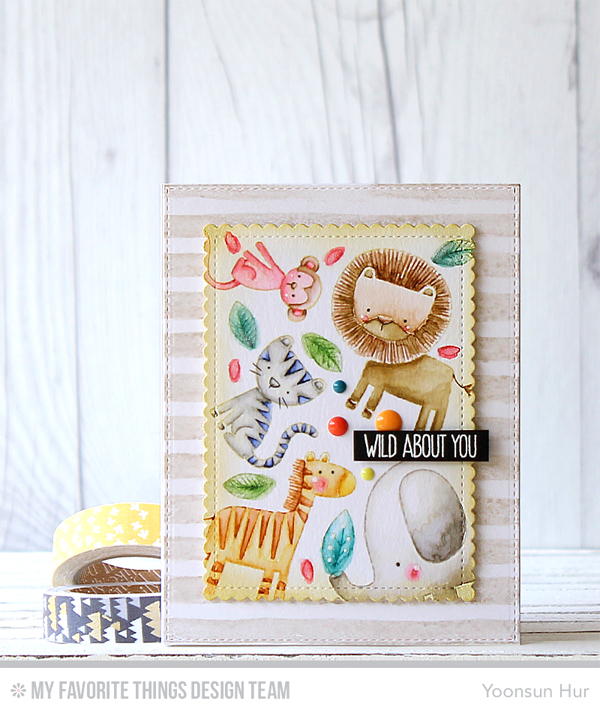 To create the card, I 1) Stamped the animals and leaves from the
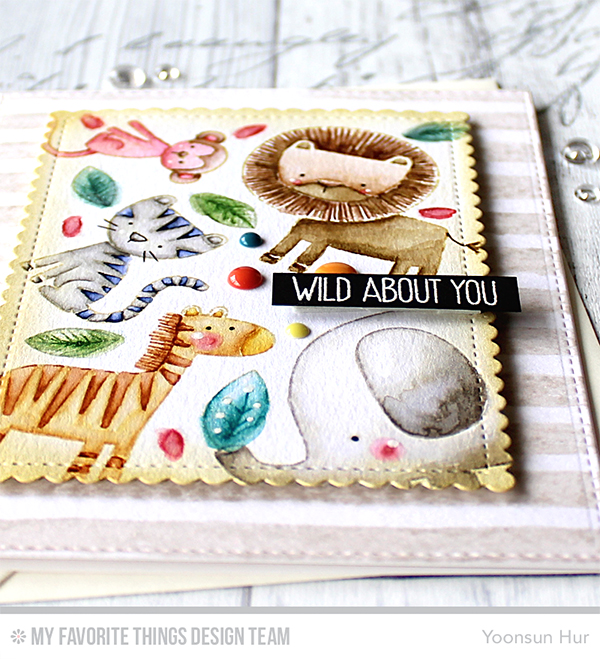


 Today I want to share with you a couple cards that I’ve made using
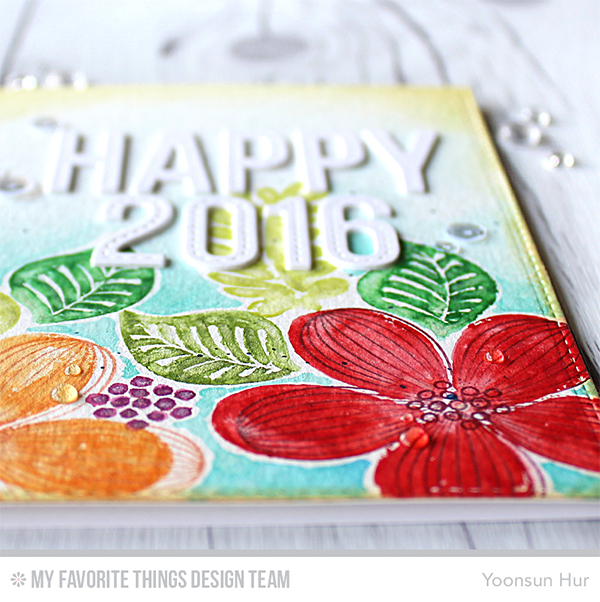
 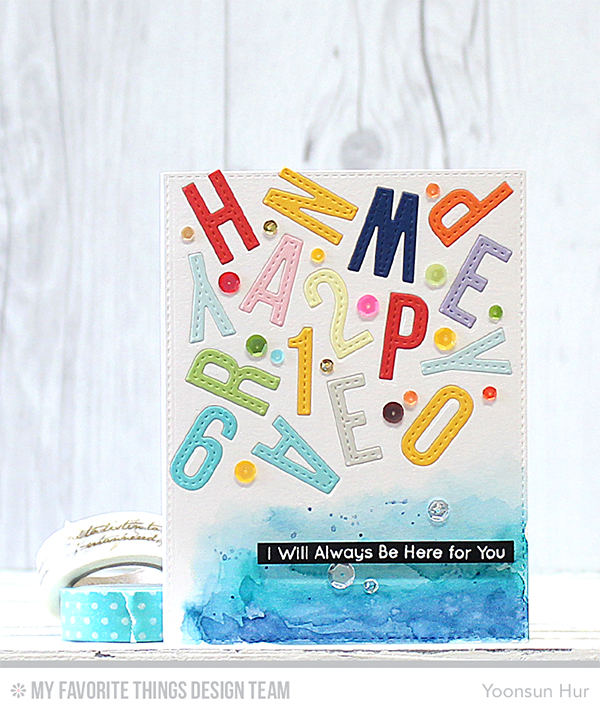 Another year is almost gone already (wow… time flies like an arrow!) so, I made “Happy New Year 2016” card :D


