SSS Rainbows Release Blog Hop – Day 2

Hello crafty friends, happy weekend!
Welcome to Day 2 of the Simon Says Stamp Rainbows Release Blog Hop. I’m so delighted to be a part of this amazing blog hop! If you arrived here from super talented Keisha Charles’s blog you are on the right track.


Today I’m focusing on the new 3D Card Die Set – it is really awesome die!!


I started by die cutting 2 pieces of large panel from SSS Cream cardstock using the 3D Card dies – there are score lines on each panel.


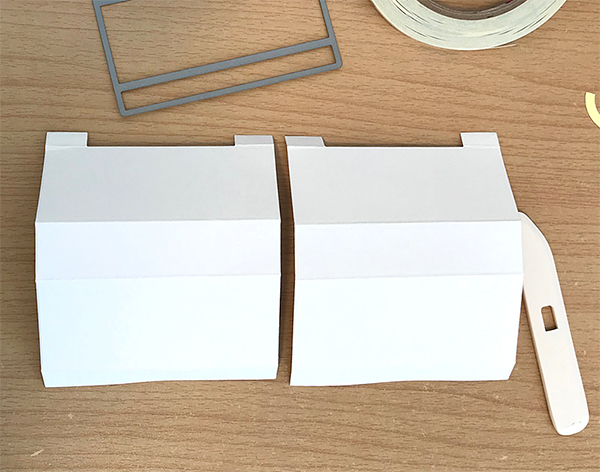
I folded in using bone folder along the score lines.

I taped those sides as shown in the picture – I did both panels.


I prepared 2.75″ (W) x 5.5″ (H) main panel to show images & sentiments, decorated it, and then put it to the bottom edge as shown in the picture.


Ta-da! We can easily make a 3D stand card. It. Is. So. COOL!!


For this card, I used the Be A Mermaid set & the Scallop Borders dies. I die cut several waves from coloured cardstock (see the supply list below) in (kind of) rainbow order using the largest scallop borders in the Scallop Borders die set. I then stamped & Copic coloured two beautiful mermaid tails from the Be A Mermaid set. I die cut them with the matching dies. I put all elements as shown in the picture onto 2.75 X 5.5″ white panel using double-sided tape.


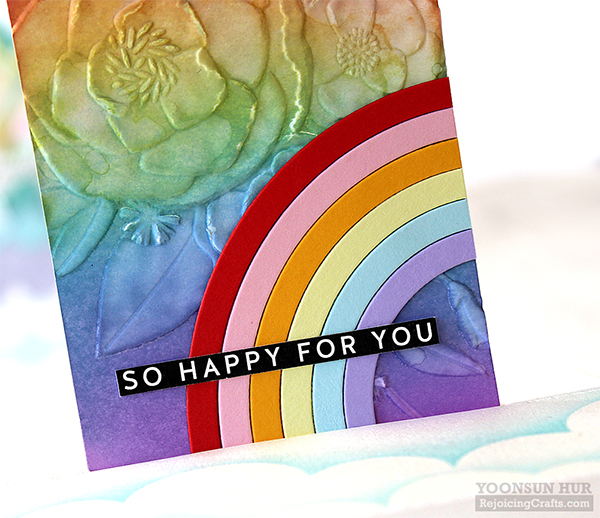
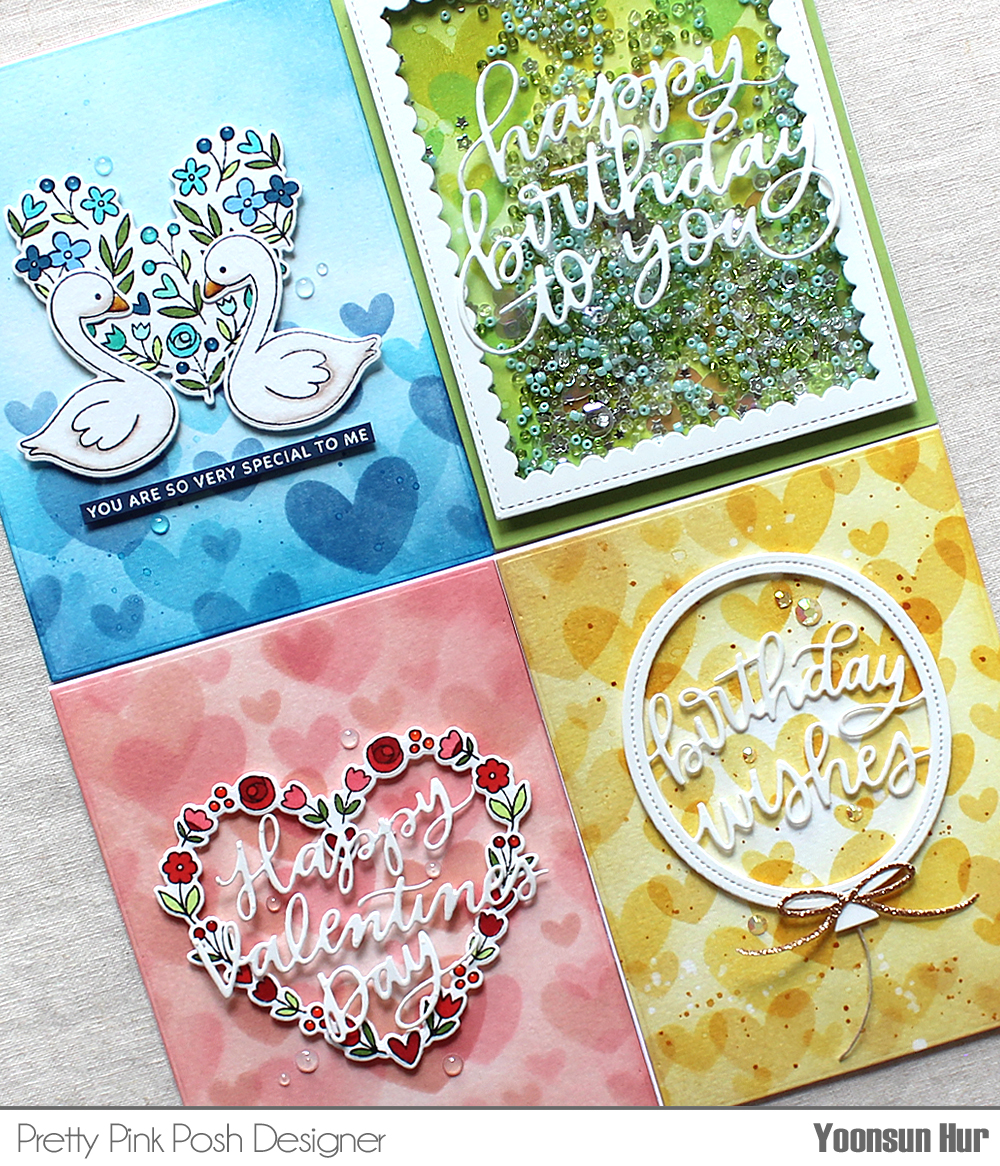
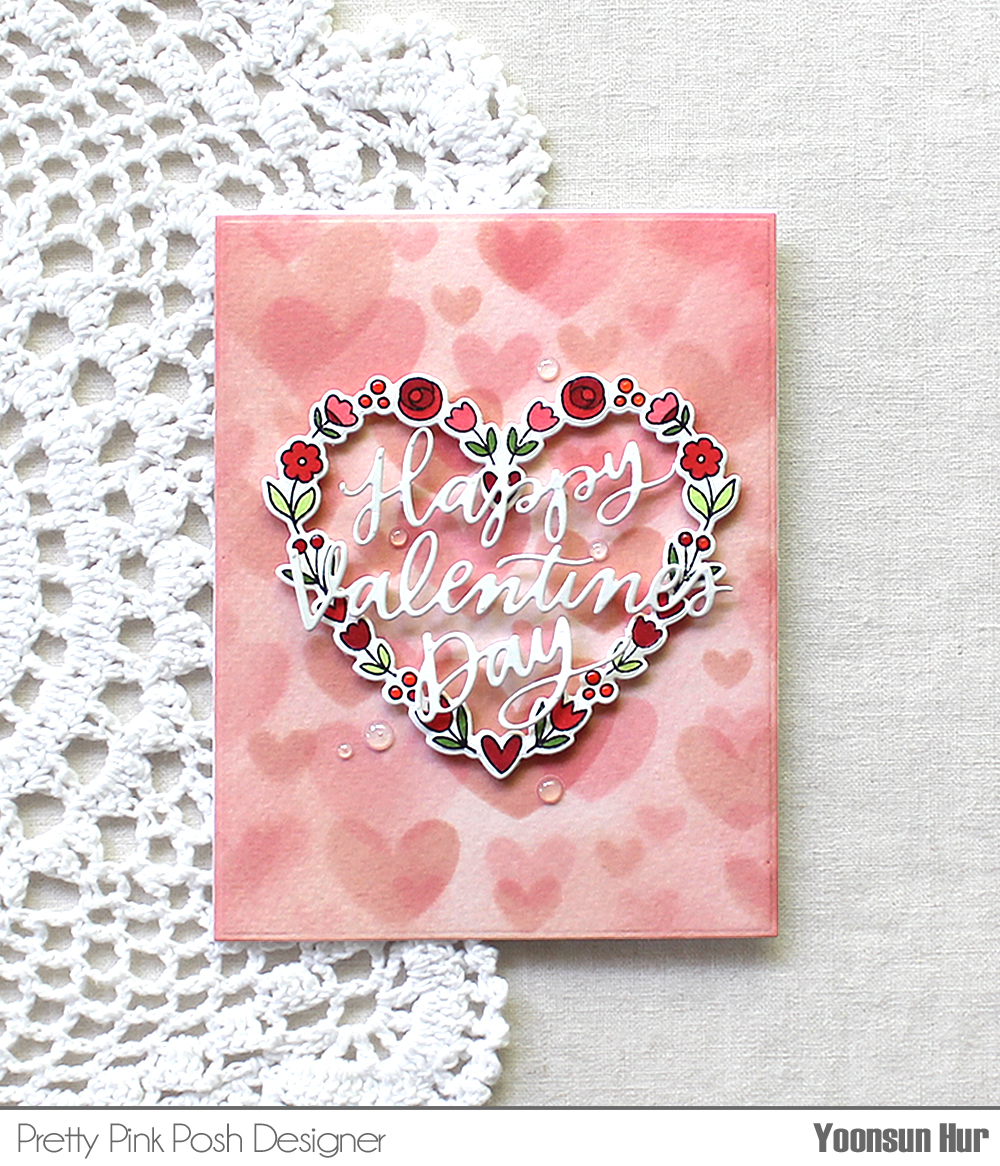
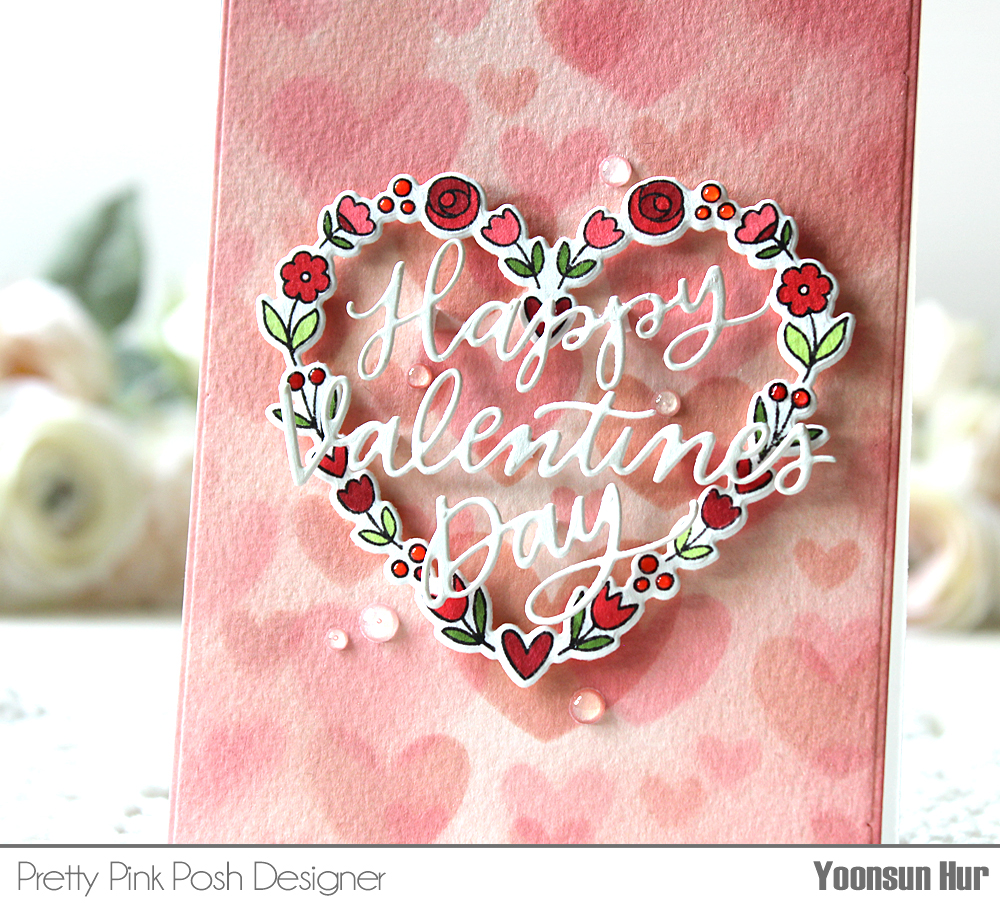
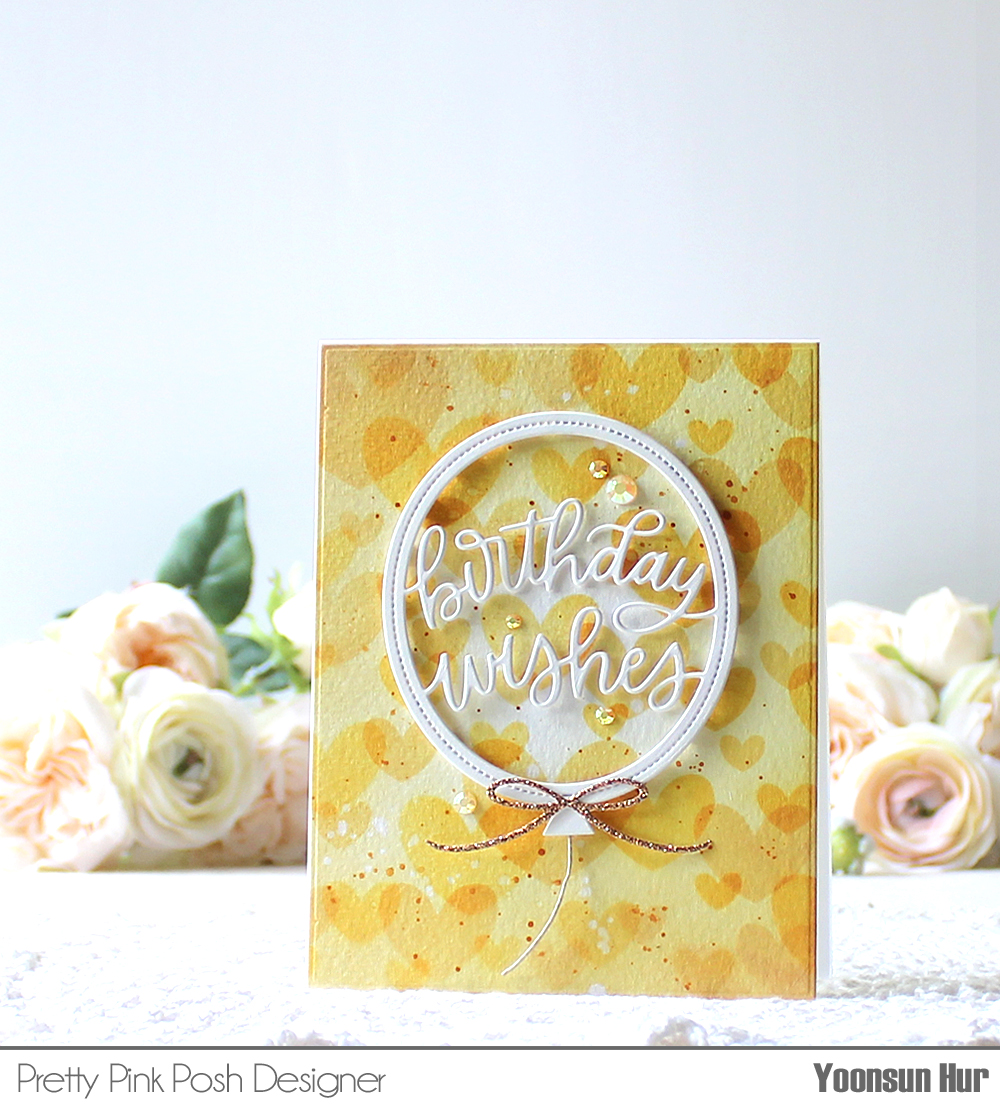
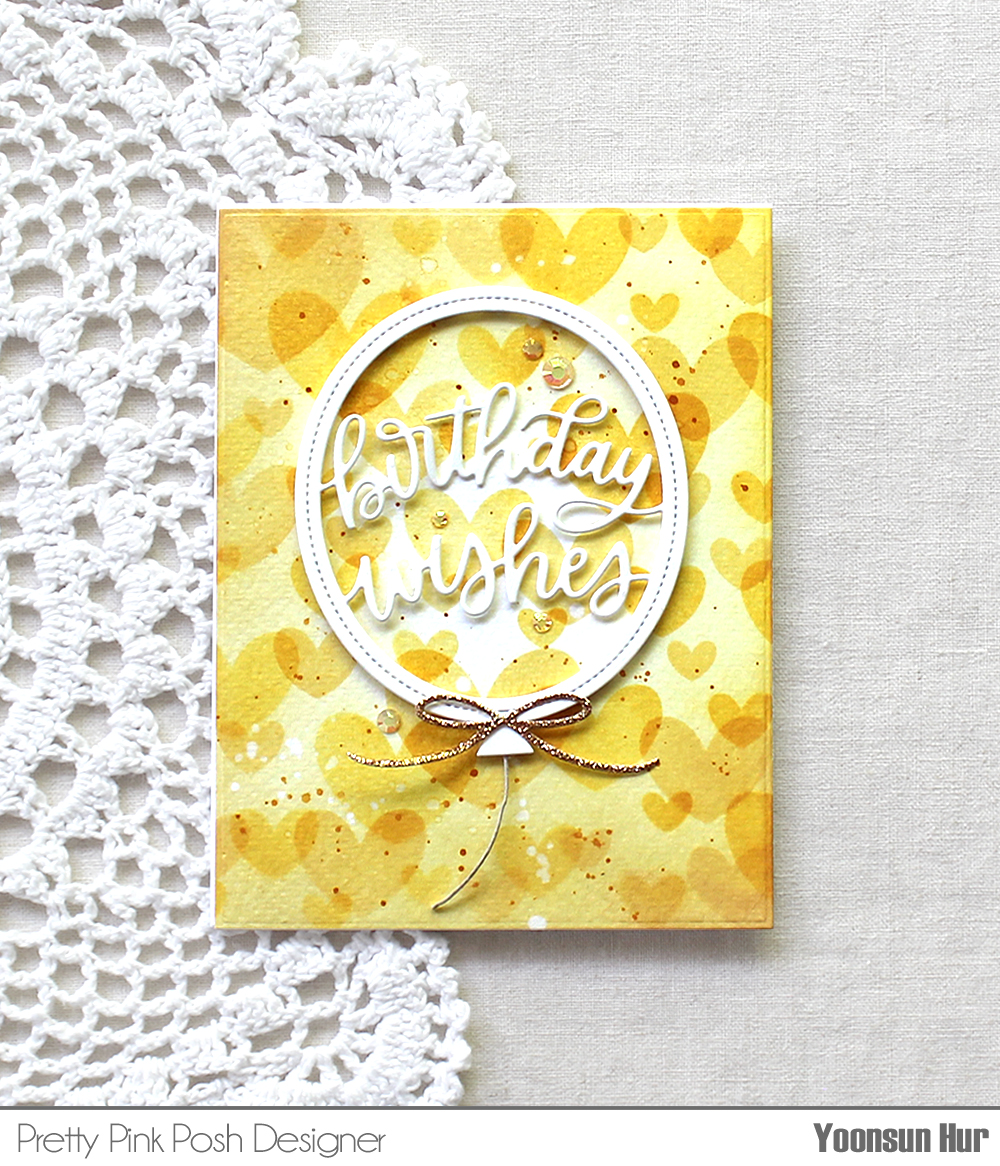
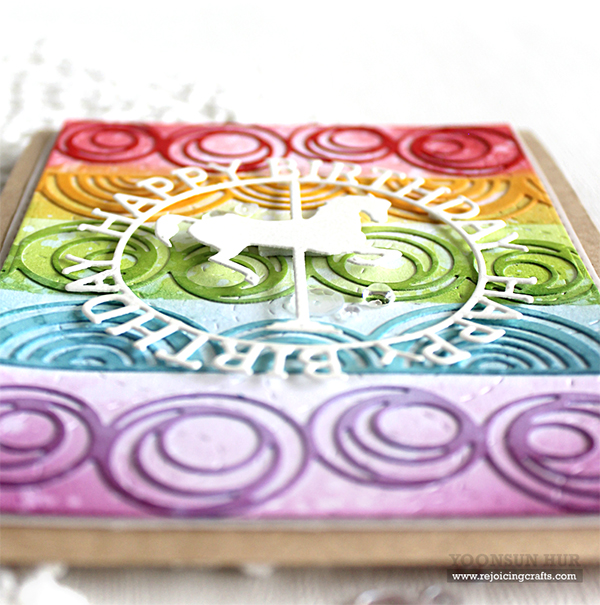
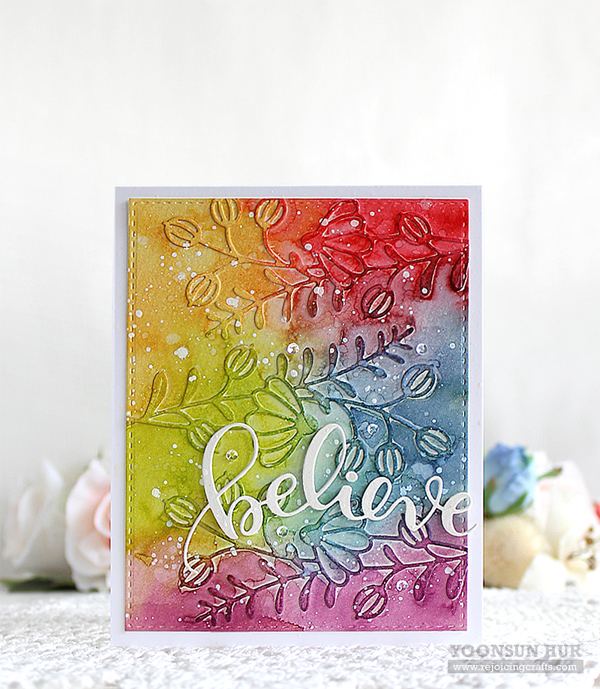
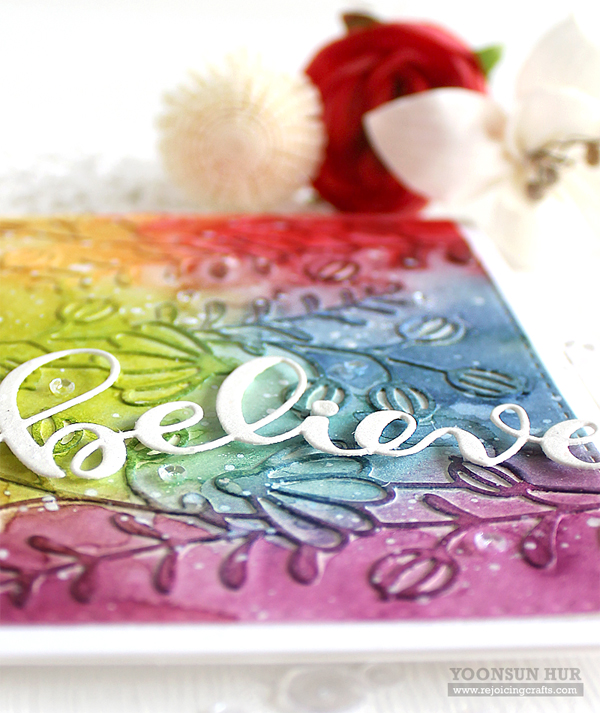
For my second 3D card. I made a rainbow coloured background using some Distress Oxide ink – I used the Fired Brick, Fossilized Amber, Broken China and Wilted Violet to blend the panel. I then dry embossed the panel with the Roseville Bouquet embossing folder, took out the colours from flower areas. I added rainbow & sentiment on the bottom of the panel.

We can flatten the 3D card and put it in an A2 sized envelope!


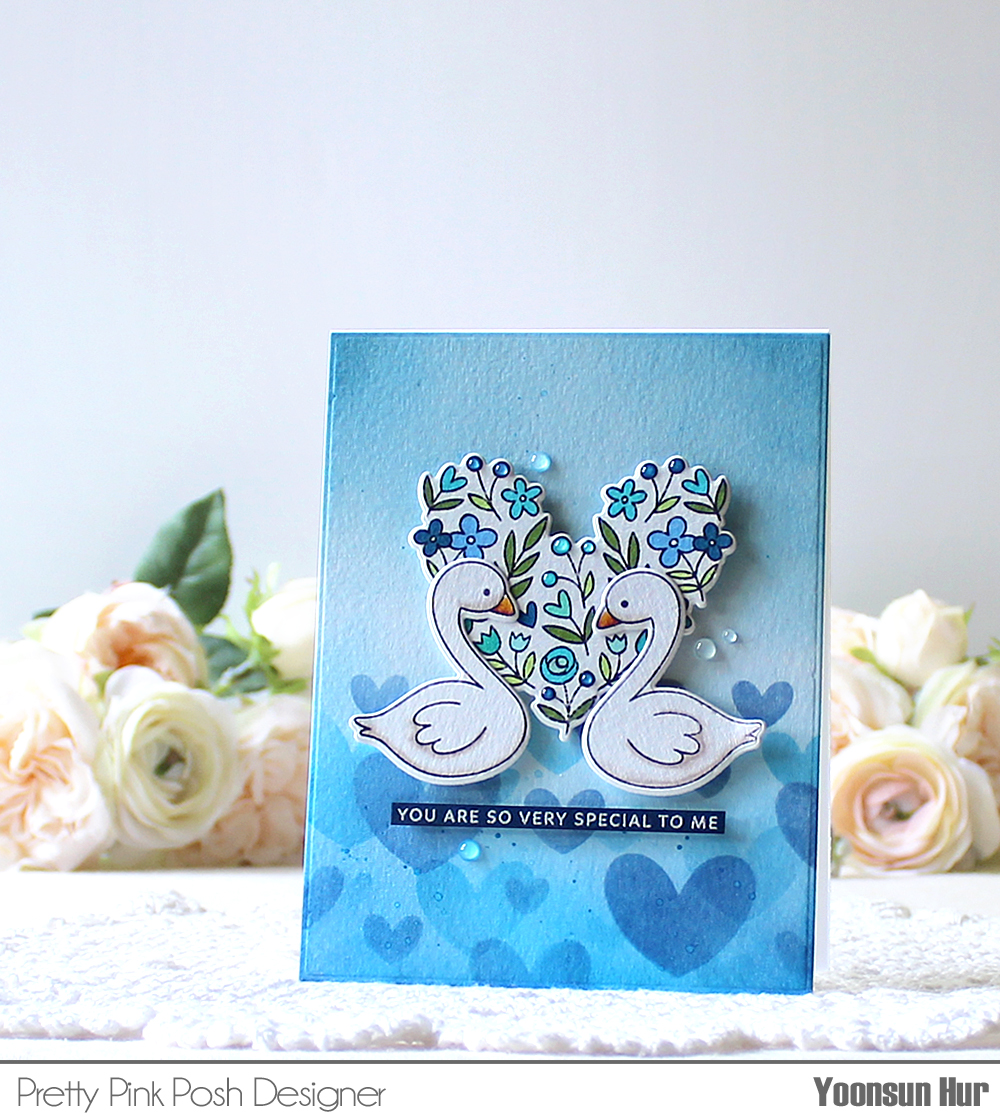
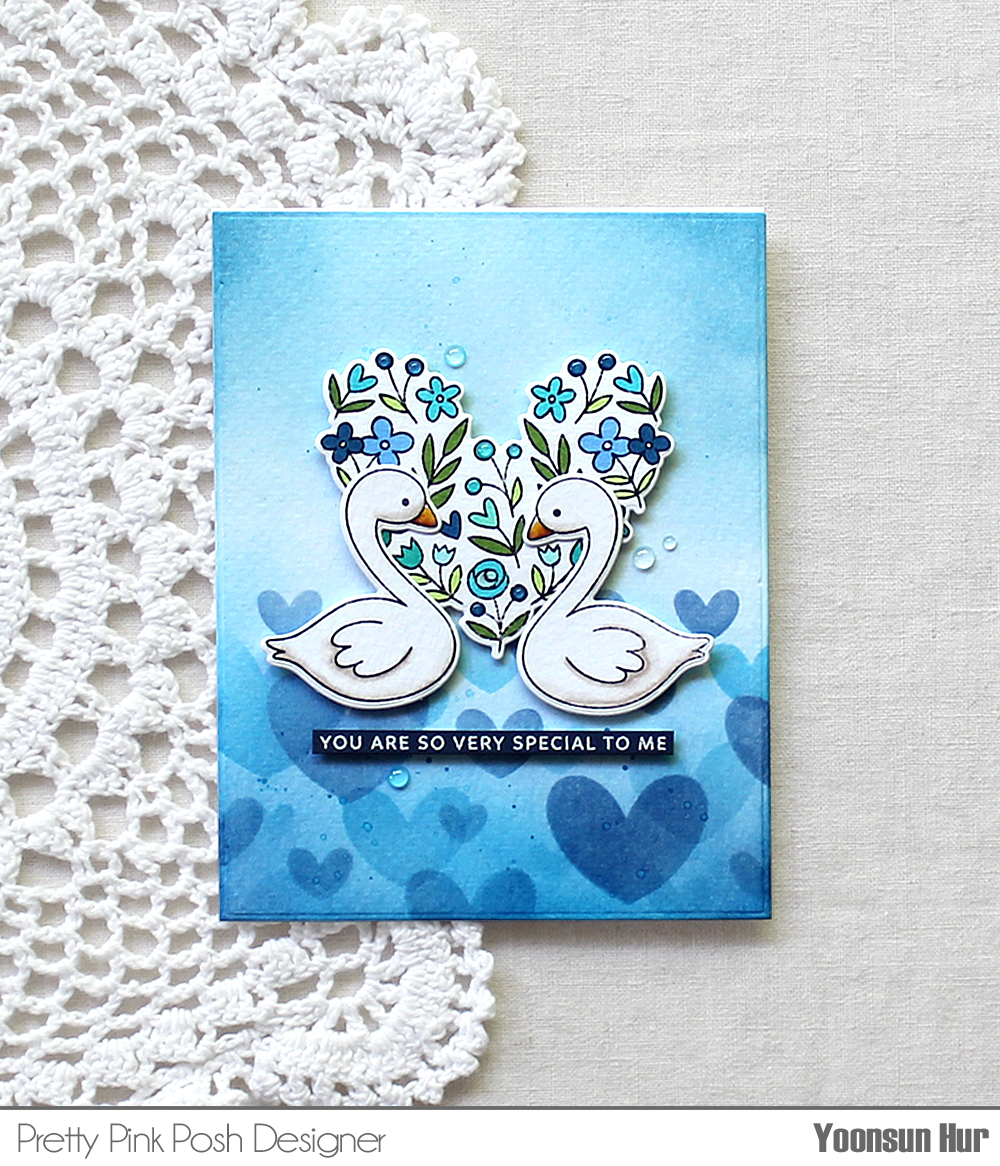
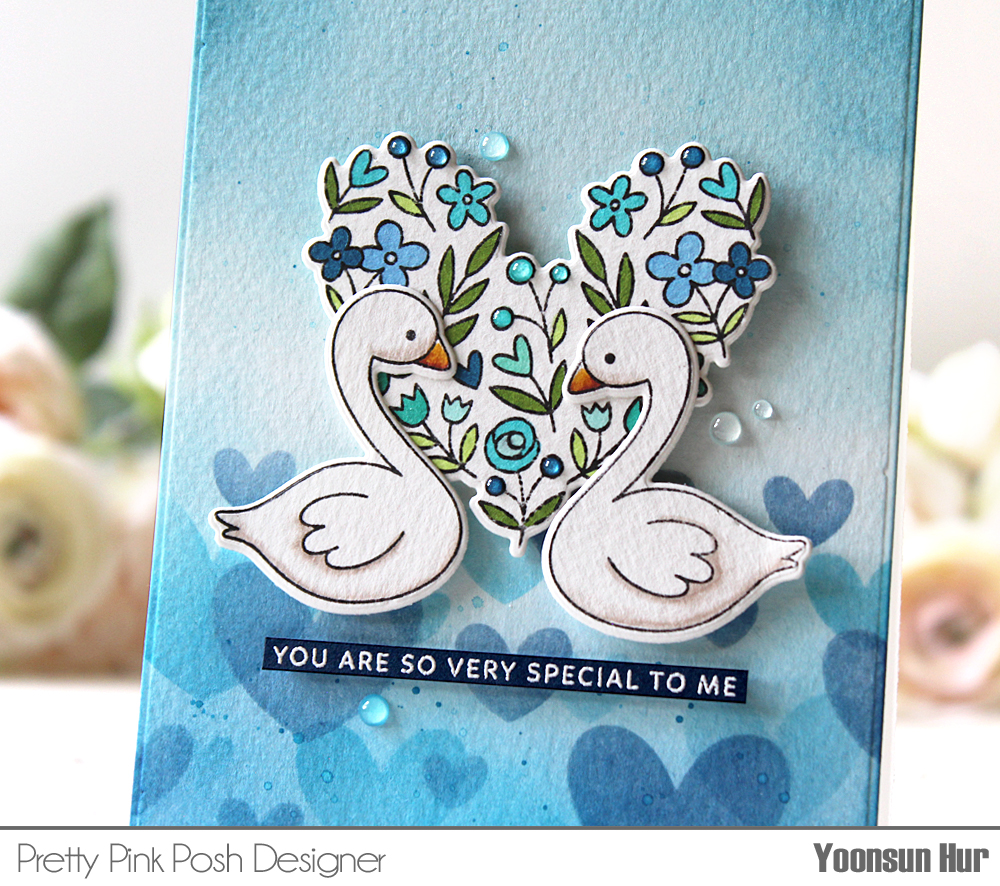
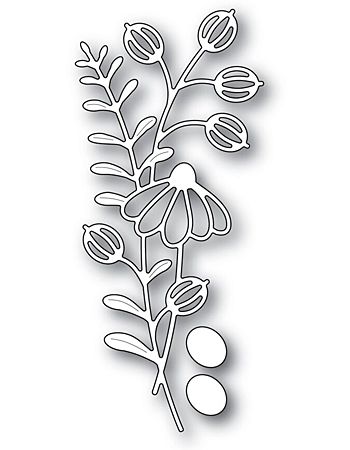
For my last card for the hop today, I made blue floral card with the Roseville Bouquet embossing folder. I simply applied Roseville Bouquet embossing folder onto SSS Cornflower Blue cardstock, trimmed the panel using the Wonky Rectangle die, and then coloured some parts with white & green Faber-Castell polychromos colored pencils. For the sentiment, I used the With All My Heart die.


GIVEAWAY & BLOG HOP EXCLUSIVE PROMOTION!

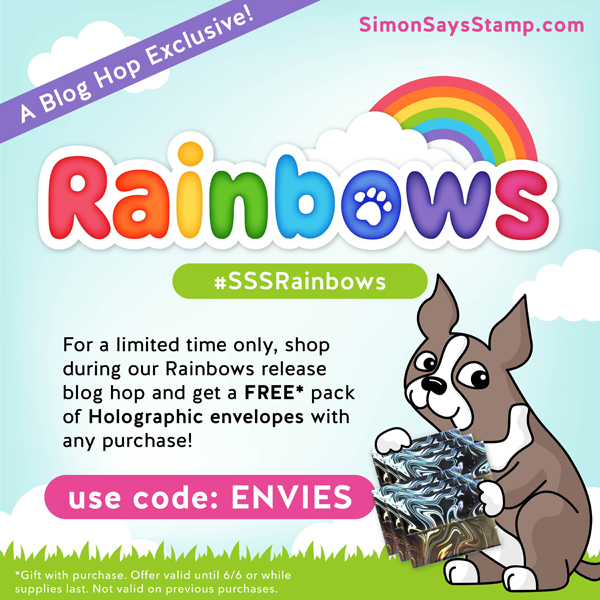
Simon Says Stamp is giving away a $25 coupon to every stop on the hop. The winners will be chosen over the weekend and post on Simon Says Stamp blog on Wednesday, the 9th of June. ONE MORE! Get a FREE pack of Holographic envelopes with the code ENVIES (This promotion will expire 6/6 at 11:59 pm EDT) at checkout when you purchase at Simon Says Stamp Store.

BLOG HOP LIST:
Simon Says Stamp Blog
Debby Hughes
Laura Bassen
Jennifer McGuire
Heather Hoffman
Anna-Karin Evaldsson
Bibi Cameron
Keisha Charles
Yoonsun Hur (Me!!)
Vicky Papaioannou
Mindy Eggen
Koren Wiskman
Norine Borys
Tina Smith
Natasha Vacca
Adelle Emery

Enjoy this Rainbows Blog Hop and happy crafting!!

Keep smiling and be blessed! God bless you all!
Love Love Love RejoicingCrafts

PPP Layered Hearts Background

Hello, crafty friends. I have two Valentine’s Day & two birthday cards with the newly-released Layered Hearts Stencils today.
For my first card, I used the Layered Hearts stencils, Large Floral Hearts set, and Happy Valentine’s Day Script die.
I started by making pink hearts background with stencils. I laid Layer A over the 4.25 x 5.5″ watercolour paper panel in place, applied Tattered Rose Distress ink, Worn Lipstick over the Layer B using blender brush. I then smoothly inked Tattered Rose Distress ink all over the panel using mini round ink blending tool. I stamped heart-shaped floral wreath from the Large Floral Hearts set on white cardstock using Memento Tuxedo Black, coloured with Altenew Artist markers, and then die cut it with the matching die. I die cut the Happy Valentine’s Day Script from white cardstock as well. I mounted the hearts background panel on white card base using double-sided tape first, and then added all elements using foam tape.

For my second Valentine’s Day card, I made a blue hearts background with Mermaid Lagoon & Faded Jeans Distress inks.
I stamped floral heart (from the Large Floral Hearts set), swans (from the Pond Friends set) on white cardstock using Memento Tuxedo Black, coloured them with alcohol markers, and then die cut them with the matching dies.
Here is a yellow hearts background with Scattered Straw & Fossilized Amber Distress inks. I inked Scattered Straw over the Layer A, Fossilized Amber (vivid yellow) over the Layer B.
I die cut the Balloon Shaker from thick white, bow from glitter gold cardstock. I embellished with a few Buttercream Jewels.

My last card today is a shaker birthday card. I made a green hearts background with Crushed Olive & Cracked Pistachio Distress inks first. I then die cut the Scallop Rectangle Frame from white cardstock, adhered the acetate behind the frame, added lots of seed beads, clear sequins, and silver mini star confetti.
For the sentiment, I used the Happy Birthday To You Script die.
The new Layered Hearts Stencils are SO adorable!!

Pretty Pink Posh provides 15% off all Valentine’s Day products till Jan 26th.

Thank you so much for stopping by. Have a wonderful week.

Keep smiling and be blessed! God bless you all!
Love Love Love RejoicingCrafts


https://linkdeli.com/widget.js?1559654439292

Mighty Hands IG Hop Day 4

Hello crafty friends! Welcome to the Mighty Hands Holiday Release IG Hop Day 4.
For those who are new with Mighty Hands, Mighty Hands are Christian photopolymer clear stamps and craft dies company based in Singapore. You can start by taking a look at their website (click HERE), Instagram (click HERE), Facebook (click HERE).

This stamp company is also a new to me but I fell in love with them as soon as I knew them. They LOVE JESUS!!
Mighty Hands launched 10 new faith-filled stamp sets and this week the creative team is doing an IG Hop to inspire YOU in your creative faith journey.

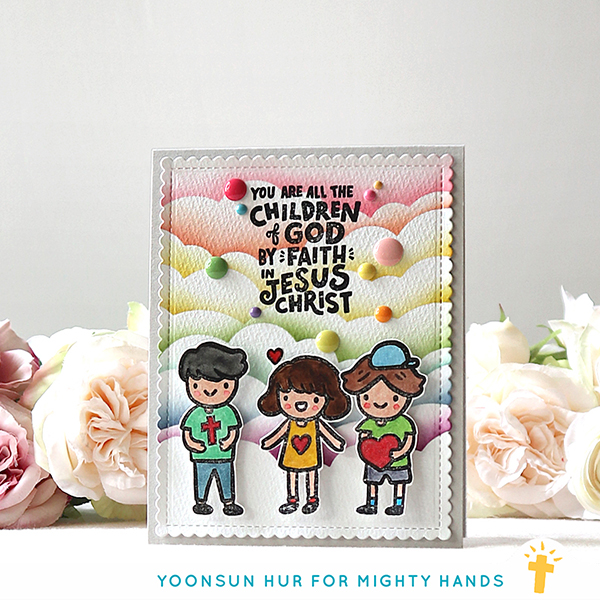
My card today, I am featuring the Children of God Stamp Set. It is super duper adorable, isn’t it? I stamped children onto watercolour paper using VersaFine Onyx Black, coloured them with Distress markers, and then fussy cut them out.
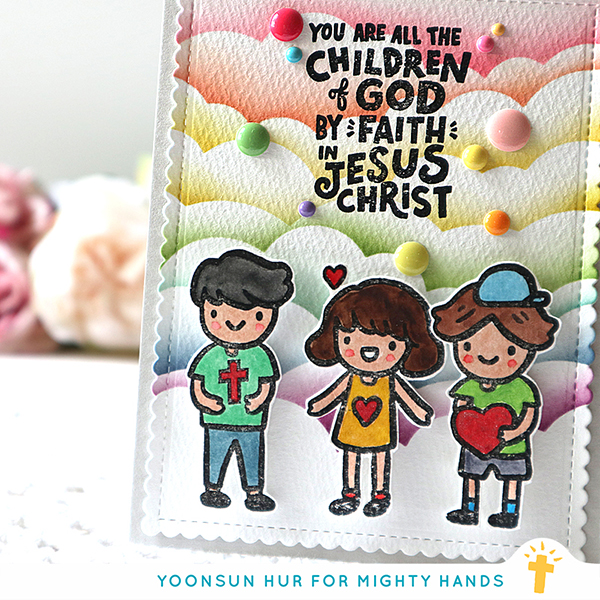
For the rainbow cloud background, I die cut the 4″ x 5.25″ scallop panel from watercolour paper using the MFT Blueprints 27 Die-namics first. I then placed the Cloud Mix-ables stencil over the watercolour panel in place, applied Distress inks in rainbow order using blender brush. I used (from the top) Festive Berries, Dried Marigold, Mustard Seed, Crushed Olive, Mowed Lawn, Mermaid Lagoon, Faded Jeans and Seedless Preserves Distress inks.
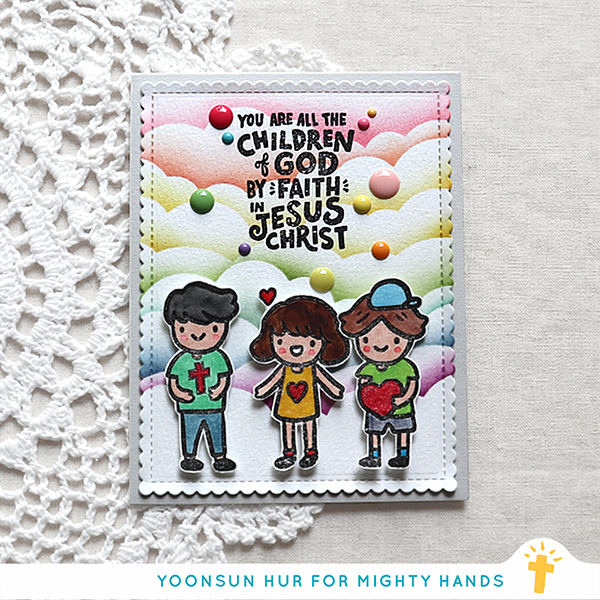
I added colourful enamel dots around the sentiment. :D

GIVEAWAY!
There’s a giveaway for one US$25 (S$35) gift voucher each day of the hop! To enter, you must have an Instagram account and simply following the rules below:
1. Follow Instagram @mightyhands_
2. Like @mightyhands_ IG Hop post announcement for today.
3. Leave a comment on IG, telling us how you would like to stretch your card making skills. Which new techniques would you like to learn?
4. Like everyone’s post on today’s IG Hop. Giveaway closes Nov 2 11.59pm EST / Nov 3 11.59am SGT. No giveaway accounts, please.

IG HOP DAY 4 LIST:
@itsapreetiworld
@whimsipost
@melaniadeasy
@rejoicingcrafts (Me!!)
@_littleblessings_
@vera_rhuhay

Thank you so much for stopping by. Have a wonderful day!

Keep smiling and be blessed! God bless you all!
Love Love Love RejoicingCrafts


https://linkdeli.com/widget.js?1559654439292

SSS Happy Birthday

Hello crafty friends, happy Monday! Hope you had a wonderful weekend!!
Today I am just popping in to share my cheerful birthday card with the Sunrise Border and Spinner Trail dies along with some old SSS goodies.
sss-feb-p05

Here is what I came up with:
yoonsunhur-20170227-sssp05-001
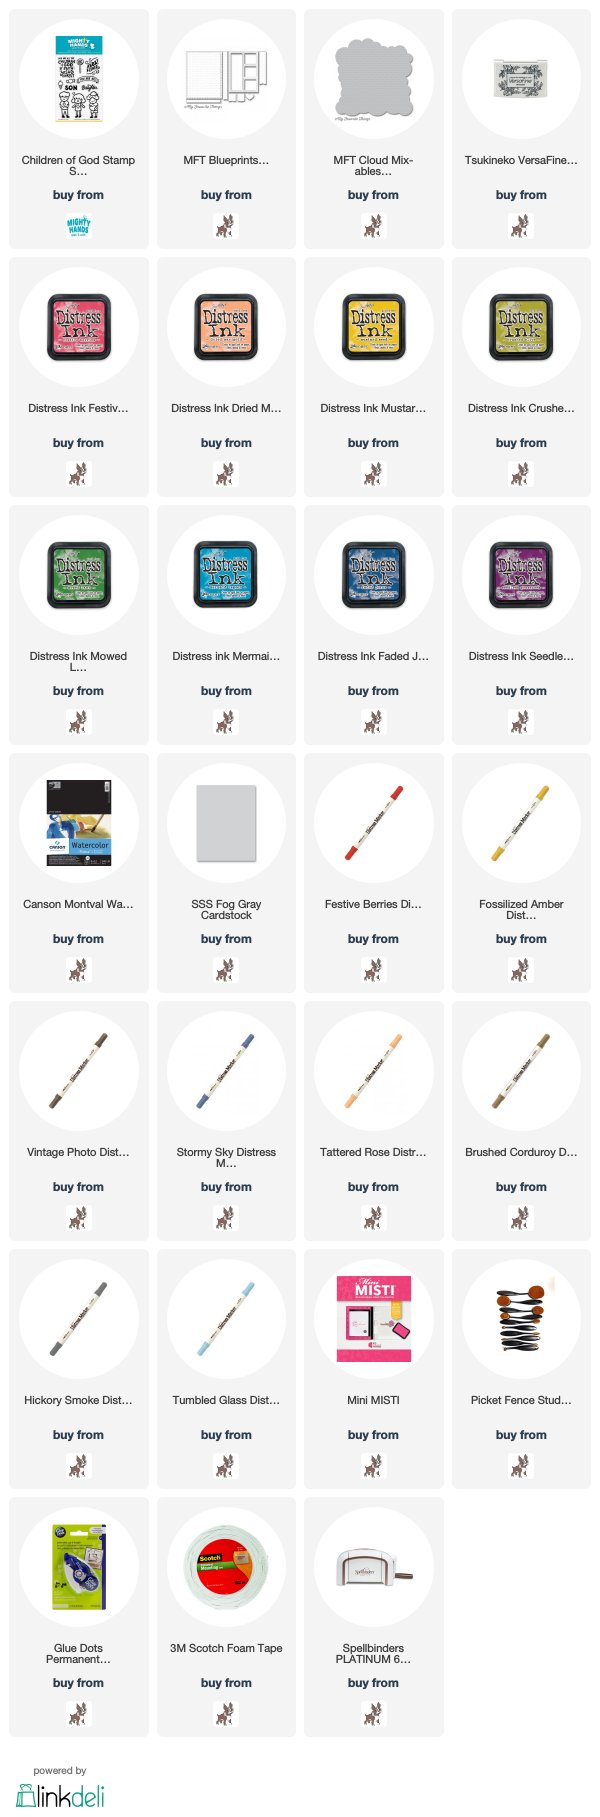
To create this card, I 1) Die cut 2 of the Sunrise Borders and 3 of the Spinner Trails from the SSS coloured cardstock: (Red) Lipstick Red, (Yellow) Sunshine, (Green) Green Apple, (Blue) Sea Glass, (Purple) Lavender. 2) Die cut the Stitched Whirl background panel from watercolour paper. 3) Adhered all of the fun borders as shown to the Stitched Whirl panel using fine tip glue pen. 4) Inked on the panel with some Distress inks in rainbow order: Festive BerriesWild Honey, Twisted Citron, Tumbled Glass, and Seedless Preserves. 5) Added water droplets. 6) Die cut the Birthday Circle and the Carousel Horse from white cardstock. 7) Mounted all elements as shown to top-folded kraft card base using foam tape. 8) Embellished with a few PPP clear droplets & sequins.
yoonsunhur-20170227-sssp05-002yoonsunhur-20170227-sssp05-003
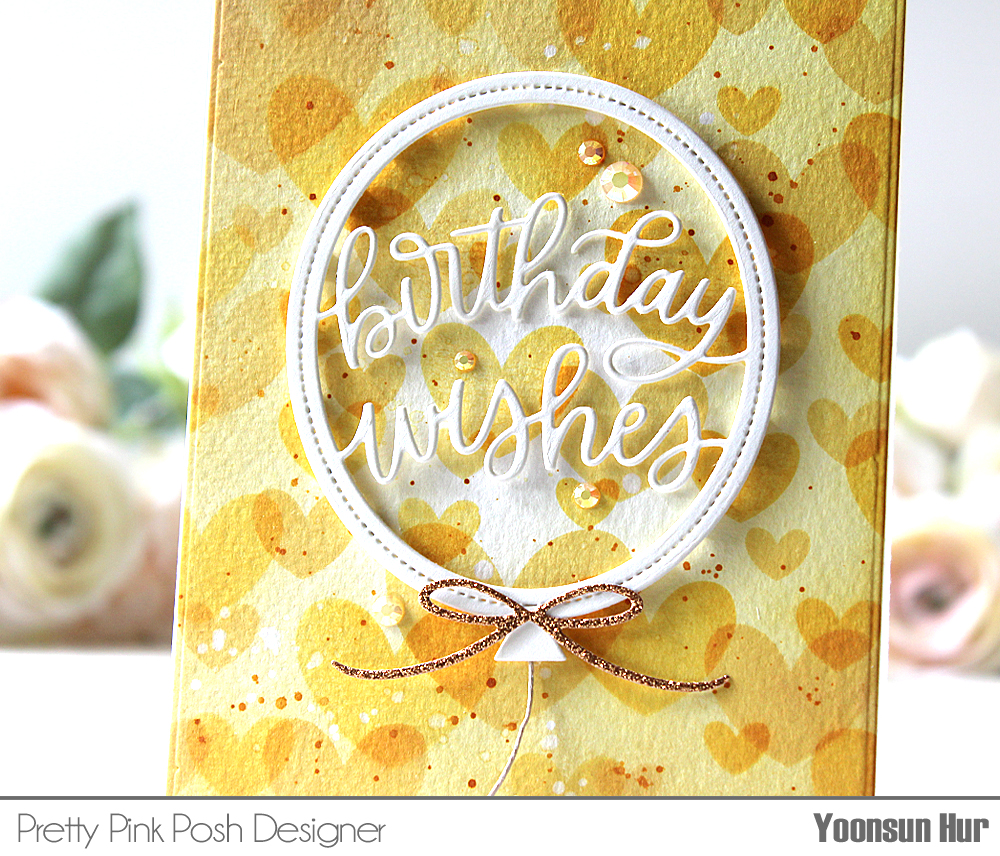
May your birthday be filled with joy and happiness!!

Thank you so much for stopping by. Have a great day!!

Keep smiling and be blessed! God bless you all!
Love Love Love RejoicingCrafts

https://static.inlinkz.com/ppr.js

SSS Cottage Stems

Hello crafty friends, happy Sunday! I hope you are having a great weekend!!
Today I want to share with you my card with the beautiful SSS Cottage Stems die.
sss-feb-p04
Here is what I came up with:
yoonsunhur-20170226-sssp04-001To create this card, I 1) Die cut 3 Cottage Stems from watercolour paper. 2) Adhered them on watercolour paper panel using fine tip glue pen. 3) Trimmed the panel using the Stitches Rectangles die. 4) Ink blended on the panel with (from red to purple) Festive BerriesScattered StrawCrushed OliveFaded JeansSeedless Preserves Distress inks and mini ink blending tool. 5) Brushed on the inked panel with a wet paint brush – Distress inks react with water so well! 6) Added water droplets and white ink splatters. 7) Die cut the word “Believe” from white card stock. 8) Mounted the coloured panel on an A2 sized white card base using double-sided tape first, and then added the sentiment die cut using foam tape. 9) Embellished with a few PPP 3mm clear sequins.
yoonsunhur-20170226-sssp04-002yoonsunhur-20170226-sssp04-003
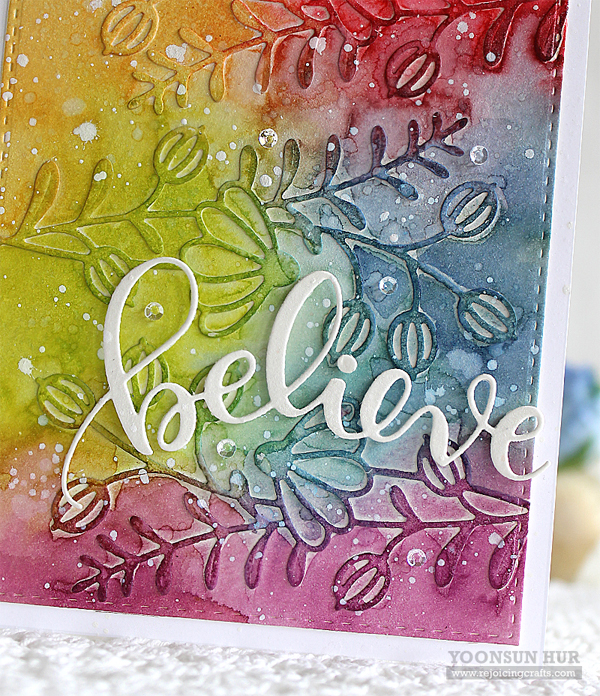
Thank you so much for stopping by. Happy crafting!!

Keep smiling and be blessed! God bless you all!
Love Love Love RejoicingCrafts

https://static.inlinkz.com/ppr.js