Hello crafty friends!
It’s Time! The Cooler with You Card Kit is now available in the MFT Store!!

 Cooler with You Card Kit
Cooler with You Stamp Set
Cooler with You Die-namics
Hit the Slopes Die-namics
Card Stock: Blue Breeze, Sno Cone, Kraft, Chocolate Brown, Cement Gray, Sour Apple, Wild Cherry, Gumdrop Green, Orange Fizz, Smooth White (3)
Slider Elements
New Mid Month Free with $60 Die-namics
The mid month Free with $60 die is the Winter Trees Die-namics. It coordinates with the kit and anyone who orders the kit this month will receive the Free with $60.
Here is what I came up with:
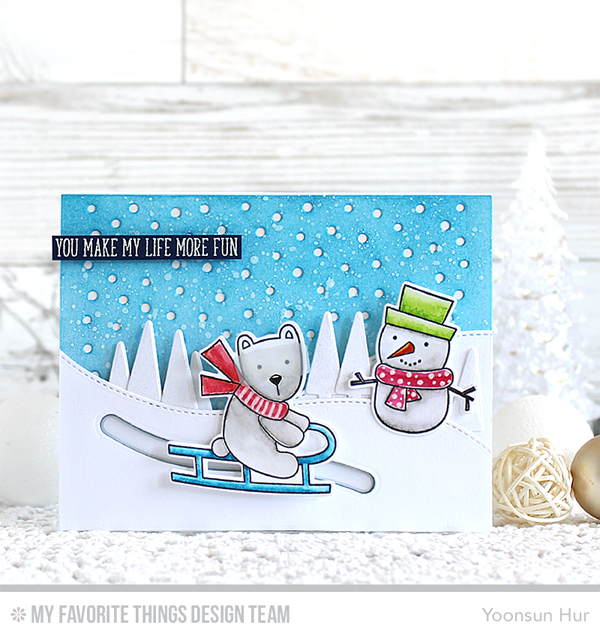 To start, I made a snowy sky using the Snowfall – Horizontal Die-namics – I die cut from watercolour paper panel, ink blended with Tumbled Glass and Mermaid Lagoon Distress inks using mini round blending tool, then added white ink splatters. Next, I built my scene on it. I die cut the snowy hills and the slider channel from white card stock using the Hit the Slopes Die-namics, snow-covered trees using tree die in the Cooler with You Die-namics. I stamped those adorable sledding bear & happy snowman from the Cooler with You set on watercolour paper in Black Licorice hybrid ink, coloured them with Distress markers, and die cut them with the Cooler with You Die-namics.
Make sure to check out MFT Blog for all the info for today along with links to all the other DT member’s blog posts.
Thank you so much for stopping by. Happy crafting!!
Keep smiling and be blessed! God bless you all!
Love Love Love RejoicingCrafts


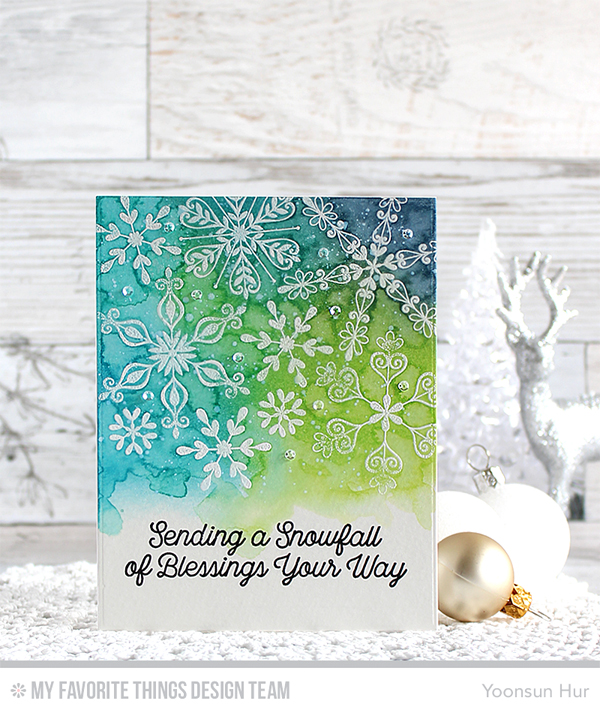 For my first card, I used the emboss resist technique, definitely one of my favourite techniques, with the
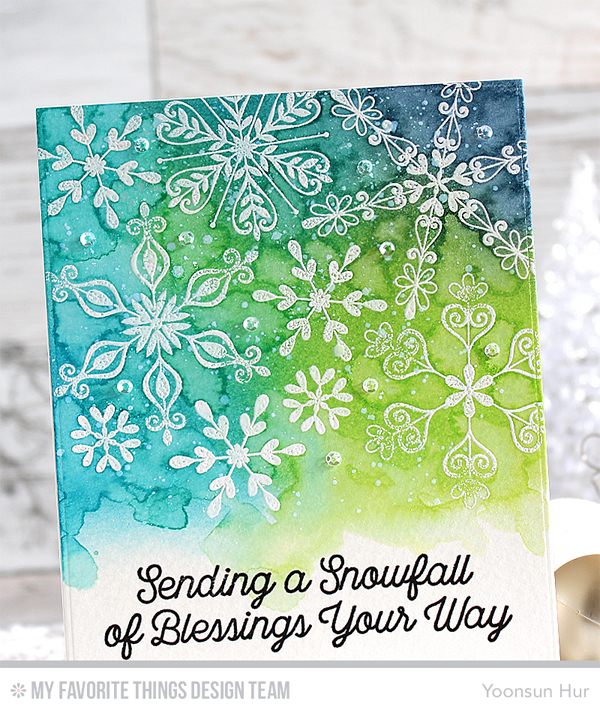
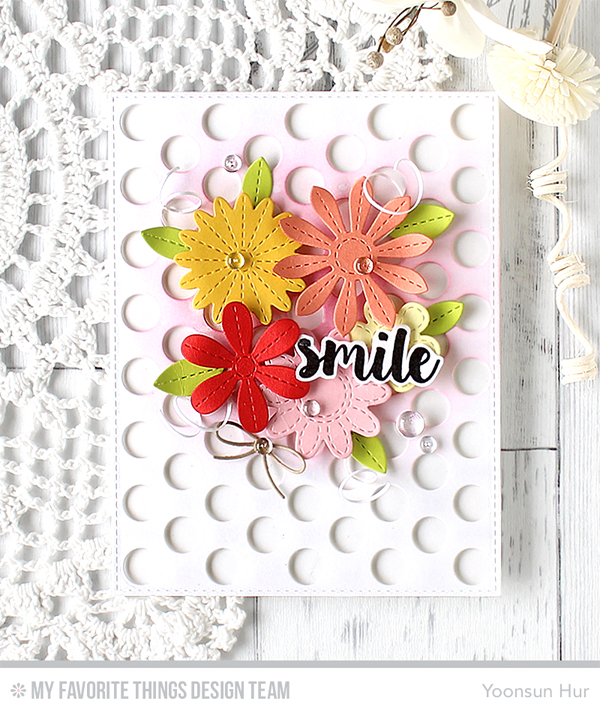
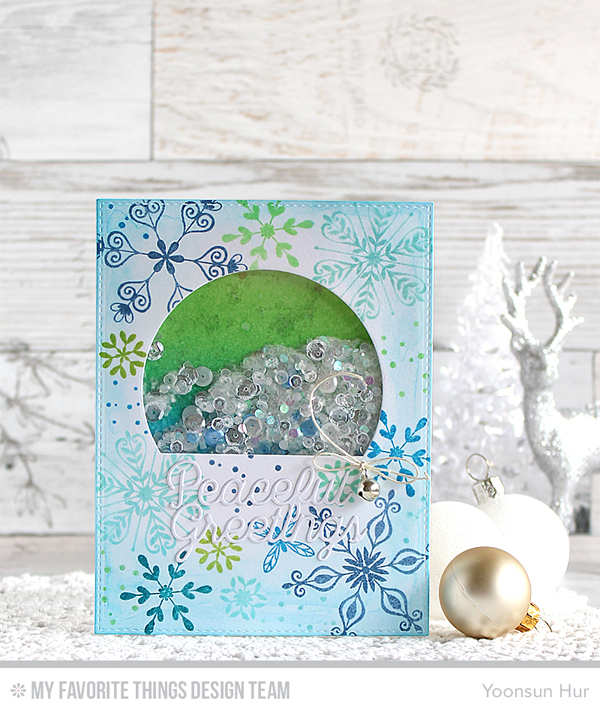 For my second card, I made a shaker card. To start, I die cut the arch window from the stitched white paper panel using the


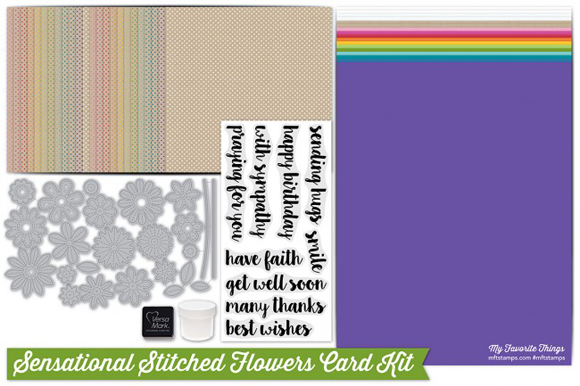
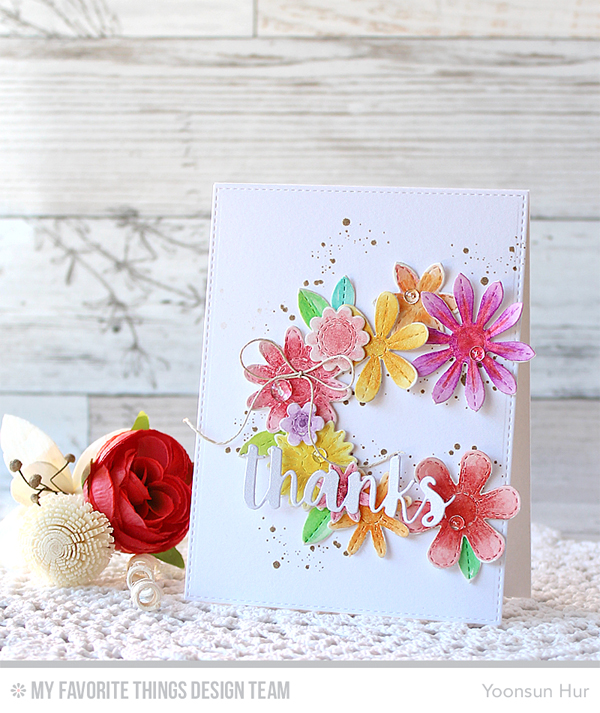
 For my first card, I made my own floral background with
  To start, I die cut the stitched flowers and leaves from watercolour paper using
  I trimmed the edges of the panel, then ink blended on it with Distress inks using mini ink blending tool – I used Festive Berries, Wild Honey, Worn Lipstick, Twisted Citron, Peacock Feathers, Faded Jeans, and Seedless Preserves Distress inks. After doing some ink bleding, I spritzed with perfect pearls mist, added some white ink splatters all over the panel – I wanted to add a bit of shine and sparkle to my card.
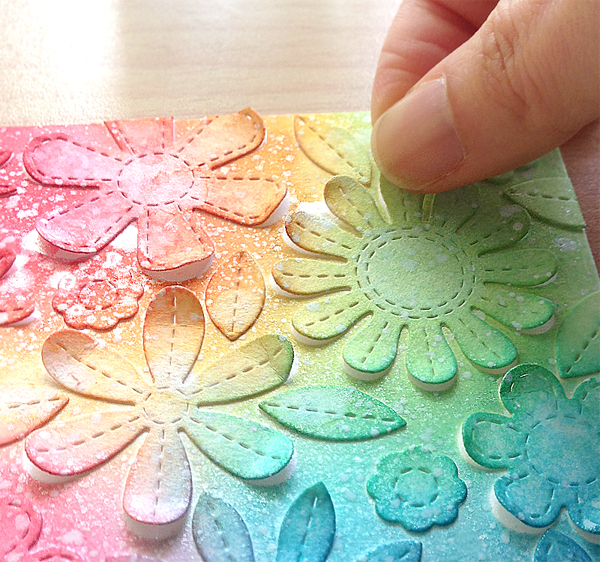 Once the panel was completely dry, I mounted it on an A2 sized white card base using double-sided tape, and then lifted each petal using my fingertips for beautiful 3D effects!
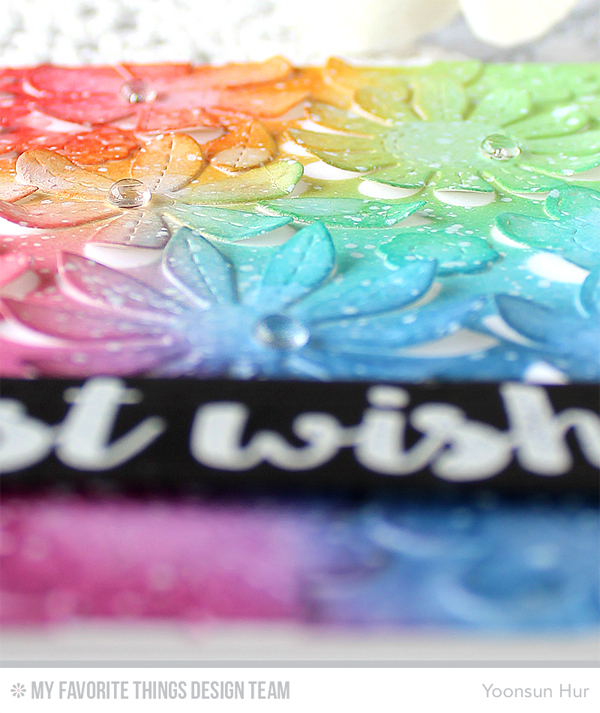
 For my second card, I made a beautiful bouquet with
 For my last card, I made a floral wreath with
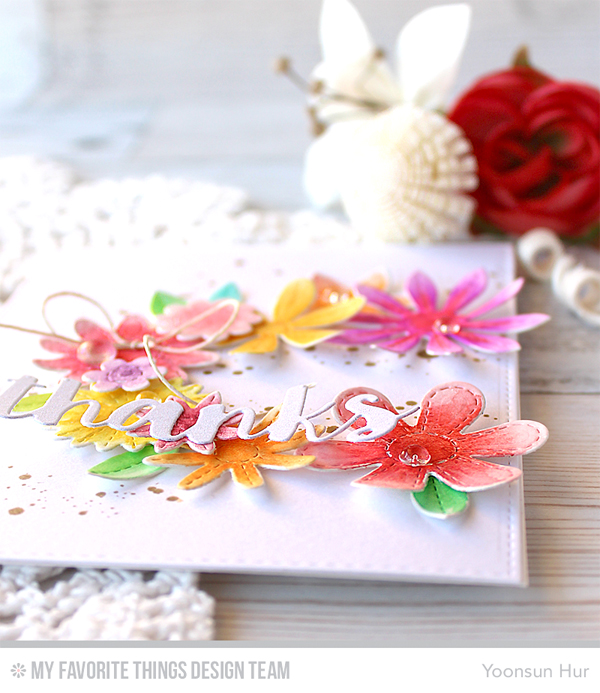


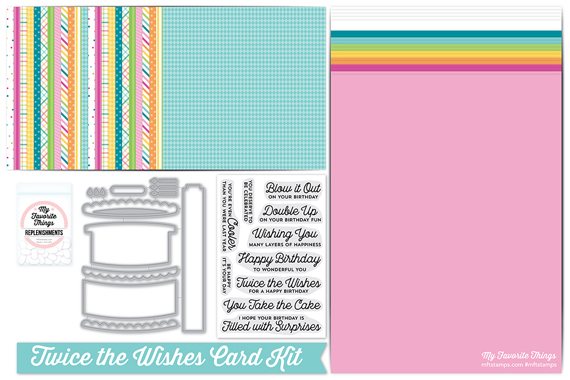 Twice the Wishes Kit
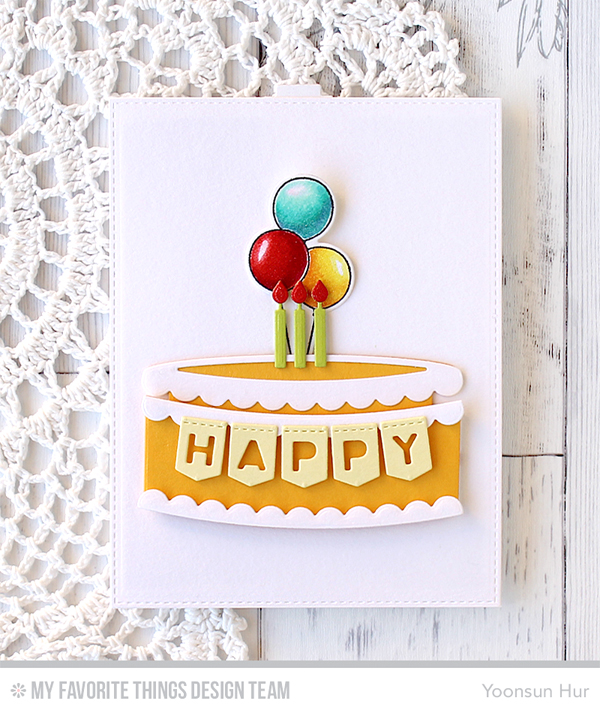
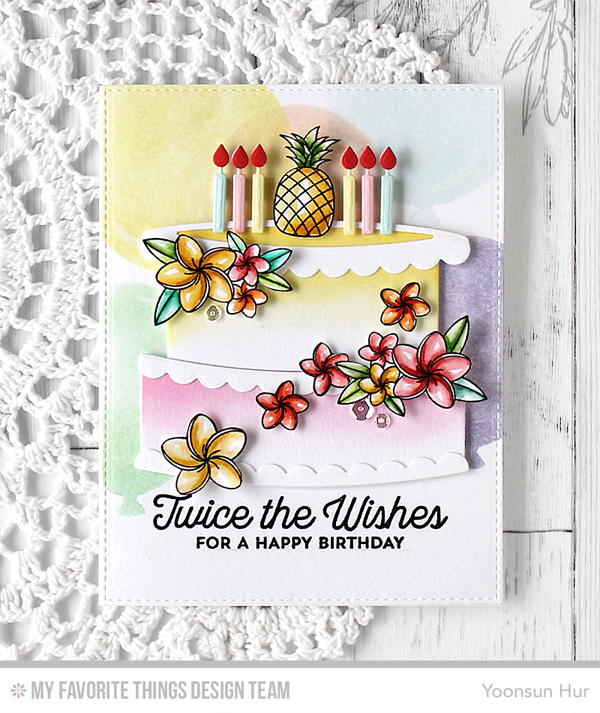 To start, I made a soft pastel balloon background with the
  Make sure to check out


 For my card today, I just wanted to make a clean and simple on white base. To start, I die cut the elements – to assemble two-layer cake – from the Pineapple and Smooth White card stocks using the
  A secret message in the top layer of the cake, isn’t it cool?
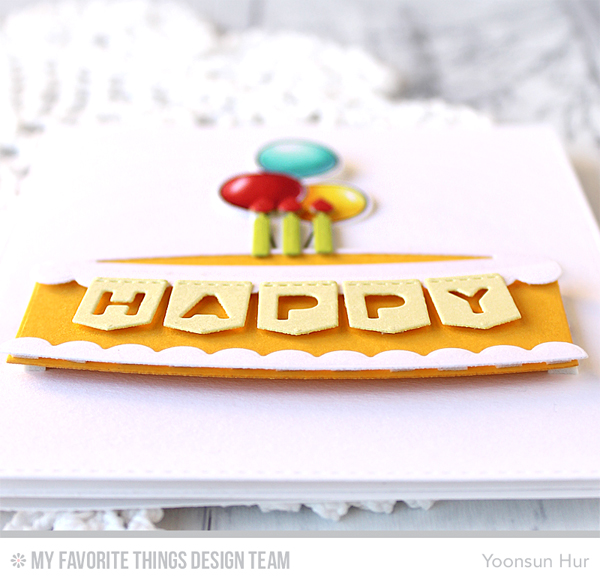 “Happy birthday! You deserve to be celebrated!!”


