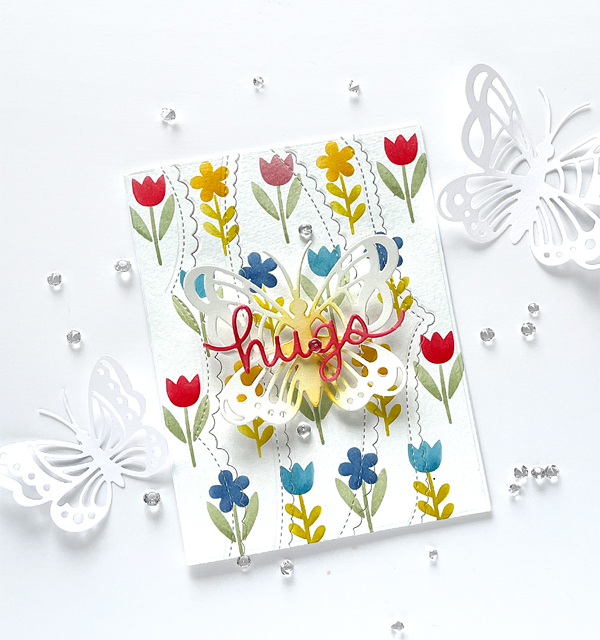
Hello crafty friends!
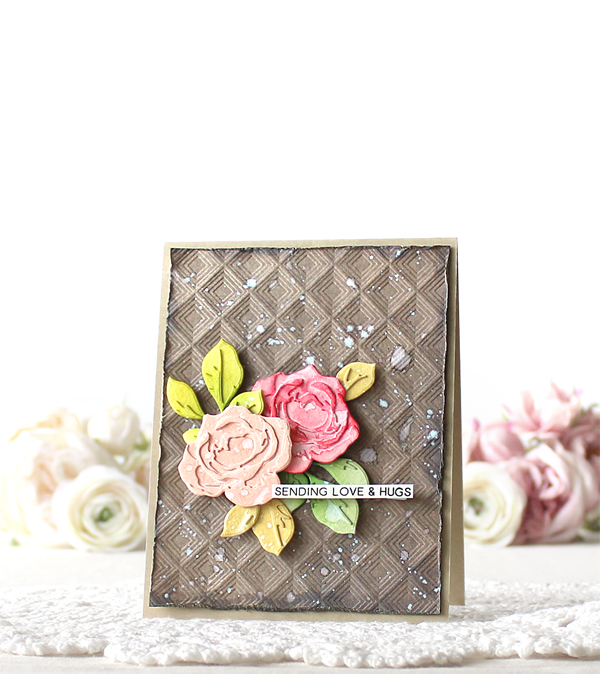
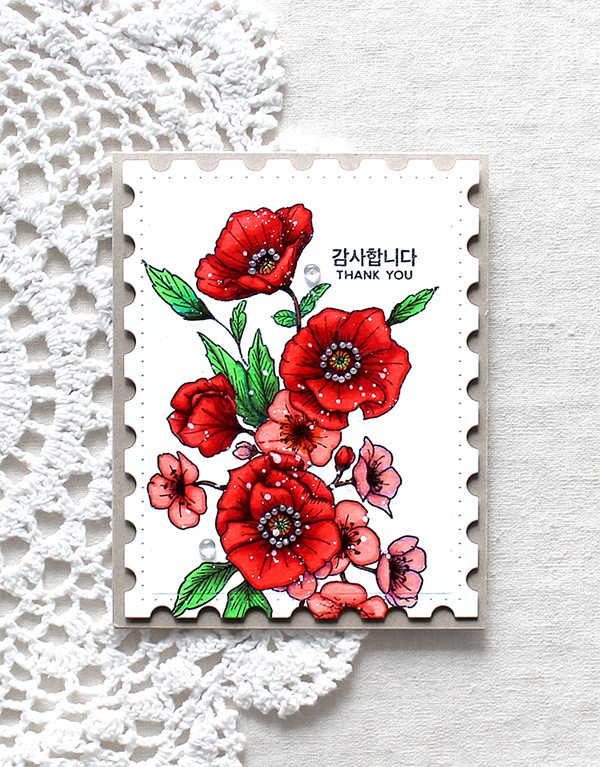
Today I have an encouragement card with SSS Chinese Lantern Stem die. The Chinese Lantern Stem is recently released from Simon Says Stamp Good Luck Charm. It’s very popular!!
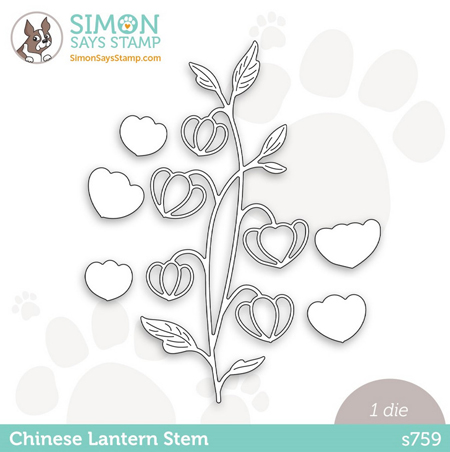
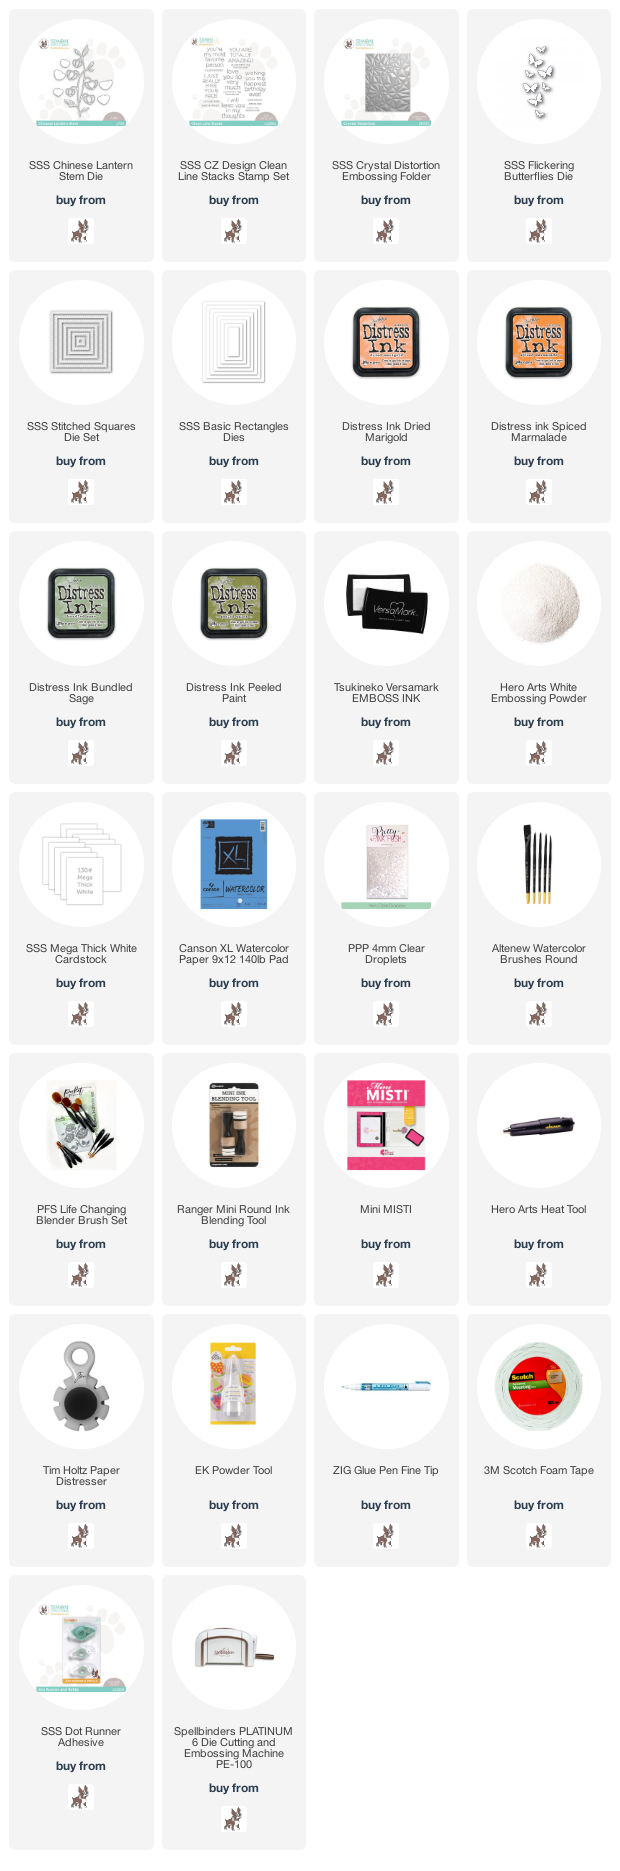
Simon Says Stamp Chinese Lantern Stem Die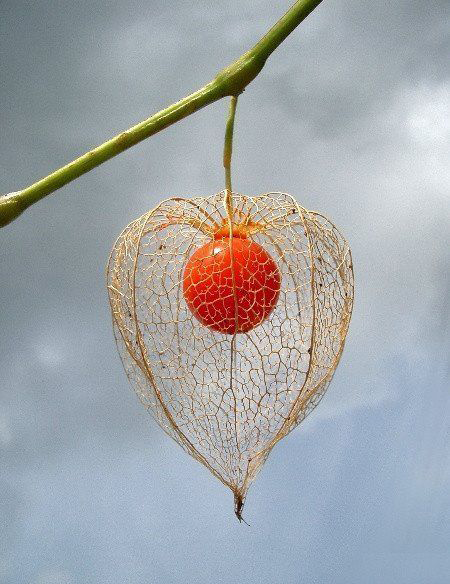
Chinese Lantern flower means safety, comfort and protection so I decided to make an encouragement card with it. :D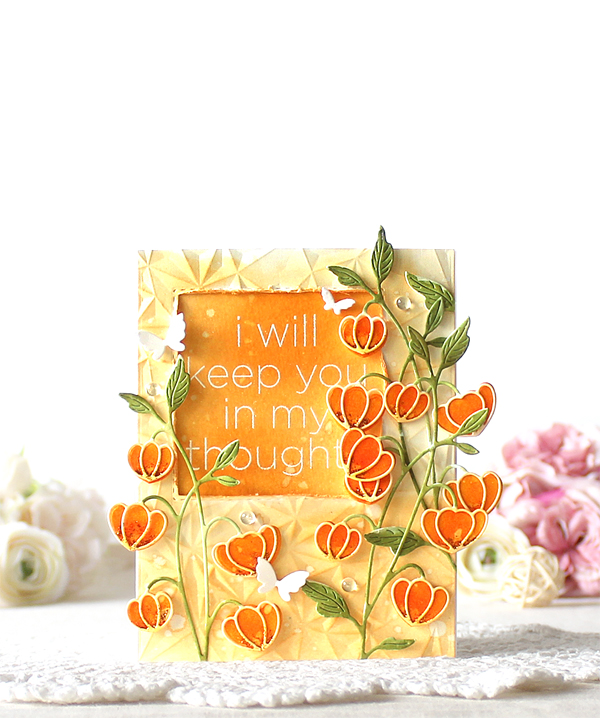
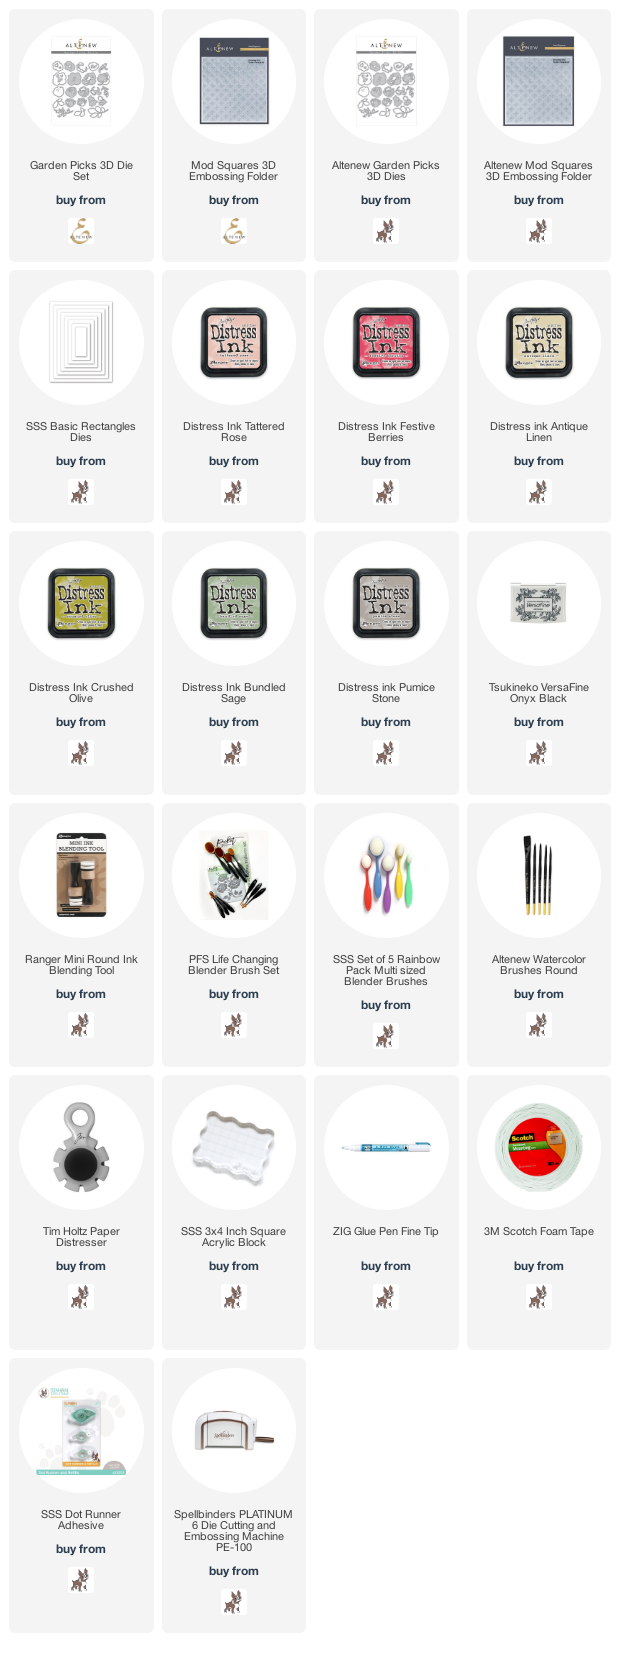
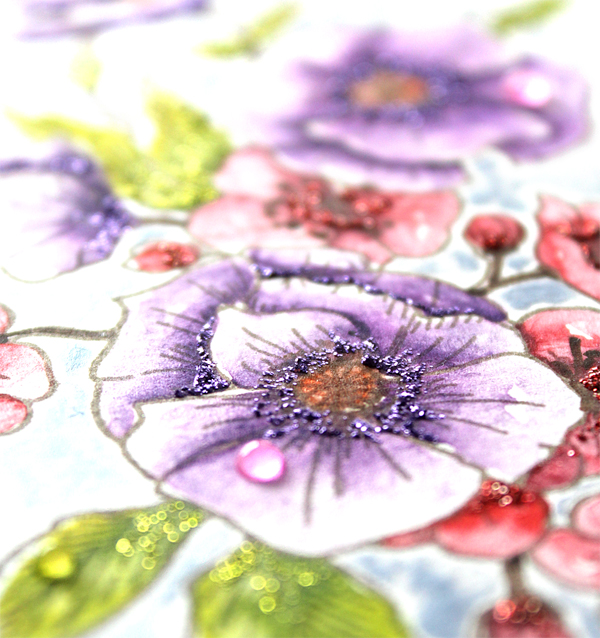
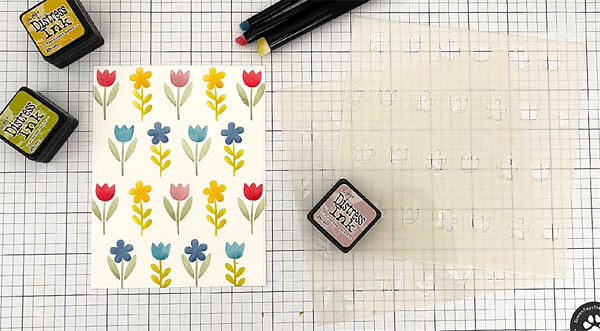
At first I die cut the Chinese Lantern Stem from watercolour paper. I then coloured all die cuts with Distress inks:
Flowers: Dried Marigold & Spiced Marmalade
Leaves and stems: Bundled Sage & Peeled Paint.
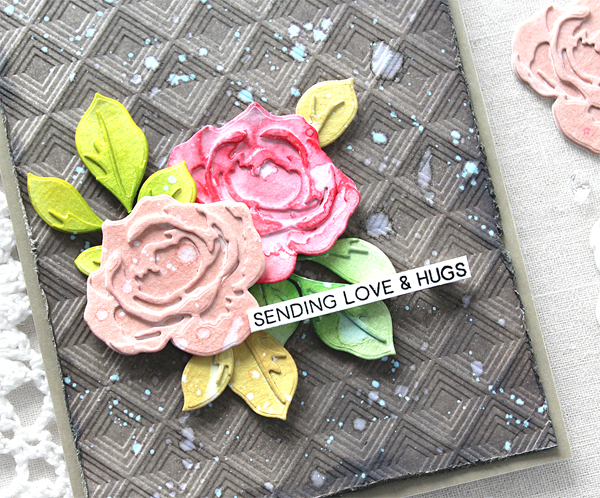
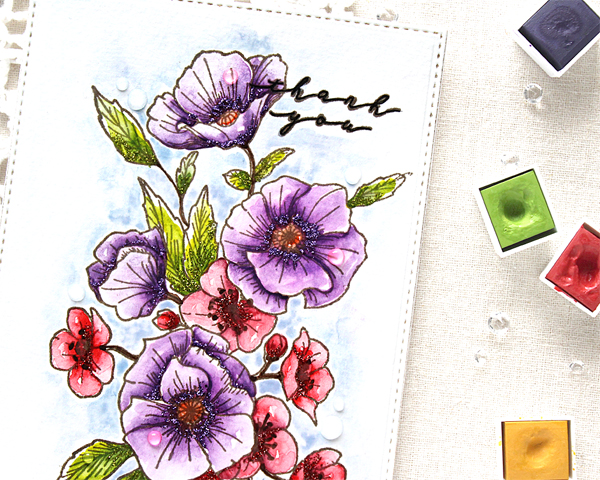
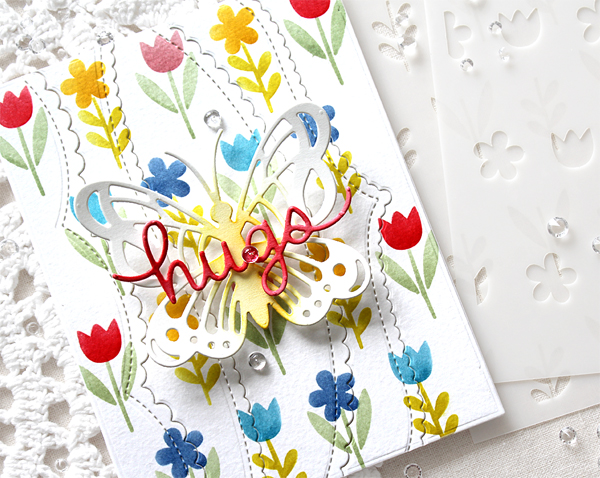
Next, I dry embossed an A2 sized watercolour paper panel using the Crystal Distortion embossing folder, applied Dried Marigold Distress ink to the panel, and then made a square window on the top left part of the panel.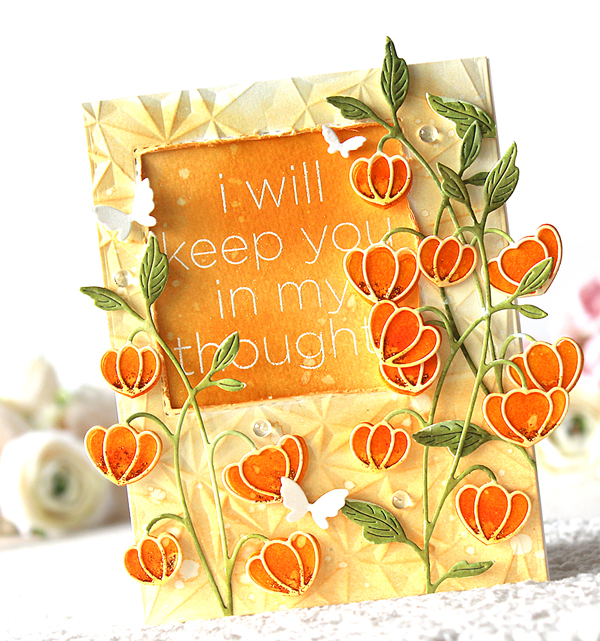
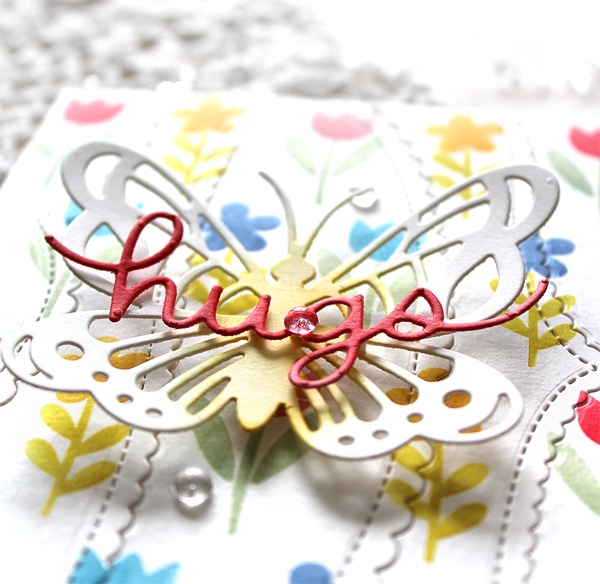
I heat embossed the sentiment from the CZ Design Clean Line Stacks set onto watercolour paper in white, inked onto it with Spiced Marmalade Distress ink. I then adhered the sentiment panel to the back of the background panel.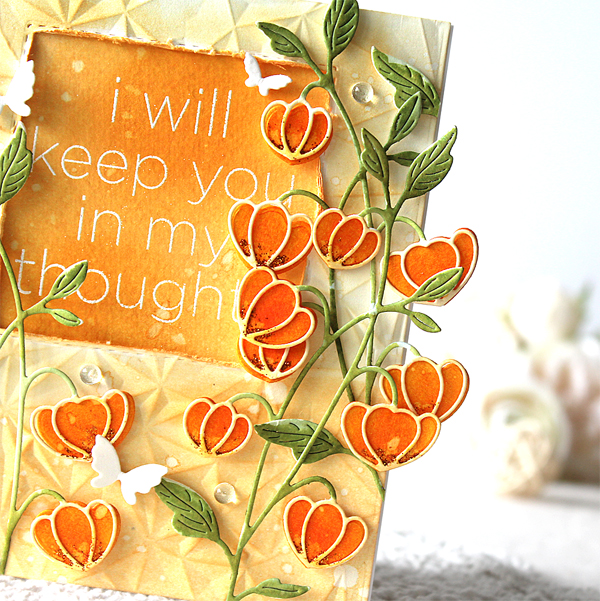
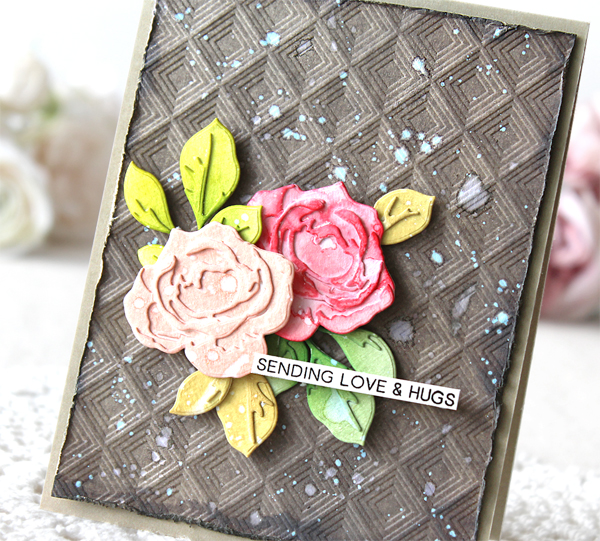
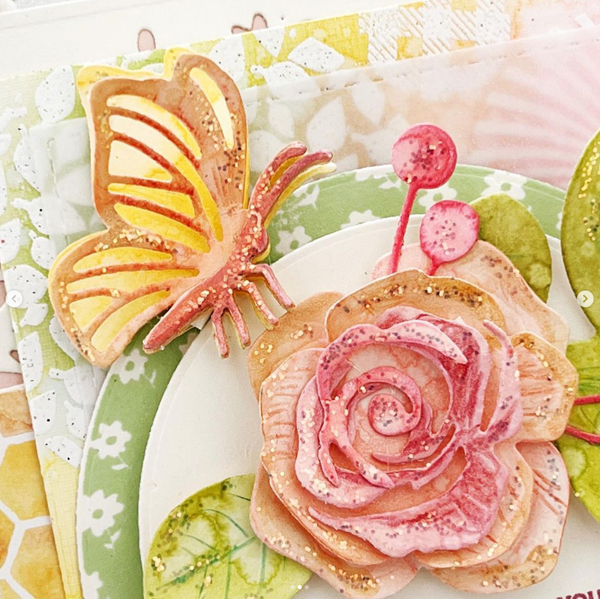
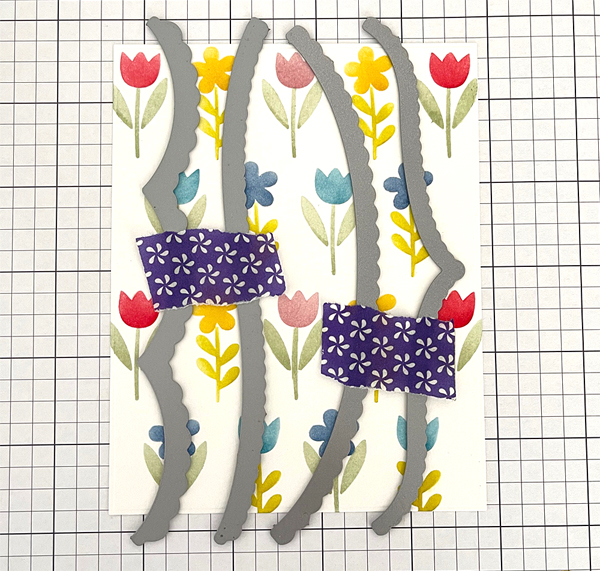
I mounted the background panel and the Chinese Lantern Stems on the card as shown in the picture, and then decorated the card with tiny butterflies & 4mm clear droplets. :D
Thank you so much for stopping by. Have a wonderful weekend!
Keep smiling and be blessed! God bless you all!
Love Love Love RejoicingCrafts