Hello crafty friends! I’m so excited to be a part of the Stamp of Approval Lovely Notes Collection Blog Hop today!
 Stamp of Approval is a collection of products (stamps and dies) that work fabulously together, but they’ll also work incredibly well with supplies you already own. They are released quarterly and sell out quickly (the last one sold out in 33 hours!).
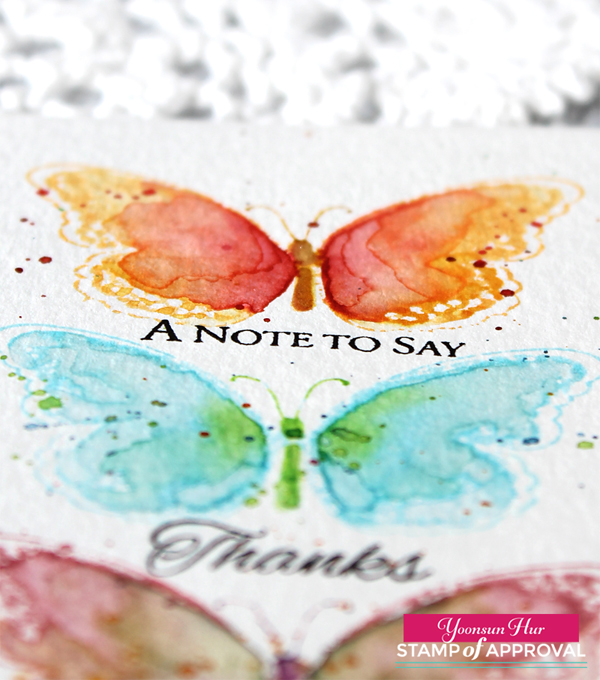
Today I have three cards for you featuring the Butterfly Notes, Lovely Flowers, Handpainted Thanks, and Wonderful Wreath stamp sets. For my first card, I created a watercolour butterfly card with the Butterfly Notes stamp set – it is one of my favourites in the Lovely Notes Collection. First I stamped the large sized butterfly from the Butterfly Notes set on an A2 sized cold press watercolour paper panel with Distress inks: (from the top) Dried Marigold, Tumbled Glass, Victorian Velvet. I then added more colours to each butterfly with Distress inks using a wet paint brush:
Red butterfly: Festive Berries & Fired Brick
Blue butterfly: Twisted Citron & Mowed Lawn
Violet butterfly: Wild Honey & Mermaid Lagoon
I added some ink splatters around the butterflies. For the sentiment, I stamped them in black pigment ink. Finally, I mounted the watercolored panel on white card base using double-sided tape.

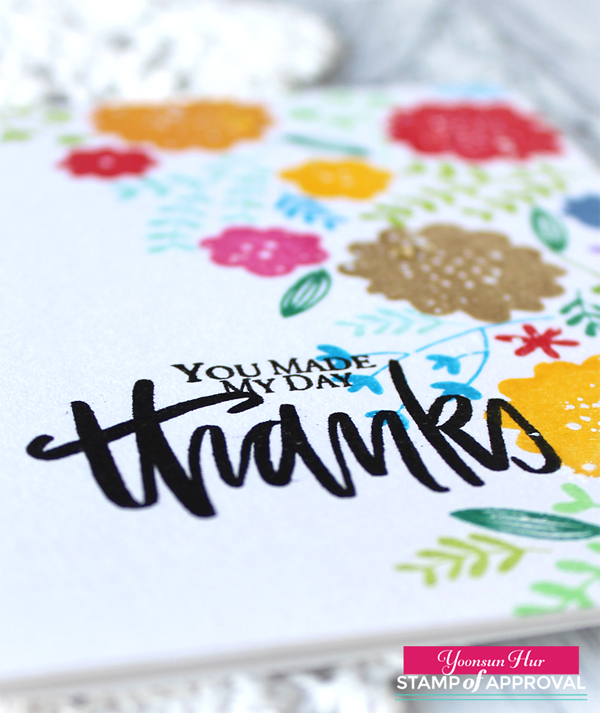
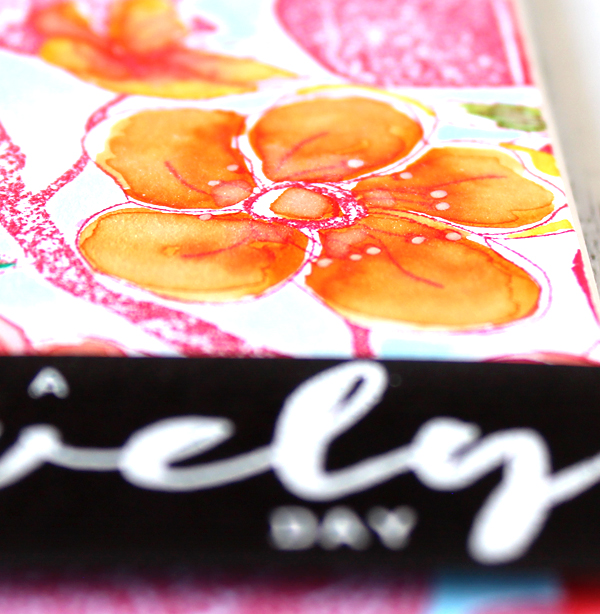
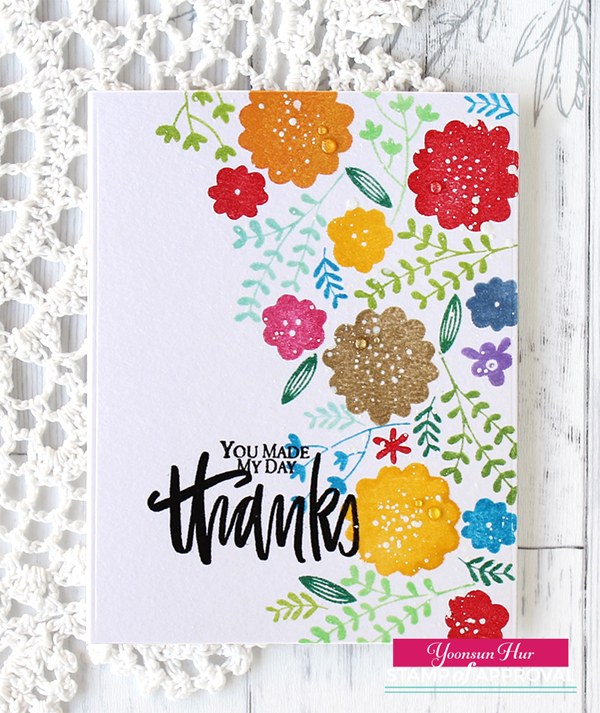 For my second card, I used the Lovely Flowers and Handpainted Thanks (designed by Neat & Tangled) stamp sets. To start, I randomly stamped the flowers and leaves from the Lovely Flowers set on an A2 sized white paper panel with MFT hybrid inks using the Mini MISTI stamping tool. I then added some opaque white ink splatters over the stamped images. Next, I stamped the sentiments on the bottom left corner of the stamped panel using VersaFine Onyx Black – “thanks” from the (Neat & Tangled) Handpainted Thanks stamp set and “You Made My Day” from the Butterfly Notes set. Once the panel was dry, I mounted it on white card base using double-side tape, then added some clear droplets on the stamped flowers using Ranger Glossy Accents.
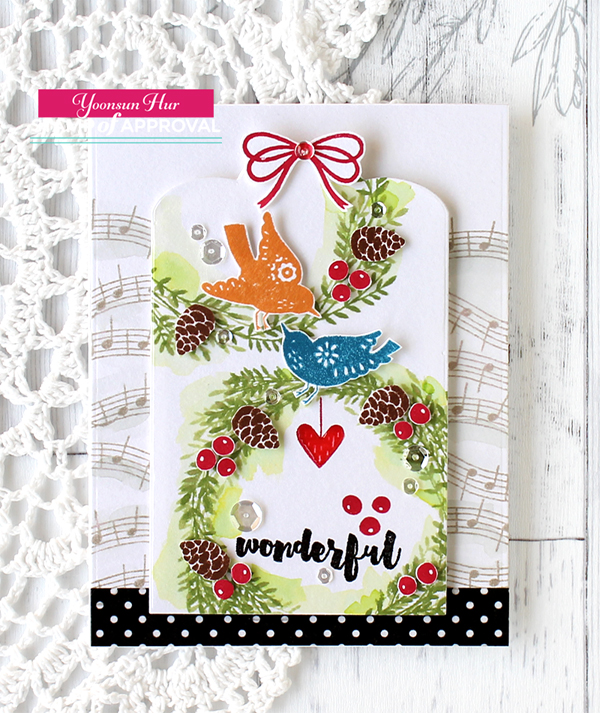 For my last card, I used the Wonderful Wreath stamp set. To start, I created my own background with the musical notes – I stamped them on white paper panel in Altenew Evening Gray dye ink. For my focal panel, I die cut from watercolour paper using the banner die in the Lovely Flowers die set first, and then stamped the leaf wreath from the Wonderful Wreath set on it with Altenew Frayed Leaf and Forest Glades dye inks. I also prepared the birds, fruits, pine cones for decorating the wreath. I mounted all elements as shown to an A2 sized white card base using dimensional foam tape, then embellished with a few PPP clear sequins.
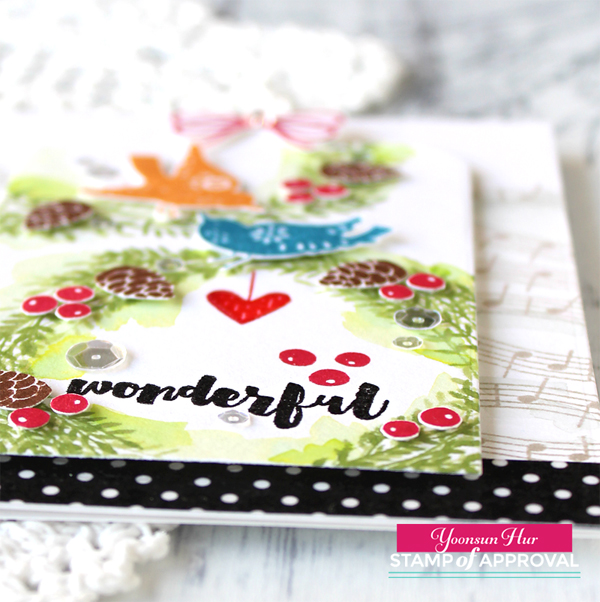 Hmm, it looks like a Christmas card, don’t you think? :D
GIVEAWAY!!
Be sure to visit each day, hop along and leave comments. We are giving away a free SOA box for every blog hop day! Entries close on THURSDAY at 9AM EST. Winners will be announced on Catherine Pooler’s blog. If the winner already bought a box, they will be refunded.
Your next stop on the hop is Ingrid Blackburn. We hope you have all enjoyed our fun and inspirational blog hop!
Catherine Pooler
Neat and Tangled
Kristie Goulet
Yoonsun Hur (Me!!)
Ingrid Blackburn
Amy Tsuruta
Justine Hovey
Thank you so much for stopping by. Have a wonderful day!!
Keep smiling and be blessed! God bless you all!
Love Love Love RejoicingCrafts
https://static.inlinkz.com/ppr.js

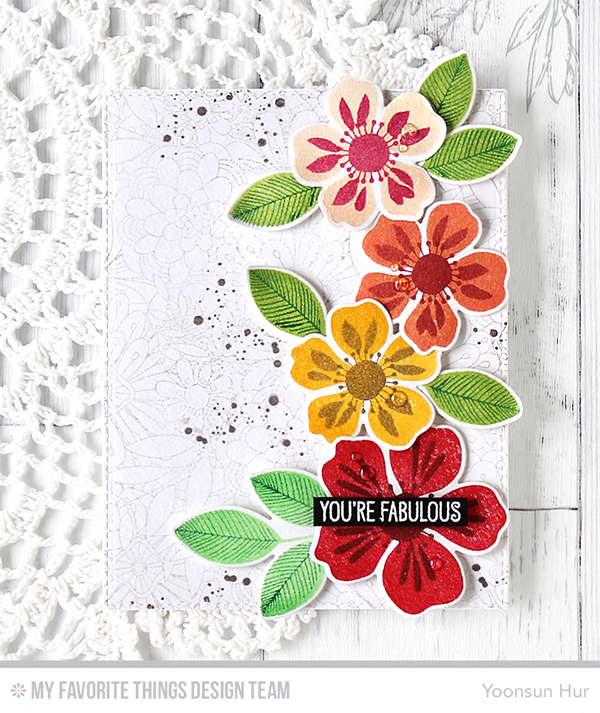 To start, I stamped the Bundles of Blossoms Background on an A2 sized white paper panel in Gravel Gray hybrid ink. Next, I stamped the flowers and leaves from the Flashy Florals set on a separate white card stock using several hybrid inks:
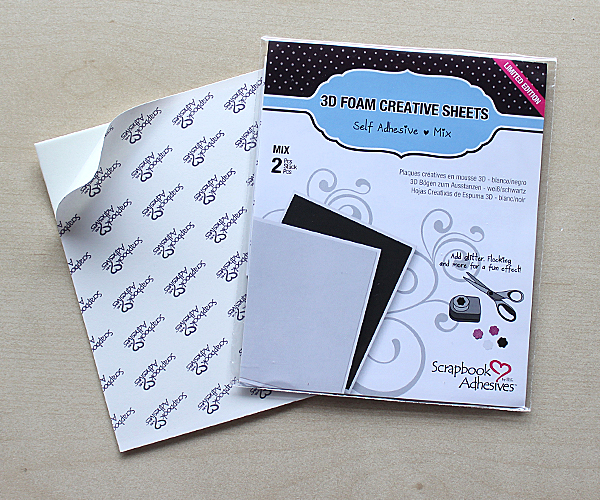 To mount the A2 stamped panel on white card base, I used the 3D Foam Creative Sheets.
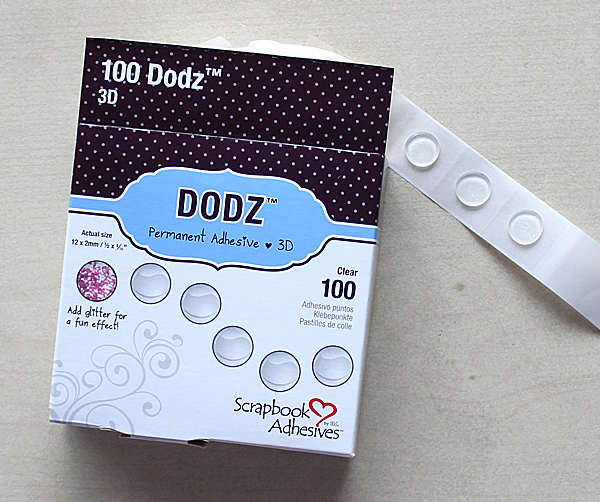 To add the flowers and leaves on the card front, I used the Clear DODZ™ Adhesive Dots 3D. I particularly love the clear foam tape!
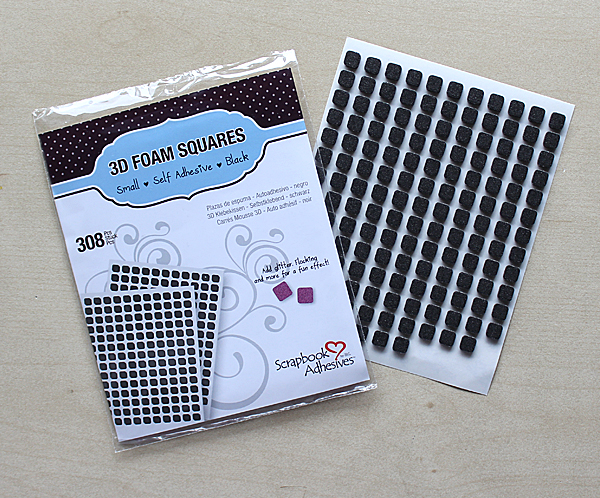 And I used the Black 3D Foam Squares to adhere the black sentiment banner on top of the card. Black foam tape, it’s a proper use of black sentiment banner.
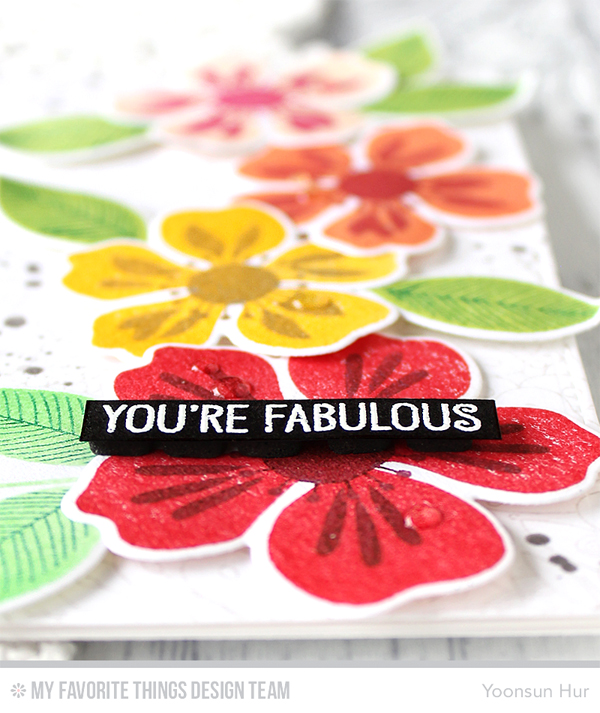 Thank you so much for stopping by. Have a fabulous day!!


 To start, I placed a circle die on an A2 sized watercolour paper panel, then traced a circle very lightly with a pencil (or mechanical pencil).
 Next, I stamped the leaf from the
 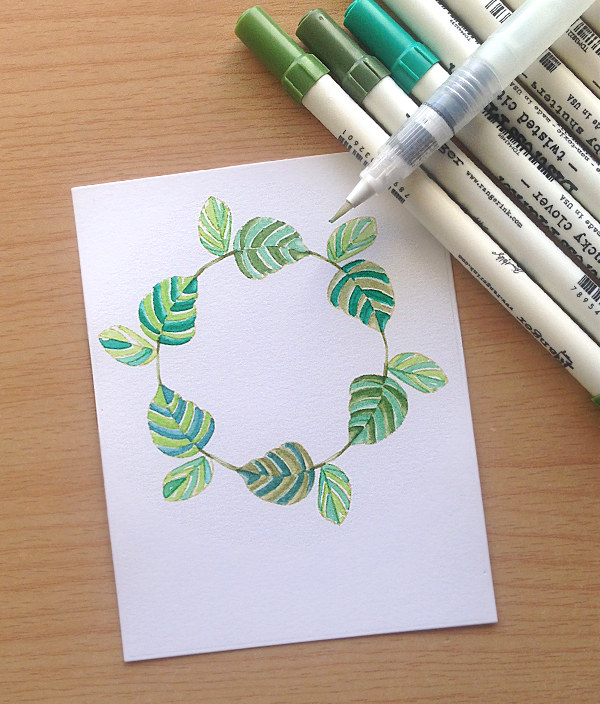 I then basically coloured them with Distress markers and
  I added more colours and more water! Because I wanted to have a more subtle watercolour effect!! I ripped out the bottom of the panel, inked the edges of it with
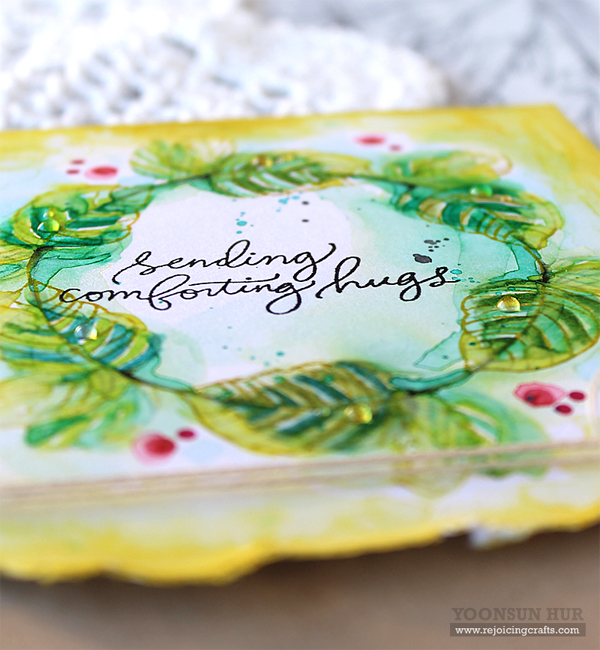
 Here is another card with the same design on kraft base. I stamped the leaf along the circle line using


 If you want to see more just click to the
 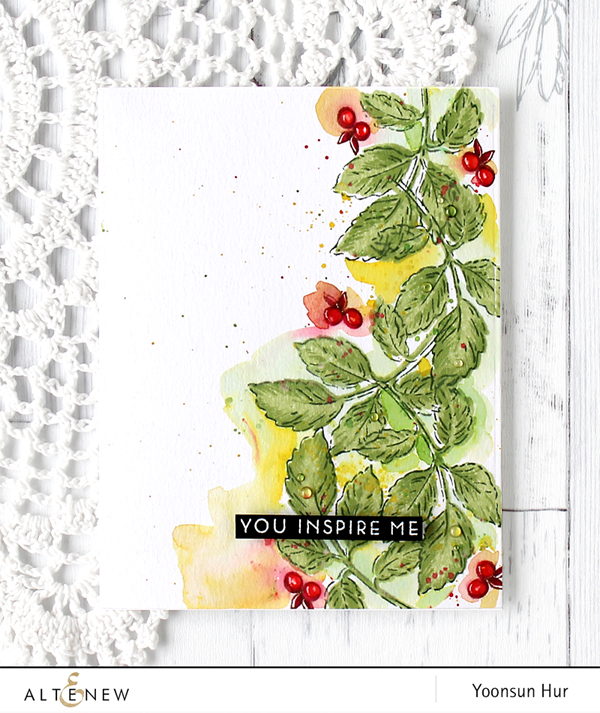 To create this card, I used the


