MFT January Release Countdown – Day 1

Hello crafty friends!
Welcome to the My Favorite Things January Release Countdown Day 1. We’ve reached the final day of the countdown and all of the new products will be available at 9 pm ET today in the MFT store.

NewReleaseCountdown_Day1Today I am featuring so gorgeous Floral Fantasy Background Stamp and Big Hugs Die-namics – You will love as soon as you see them!!
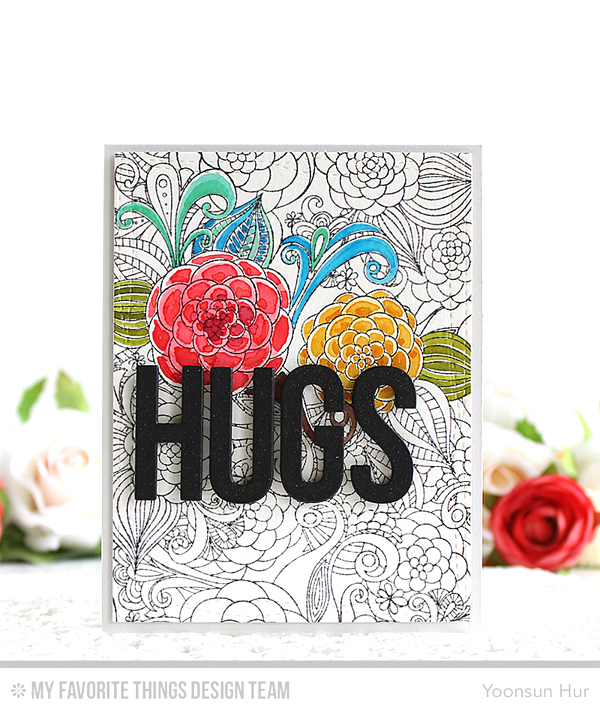
yoonsunhur-201701-mftrc-day1-a001For my first card, I 1) Stamped the Floral Fantasy Background on an A2 sized watercolour paper panel using Black Licorice hybrid ink, and then partially watercoloured the background with Distress inks and Peerless watercolors. 2) Die cut the Big Hugs from black card stock 3 times, then glued them together using the fine tip glue pen. 3) Mounted all elements as shown to the Grout Gray card base using foam tape.
yoonsunhur-201701-mftrc-day1-a002I added the Clear Wink of Stella Glitter on the sentiment die cuts.
yoonsunhur-201701-mftrc-day1-a003
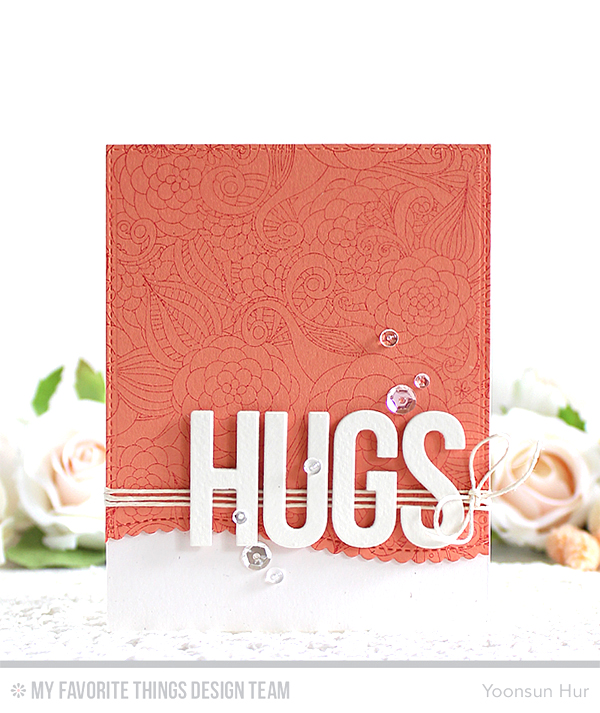
yoonsunhur-201701-mftrc-day1-b001For my second card, I 1) Stamped the Floral Fantasy Background on the Coral Crush paper panel using Red Hot hybrid ink, then trimmed the bottom of the stamped panel using the Stitched Scallop Basic Edges 2 Die-namics. 2) Die cut the “HUGS” from white card stock using the Big Hugs Die-namics. 3) Mounted all elements as shown to the Primitive White card base using foam tape.
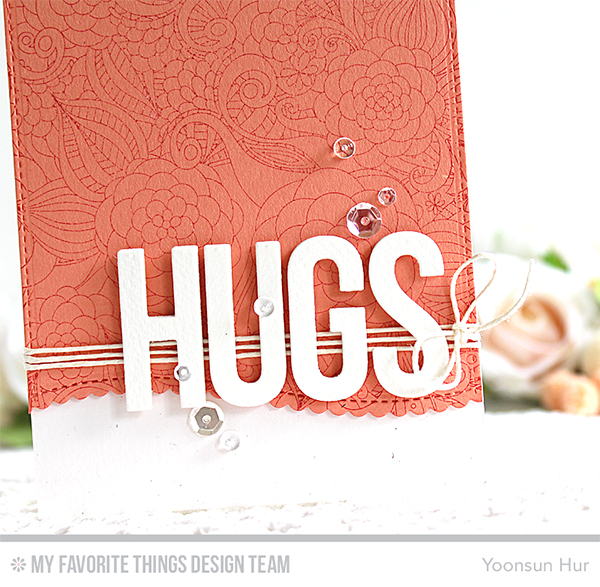
yoonsunhur-201701-mftrc-day1-b002

Make sure to check out MFT Blog for all the info for today along with links to all the other DT member’s blog posts.

See you TONIGHT for the release!

Keep smiling and be blessed! God bless you all!
Love Love Love RejoicingCrafts

Card 1

Card 2

https://static.inlinkz.com/ppr.js

Altenew Stamp Focus: Bold Blossom

Hello crafty friends, happy Monday!
I’m up on the Altenew blog today with my flower cards using the newly released Bold Blossom stamp set.
bold-blossom
yoonsunhur-20161017-altenew-a001For my first card, I created a tone-on-tone floral pattern on the SSS Lipstick Red card base in Altenew Ruby Red dye ink. Next I stamped the layered flower and leaves from the Bold Blossom set on white card stock using some Altenew dye inks:
Flower: Frosty Pink (the base layer), Coral Berry, Ruby Red (the darkest parts)
Leaves: Frayed Leaf, Forest Glades, Evergreen.
And then I fussy cut them out. For the sentiment, I heat embossed it from the Sentiments & Quotes set on black card stock in white, cut the sentiment using scissors. I decorated the bottom of the card with the Altenew Gold Glitter Tape.
yoonsunhur-20161017-altenew-a002
yoonsunhur-20161017-altenew-b001For my second card, I repeatedly stamped the flowers & leaves on the Altenew Spicy Yogurt card base in blues and greens – I used a MISTI to get exact placement of my stamped layers! I used Mountain Mist, Volcano Lake, Lagoon dye inks for the green flowers and Sea Glass, Ocean Waves, Dusk for the blue flowers. For the sentiment, I stamped it from the Floral Sprig set in Jet Black dye ink.
yoonsunhur-20161017-altenew-b002Altenew layered flower stamps are becoming more and more realistic!!

yoonsunhur-20161017-altenew-c001For my last card, I heat embossed them on kraft card base in white. And I die cut the word “Thank you” from white card stock using the word dies in the Majestic Bloom die set.

Thank you so much for stopping by. Happy crafting!!

Keep smiling and be blessed! God bless you all!
Love Love Love RejoicingCrafts

Altenew store

Simon store

https://static.inlinkz.com/ppr.js

MFT October Release Countdown – Day 1

Hello crafty friends!
Welcome to the My Favorite Things October Release Countdown Day 1. We’ve reached the final day of the countdown and all of the new products will be available at 10 pm ET today in the MFT store.
NewReleaseCountdown_Day1Today I have a flower card to share with you today using the Stitched Flowers Die-namics and Thanks Die-namics.
yoonsunhur-oct-mftrc-day1-001To create the card, I die cut a piece of white card stock using A2 sized stitched rectangle panel die in the Blueprints 25 Die-namics first, and then ink blended on the panel with Twisted Citron, Tumbled Glass, and Crushed Olive Distress inks using mini ink blending tool. Next, I die cut the Stitched Flowers from white card stock, then placed them on the inked panel using foam tape. For the sentiment, I die cut the word “thanks” from white card stock using the Thanks Die-namics, then inked the word die cut with Crushed Olive Distress ink.
yoonsunhur-oct-mftrc-day1-002Make sure to check out MFT Blog for all the info for today along with links to all the other DT member’s blog posts.

See you TONIGHT for the release!

Keep smiling and be blessed! God bless you all!
Love Love Love RejoicingCrafts

https://static.inlinkz.com/ppr.js

Close To My Heart Create Kindness card kit

Hello crafty friends!
I am so excited to share my cards using the Close To My Heart September Create Kindness card kit with you today.
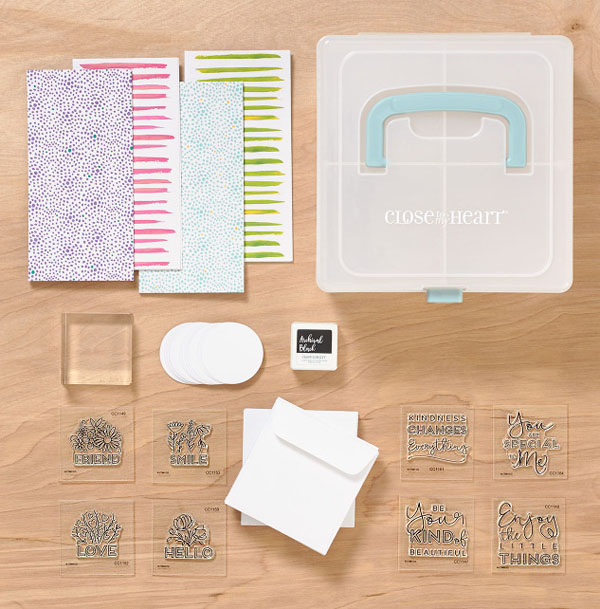
ctmh-createkindnessClose To My Heart released this exclusive card kit to celebrate National Stamping month, isn’t it gorgeous?!!

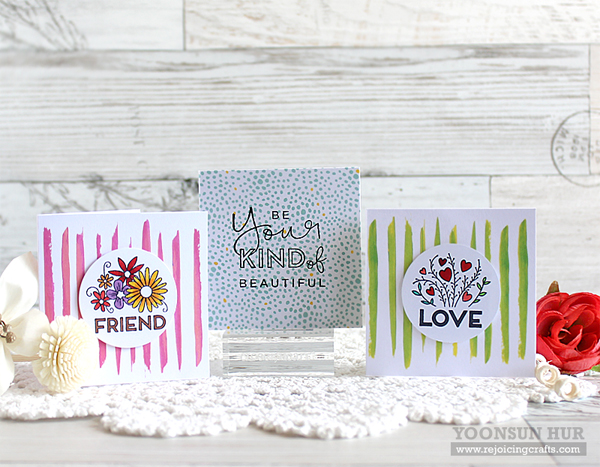
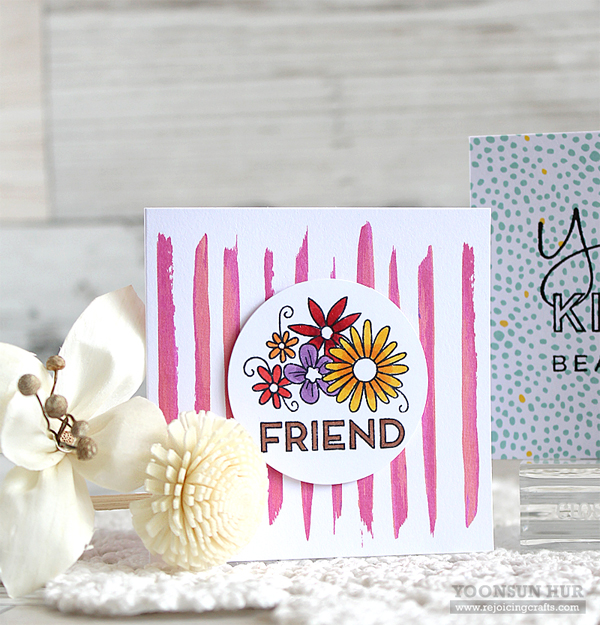
Here is what I came up with:ctmh-201609-001 I coloured all stamped images with Copic markers. It only took 20 minutes to make all 3 cards :D
ctmh-201609-002ctmh-201609-003ctmh-201609-004ctmh-201609-005GIVEAWAY!!
There is a giveaway to WIN a free kit over on my Instagram! (Click HERE)
If you want to find more information about the kit HERE. If you want to purchase this kit HERE!

Thank you so much for stopping by. Have a wonderful day!!

Keep smiling and be blessed! God bless you all!
Love Love Love RejoicingCrafts

SSS STAMPtember® Grateful For You

Hello crafty friends, happy STAMPtember!
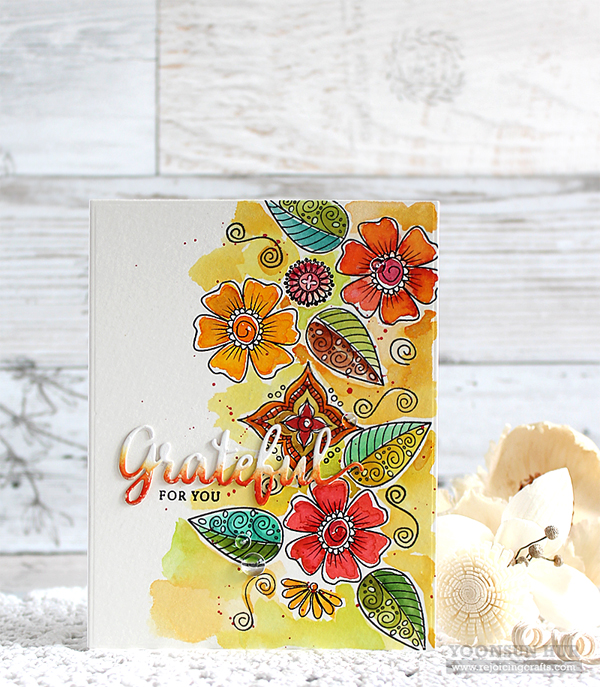
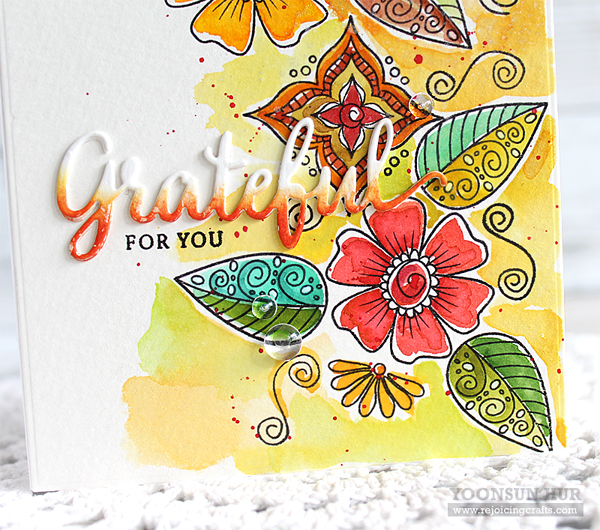
Today I want to share with you my watercolour card with the SSS STAMPtember® Henna Patterns Stamp Set and Grateful Dies.
yoonsunhur-20160927-sss-001To create the card, I 1) Die cut a piece of cold press watercolour paper using the A2 sized Basic Rectangles die. 2) Stamped the images from the Henna Patterns set on the right side of the watercolour paper panel using VersaFine Onyx Black. 3) Coloured all images with Peerless watercolors and water brush. 4) Coloured the background with Wild Honey, Dried Marigold, and Crushed Olive Distress inks, then added some red ink splatters. 5) Die cut the word “Grateful” from white card stock using the Grateful die four times, stacked them up together using the fine-tip glue pen, and then ink blended on the bottom half of the word die cut with Wild Honey and Spiced Marmalade Distress inks using mini round blending tool. 6) Mounted the watercoloured panel on A2 white card base using double-sided tape first, and then added the sentiments on it.
yoonsunhur-20160927-sss-003yoonsunhur-20160927-sss-002Thank you so much for stopping by. Have a fabulous day!!

Keep smiling and be blessed! God bless you all!
Love Love Love RejoicingCrafts

https://static.inlinkz.com/ppr.js