Hello crafty friends!
Today I have floral card trio with the Paper Rose Studio Helen’s Homestead & Poppy Field 12 x 12 pattern papers. Paper Rose Studio has so many beautiful floral pattern papers!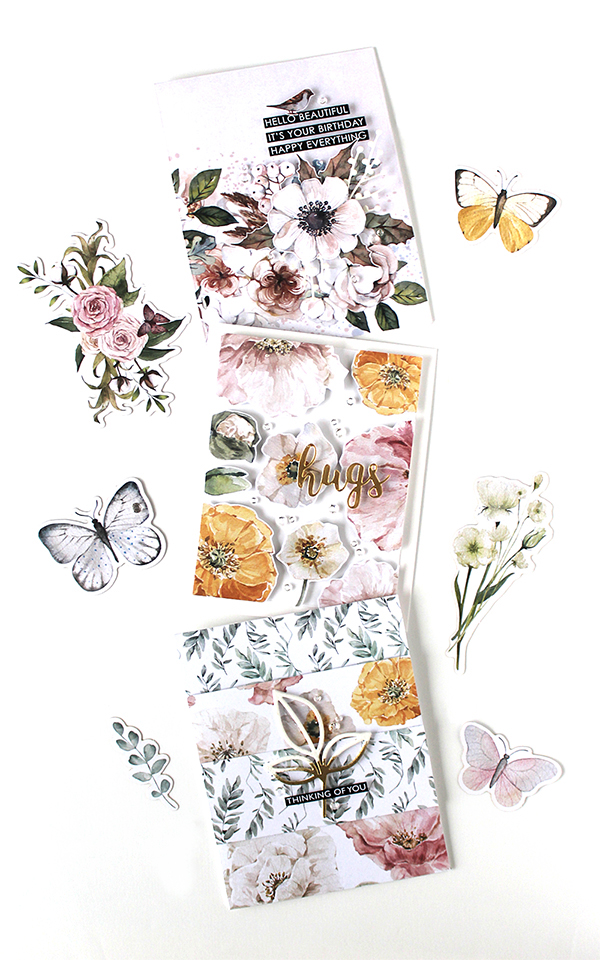
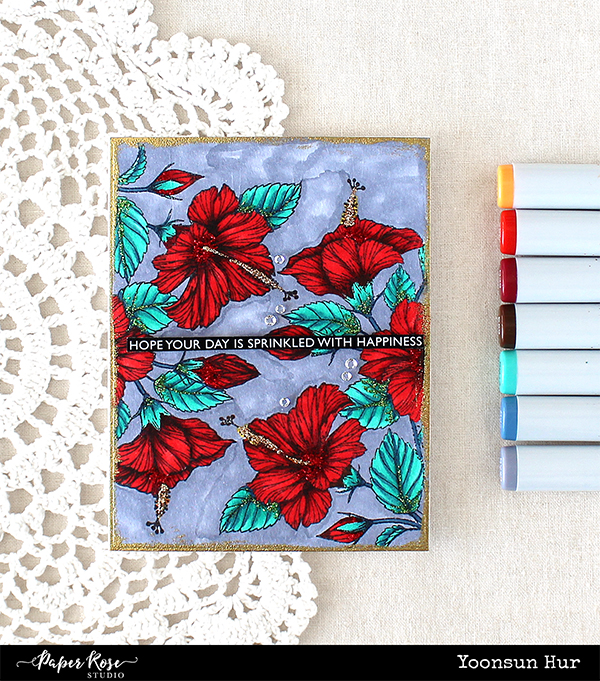
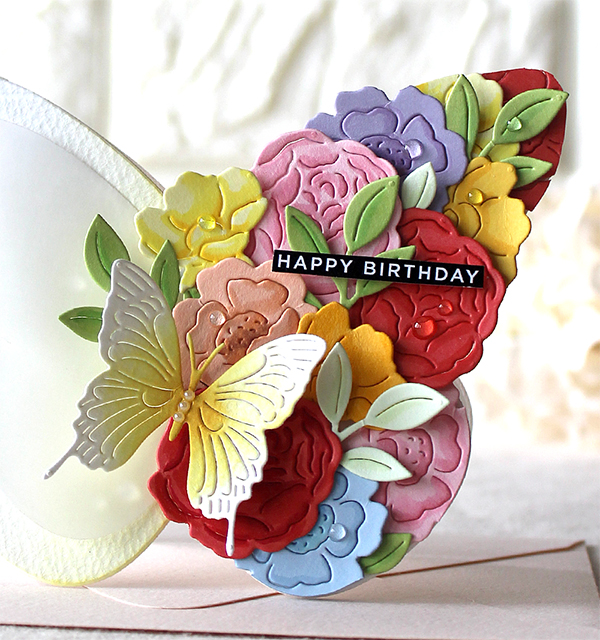
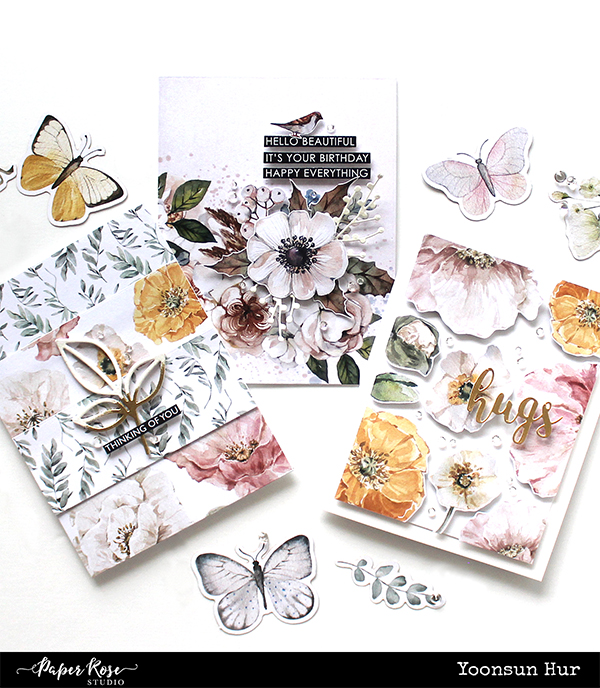
Ta-da! Aren’t they so beautiful?!! It’s really easy to make if you have floral pattern papers. :D
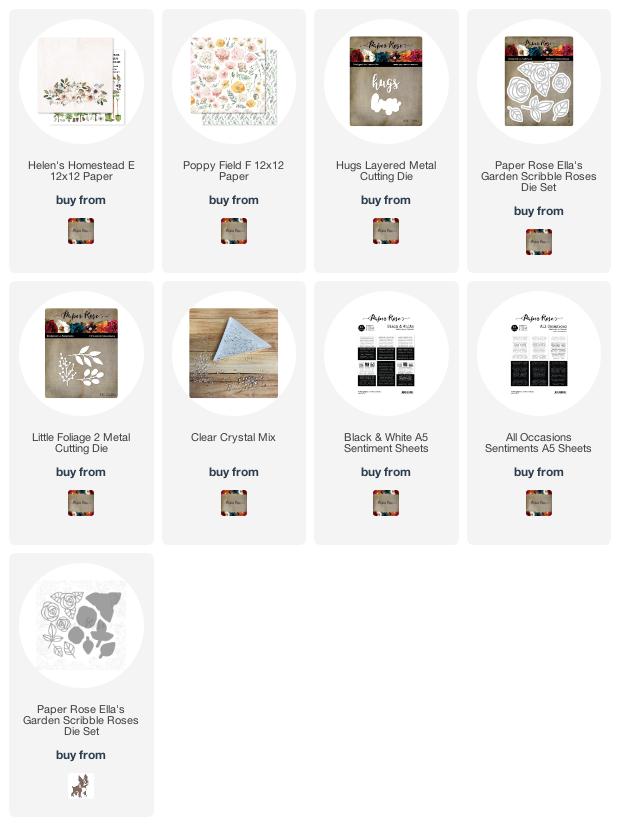
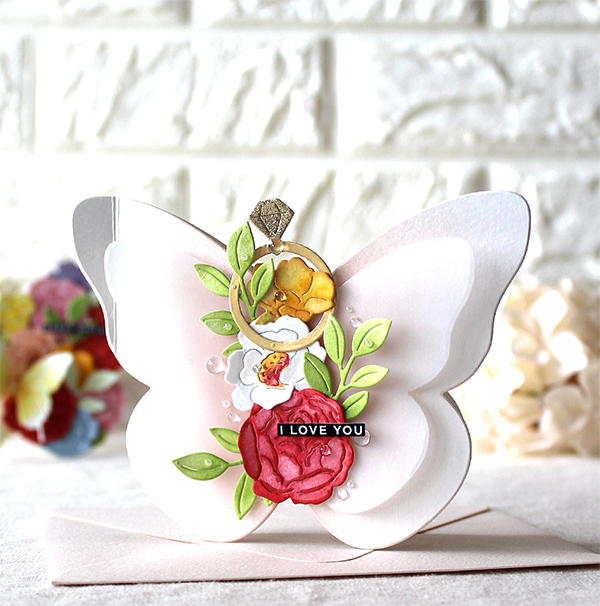
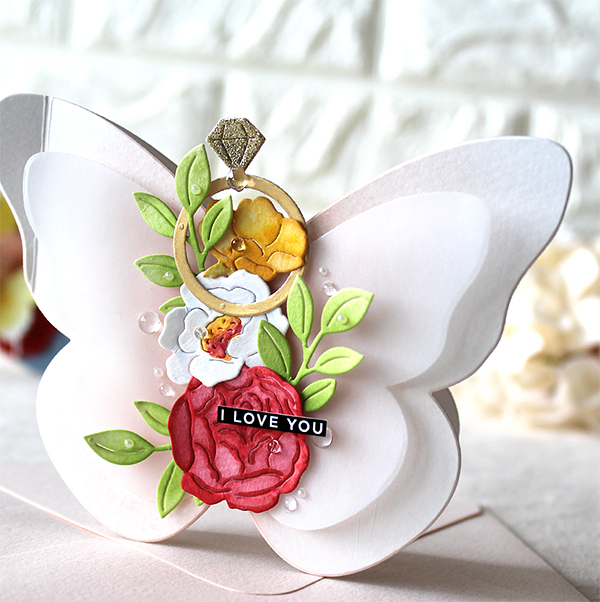
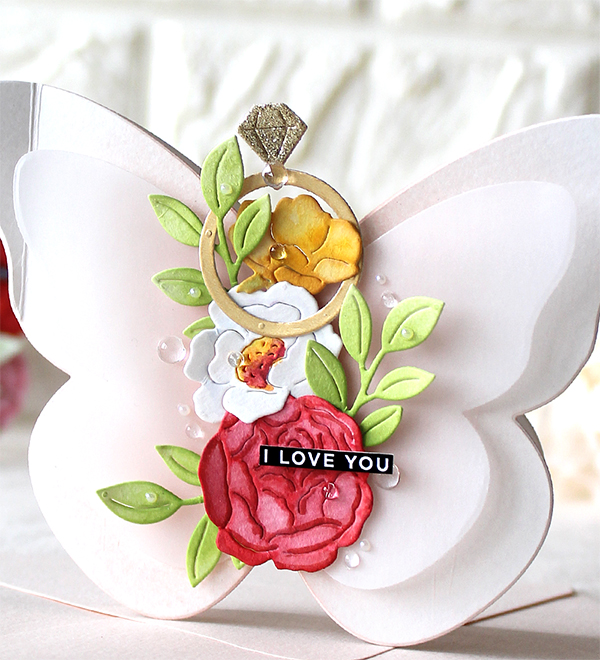
For my first card, I used the Helen’s Homestead E 12×12 Paper with Little Foliage 2 die set. I cut the pattern paper as an A2 sized rectangle panel, fussy cut the large sized flower & some leaves, and then added them on the right side of the card as shown in the picture. For the sentiment, I used the All Occasions Sentiments A5 Sheets.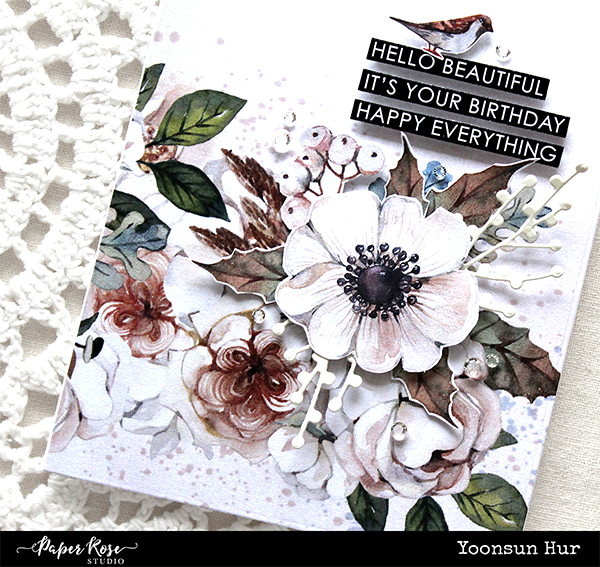

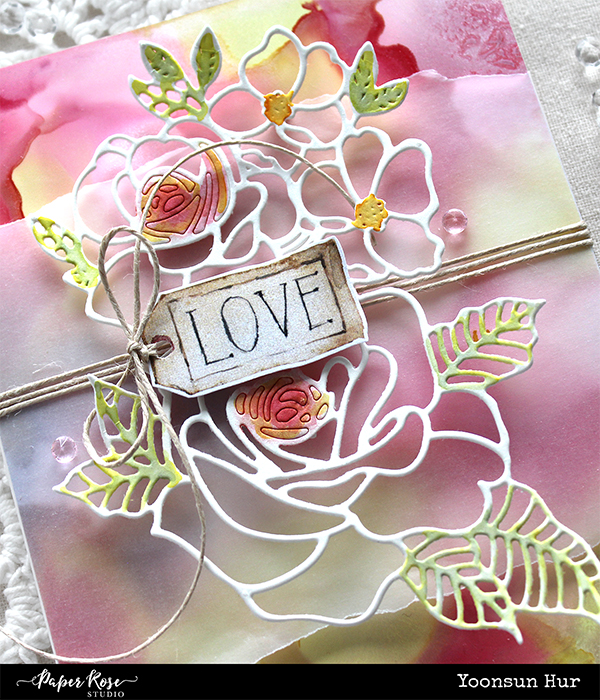
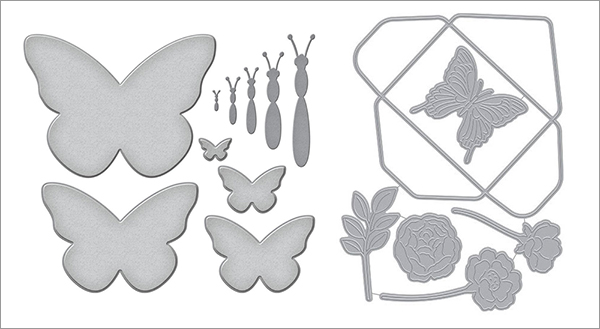
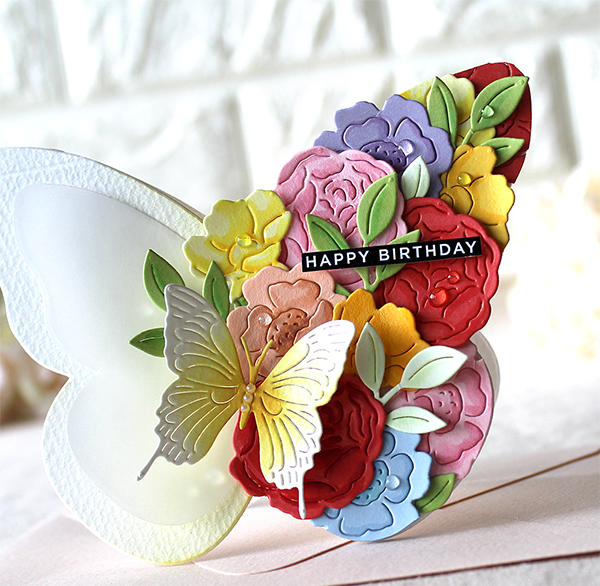
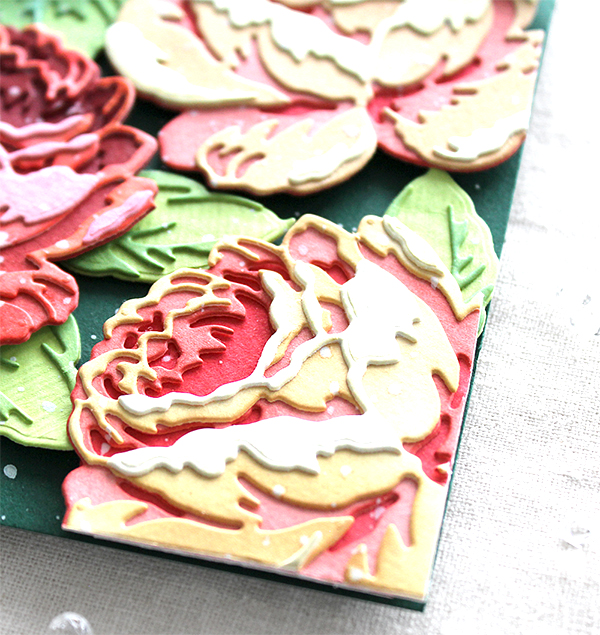
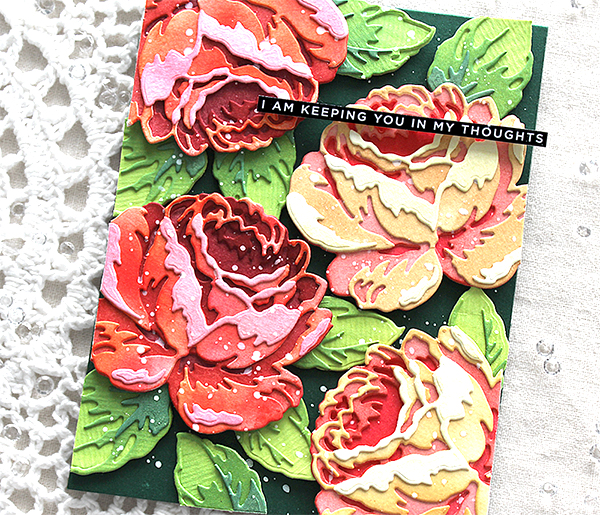
For the second card, I used the Poppy Field F 12×12 Paper along with the Ella’s Garden Scribble Roses die set. I cut the floral pattern paper, the front has flowers and the back has leaves, into rectangular shapes, and then mounted them on the white card base as shown in the picture. I then added one leaf & black sentiment banner to the centre of the card.

For my last card today, I fussy cut the flowers in the Poppy Field F 12×12 Paper, and then adhered them on the white paper panel using foam tape. I then added the metallic gold “hugs” sentiment on the floral patterned panel. Oh, I LOVE the Poppy Field F 12×12 Paper!!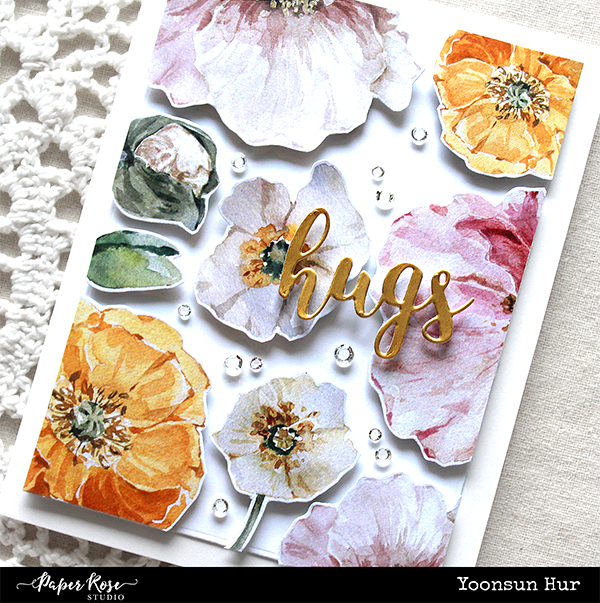
Thank you so much for stopping by. Have a great day.
Keep smiling and be blessed! God bless you all!
Love Love Love RejoicingCrafts