Hello crafty friends! I hope you had a magical Christmas with your family and friends!!
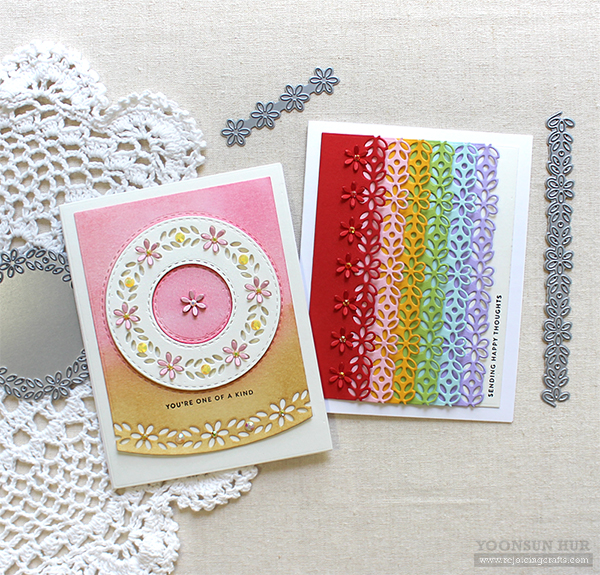
Today I have a couple of simple & feminine cards with the Bixby Wreath, Arch, Border Dies.
 To create the card, I die cut a 3.75″ x 5″ rectangle panel from white card stock using the Basic Rectangles die first, and then die cut the Bixby Wreath from the centre of the rectangle panel as well. I then made a stitched floral circle panel using the Stitched Circles dies.
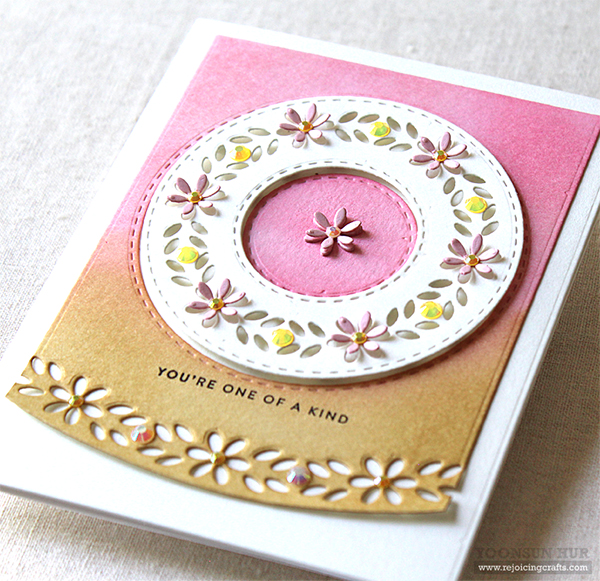 I ink blended the negative panels with Tattered Rose & Scattered Straw Distress inks, then trimmed the bottom of the inked panel using the Bixby Arch die. I die cut several tiny flowers from Cotton Candy card stock using the Bixby Arch die, then adhered them over the circle floral panel using fine tip glue pen.

 For the sentiment, I used the Tiny Words stamp set.
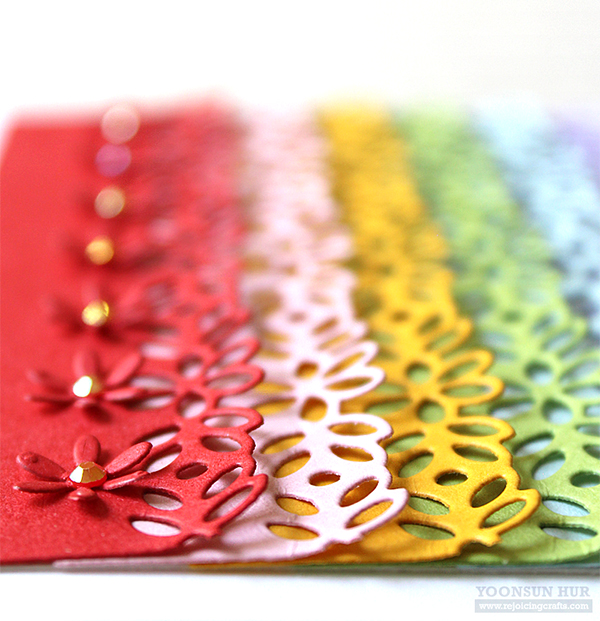
 For the second card, I used the Bixby Border die along with the Tiny Words stamp set. I die cut 3.75″ x 5″ rectangle panels from several coloured card stocks using the Basic Rectangles dies: Lipstick Red, Cotton Candy, Sunshine, Green Apple, Sea Glass, Lavender card stocks. Next, I die cut the Bixby Borders from these coloured panels, and then adhered all of the Bixby Borders as shown in the picture.
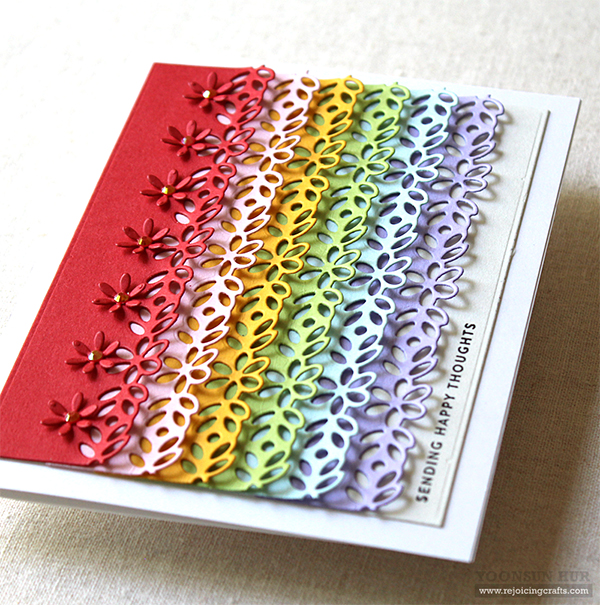 I added tiny red flowers on the left side of the panel. :D
Thank you so much for stopping by. Have a wonderful day!
Keep smiling and be blessed! God bless you all!
Love Love Love RejoicingCrafts
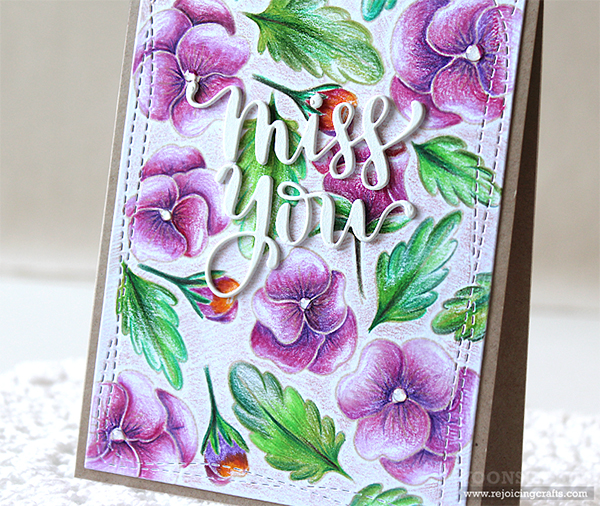
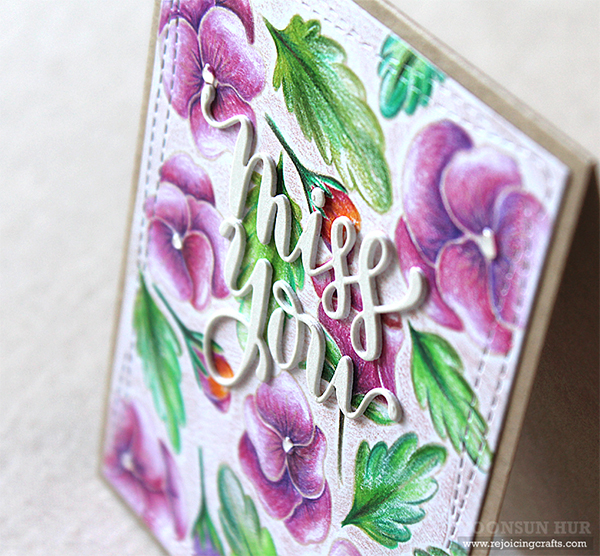
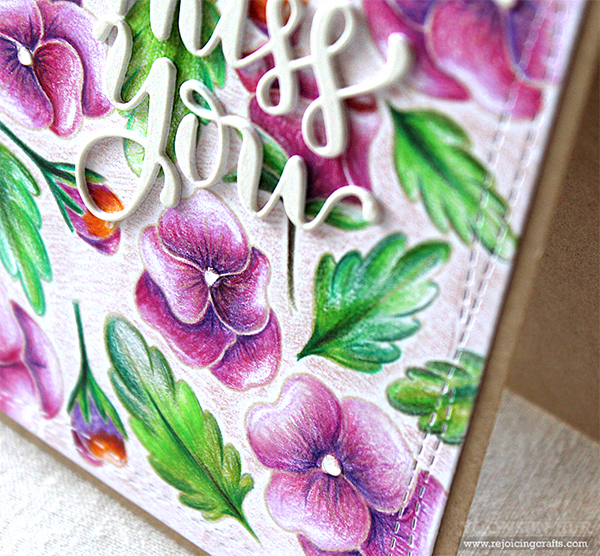
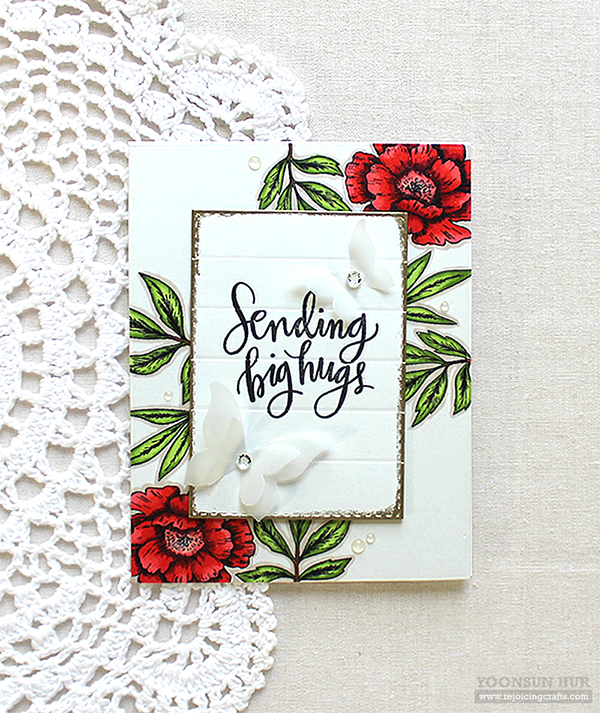
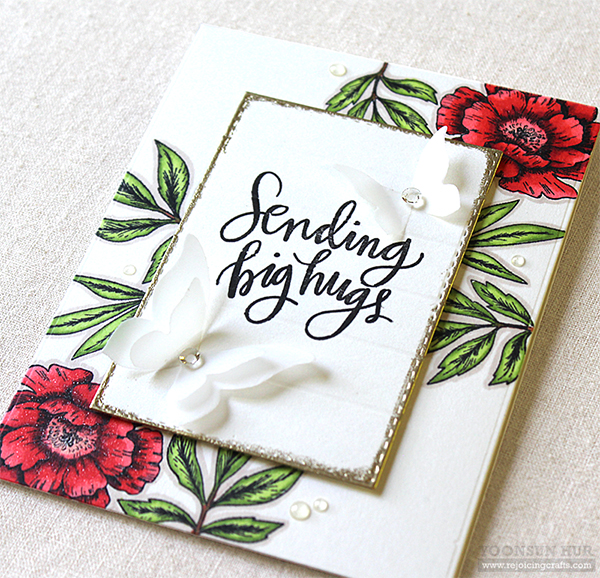
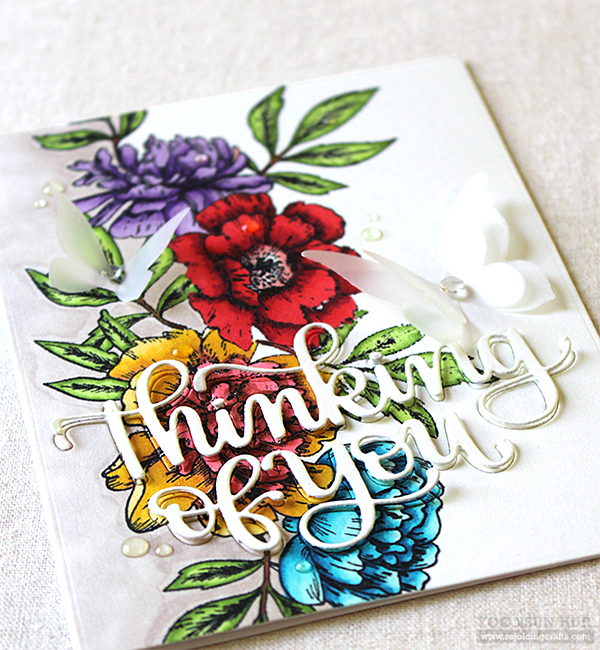
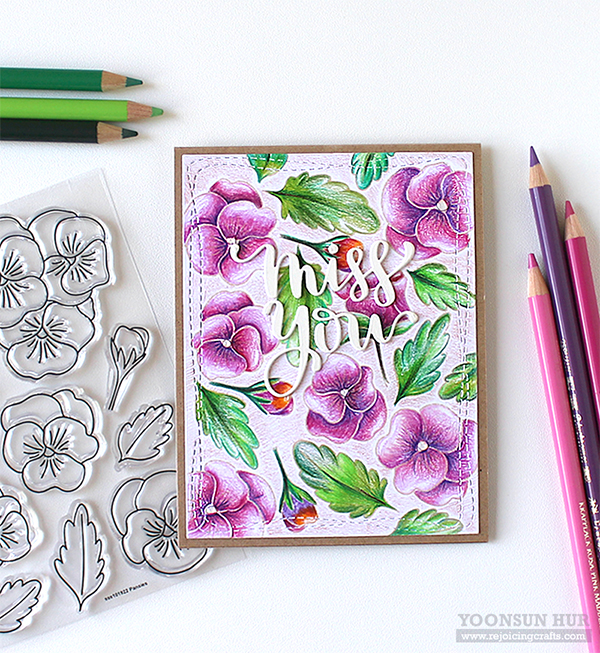
 I started by stamping flowers & leaves from the
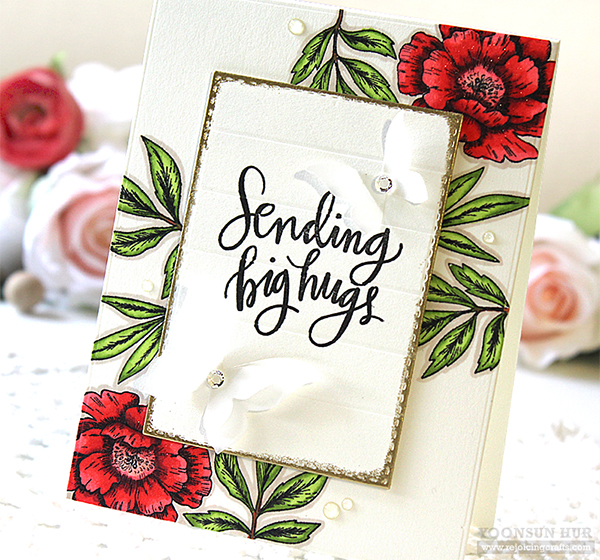
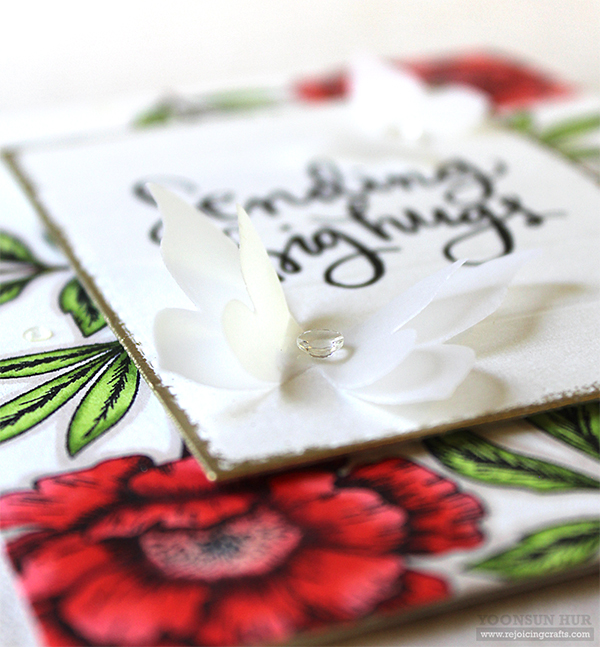
 For the sentiment panel, I die cut 2.6 x 3.85 inches of stitched rectangle panel from cream card stock using the
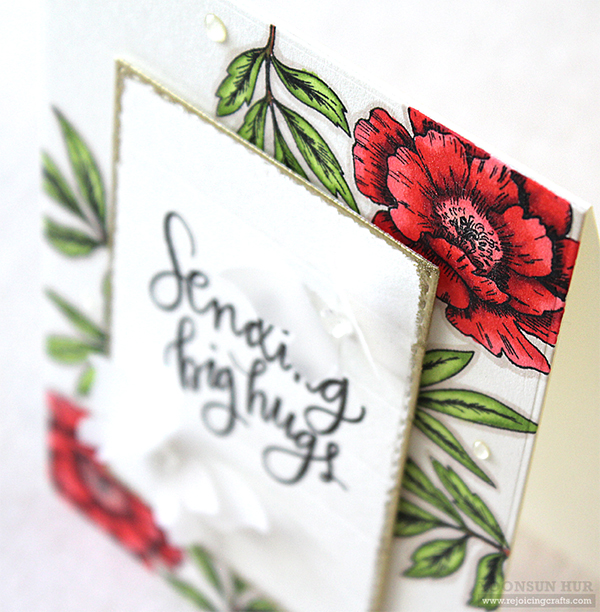
 I mounted the floral panel on the same coloured cream card base using
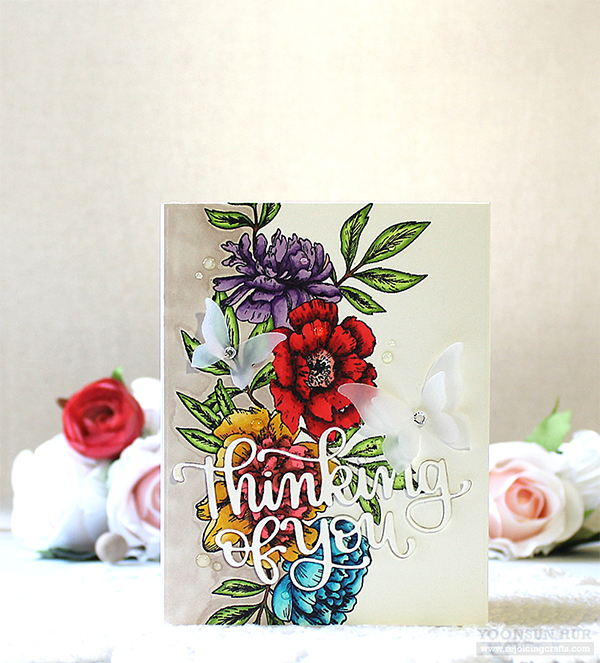 Here is another floral cards with the
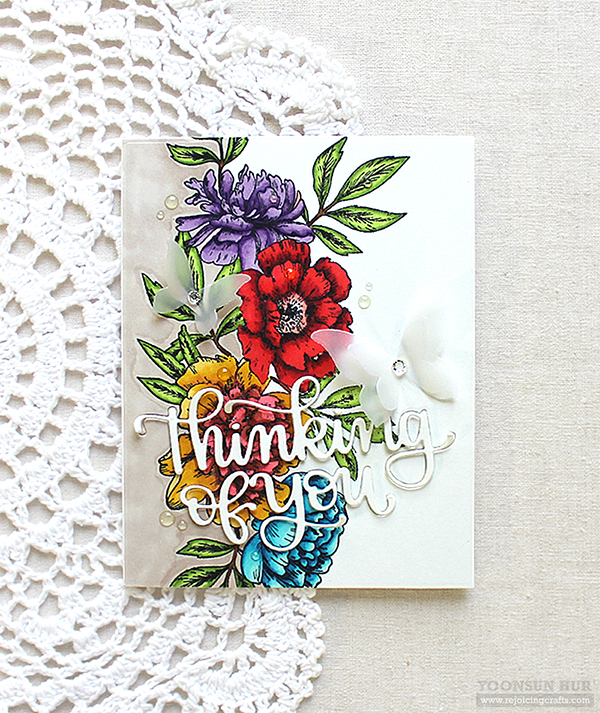 For the sentiment, I used brand new “




 For my first card, I used the
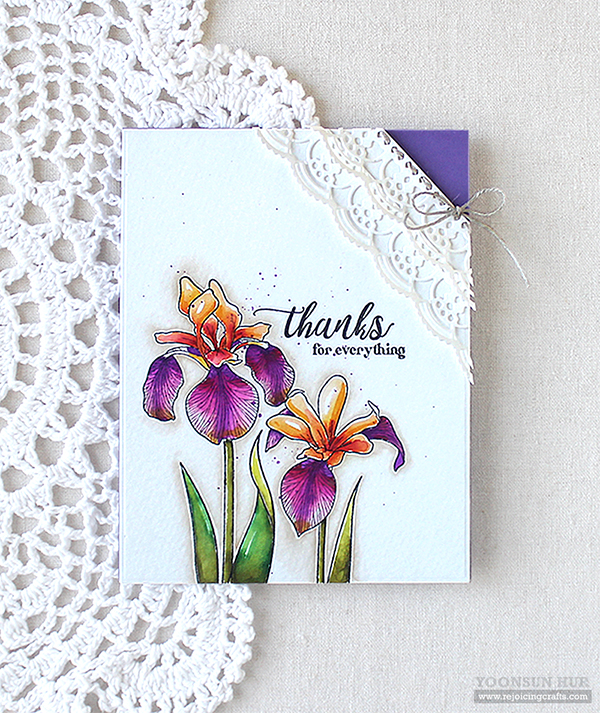
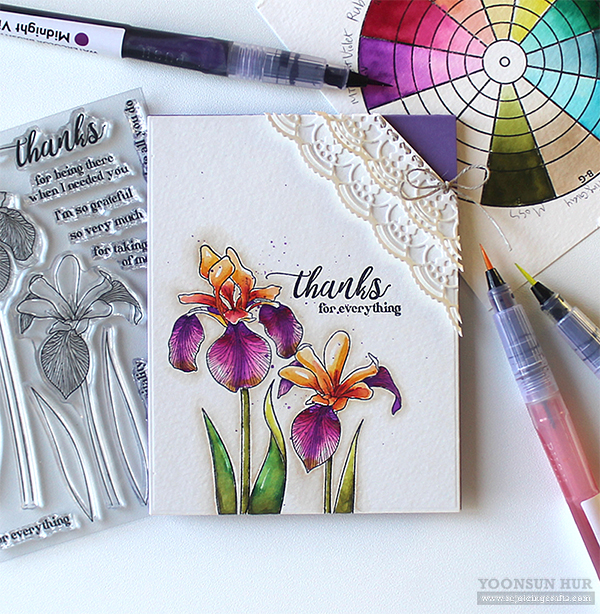 At the top right corner, I decorated it with the

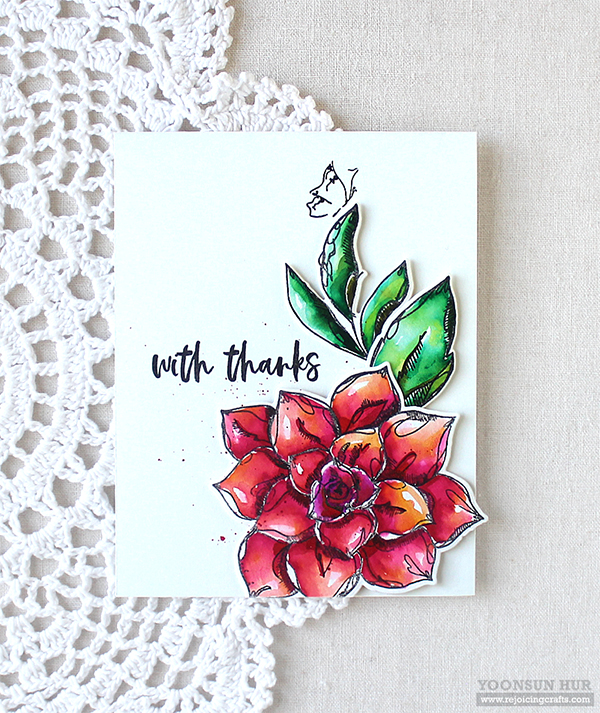 For the second card, I used the
 I die cut the watercoloured flower & leaves using the
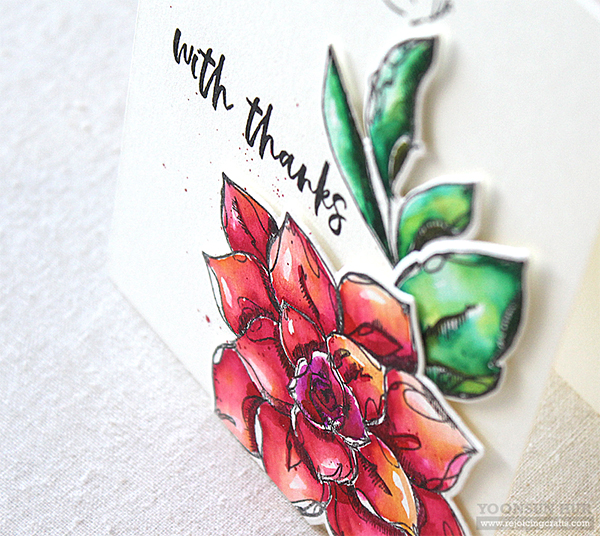

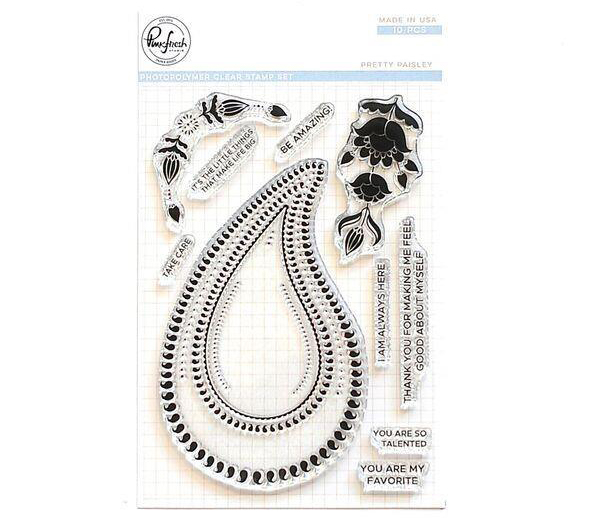

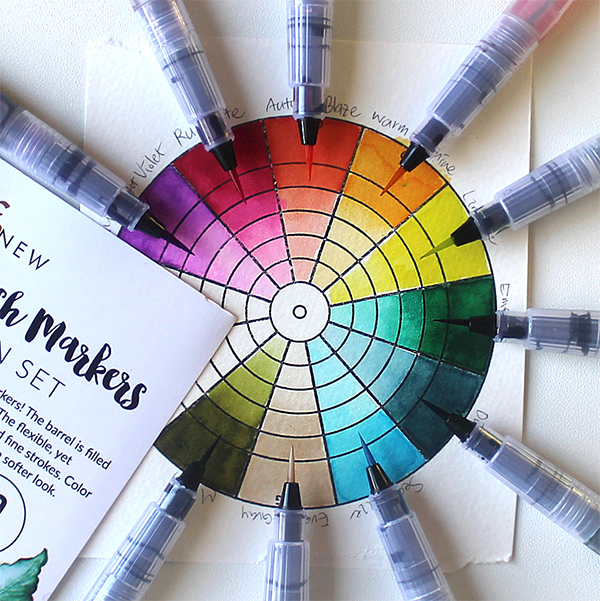
 For my first card, I created a watercolour card with the
 I die cut the
 For the sentiment, I die cut the word “