Altenew Watercolor Brush Marker Refills Release Blog Hop + Giveaway

Hello crafty friends, TGIF!
Welcome to the Altenew Watercolor Brush Marker Refills Release Blog Hop. I’m so excited to be a part of this amazing blog hop!! If you arrived here from Virginia Lu’s blog you are on the right track!

Altenew watercolor brush marker refills are really amazing. They are refills but can be used as liquid watercolor paints. I have many other watercolour mediums but undoubtedly I’ll only use them for a while! I seriously LOVE them so much!!

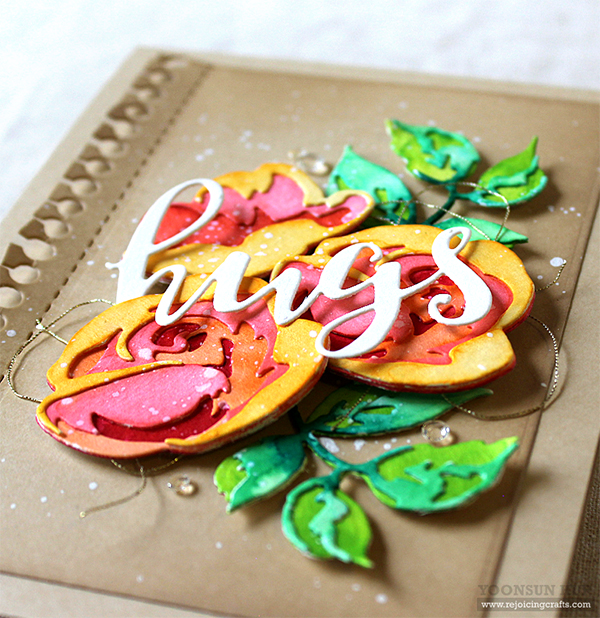
For my first card, I die cut flower petals & leaves from watercolour paper using the Rose Flurries 3D die set first, and then watercoloured them with several Watercolor Brush Marker Refills & water brush.
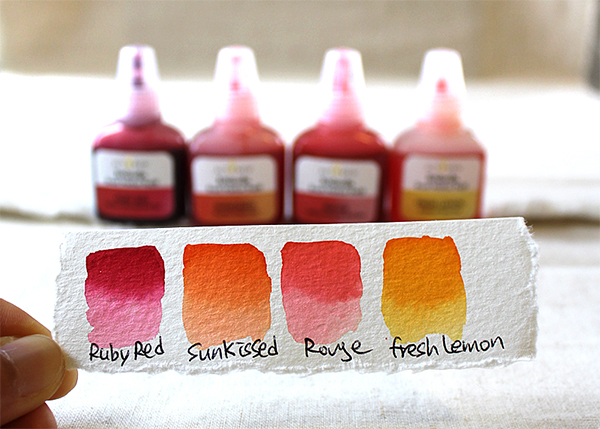
For flower petals, I used Ruby Red, Sunkissed, Rouge and Fresh Lemon.
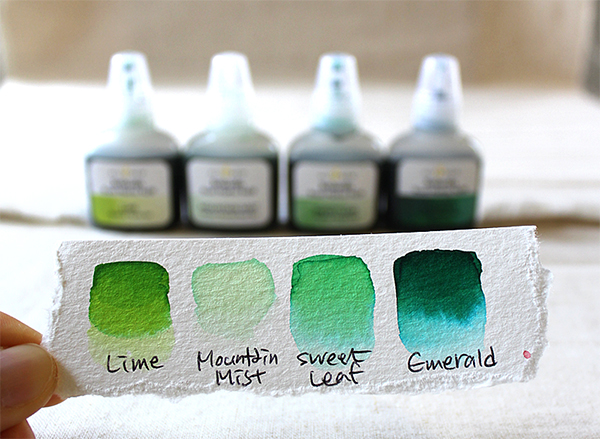
For leaves, I used Lime, Mountain Mist, Sweet Leaf and Emerald.
(**Emerald colour included in this Winter Wonderland set is a different toned Emerald from the one in the Spring Garden set. The Emerald in the Winter Wonderland set is a cool tone of the Emerald colour.)
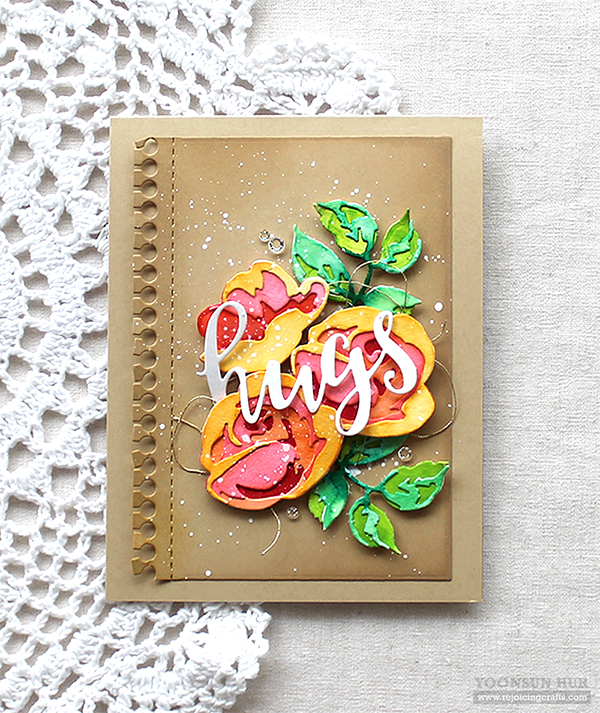
Once all die cuts were dry, I assembled flowers and leaves. For the sentiment, I die cut the word “Hugs” from white card stock using the Script Words die set.
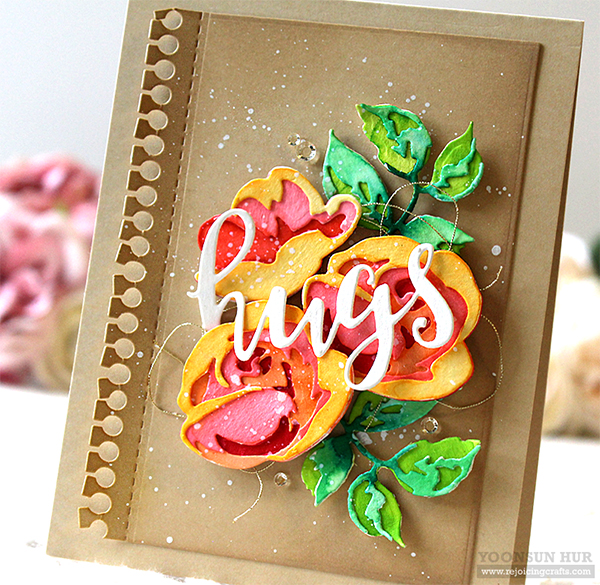
I trimmed the left side of kraft rectangle panel down using the Creative Edges: Notebook die, then inked all edges with Rocky Shore dye ink. I mounted all elements as shown in the picture using foam tape, then added opaque white ink splatters using Pure White ink spray.
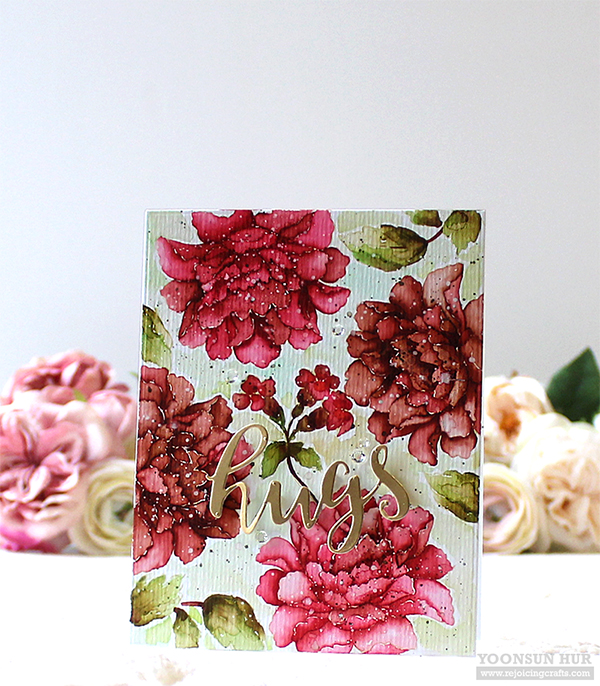
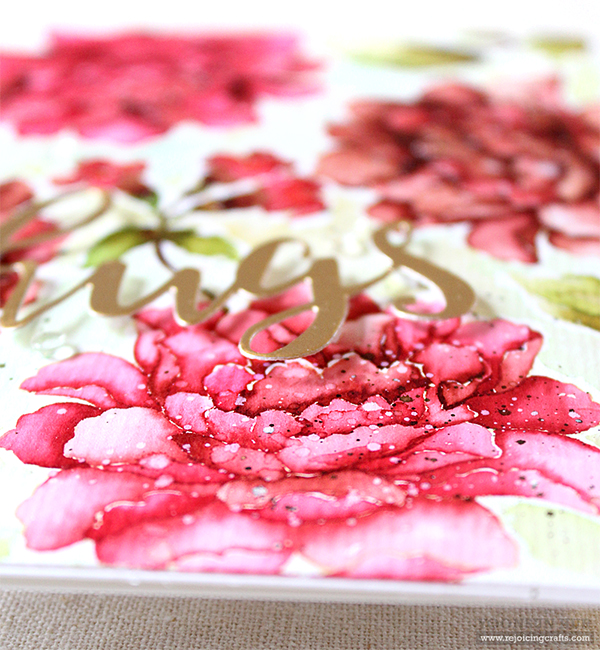
For my second card, I made no-line watercoloured floral background with the Build-A-Flower: Coral Charm set.
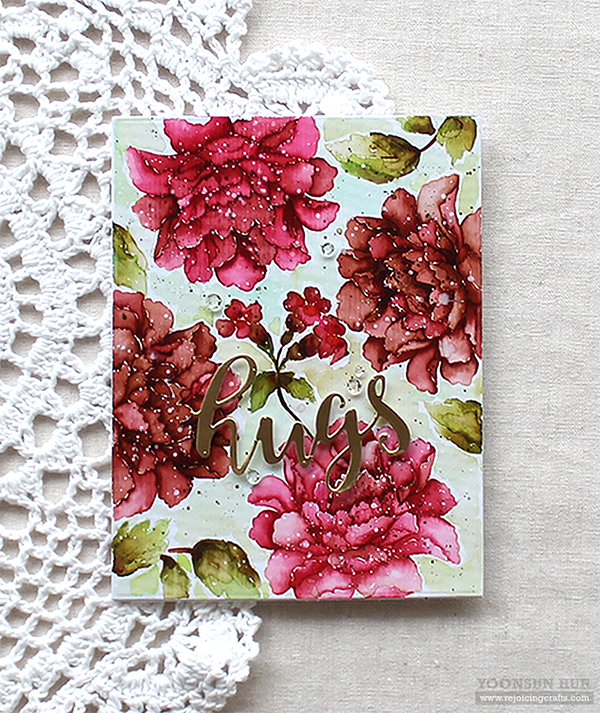
I randomly stamped flowers & leaves onto watercolour paper panel using Sand Dunes dye ink. I then watercoloured all stamped images with Watercolor Brush Marker Refills:
Red flowers: mixed with Ruby Red and Paper Bag
Brown flowers: mixed with Paper Bag, Rouge and Espresso
Leaves: mixed with Sweet Leaf and Espresso
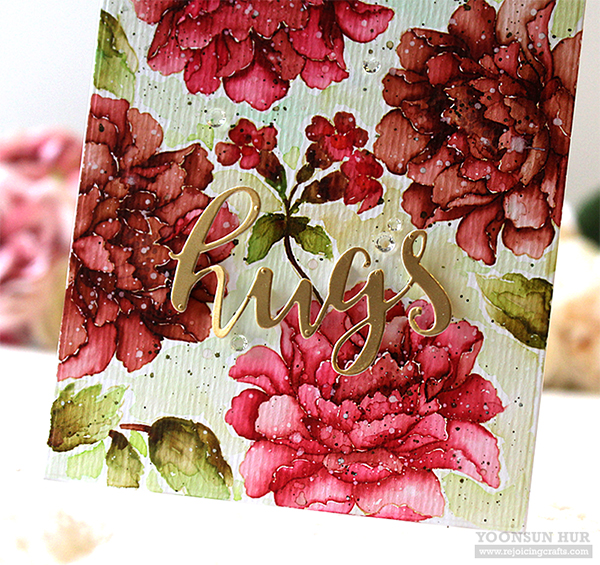
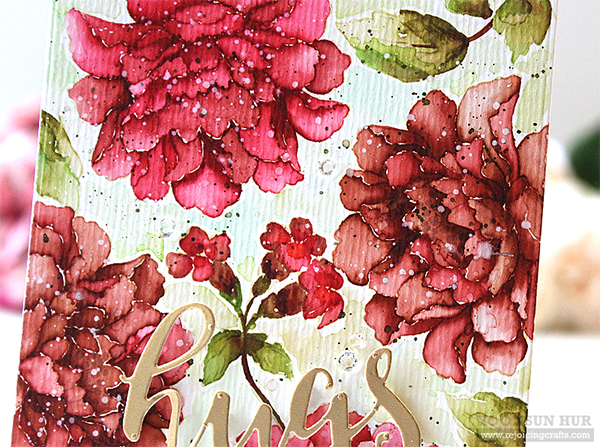
I added green, brown, opaque white ink splatters to the entire panel.
SPECIAL PROMOTION!
Enjoy $50 OFF the Watercolor Marker Ultimate Bundle from 9/20/2019 at 12:01 AM EDT until 9/21/2019 at 11:59 PM EDT. No code needed to enjoy this deal! Not valid on previous purchases. While supplies last. Click HERE to shop!

GIVEAWAY 1!
To celebrate this release, Altenew is giving away a $30 gift certificate to 6 lucky winners! Please leave a comment on the Altenew Card Blog and/or Altenew Scrapbook Blog by 9/25/2019 for a chance to win.

GIVEAWAY 2!
I’m also giving away a $15 gift certificate to one lucky winner! Please leave a comment on this blog post by 9/23/2019 for a chance to win. I’ll announce the winner in this post on Tuesday, September 24th.

BLOG HOP LIST:
Altenew Card Blog
Norine Borys
Emily Midgett
Therese Calvird
The Hedgehog Hollow
Nathalie DeSousa
Lydia Fiedler
Virginia Lu
Yoonsun Hur (Me!!)
Altenew Scrapbook Blog
LauraJane
Maryam Perez
Svitlana Shayevich
Laurie Willison
Lilith Eeckels
Sveta Fotinia
Jen Schow
Agnieszka Malyszek
Janette Kausen
Kymona Tracey
Jaycee Gaspar

Thank you so much for stopping by. Have a wonderful weekend!

Keep smiling and be blessed! God bless you all!
Love Love Love RejoicingCrafts


https://linkdeli.com/widget.js?1559654439292

SSS STAMPtember® Winter Floral Christmas Cards

Hello crafty friends, happy Wednesday!
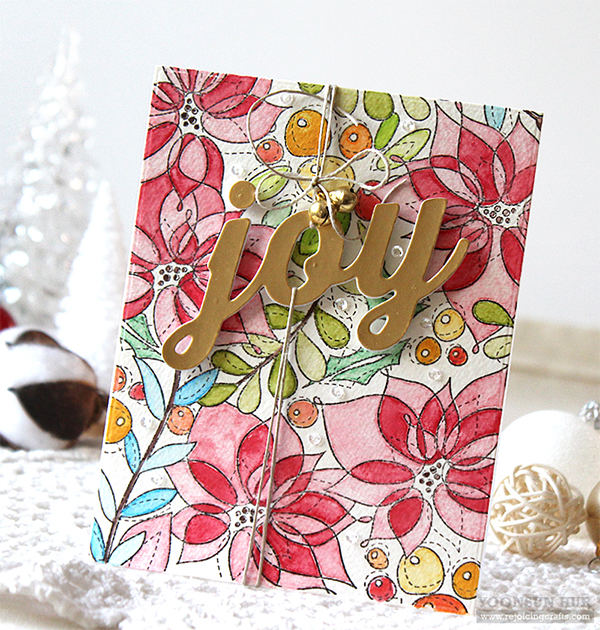
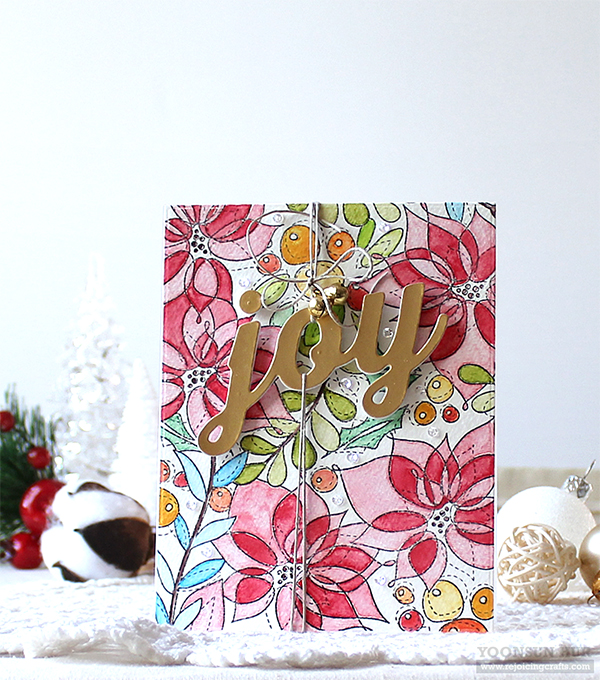
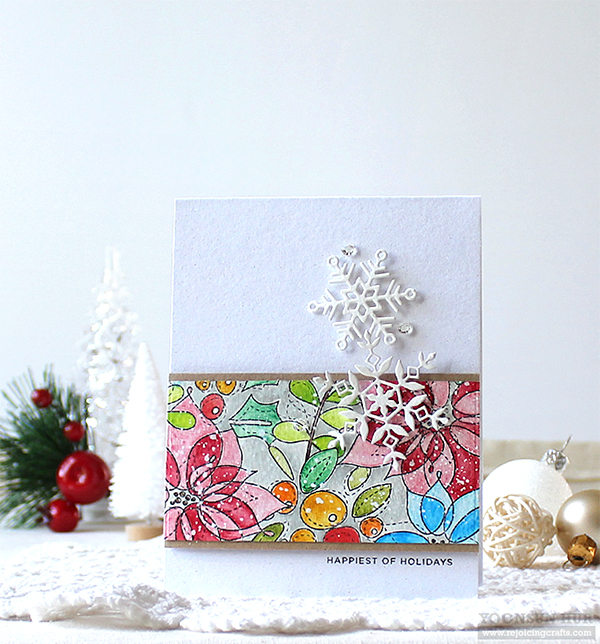
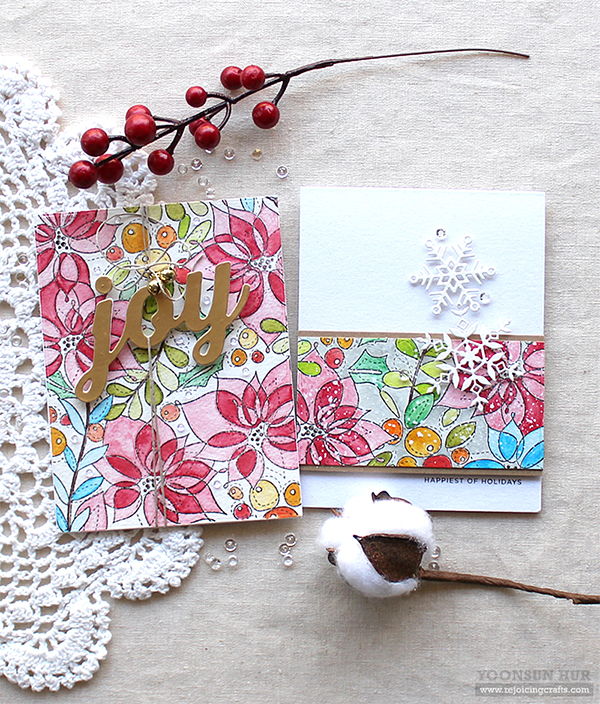
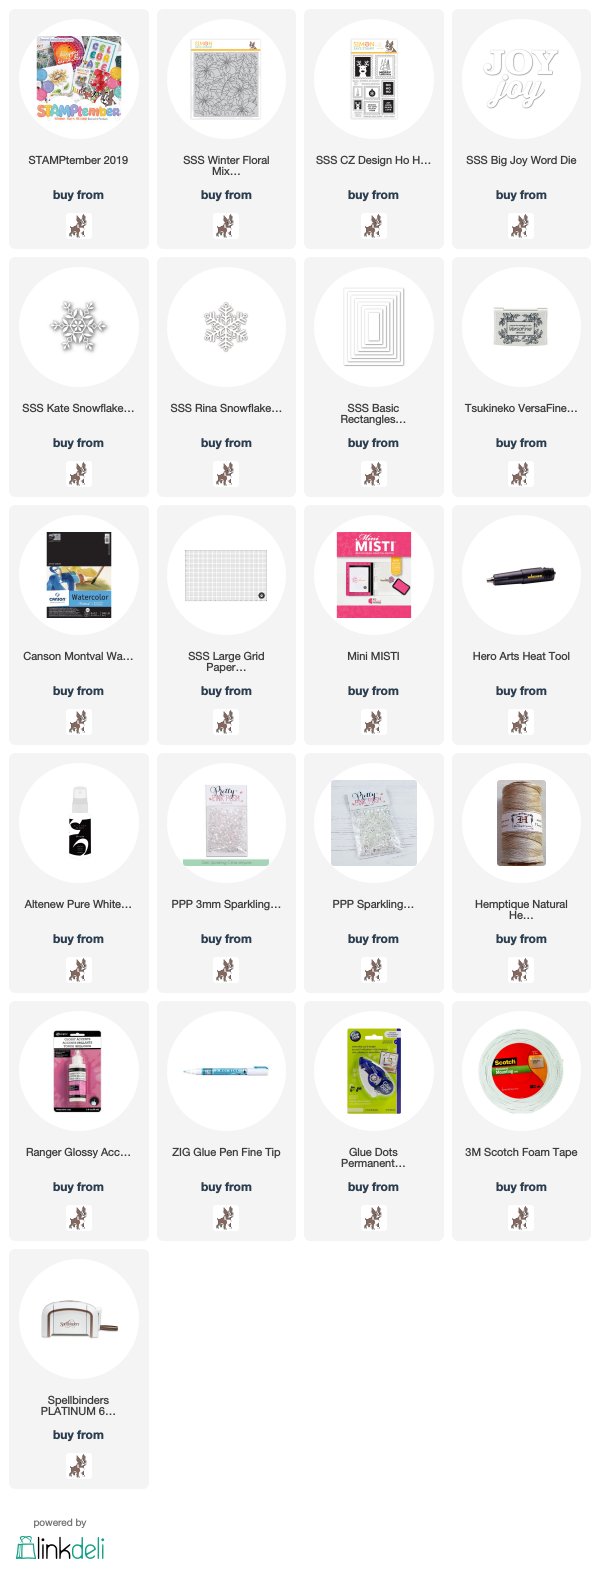
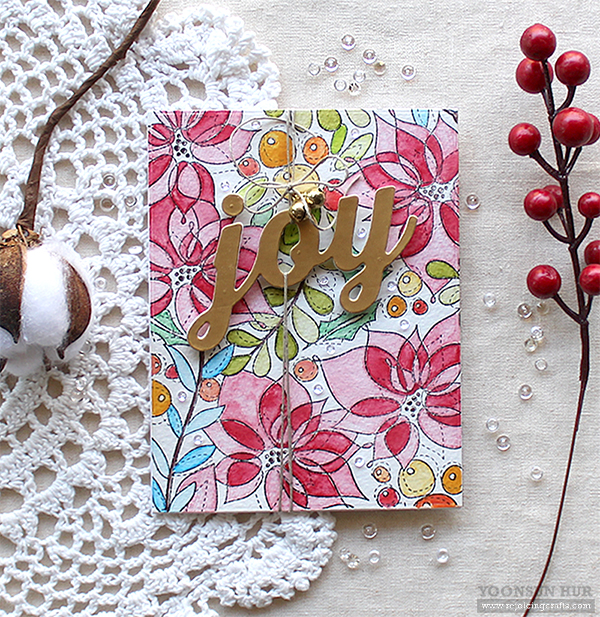
Today I have a couple of cheerful Christmas cards using the Winter Floral Mix Background stamp along with other Simon products.
To create the card, I stamped the Winter Floral Mix Background onto watercolour paper using VersaFine Onyx Black first, and then trimmed the stamped paper down with 4.25″ x 5.5″ Basic Rectangle Panel die.
I coloured all stamped images with watercolour pencils. For poinsettias, I coloured lighter one leaf and darker another leaf one by one with just one red watercolour pencil. I used Derwent watercolour pencils. I then added water to all watercolour penciled images using a wet paint brush.
For the sentiment, I die cut the Big Joy Word from metallic gold card stock one time & white card stock 4 times, then stacked them up using fine tip glue pen. I decorated the card with natural hemp cord & jingle bells.

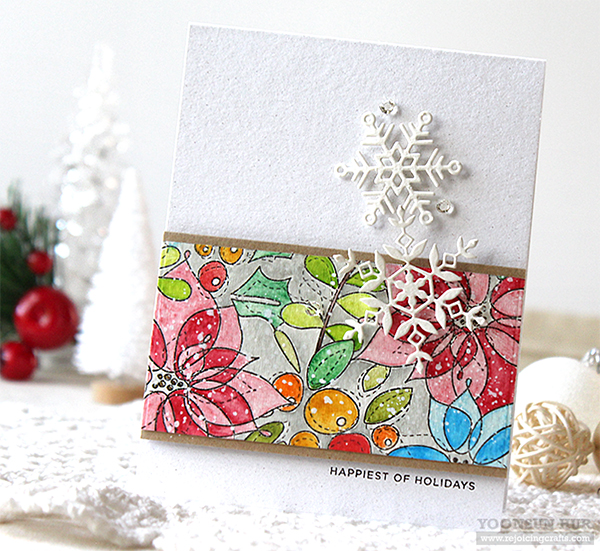
Here is another card with the Winter Floral Mix Background stamp.
I stamped & watercoloured the floral images, then added opaque white ink splatters. For the sentiment, I used “Happiest of Holidays” in the CZ Design Ho Ho Postage stamp set.
I added beautiful snowflakes onto the card front – I used the Kate & Rina Snowflake dies.

Making Christmas cards are always so fun and feel very cozy!! I love it so much. :D

MY STAMPTEMBER® SUMMARY
01. Happy STAMPtember® 10 Year Anniversary!
02. STAMPtember® Party!
03. Leafy Thinking of You Cards
04. Poinsettia Christmas Card

Thank you so much for stopping by. Have a great day!

Keep smiling and be blessed! God bless you all!
Love Love Love RejoicingCrafts


https://linkdeli.com/widget.js?1559654439292

Inlovearts Lace Bird Flower

Hello crafty friends!
Today I’m happy to share my encouragement card using Lace Bird Flower & 3D/Pop Up Flower Dies by Inlovearts stamp company. The Lace Bird Flower is quite large sized die, also so elegant & beautiful.
I started by die cutting Lace Bird Flower from watercolour paper. I then blended some Distress inks onto the Lace Bird Flower die cut. I used Wild Honey, Crushed Olive, Mowed Lawn and Picked Raspberry Distress inks.
For those tiny 3d flowers, I die cut 3D/Pop Up Flower from watercolour paper, assembled the flowers with double-sided tape, and then inked all edges of the petals with Distress inks.
Before mounting the floral bird & tiny flowers, I ink blended some Distress inks onto the bottom of the card front – I used Crushed Olive, Wild Honey and Picked Raspberry.
For the sentiment, I used the Simon Says Stamp Tiny Words stamp set. I added some PPP clear jewels here and there.

Thank you so much for stopping by. Have a wonderful day!

Keep smiling and be blessed! God bless you all!
Love Love Love RejoicingCrafts


https://linkdeli.com/widget.js?1559654439292

SSS STAMPtember® Poinsettia Christmas Card

Happy weekend, crafty friends!
Today I want to share with you my watercoloured Christmas card using beautiful Poinsettia Background stamp. It is officially my first Christmas card of the year!
The new STAMPtember Poinsettia Background Stamp is a very elegant look. We can make beautiful and traditional Christmas cards with it.
I started by stamping Poinsettia Background onto watercolour paper using VersaFine Onyx Black. I then trimmed the stamped paper down using the 4.25″ x 5.5″ Basic Rectangle Panel die. I coloured the stamped images with Altenew Watercolor 36 Pan Set.
Red and green are traditional colours for Christmas. I love using this classic colour combo during Christmas season! I think you’re probably the same as me!

Once the watercoloured panel was dry, I used the Stitched Circle die to cut, twice with two different sizes, in the centre of the panel, and then mounted them as shown in the picture on white card base using foam tape. I added opaque white ink splatters using Altenew Pure White Ink Spray.
For the sentiment, I used the CZ Design Joyful dies. I die cut the word “joyful” from Dark Chocolate card stock, shadow from Cream card stock.
Christmas… just the thought of it makes me very happy. :D

MY STAMPTEMBER® SUMMARY

01. Happy SSS STAMPtember® 10 Year Anniversary!
02. STAMPtember® Party!
03. Leafy Thinking of You Cards

Thank you so much for stopping by. Have a wonderful weekend!

Keep smiling and be blessed! God bless you all!
Love Love Love RejoicingCrafts

https://linkdeli.com/widget.js?1559654439292

SSS STAMPtember® Leafy Thinking of You Cards

Happy STAMPtember, crafty friends!!
I think I am gonna be talking about “Happy STAMPtember” all month, haha! :D

Today I want to share with you a couple of my leafy “Thinking of You” cards using the Eucalyptus Leaves dies along with other STAMPtember products.
For my first card, I used the Eucalyptus Leaves dies and the Tumbling Leaves stencil.
I die cut several Eucalyptus Leaves from watercolour paper first, and then inked on them using green coloured dye inks & Picket Fence Studios blender brush. I used (light to dark) SSS Green Apple, Green Leaf and Evergreen dye inks.
For the background panel, I die cut Wonky Rectangle Panel from Cream card stock first, and then made leafy background using the Tumbling Leaves stencil. For the sentiment, I used the Sending Sympathy stamp set.
For the shadow effect, I cut the centre of the panel using the Eucalyptus Leaves die. I tied all eucalyptus leaves up with natural twine.
Waterdrops on eucalyptus leaves, I used Nuvo Morning Dew Crystal Drops. :)

For my second card, I used the Thinking of You Heart die along with the Eucalyptus Leaves dies.
I die cut several eucalyptus leaves from watercolour paper first, and then also Wonky Rectangle Panel from watercolour paper. I then adhered eucalyptus leaves die cuts on the wonky rectangle panel using ZIG fine tip glue pen. Next, I ink blended on the leafy background panel with some Distress inks: Crushed Olive, Mowed Lawn, Evergreen Bough, Tea Dye and Rusty Hinge.
After ink blending, I added fresh water all over the inked panel using a wet paint brush – it looks like watercoloured panel.
For the sentiment, I die cut the Thinking of You Heart from white card stock, heart shaped shadow from vellum paper, then glued them together using fine tip glue pen. The dot above ‘i’, I used clear jewel instead of paper.
I decorated the sentiment panel with lightly watercoloured eucalyptus leaves.

MY STAMPTEMBER® SUMMARY
01. Happy SSS STAMPtember® 10 Year Anniversary!
02. STAMPtember® Party!

Thank you so much for stopping by. Have a wonderful day!

Keep smiling and be blessed! God bless you all!
Love Love Love RejoicingCrafts


https://linkdeli.com/widget.js?1559654439292