Hello crafty friends, happy Saturday!
Welcome to Day 2 of the Simon Says Stamp Hey Bestie and Love You More Release Blog Hop! If you arrived here from super talented Yana Smakula’s blog you are on the right track!
 Simon Says Stamp is undoubtedly a powerful stamp company that doesn’t require any introduction and these two (Hey Bestie & Love You More) released products are super awesome as always. I’m so happy and honoured to be a part of this amazing blog hop!
 For my first card, I am featuring the new CZ Design Big Ampersand die along with the other Simon’s products. I started by making my own background panel with the You Are background stamp. I die cut a 4.25 x 5.5″ rectangle panel from thick white cardstock using the Basic Rectangles die set, stamped the text from the You Are background stamp with Tattered Rose Distress ink, and then blended some part of the panel with Tattered Rose & Worn Lipstick Distress inks.
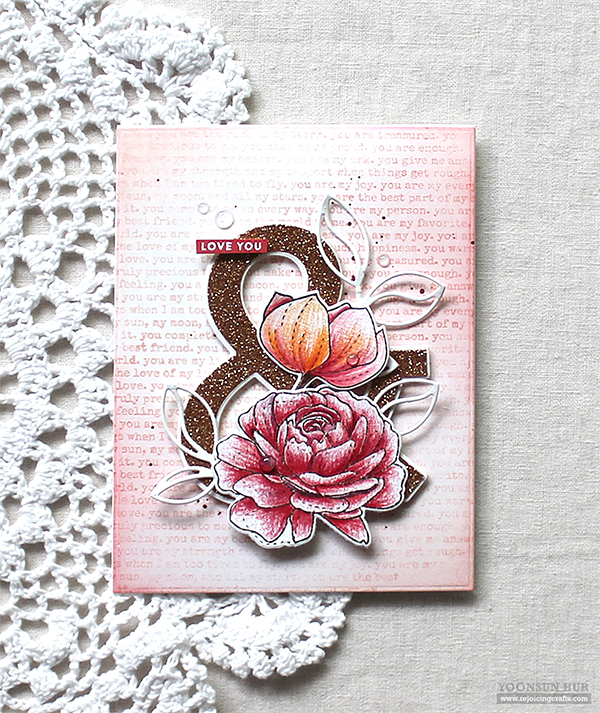 For this floral Ampersand, I die cut the Big Ampersand from Tonic Welsh Gold Glitter cardstock, shadow from thick white cardstock, then glue them together. I stamped & polychromos coloured flowers (from More Spring Flowers & Even More Spring Flowers sets) and then die cut them with the matching dies. For the white leaves, I used the Detailed Leaf Cluster die. I adhered all elements as shown in the picture using foam tape.
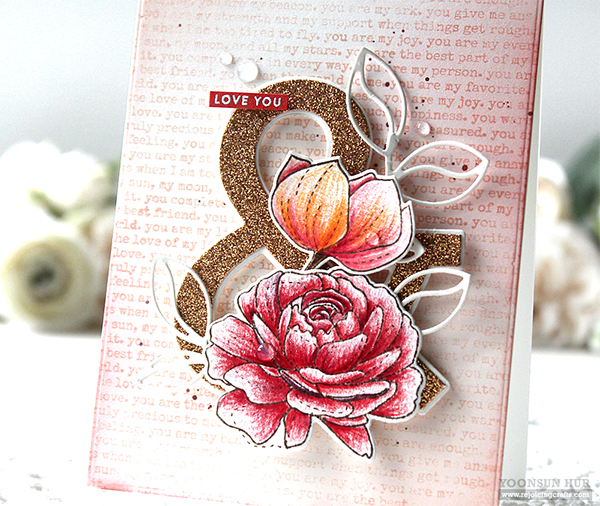 For the tiny “LOVE YOU” sentiment, I used the Tiny Words stamp set – I white heat embossed it onto the Lipstick Red cardstock.

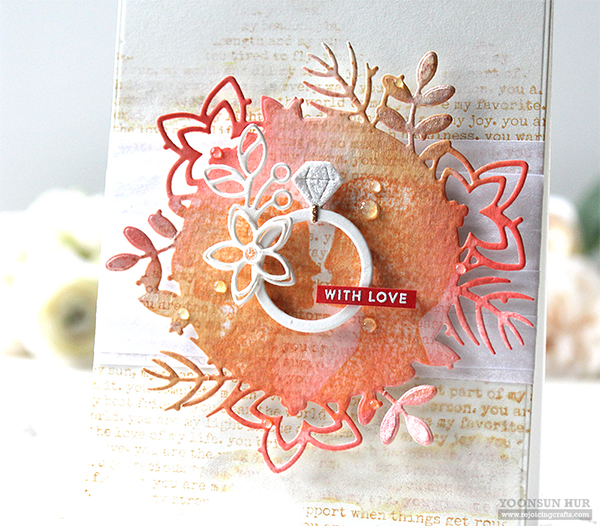
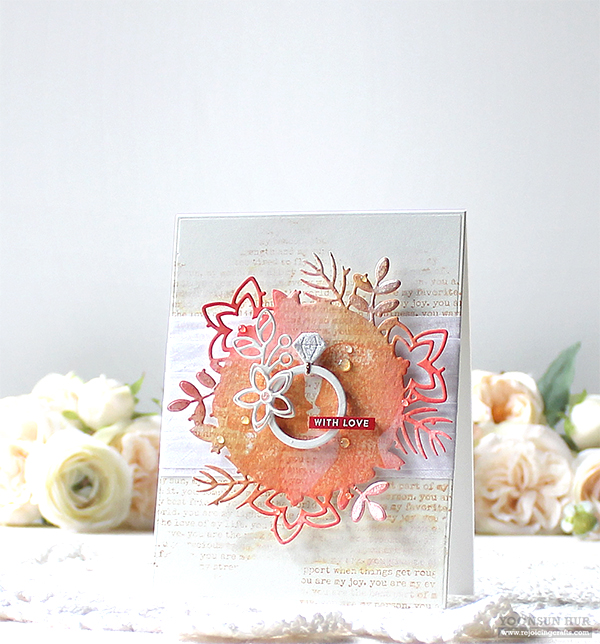 For my second card, I’m featuring the Wedding Rings dies along with other Simon’s products. I die cut the Winter Foliage Frame from watercolour paper, stamped the text from the You Are background stamp using Tea Dye Distress ink, then blended it with Tea Dye & Worn Lipstick Distress inks.
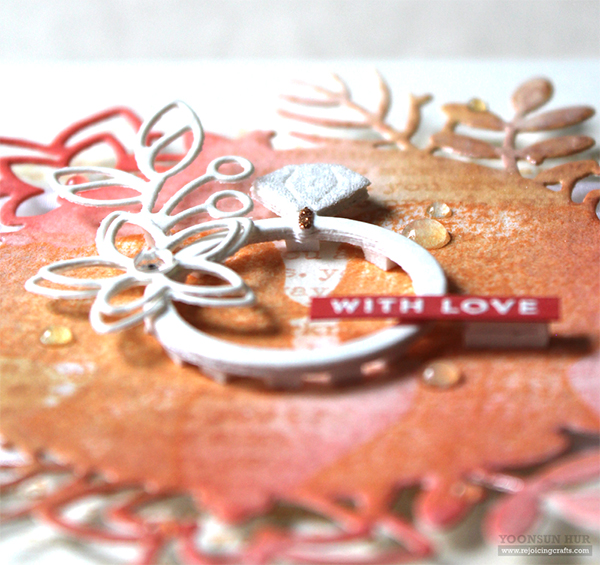
 I die cut the bride’s wedding ring from white, glitter gold and glitter white cardstock, and then assembled them together using fine tip glue pen. I decorated the ring with simple outlined flower and red “WITH LOVE” sentiment banner.
 This ring looks real, don’t you think? :D
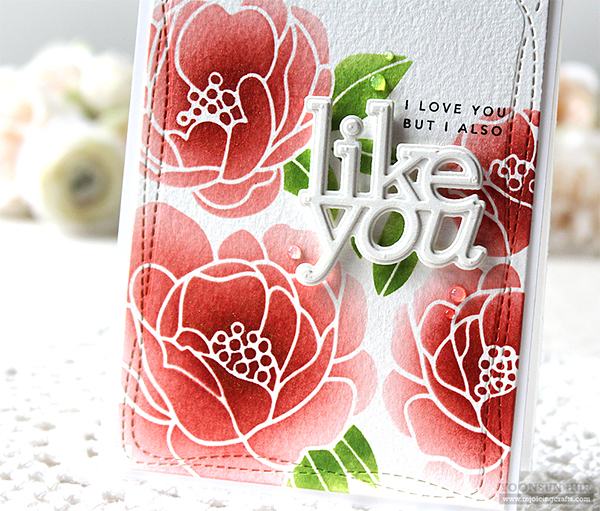
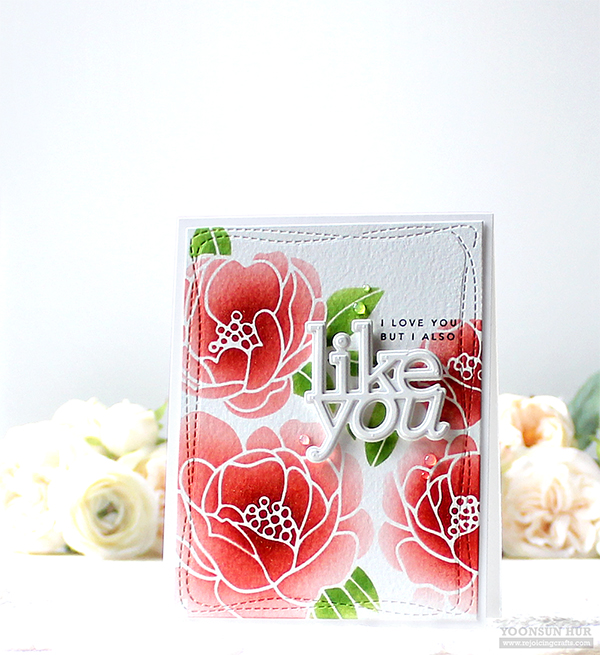 For my last (but not least) blog hop card, I’m featuring the Peony Bouquet stencil and the CZ Design Like You stamp & word die set. These two products are my most favourites among the entire new products, especially the Peony Bouquet stencil is a MUST HAVE!!
 I placed the Peony Bouquet stencil onto watercolour paper panel in place, and then inked Lipstick Red, Green Apple and Green Leaf dye inks using blender brushes. For the sentiment, I stamped it from the Like You Words set in pigment black, die cut the word “Like You” & shadow from white cardstock, glue them together using fine tip glue pen. I added some water drops using Tonic Nuvo Morning Dew Crystal Drops.
GIVEAWAY & SPECIAL PROMOTION!!
Simon Says Stamp is giving away a $25 coupon to every stop on the hop. The winners will be chosen over the weekend and post on Simon Says Stamp blog on Wednesday, the 15th of January. ONE MORE! We have a special promotion for you! Get a FREE Simon Exclusive Friend Outline die (while supplies last!) with the code BFF489 at checkout when you purchase a $50 or more at Simon Says Stamp Store.
BLOG HOP LIST:
Simon Says Stamp Blog
Debby Hughes
Laura Bassen
Yana Smakula
Yoonsun Hur (Me!!)
Amanda Korotkova
Amy Rysavy
Bibi Cameron
Gayatri Murali
Marge Yoon
Vicky Papaioannou
Emma Williams
Crystal Thompson
Preeti Chandran
Thank you so much for stopping by. Have a fabulous weekend!!
Keep smiling and be blessed! God bless you all!
Love Love Love RejoicingCrafts
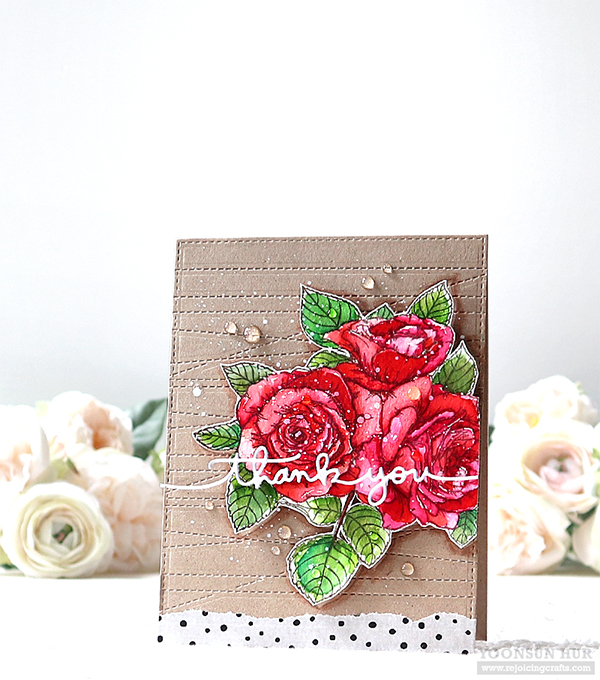
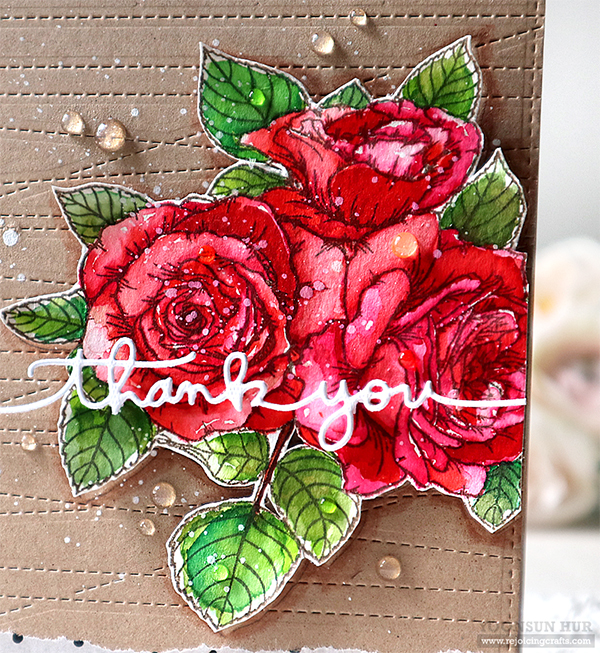
 Let’s start to watercolouring, yay! I stamped a bunch of roses onto watercolour paper using
  Roses:
  Here is a closer look:
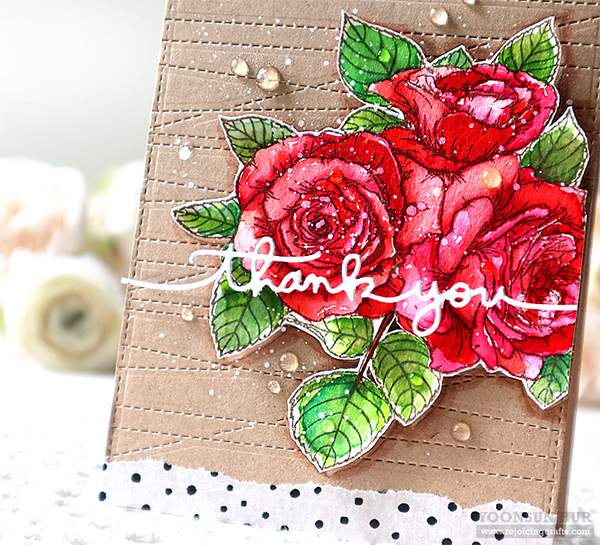
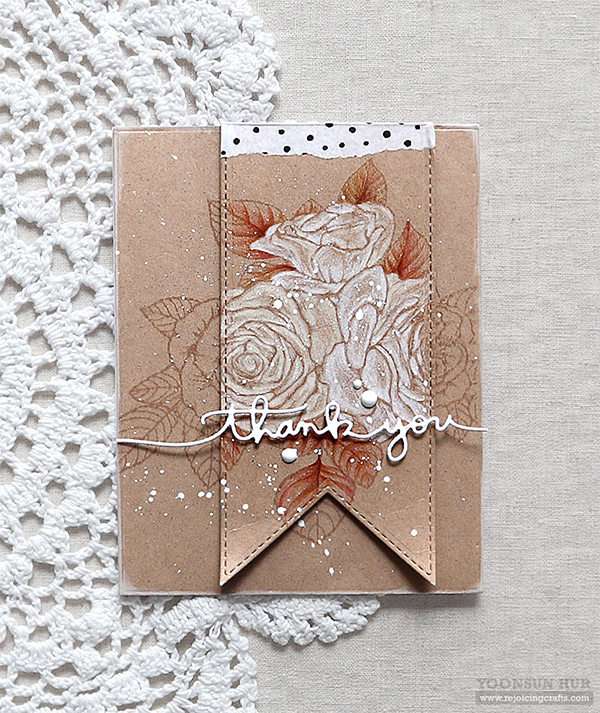 For my second card, I made white roses on kraft card using the
 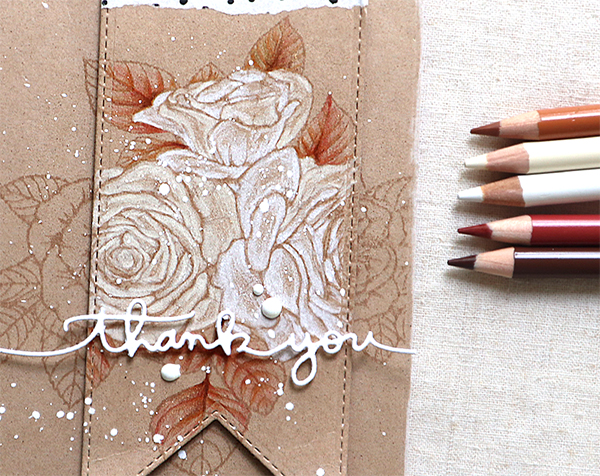 I coloured the stamped image on fishtail banner using
 These large sized leaf dies are PERFECT for watercolouring! (left)
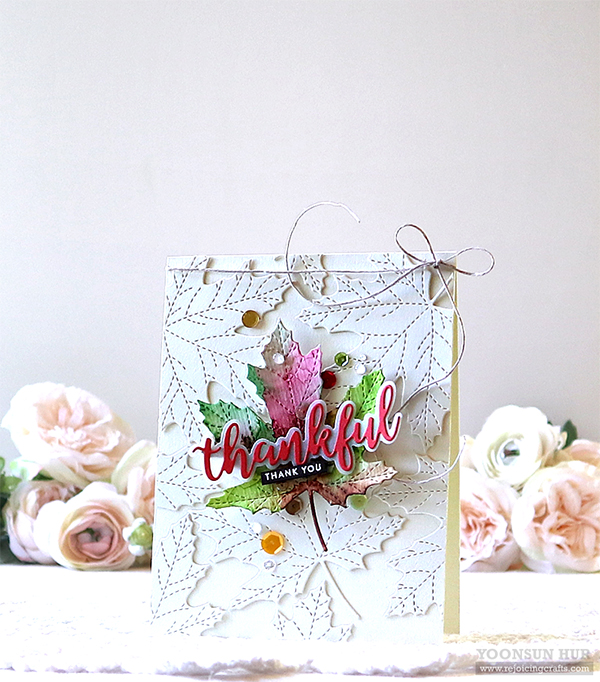
 And this card, I used the
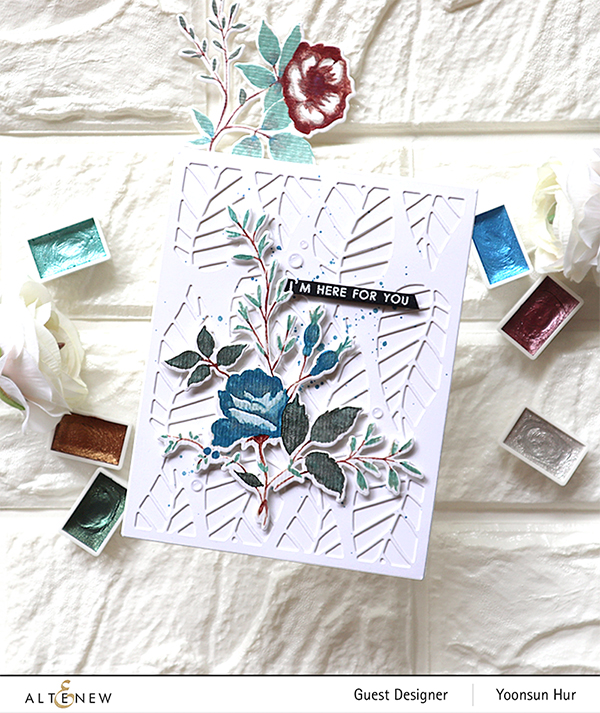
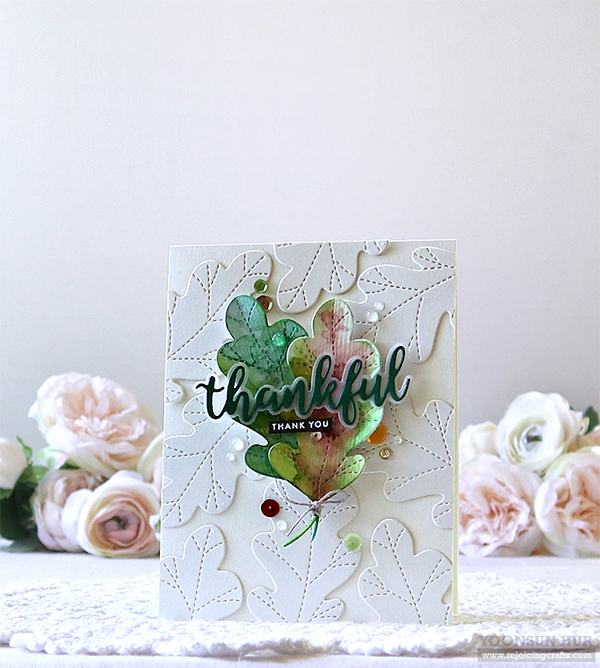
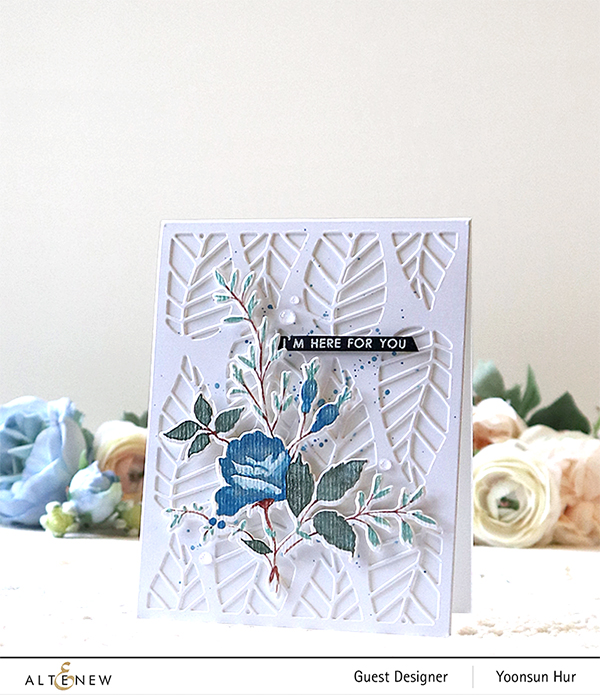
 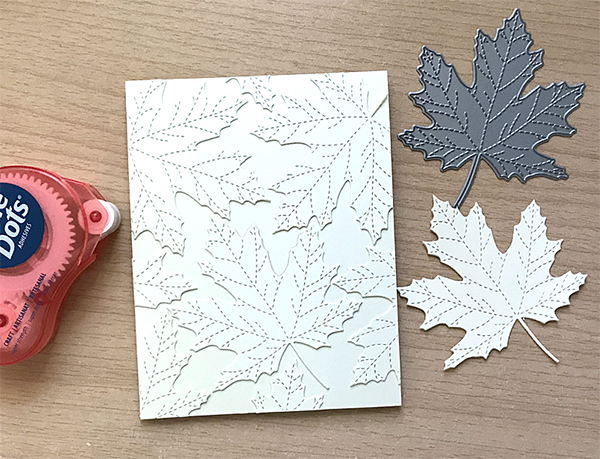 For the background of the card, I made white tone-on-tone leafy patterns. I die cut several stitched leaves from white cardstock, and then randomly adhered them on white card base using double-sided tape (as shown in the picture).
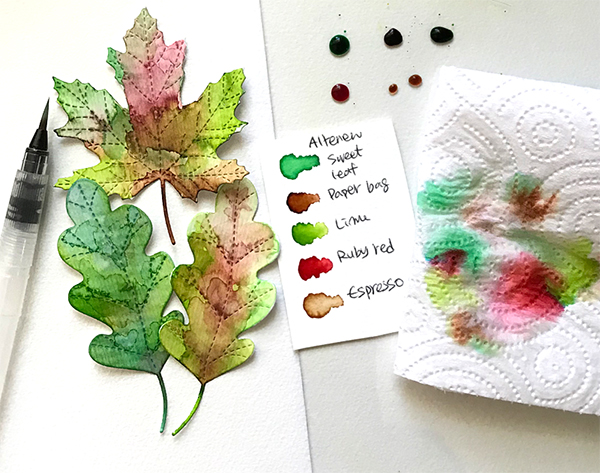 Watercolouring!! I used the Altenew Liquid Watercolours – my most favourite watercolour medium these days. :) I used
 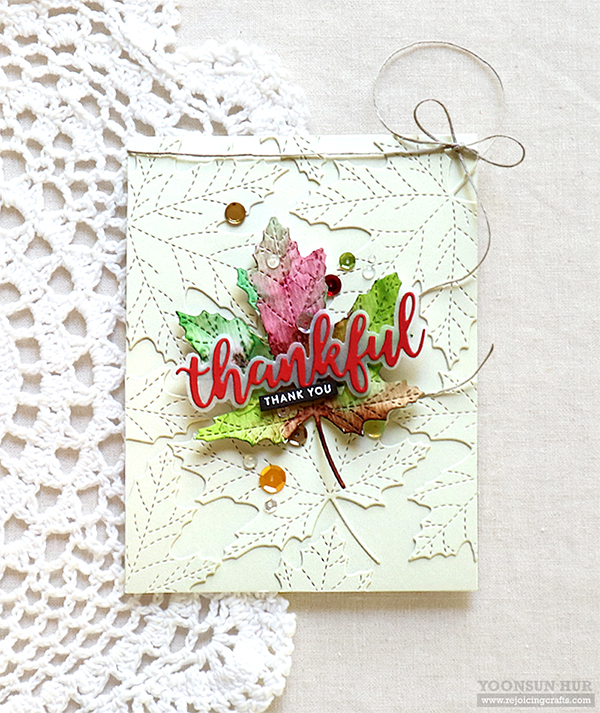 Once the watercoloured maple leaf was dry, I adhered it on the centre of the card using foam tape, and then added the sentiments.
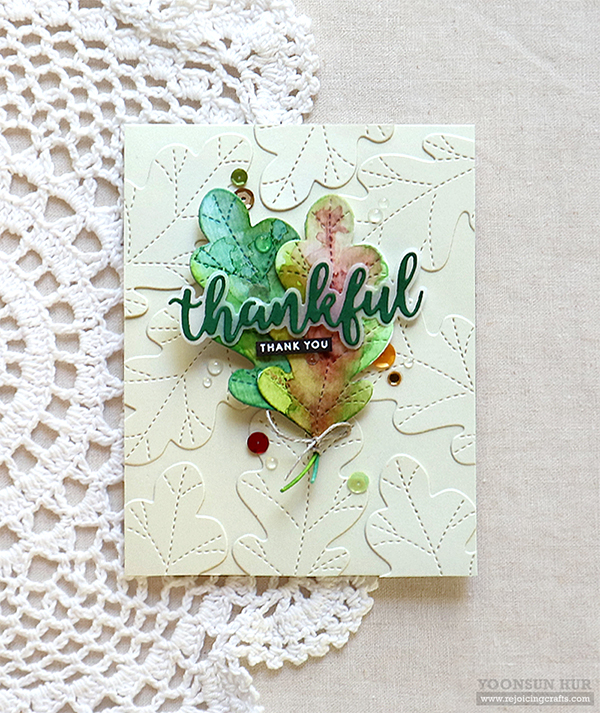 For the sentiment, I die cut the word “Thankful” from
  I decorated the card with some autumn coloured sequins and clear droplets.
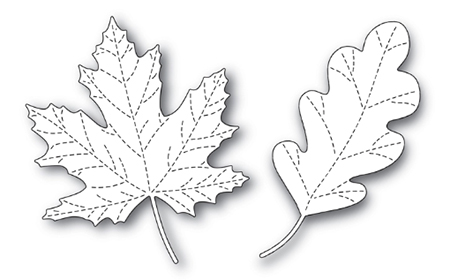
 I love these two stitched leaves. It’s so versatile!!
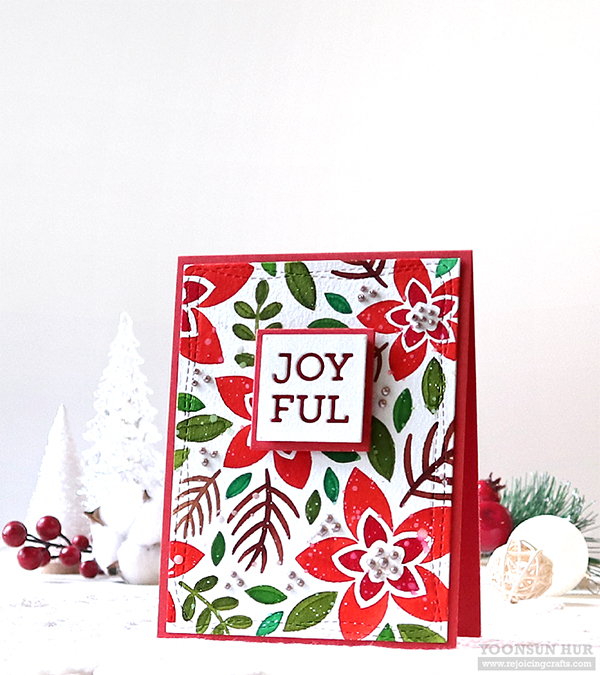 I started by stamping the
 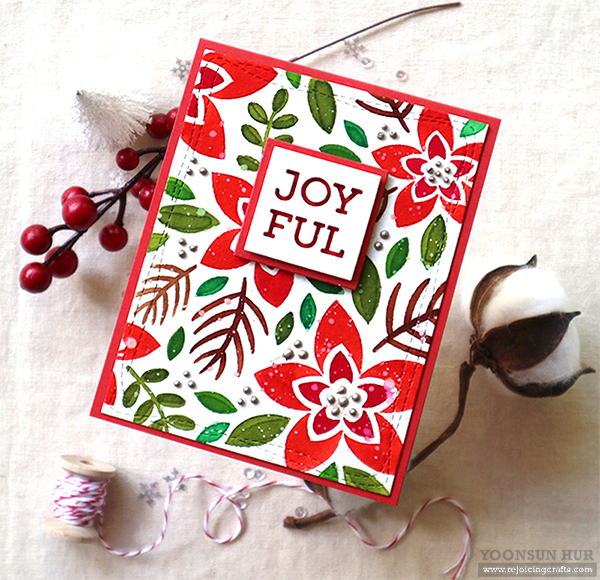 For the sentiment, I die cut the
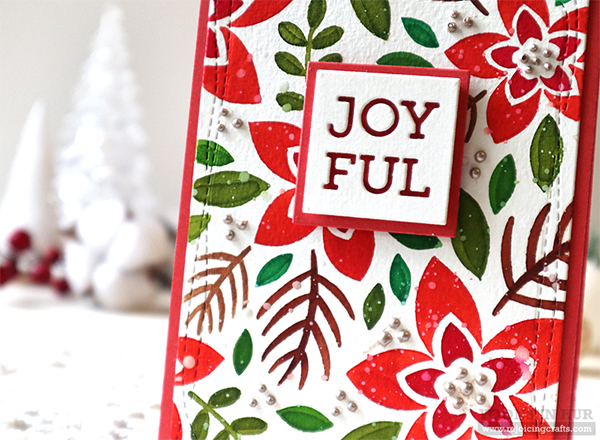
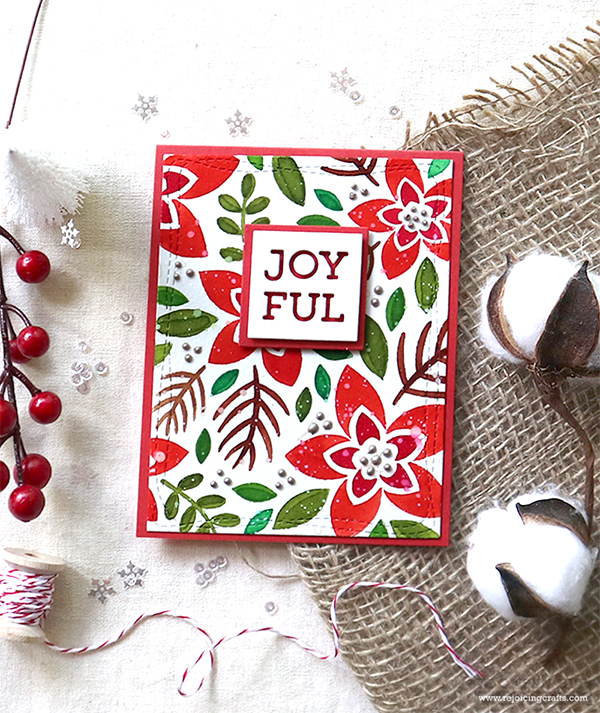 I love this card with it’s traditional Christmas colours! ;)

 I started by stamping one of solid flower images from the
 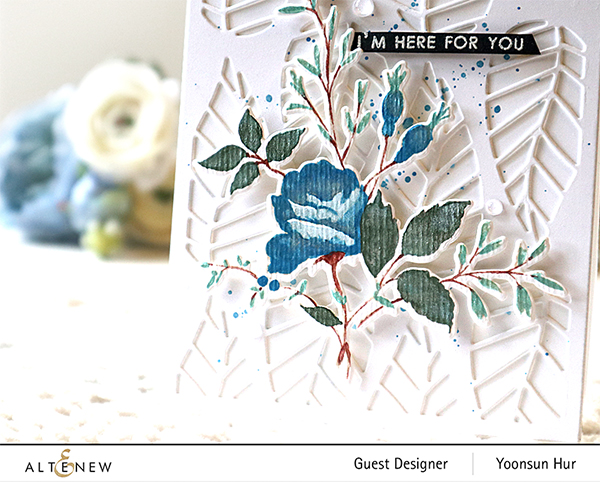 I die cut the
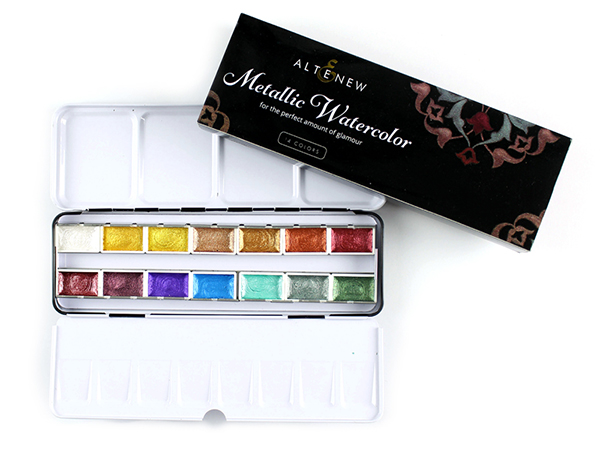
 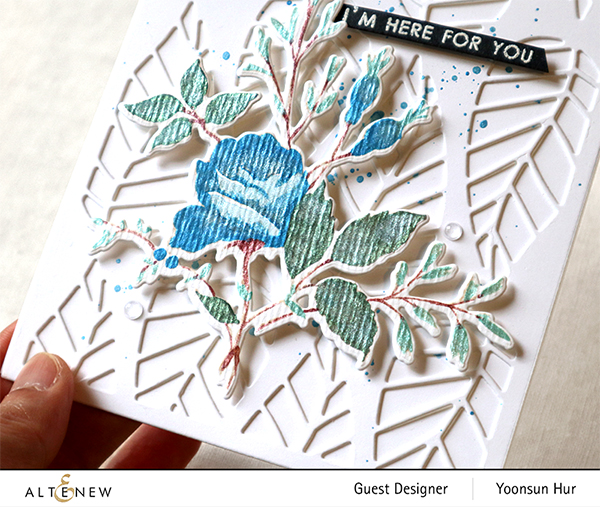 Look at these metallic colours. They are rich, creamy, opaque and also blend well between colours!!