Floral Friday: SSS Sunflower

Hello crafty friends!
As you know, the sunflower is the national flower of Ukraine so I decided to use the Simon Says Stamp Sunflower Petals die set for this week’s Floral Friday!


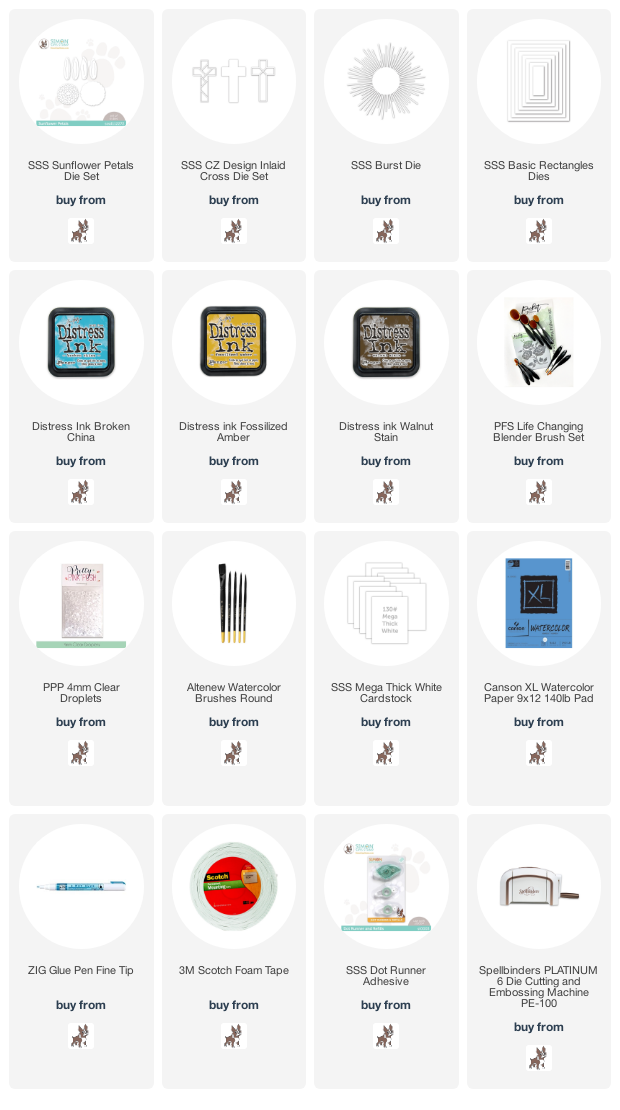
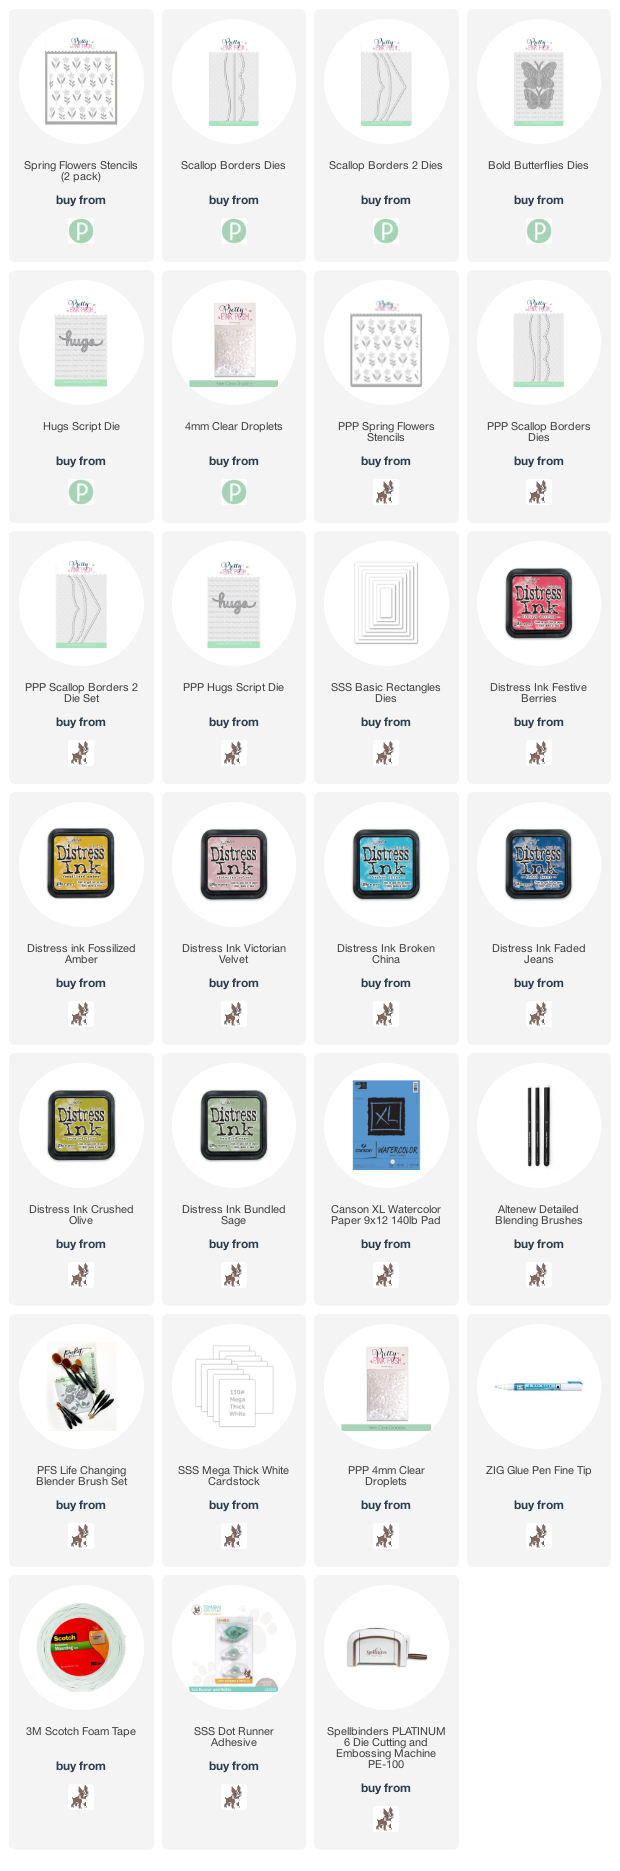
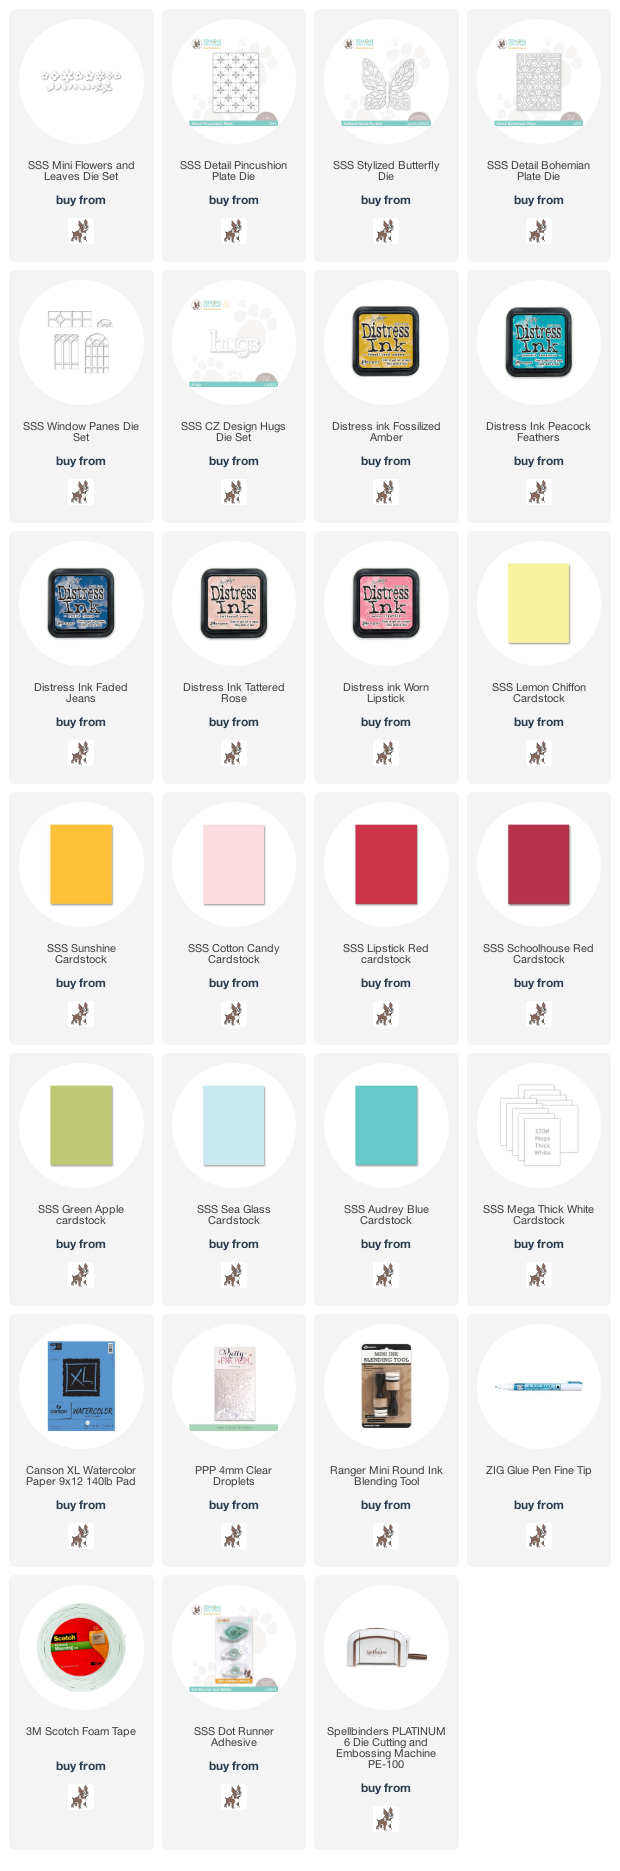
Simon Says Stamp Sunflower Petals Die Set

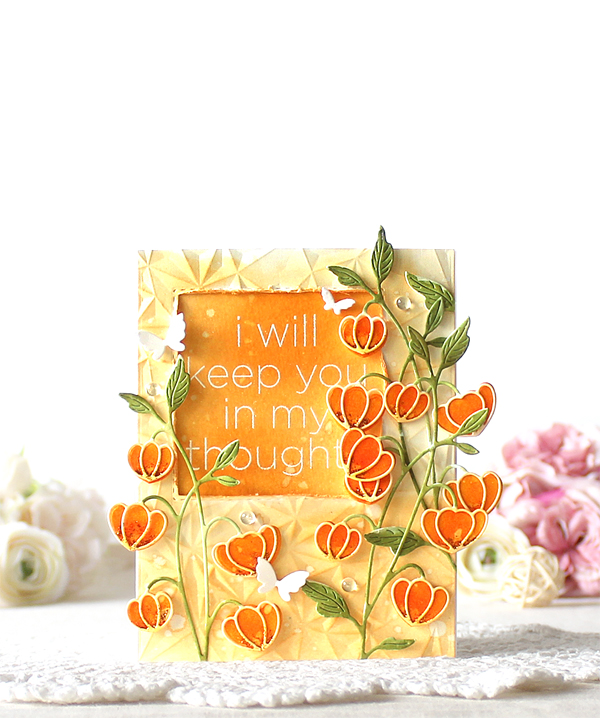
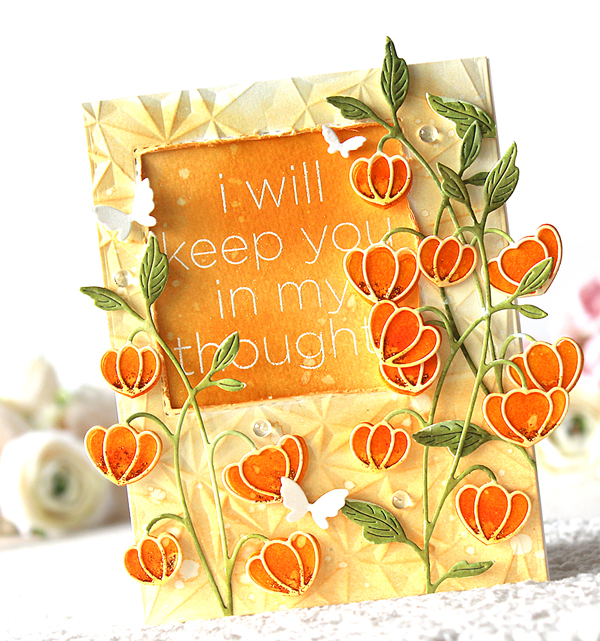
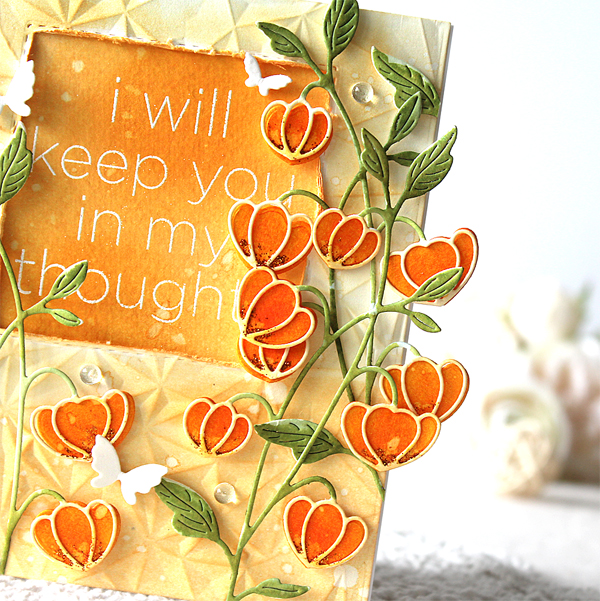
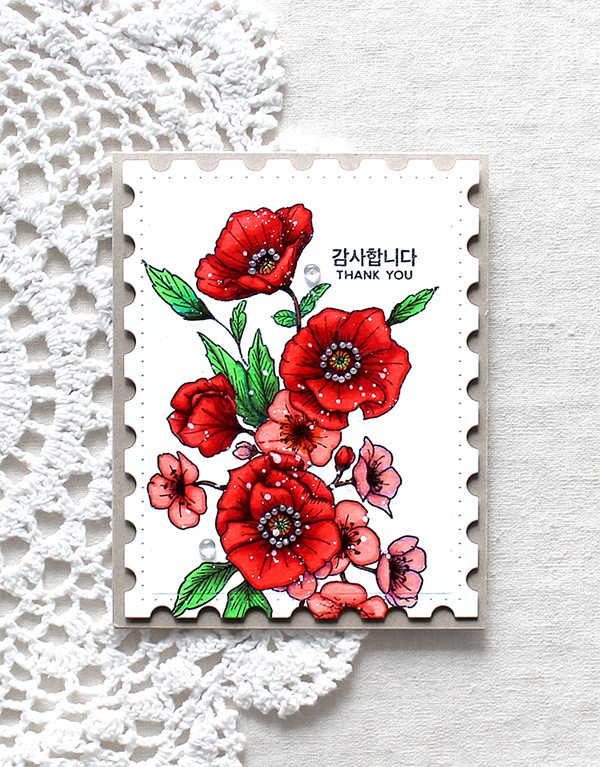
I die cut petals and disk from watercolour paper using the Sunflower Petals dies first, applied Fossilized Amber Distress ink to all petals, coloured the centre of the sunflower with Walnut Stain Distress ink, and then assembled all pieces.

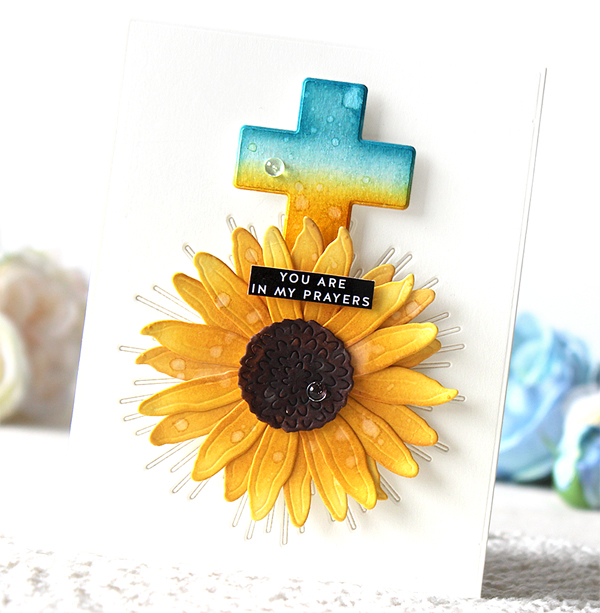
I die cut the cross from watercolour paper using the CZ Design Inlaid Cross die set, applied Broken China (Blue) and Fossilized Amber (Yellow) Distress inks. I added water drops.


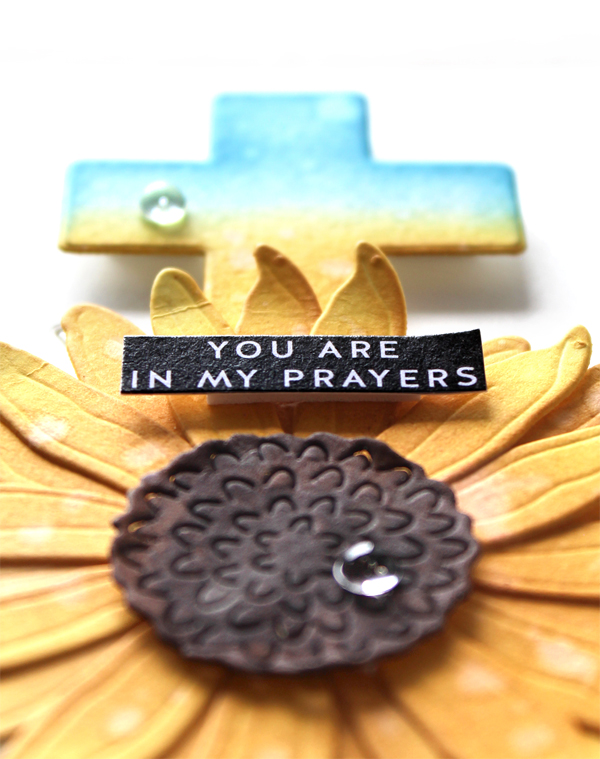
Sending my love and prayers to all innocent people of Ukraine!

Keep smiling and be blessed! God bless you all!
Love Love Love RejoicingCrafts

Floral Friday: SSS Chinese Lantern Stem

Hello crafty friends!
Today I have an encouragement card with SSS Chinese Lantern Stem die. The Chinese Lantern Stem is recently released from Simon Says Stamp Good Luck Charm. It’s very popular!!


Simon Says Stamp Chinese Lantern Stem Die

Chinese Lantern flower means safety, comfort and protection so I decided to make an encouragement card with it. :D

At first I die cut the Chinese Lantern Stem from watercolour paper. I then coloured all die cuts with Distress inks:
Flowers: Dried Marigold & Spiced Marmalade
Leaves and stems: Bundled Sage & Peeled Paint.
Next, I dry embossed an A2 sized watercolour paper panel using the Crystal Distortion embossing folder, applied Dried Marigold Distress ink to the panel, and then made a square window on the top left part of the panel.

I heat embossed the sentiment from the CZ Design Clean Line Stacks set onto watercolour paper in white, inked onto it with Spiced Marmalade Distress ink. I then adhered the sentiment panel to the back of the background panel.

I mounted the background panel and the Chinese Lantern Stems on the card as shown in the picture, and then decorated the card with tiny butterflies & 4mm clear droplets. :D

Thank you so much for stopping by. Have a wonderful weekend!

Keep smiling and be blessed! God bless you all!
Love Love Love RejoicingCrafts

Floral Friday: Waffle Flower Poppy Hawthorn

Hello crafty friends!
Wow, it’s already February this year, I hope your January was always happy!

I will start the Floral Friday in February with the Waffle Flower Poppy Hawthorn stamp set – as soon as I saw this flower image, it captivated my heart!

Waffle Flower Poppy Hawthorn stamp set


With this beautiful flower set, I made a watercolour card. I stamped the large flower image onto watercolour paper using VersaFine Vintage Sepia pigment ink first, and then watercoloured the stamped image with Altenew Watercolors:
Purple flowers: Deep Iris / Red flowers: Crimson
Leaves: Bamboo, Forest Glades / Stem: Espresso
Background: Caribbean Sky

Once the watercoloured floral panel was dry, I added water drops and glitters. Adding glitters make the flower image more beautiful!! I’ve learned this technique from Melissa Phillips. Her glittery flowers are really stunning as shown in the picture below:


I stamped the “Thank you” sentiment on the top right corner on the panel using VersaFine Vintage Sepia pigment ink.

This red flower card is that I made in December last year. At that time, I used Copic markers to colour the flower image. :D


Thank you so much for stopping by. Have a wonderful day!

Keep smiling and be blessed! God bless you all!
Love Love Love RejoicingCrafts

Floral Friday: PPP Spring Flowers

Hello crafty friends!
Today I have a cute “Hugs” card with Pretty Pink Posh Spring Flowers layered stencils.


The main flower product of Floral Friday in the third week of January is Pretty Pink Posh Spring Flowers Layered Stencils. It is so adorable!


First, I made a cute floral pattern onto an A2 sized paper panel. I used Festive Berries, Fossilized Amber, Victorian Velvet, Broken China and Faded Jeans Distress inks to flowers, then Bundled Sage & Crushed Olive Distress inks to leaves. When applying ink to a small area, it’s better to use detailed blending brushes – I recommend the Altenew Detailed Blending Brushes!

To make the floral pattern more fun, I used several scallop border dies. I put the dies on the pattern paper as shown in the picture, die cut them and assembled them together on A2 sized card base using double-sided tape.


I die cut the large sized butterfly from white cardstock using the Bold Butterflies dies, and then softly inked to the centre of the butterfly with Fossilized Amber Distress ink. For the sentiment, I die cut the “Hugs” from white cardstock, inked it with Festive Berries Distress ink. I added “Hugs” butterfly to the centre of the card using foam tape, and then decorated around the butterfly with 4mm Clear Droplets.

I think flowers and butterflies are a match made in heaven!


Thank you so much for stopping by. Have a wonderful day!

Keep smiling and be blessed! God bless you all!
Love Love Love RejoicingCrafts

Floral Friday: SSS Mini Flowers and Leaves

Hello crafty friends!
I believe all of you are enjoying the new year. Oh, did you make new year’s crafty resolutions? I think I did. As you may know, I love making floral cards and have many flower products even though some of them are already retired.. So this year, I will make & share my floral cards with various flower products every Friday, called “Floral Friday”. Sharing every Friday is a challenge for me but I will try to keep!!

And, the very first flower that I chose is the Simon Says Stamp Mini Flowers and Leaves! It’s an oldie but I strongly recommend it to people who don’t know it. :D

Mini Flowers and Leaves Die Set


I started by die cutting the Detail Pincushion Plate from watercolour paper. I then ink blended onto it with Fossilized Amber, Peacock Feathers and Faded Jeans Distress inks. I added waterdrops to the inked panel.

I die cut the Stylized Butterfly from Thick White cardstock, and then the Mini Flowers and Leaves from several coloured cardstock. I mounted the Detail Pincushion Plate on white card base using Dot Runner Adhesive, then added floral butterfly on the centre of the card front using foam tape.

Oh, I love this beautiful butterfly & tiny flowers so much!!

Here is another floral card with the Mini Flowers and Leaves. I die cut the Detail Bohemian Plate from Thick White cardstock first, and then applied one of the Window Panes to the centre of the panel. I die cut the mini flowers from red & yellow cardstock, the leaves from Green Apple cardstock. I die cut the “hugs” sentiment from Thick White cardstock as well.

Aren’t the flowers & leaves around the window so pretty? I love it so much!! :D

Thank you so much for stopping by. Have a wonderful day!

Keep smiling and be blessed! God bless you all!
Love Love Love RejoicingCrafts