InLoveArts Christmas Tree

Hello crafty friends, TGIF!
Today I have a couple of (kind of) traditional Christmas tree cards with the InLoveArts Christmas Tree die along with SSS products.
I simply die cut all elements, Stitched Whirl Panel, Christmas Tree, Happy Christmas Sentiment from kraft & white cardstock. I then mounted the Stitched Whirl Panel on top-folded card base using double-sided tape first, and then added all die cuts onto the card using foam tape.
I added opaque white ink splatters all over the panel, some crystals over the tree.
I love kraft & white Christmas card sooooooo much!! :D
This intricate Christmas Tree die is so pretty, isn’t it?

Here is another simple Christmas card with the InLoveArts Christmas Tree die. I die cut the tree from SSS Green Apple cardstock, lightly applied some green coloured Distress inks using blender brush.
For the sentiment, I used the SSS CZ Design Merry die and the SSS Tiny Words Christmas stamp set.

InLoveArts generously provides 15% OFF this Christmas Tree Die. Use code S5773.

Thank you so much for stopping by. Have a wonderful weekend.

Keep smiling and be blessed! God bless you all!
Love Love Love RejoicingCrafts


https://linkdeli.com/widget.js?1559654439292

SSS Merry Gnomas

Hello crafty friends, happy Saturday!
Today I have a couple of fun Christmas cards with the SSS Gnome die. It’s a HUGE HIT among us – paper crafters!!
For my first card, I used the Christmas Kaleidoscope background stamp along with the Gnome die. I die cut the 4 x 5.25″ Wonky Rectangle panel from kraft cardstock first, and then heat embossed the Christmas Kaleidoscope Background in white onto the kraft panel. For colouring the stamped background, I just used white & red polychromos colored pencils – I love white, red and kraft colour combo!! I cut the centre of the background panel using the Stitched Circles die set.
I die cut the Gnome from watercolour paper, and then applied some Distress inks using blender brushes:
Gnome hat: Festive Berries & Fired Brick / Beard: Pumice Stone.
For the sentiment, I die cut the word “Merry” from Lipstick Red cardstock, shadow from white cardstock, then glued them together using fine tip glue pen.
I added white pom pom, white enamel dots, clear snowflake sequins – it’s kind of messy.. but looks more Christmasy, right?!!

For my second card, I used the Leaves and Berries background stamp along with the Gnome die. I heat embossed the background image in white onto kraft paper panel, and then coloured it with red & green polychromos colored pencils.
I cut the bottom right corner of the background panel using the Stitched Circles die, and then put the gnome in it!

Thank you so much for stopping by. Have a wonderful weekend.

Keep smiling and be blessed! God bless you all!
Love Love Love RejoicingCrafts


https://linkdeli.com/widget.js?1559654439292

PPP Stencil Theme Week: Leaves & Berries

Hello crafty friends!
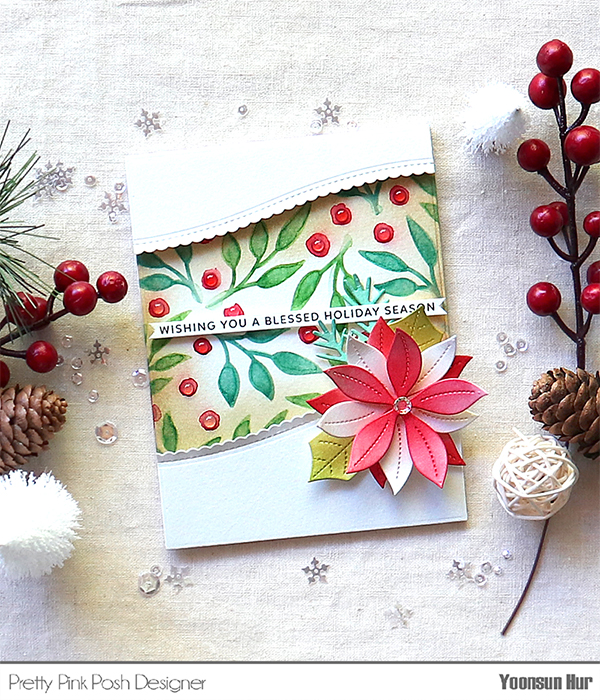
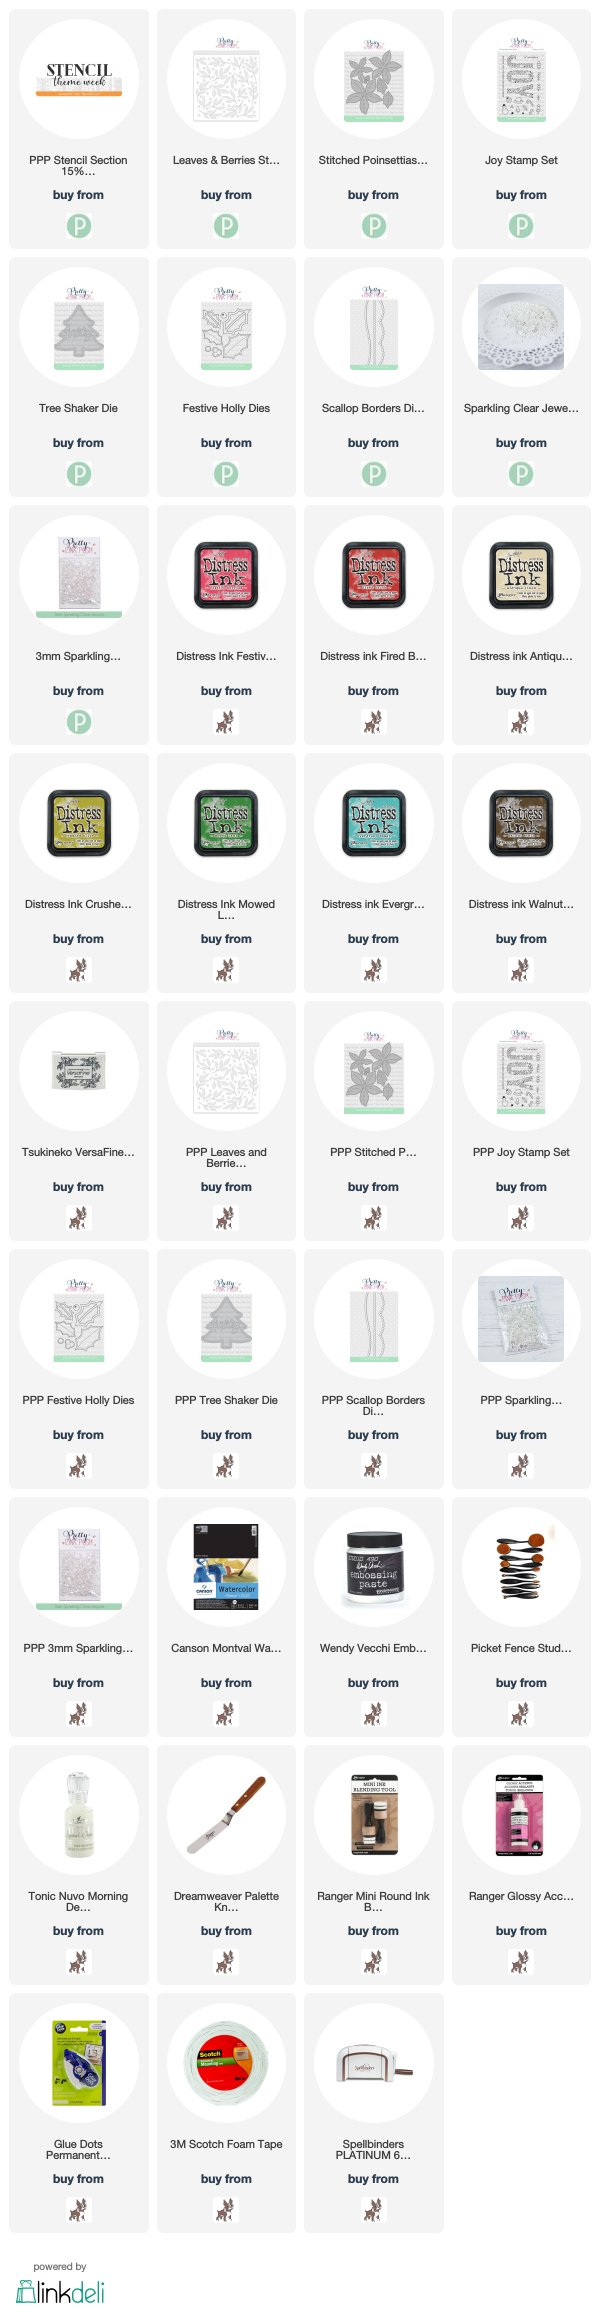
Today I have a couple of Christmas cards with the Pretty Pink Posh Leaves & Berries Stencil along with other PPP Christmas products.

I started by creating watercoloured Christmas patterns with the Leaves & Berries stencil. I placed the stencil in place onto the 4.25″ x 5.5″ watercolour paper panel, applied red & green Distress inks over the stencil using blender brush – I used Festive Berries for red, Mowed Lawn & Evergreen Bough for green. I then added clean water onto berries & leaves using water brush for watercolour painting effect. Once the panel was dry, I inked all edges of the panel with Antique Linen Distress ink. I also added clear droplets to all berries using Tonic Nuvo Morning Dew Crystal Drops.
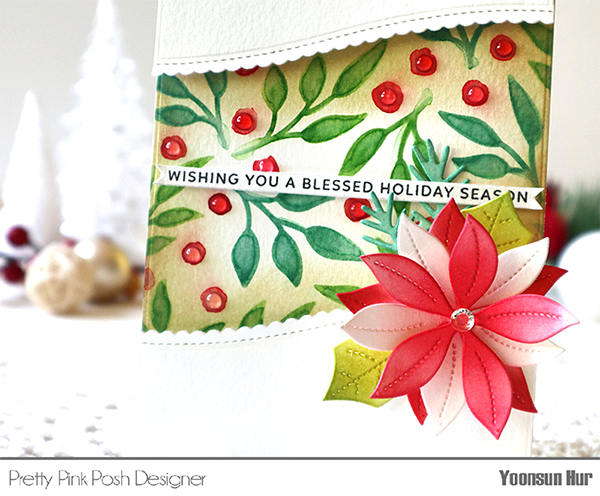
I die cut the Stitched Poinsettias from watercolour paper, applied Distress inks, and then assembled them using foam tape. For the sentiment, I stamped it from the Joy set on white cardstock using VersaFine Onyx Black, trimmed it down as a fishtail banner.
I’m so in love with the new Stitched Poinsettias die set!!
To top and bottom part of the card, I covered the card over with the Scallop Border Panels to be more feminine.
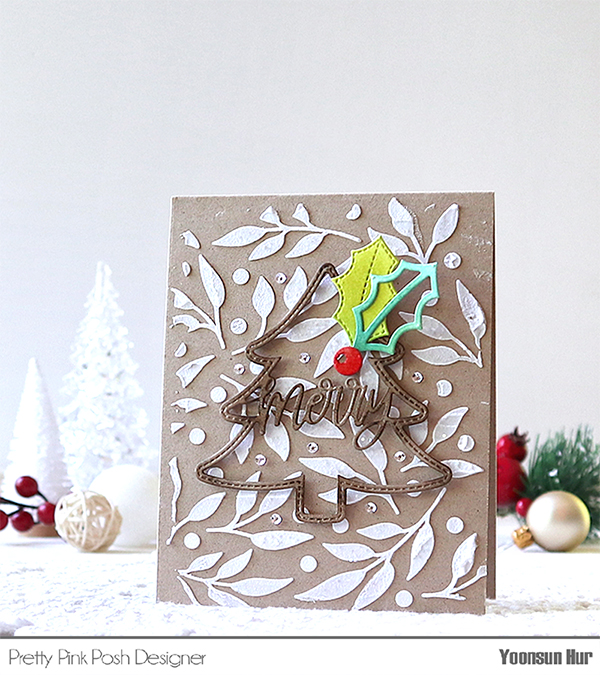
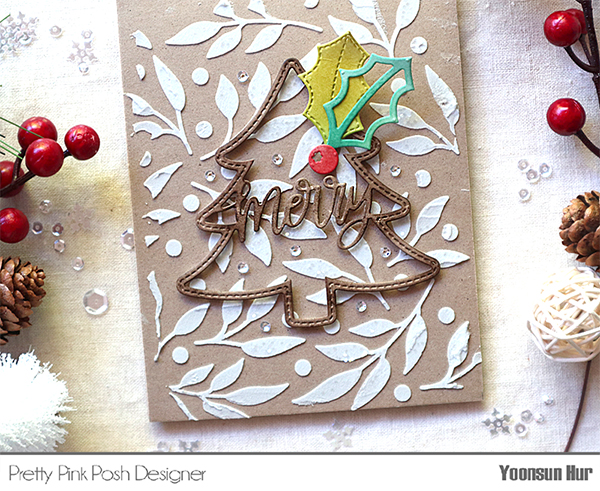
Here is another card with the Leaves & Berries stencil – white on kraft is definitely my most favourite Christmas card. :D I placed the stencil onto kraft card base in place, applied white embossing paste onto the card.
I die cut “Merry” sentiment tree from watercolour paper using the Tree Shaker die, inked it with Walnut Stain Distress ink. I die cut berry & leaves from watercolour paper using the Festive Holly dies, applied red & green Distress inks as well. I adhered sentiment tree & Christmas berry on the centre of the card using foam tape. I embellished with a few 3mm clear sequins.
STENCIL SECTION on the PPP store is 15% OFF during this theme week!

Thank you so much for stopping by. Have a great day.

Keep smiling and be blessed! God bless you all!
Love Love Love RejoicingCrafts


https://linkdeli.com/widget.js?1559654439292

SSS Christmas Lights

Hello crafty friends, I can’t believe it’s already November. Time really flies, right? And Christmas is coming up so I will share many Christmas cards with you in this month! :D

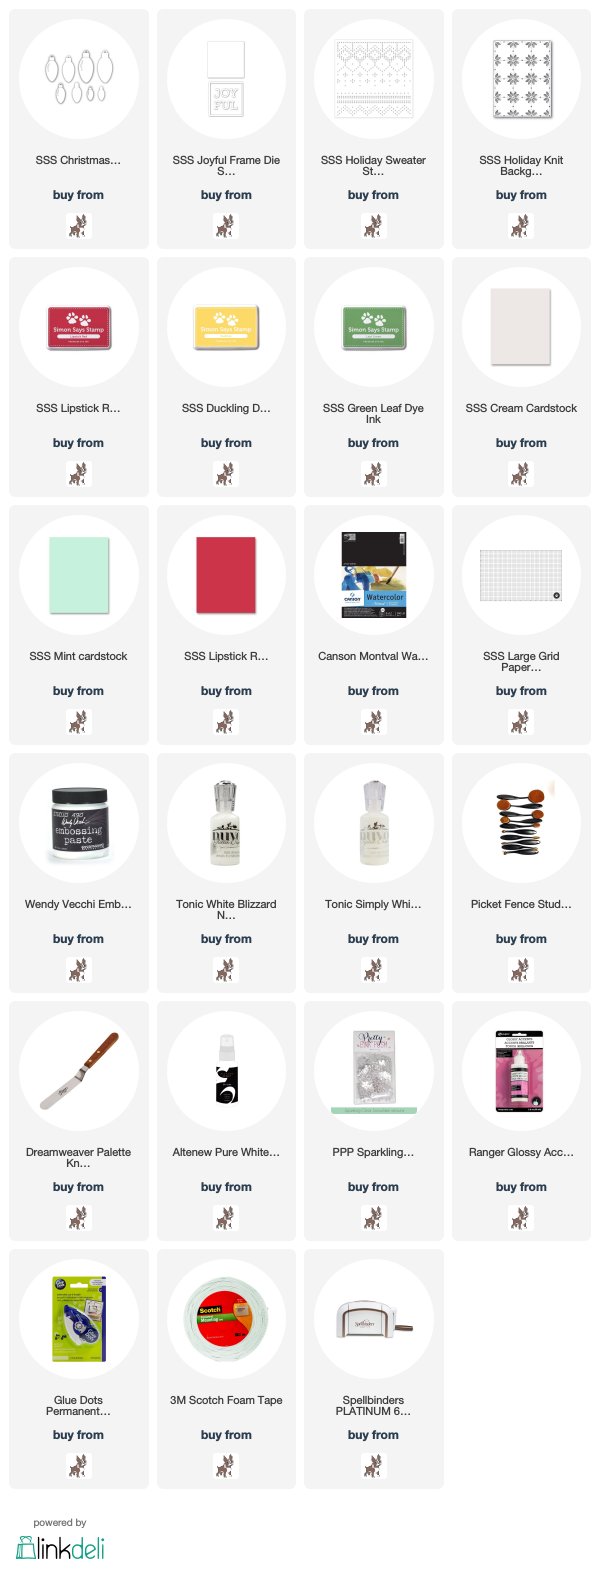
Today I am featuring the SSS Christmas Bulbs die set along with other Simon’s Christmas dies – Simon has so many amazing Christmas dies!!

I started by making Christmas patterns on kraft card base. I placed the Holiday Sweater stencil onto kraft card in place, applied white embossing paste using craft knife, then let it dry.
Next, I die cut some Christmas bulbs from watercolour paper.
I inked to Christmas bulb die cut with blender brush – these days I’m obsessed with ink blending with brush, I call it “ink brushing”. :)
For these Christmas bulbs, I used Lipstick Red, Green Leaf and Duckling dye inks.
I die cut the Joyful Frame from white cardstock, and then adhered all elements as shown in the picture onto kraft card base using foam tape.
I added some white enamel dots using Tonic Simply White Nuvo Crystal Drops.

Here is another card with the Christmas Bulbs die set.
In this card, I die cut some Christmas bulbs from assorted colour cardstock, then lightly applied white pigment ink to them. For snow-covered light bulbs, I added Tonic White Blizzard Nuvo Glitter Drops.

Thank you so much for stopping by. Have a great day.

Keep smiling and be blessed! God bless you all!
Love Love Love RejoicingCrafts


https://linkdeli.com/widget.js?1559654439292

Mighty Hands IG Hop Day 5

Hello crafty friends, TGIF! Welcome to the Mighty Hands Holiday Release IG Hop Day 5.
For those who are new with Mighty Hands, Mighty Hands are Christian photopolymer clear stamps and craft dies company based in Singapore. You can start by taking a look at their website (click HERE), Instagram (click HERE), Facebook (click HERE).
Mighty Hands launched 10 new faith-filled stamp sets and this week the creative team is doing an IG Hop to inspire YOU in your creative faith journey.

My card today, I made a cute Christmas card with non-christmas themed Good Gift Stamp Set. I stamped a cute boy onto watercolour paper using Memento Tuxedo Black dye ink, coloured it with Faber-Castell polychromos colored pencils, and then fussy cut it out. For the sentiment, I heat embossed it in white onto a separate watercolour paper, and then inked Festive Berries Distress ink to the panel.
I used Nuvo White Blizzard Glitter Drops to make a snowy scene. :D

GIVEAWAY!
There’s a giveaway for one US$25 (S$35) gift voucher each day of the hop! To enter, you must have an Instagram account and simply following the rules below:
1. Follow Instagram @mightyhands_
2. Like @mightyhands_ IG Hop post announcement for today.
3. Leave a comment on IG, telling us something you are grateful for today.
4. Like everyone’s post on today’s IG Hop. Giveaway closes Nov 2 11.59pm EST / Nov 3 11.59am SGT. No giveaway accounts, please.

IG HOP DAY 5 LIST:
@itsapreetiworld
@whimsipost
@melaniadeasy
@rejoicingcrafts (Me!!)
@_littleblessings_

Thank you so much for stopping by. Have a wonderful weekend!

Keep smiling and be blessed! God bless you all!
Love Love Love RejoicingCrafts