SSS Snowflakes

Hello crafty friends, I hope you are doing very well and have good time to read my post!
Today I want to share with you a Christmas card I’ve made using Simon Says Stamp holiday goodies.
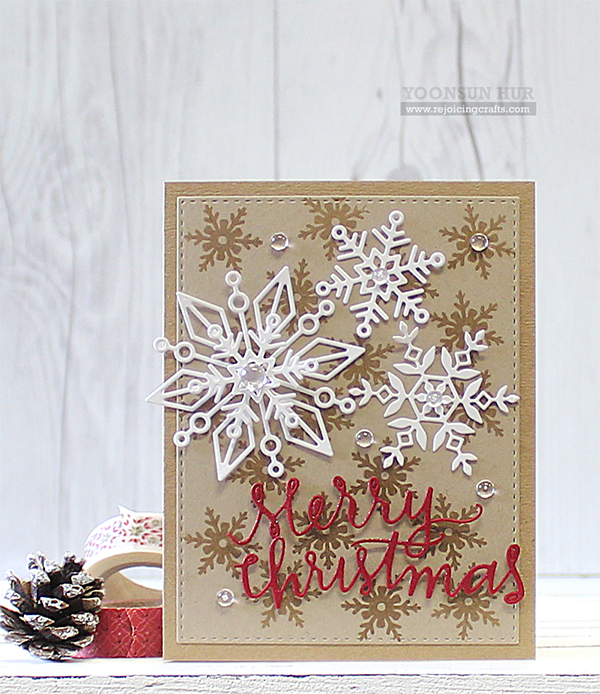
YoonsunHur-20151013-SSS-Snowflakes01-600pxI love to see snowflake cards and one thing for sure, it’s NEVER boring in winter season!! And I also love making Christmas cards with different shapes of the snowflakes :D

I made so simple Christmas card with old & new SSS Snowflake dies. First I 1) Stamped the snowflake from the Holiday Banners on kraft paper panel using embossing ink, clear heat embossed 2) Affixed the stamped panel on kraft card base using double-sided tape. 3) Die cut the snowflakes from white card stock using (from left to right) Nadine, Maryanne, Kate Snowflake dies. 4) Die cut “Merry Christmas” from SSS Schoolhouse Red card stock using Merry Christmas Ornament Die – I just took sentiment part from the ornament die cut today. 5) Mounted all elements as shown to the stamped base using dimensional foam tape. 6) Embellished with a few PPP clear droplets for finishing touches.
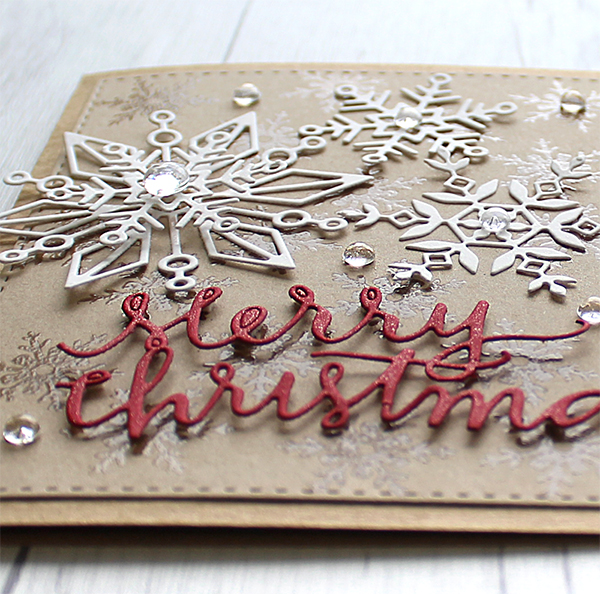
YoonsunHur-20151013-SSS-Snowflakes02-600pxI love the red and white on kraft, it always reminds me of a romantic holiday.
YoonsunHur-20151013-SSS-Snowflakes03-600px
My Christmas will definitely be filled with laughter and joy because of this ;)
SSS-201510-CreateJoy-BannerSimon Says Stamp will release the most wonderful holiday products THIS week! WOOT!!

Thank you so much for stopping by. Have a wonderful day!

Keep smiling and be blessed! God bless you all!
Love Love Love RejoicingCrafts

http://static.inlinkz.com/ppr.js

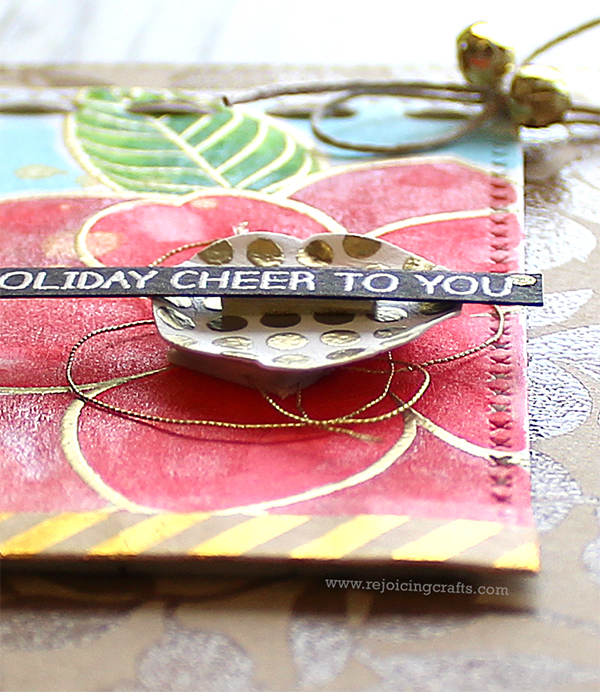
Simon Says Stamp – Christmas Flowers

Hello crafty friends!
I am super happy (as always ;)) to be sharing my Christmas themed cards with SSS exclusives on the Simon Says Stamp blog today.

Here is a sneak peek:
YoonsunHur-20151010-SSS-XmasFlowers-A02
If you want to see more just click to the Simon Says Stamp Blog! Hope you have time to take a look :D

Thank you so much for stopping by. Have a fabulous weekend.

Keep smiling and be blessed! God bless you all!
Love Love Love RejoicingCrafts

http://static.inlinkz.com/ppr.js

MFT October Release – New Product Launch

Hello crafty friends!
Welcome to the My Favorite Things new product launch! The wait is over!! All of the new products we’ve been sharing all week are officially available in the MFT Boutique now! I can’t wait to see what you guys create with them :D
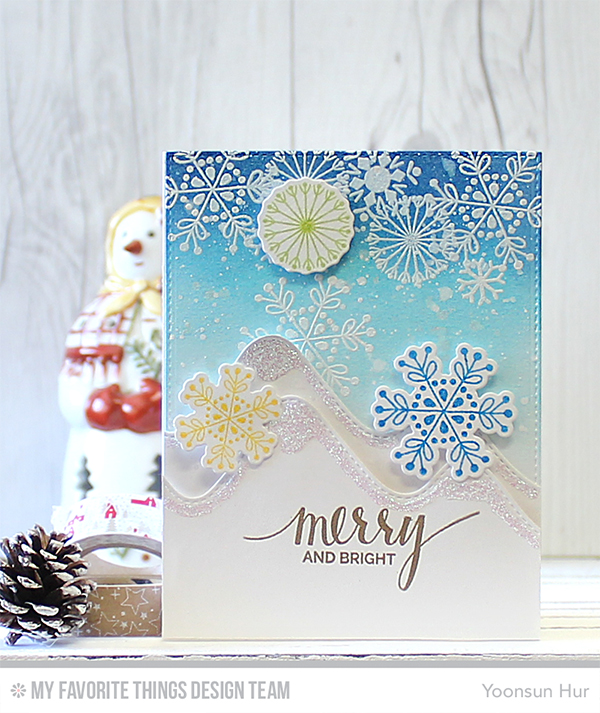
NewProductLaunchIn October, I am featuring a new Stitched Mountain Range Die-namics.
stitchedmountainrange
YoonsunHur-20151006-MFT-OCTRC-NPLTo create the card, I 1) Stamped the snowflakes from the Snowflake Flurry stamp set on the top side of watercolour paper panel using embossing ink, white heat embossed. 2) Blended on the stamped panel with Lush Lagoon, Summer Splash dye inks using mini blending tool. 3) Added white ink splatters. 4) Die cut stitched mountains from white card stock using Stitched Mountain Range Die-namics. 5) Stamped the snowflakes with several colours of dye inks, die cut them with Snowflake Flurry Die-namics. 6) Mounted all elements as shown to white card base using dimensional foam tape, added touches of Star Dust stickles to the top of the mountains.

GIVEAWAY ALERT!
Don’t forget to check out the MFT blog to see all of the amazing projects the creative team has created. You can leave a comment on all of the designer’s New Product Launch posts for a chance to WIN one of two $100 gift vouchers!

Thank you so much for stopping by. Happy crafting!!

Keep smiling and be blessed! God bless you all!
Love Love Love RejoicingCrafts

http://static.inlinkz.com/ppr.js

MFT October Release Countdown – Day 1

Hello crafty friends!
Welcome to the My Favorite Things October Release Countdown Day 1. We’ve reached the final day of the countdown!!
NewReleaseCountdown_Day1Today I want to share with you a couple cards I’ve made using Snowflake Flurry stamp set.
YoonsunHur-20151006-MFT-OCTRC-DAY1-A01Imagine snowflakes falling gently down from the sky and onto your face and to the ground.. it’s the most joyous moment in the festive season!!

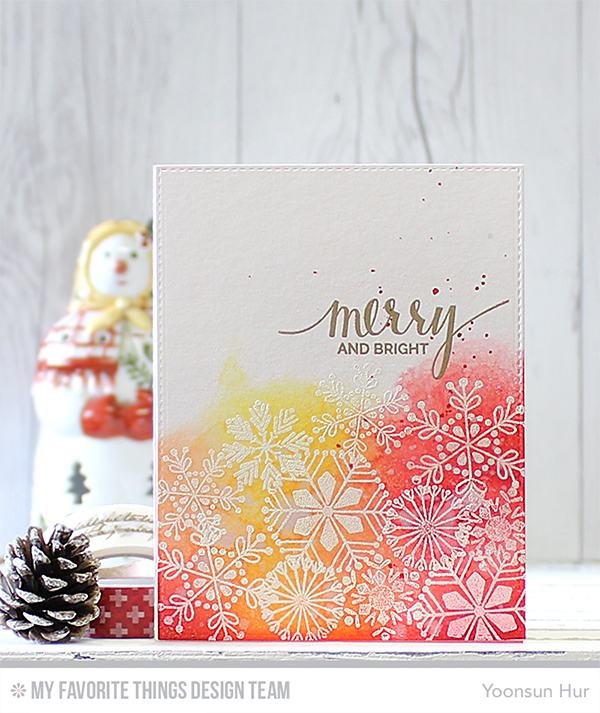
To create the card, I 1) Stamped the sentiment from the Hand Lettered Holiday stamp set at the centre of watercolour paper panel using embossing ink, gold heat embossed. 2) Stamped the snowflakes on the edge of that using embossing ink, white heat embossed. 3) Blended on the stamped panel with Summer Splash, Sour Apple, Spearmint, Lush Lagoon, and Kraft dye inks using mini blending tool. 4) Spritzed the ink blended panel with water using a mini mister, added some ink splatters.
YoonsunHur-20151006-MFT-OCTRC-DAY1-A02
YoonsunHur-20151006-MFT-OCTRC-DAY1-B01For my second card, I made it the same way I did the first. But I used warm colours instead of cool colours. I blended on the stamped panel with Red Hot, Bubblegum, Lemon Drop dye inks.
YoonsunHur-20151006-MFT-OCTRC-DAY1-B02

Make sure to check out MFT Blog for all the info for today along with links to all the other DT member’s blog posts.

See you TONIGHT for the release!

Keep smiling and be blessed! God bless you all!
Love Love Love RejoicingCrafts

http://static.inlinkz.com/ppr.js

MFT October Release Countdown – Day 2

Hello crafty friends, I hope you had a wonderful weekend!
Welcome to the My Favorite Things October Release Countdown Day 2.
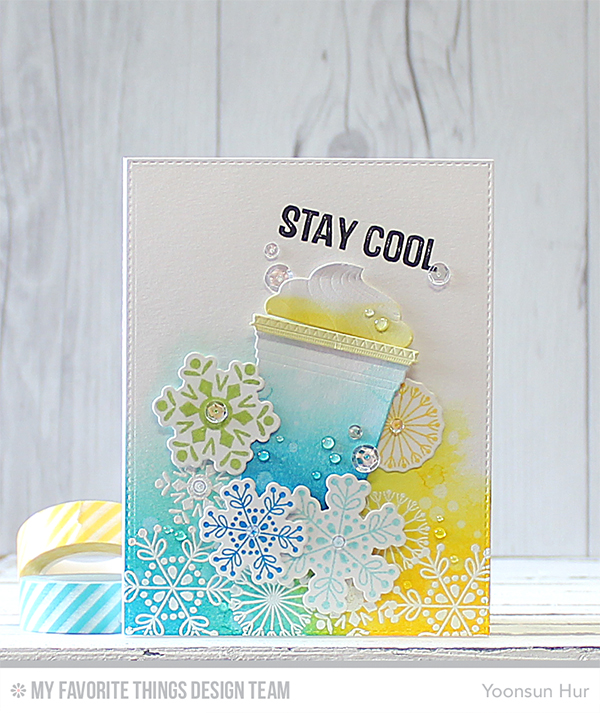
NewReleaseCountdown_Day2Today I want to share with you the card I’ve made using awesome Laina Lamb Design: Cool Cup Die-namics, and Stay Cool stamp set.
YoonsunHur-20151005-MFT-OCTRC-DAY2-A01Hey guys, what kind of beverage do you want? Soda or iced coffee? I can make any drink with this awesome Cool Cup Die-namics! I love it so much!!

To create the card, I 1) Stamped the snowflakes on watercolour paper panel using embossing ink, white heat embossed. 2) Blended on the stamped panel with Summer Splash, Lush Lagoon, and Lemon Drop dye inks using mini blending tool and then added water droplets. 3) Stamped the snowflakes on white card stock with several colours of dye inks and then die cut them with Snowflake Flurry Die-namics -I made extra snowflake die cuts up on the Cool Cup. 4) Die cut Cool Cup from watercolour paper, inked on it with Lush Lagoon dye ink, added water droplets. 5) Mounted all elements as shown to white card base using dimensional foam tape. 6) Stamped the sentiment from the Stay Cool stamp set with Black Licorice hybrid ink. 7) Embellished with a few clear sequins.
YoonsunHur-20151005-MFT-OCTRC-DAY2-A02Make sure to check out MFT Blog for all the info for today along with links to all the other DT member’s blog posts.

See you tomorrow for more countdown fun! Have a wonderful day!

Keep smiling and be blessed! God bless you all!
Love Love Love RejoicingCrafts

http://static.inlinkz.com/ppr.js