Happy Wednesday, crafty friends!
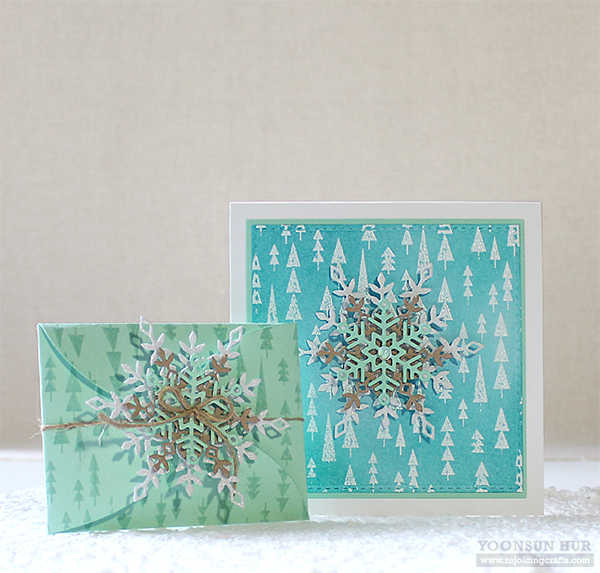
Today I want to share with you my snowflake gift card envelope trio using some Simon Says Stamp products.
 At Christmas, there’s always room for more snowflakes, right?!!
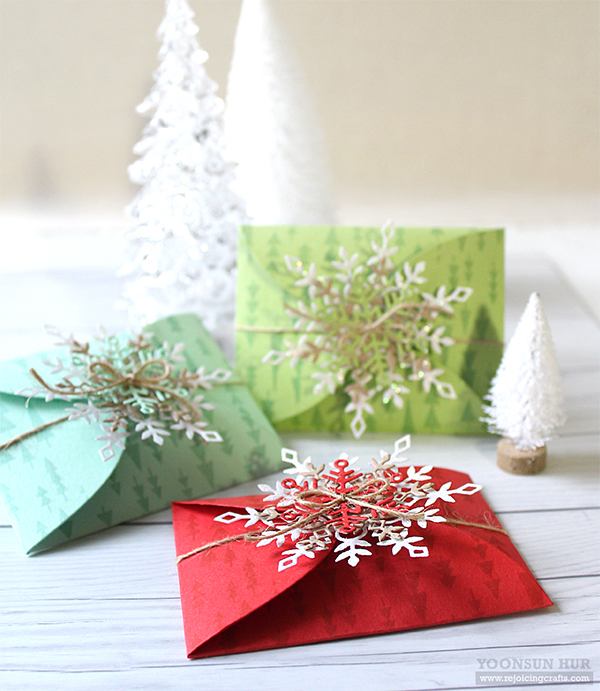
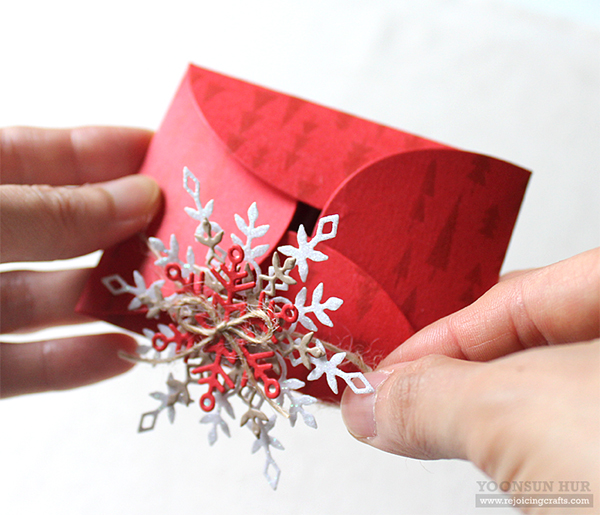
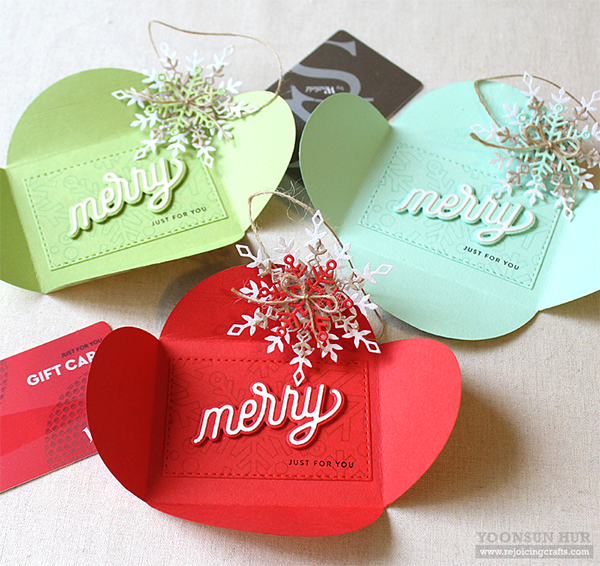
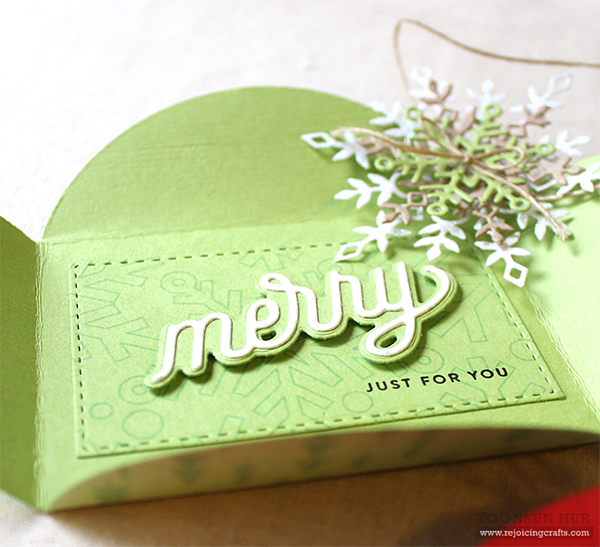
 I started by die cutting Petal Envelopes from some coloured card stocks: Lipstick Red, Green Apple, Mint. I then stamped Mod Trees Background using Burnt Orange dye ink (to red envelope die cut), Spring Rain dye ink (to green & mint envelope die cuts).
 I die cut Eliza Snowflake from glitter white card stock, Kate Snowflake from kraft card stock, smallest snowflake from several coloured card stocks, and then stacked them up (as shown in the picture) using foam tape.


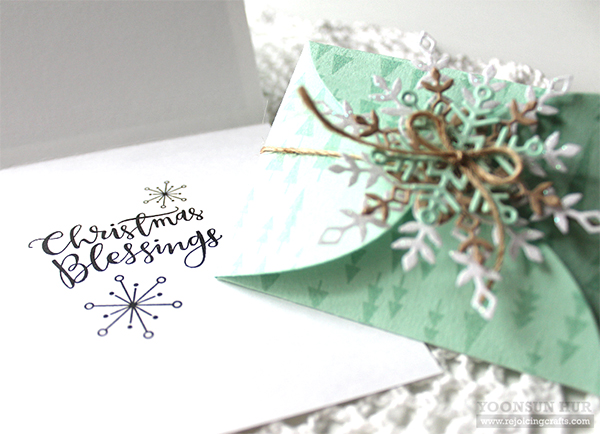
 Inside the gift card envelope, I added Christmas greetings using CZ Design Merry die & Tiny Words Christmas stamp set.


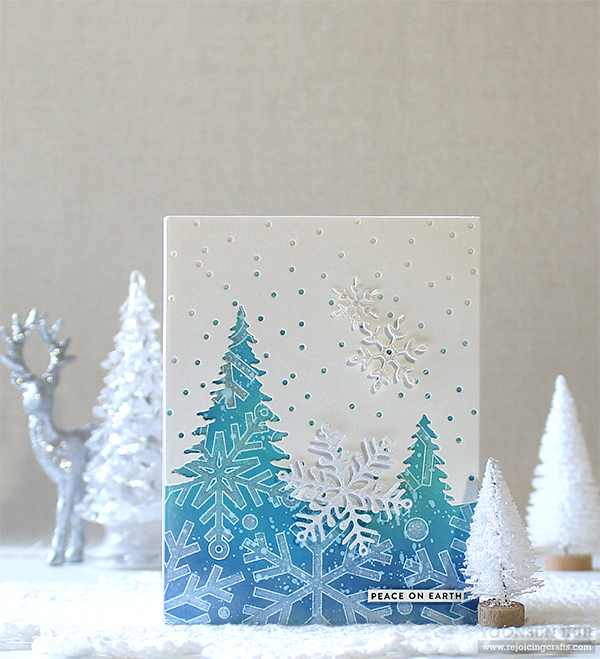
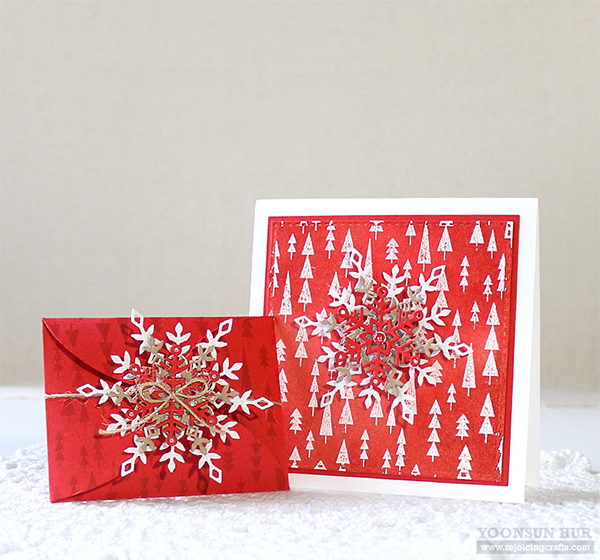 I also made a square Christmas card too. I heat embossed the Mod Trees Background on stitched watercolour paper panel using white embossing powder, then ink blended on that panel using Distress inks. Snowflakes that always bring Christmas cards lift!!

Thank you so much for stopping by. Have a great day!
Keep smiling and be blessed! God bless you all!
Love Love Love RejoicingCrafts

 I started by die-cutting
 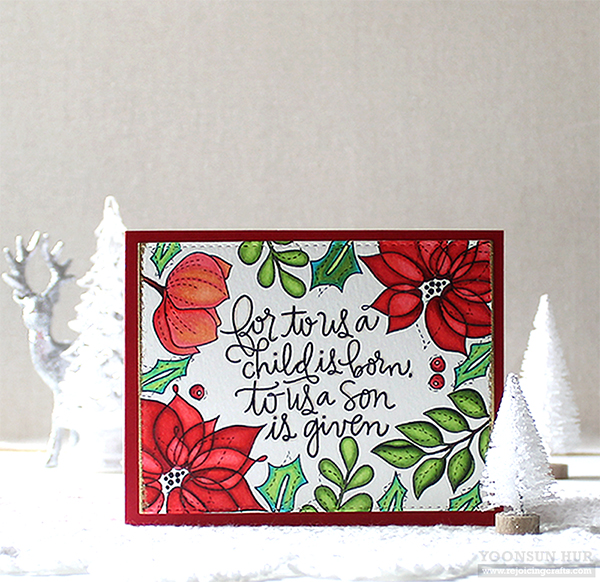 I coloured all stamped images with the
  This sentiment is a perfect for the Christmas cards! I love it SO MUCH!!
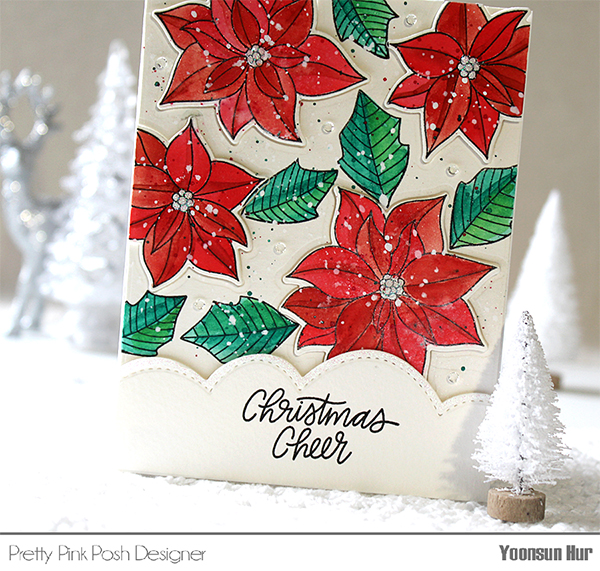
 For my second card, I made a watercolour card. I stamped the sentiment from the
  I stamped the solid poinsettia & other leaves from the
  Distress inks react with water so, I stamped solid images on watercolour panel first, and then brushed them with water brush.
 For my first card, I ink blended the background panel using
 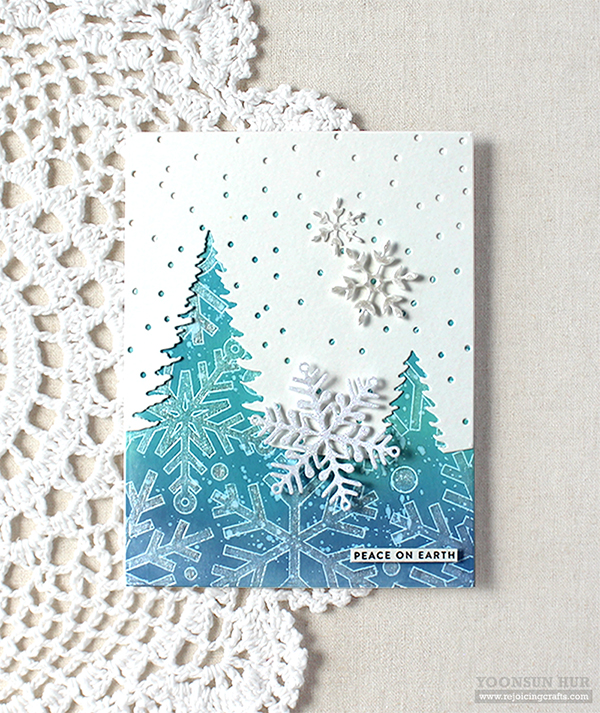 Next, I added
  For the sentiment, I used the
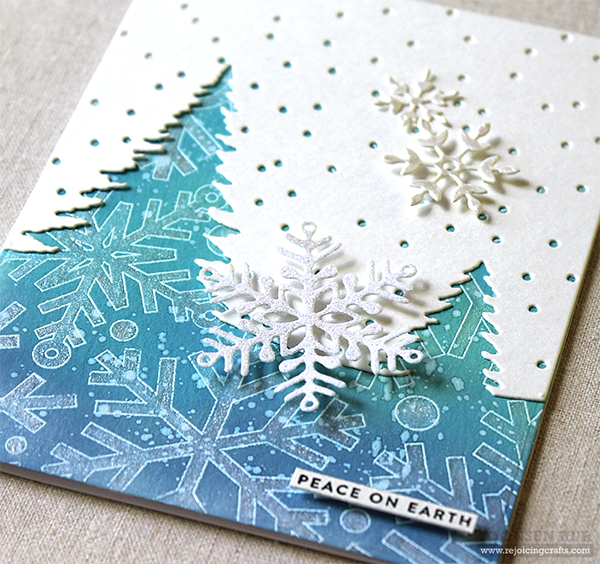
 For my second card, I ink blended the panel with some Distress inks:
  I also heat embossed the
 I embellished with a few

 I die cut all parts of bear from
  You can open hugging arms..
 and, tuck in chocolate or candy whatever you want!
 I decorated the bear with
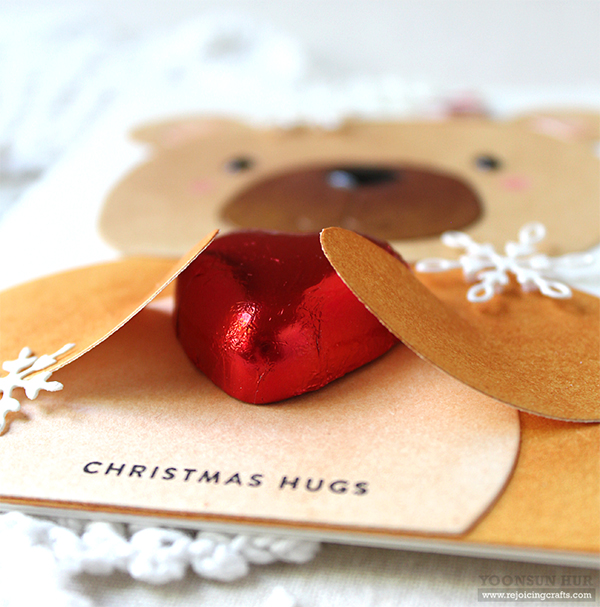

 Oh, I love that tongue! So cute!!
 “Sending you a Christmas hug!”
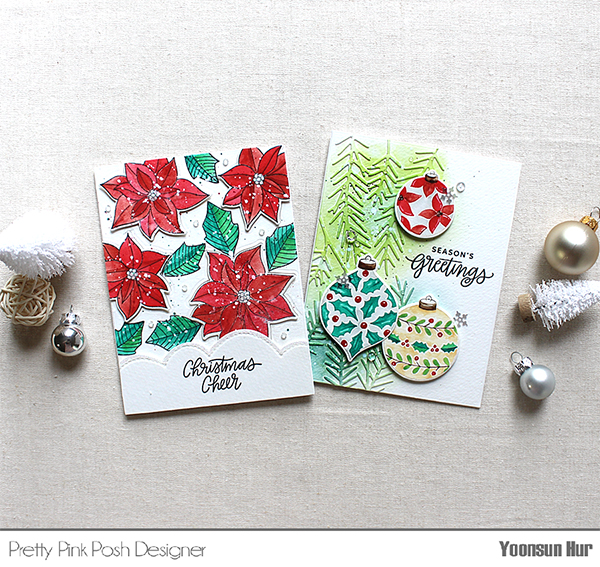
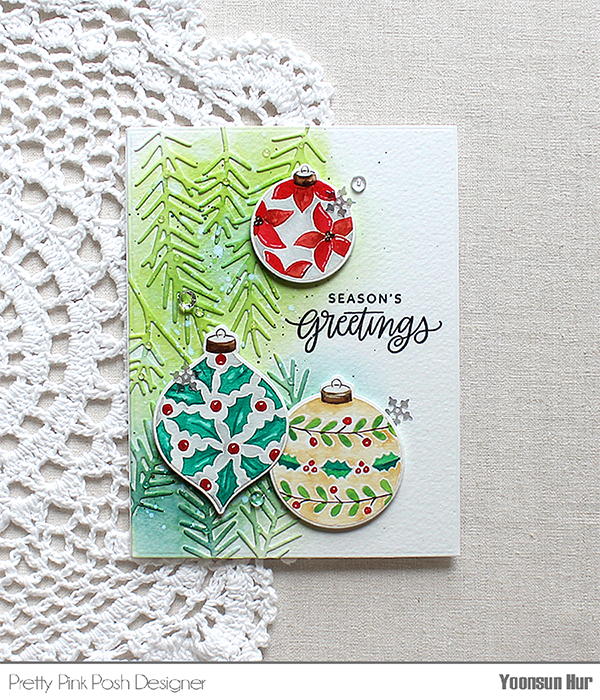 At first, I die cut several
  I stamped
  Once the panel was dry, I mounted it on white card base using double-sided tape, and then added the watercoloured ornaments,

 I stamped
  For the sentiment, I die cut stitched scalloped border from white card stock using the