Hello crafty friends, TGIF!
I’m so happy to be a part of the Tonic Studios Wonderful Wishes Release Online Party! Christmas project is definitely my most favourite!!
For my cards today, I’m featuring super-duper adorable Jolly Marshmallow Snowman Stamp Set. When I saw this set, I felt warm and cozy – it was like sitting on a rocking chair near the fireplace. :D
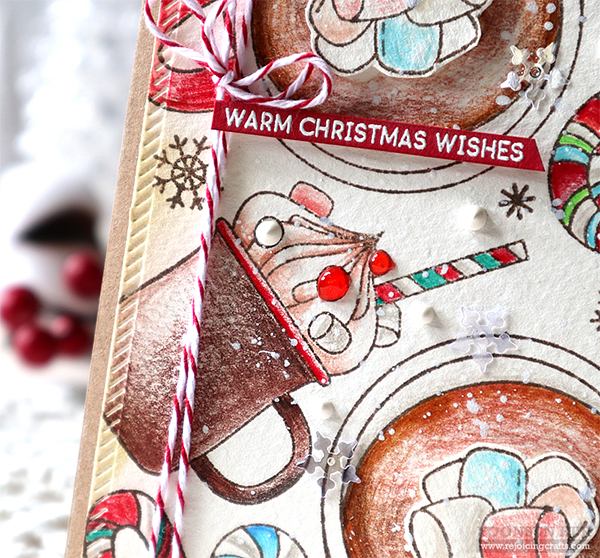
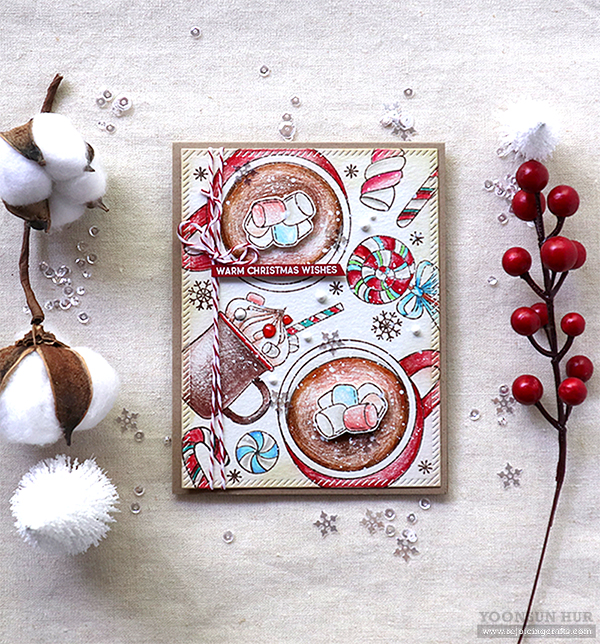
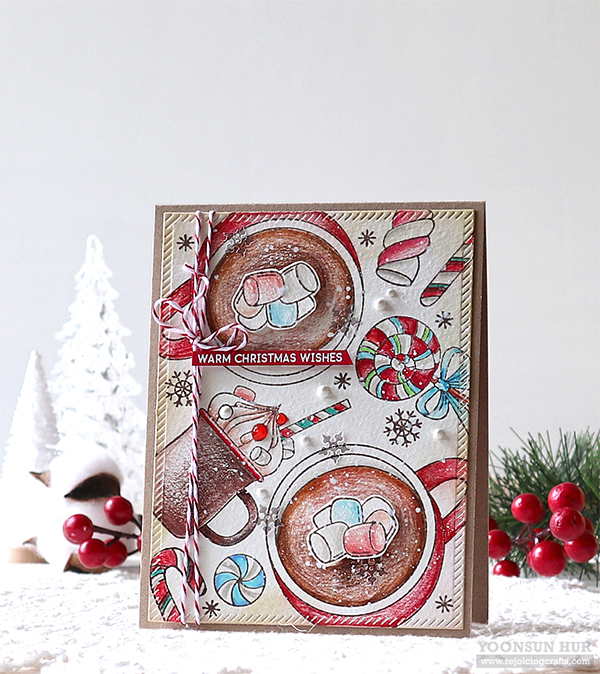 I started by stamping warm cocoa mugs, marshmallow, lots of Christmas lollies from the Jolly Marshmallow Snowman set on watercolour paper panel using Memento Rich Cocoa dye ink.
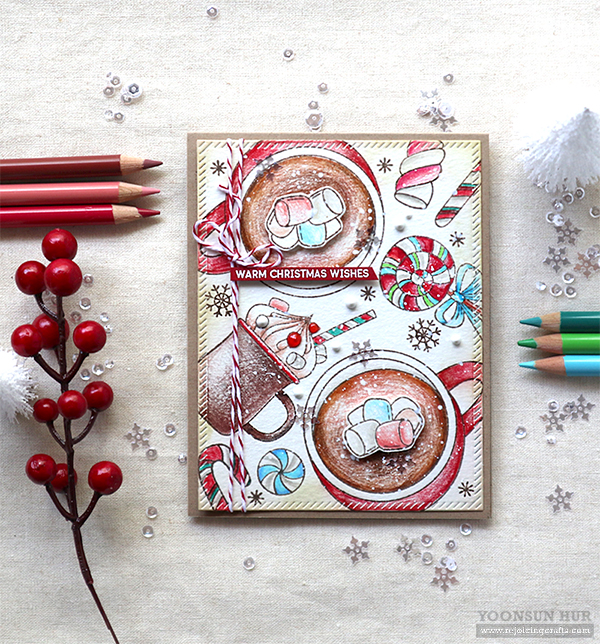 I then coloured all stamped images with polychromos colored pencils. I stamped marshmallows on a separate watercolour paper in dark brown, coloured them with polychromos colored pencils as well, and then fussy cut them out.
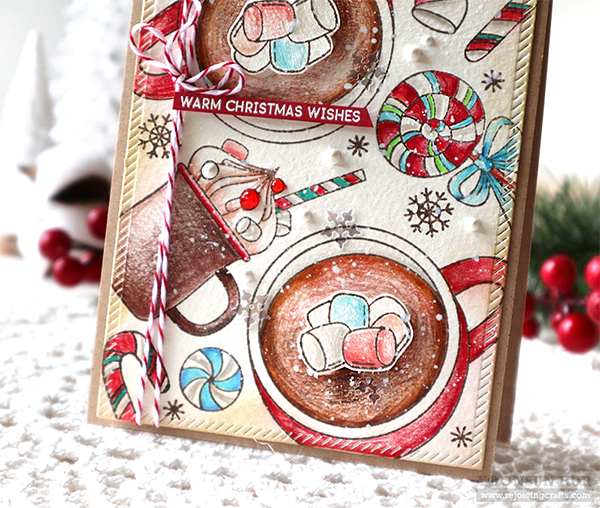 For the sentiment, I heat embossed it in white onto red card stock, trimmed it down as a small banner. I mounted the panel on kraft card base using double-sided tape, then added opaque white ink splatters, red & white bakers twine, clear snowflake sequins and white dots!! :D
GIVEAWAY!!
Tonic Studios is giving away a surprise crafty parcel to 4 lucky winners! For your chance to win please leave a comment on the Tonic Studios Blog letting us know which is your favourite stamp set in this collection. Winners will be announced Tonic Studios Blog on Friday, October 18th.
For the new Wonderful Wishes Release, I have a special 10% off personalised discount code for you: YOONSUN10.
BLOG HOP LIST: Click HERE InLinkz Link-up
Thank you so much for stopping by. Have a fabulous weekend!
Keep smiling and be blessed. God bless you all.
Love Love Love RejoicingCrafts


 For my first card, I die cut flower petals & leaves from watercolour paper using the
 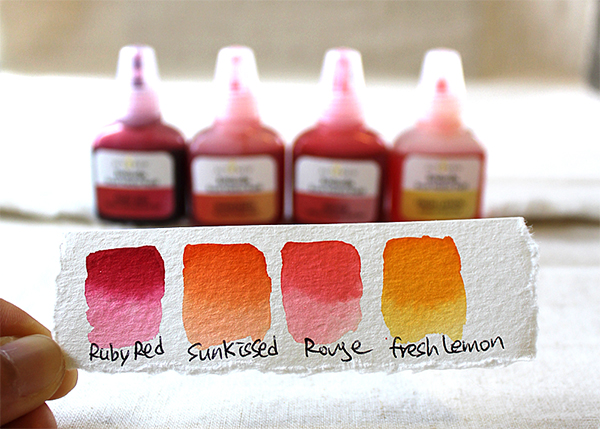 For flower petals, I used
 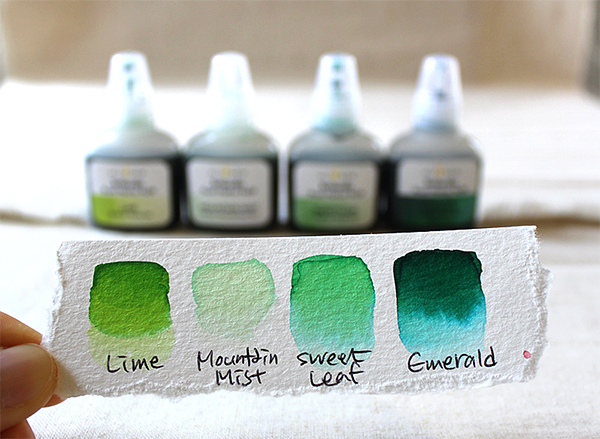 For leaves, I used
 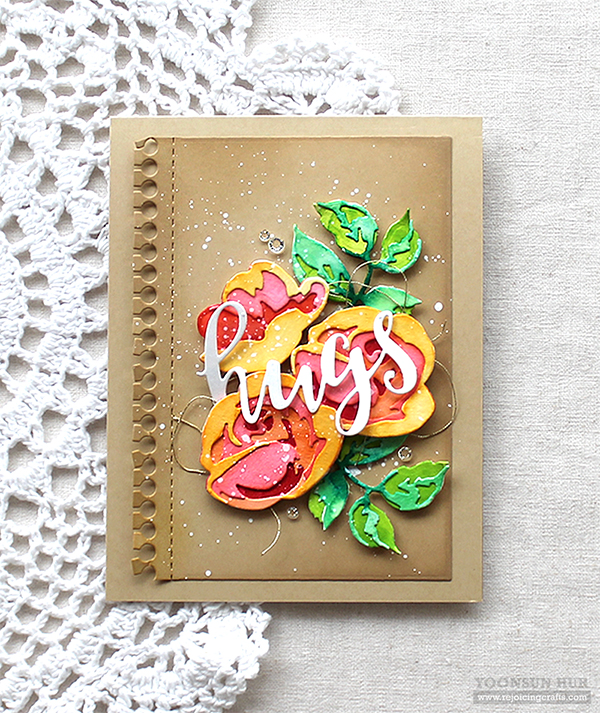 Once all die cuts were dry, I assembled flowers and leaves. For the sentiment, I die cut the word “Hugs” from white card stock using the
  I trimmed the left side of kraft rectangle panel down using the
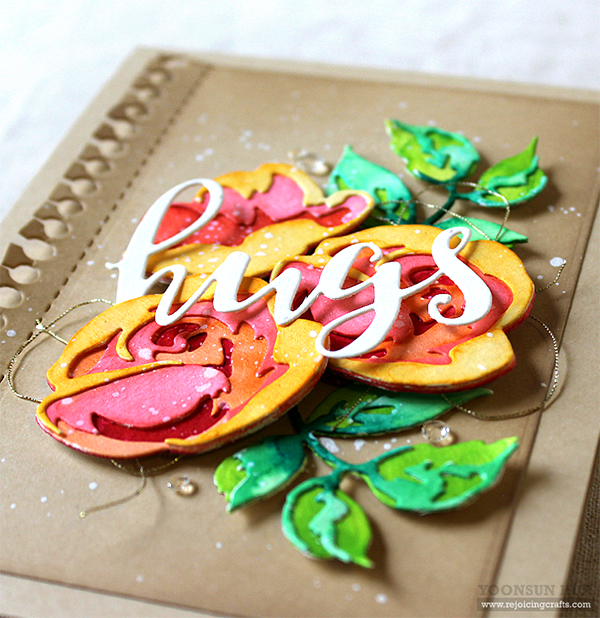
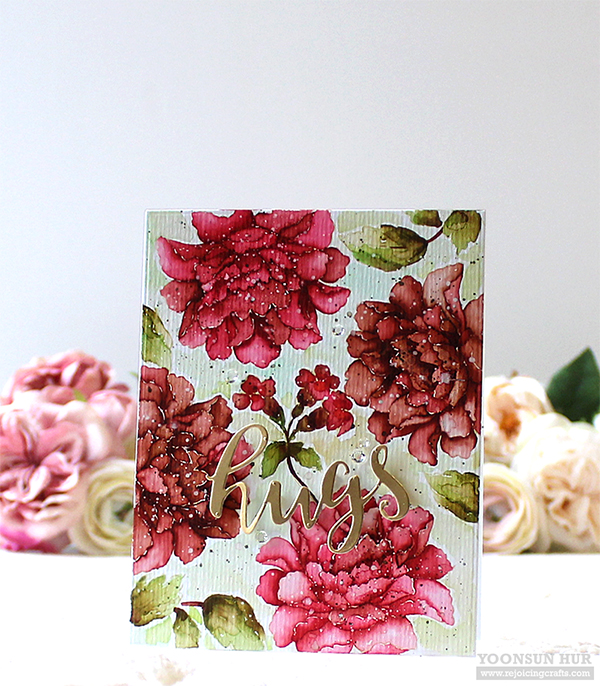 For my second card, I made no-line watercoloured floral background with the
 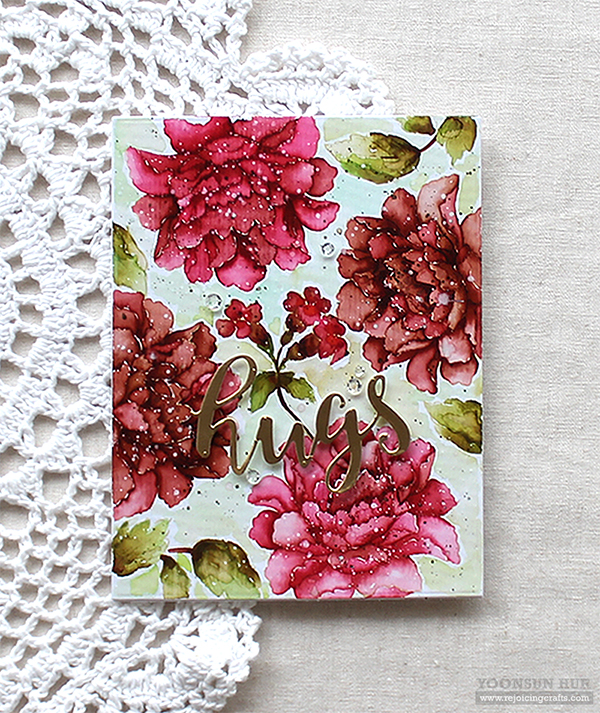 I randomly stamped flowers & leaves onto watercolour paper panel using
  I added green, brown, opaque white ink splatters to the entire panel.
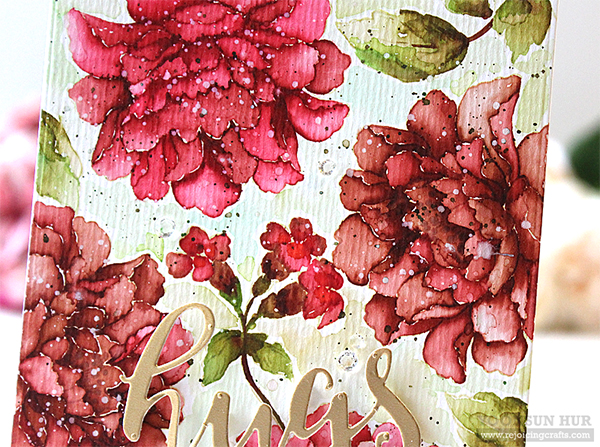


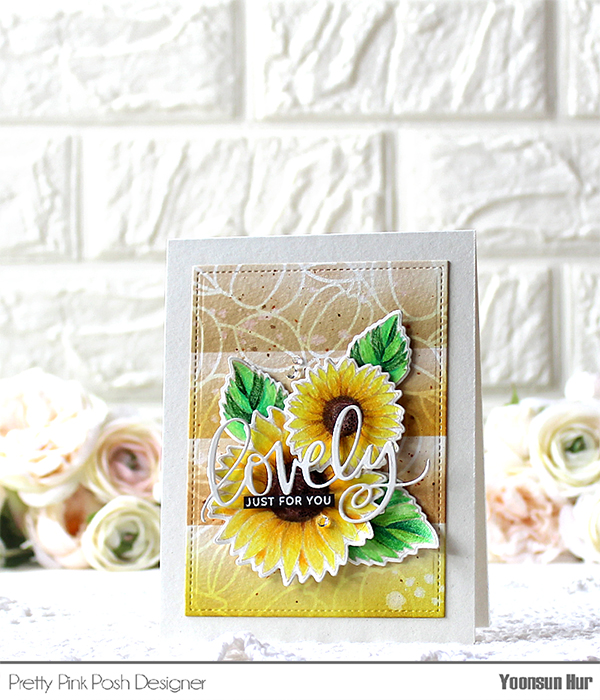 For my first card, I am featuring the
 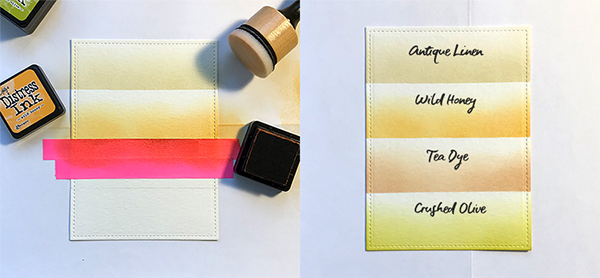 To create the card, I made a autumn coloured background with some Distress inks first – I divided
 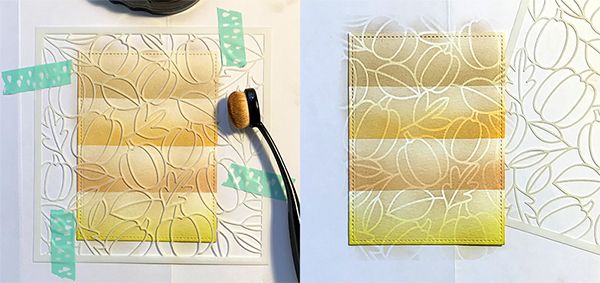 I placed the
  I stamped sunflowers & leaves from the
 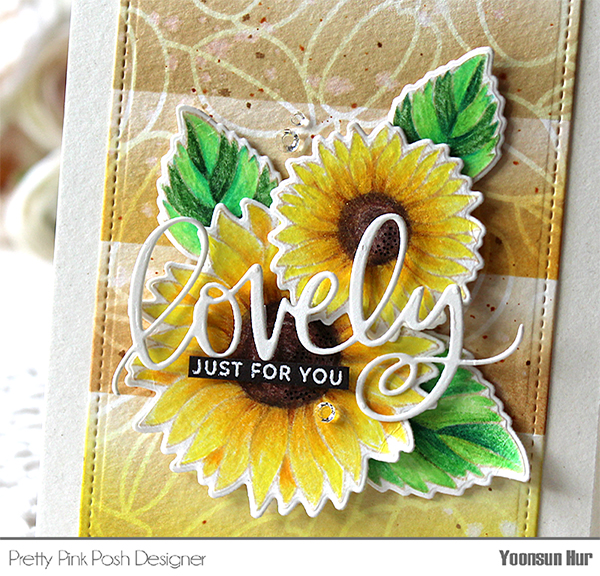 For the sentiment, I die cut the word “
 I mounted the stenciled background panel on white card base using double-sided tape first, and then added all elements as shown in the picture using foam tape. I embellished with a few
  For my second card, I am focusing on the
  I heat embossed
  I die cut the
 Here is one more card with the new products! (Maybe you’ve seen it before on PPP blog.)
 For the background, I placed the


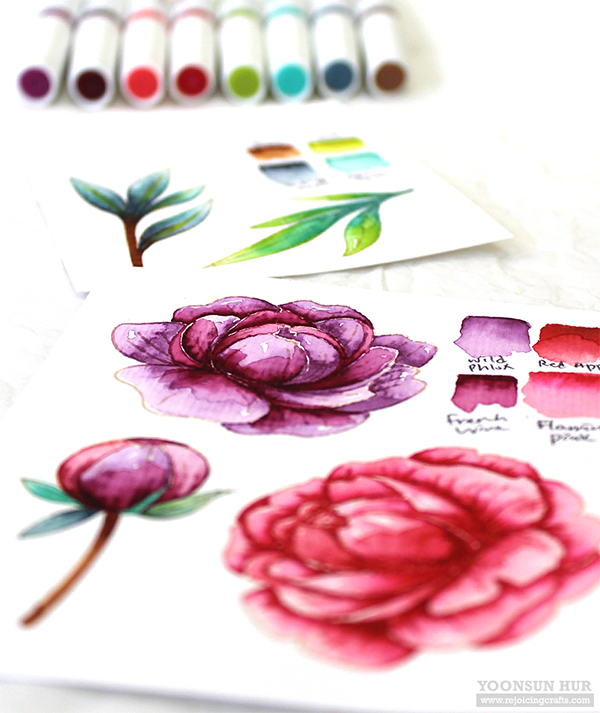
 For my first card, I made no-line watercolour peony card with some Nuvo Aqua Flow Pens.
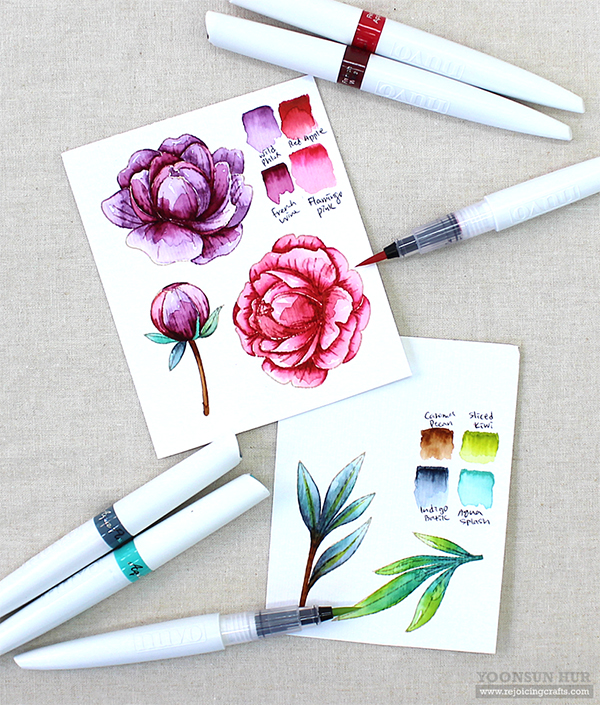 I stamped peonies and leaves from the
 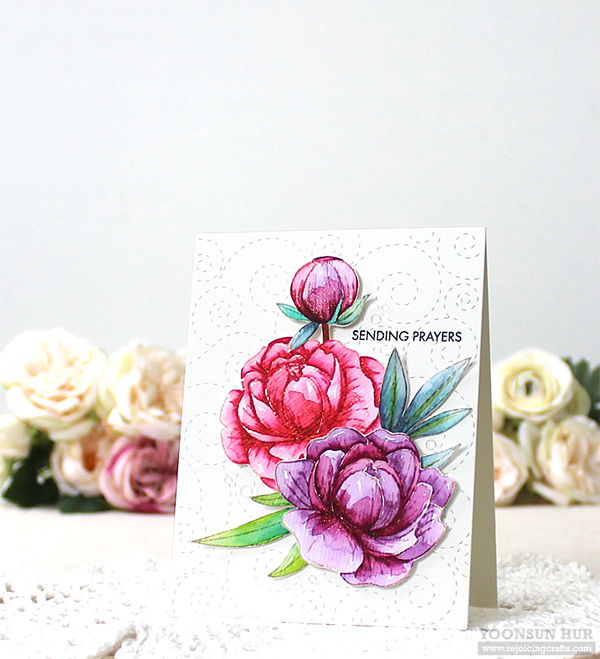 Once the watercoloured images were dry, I fussy cut them out, and then adhered them on the card front using foam tape.
 For the sentiment, I used the
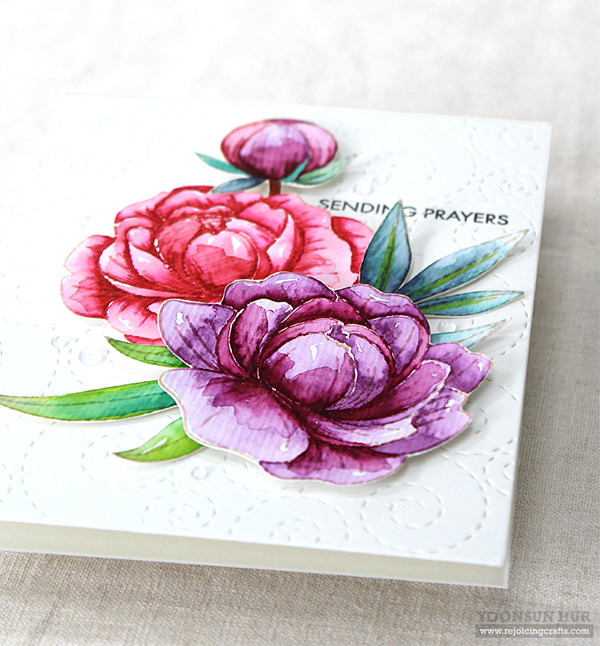
 Before I move to my second card, I highly recommend the
 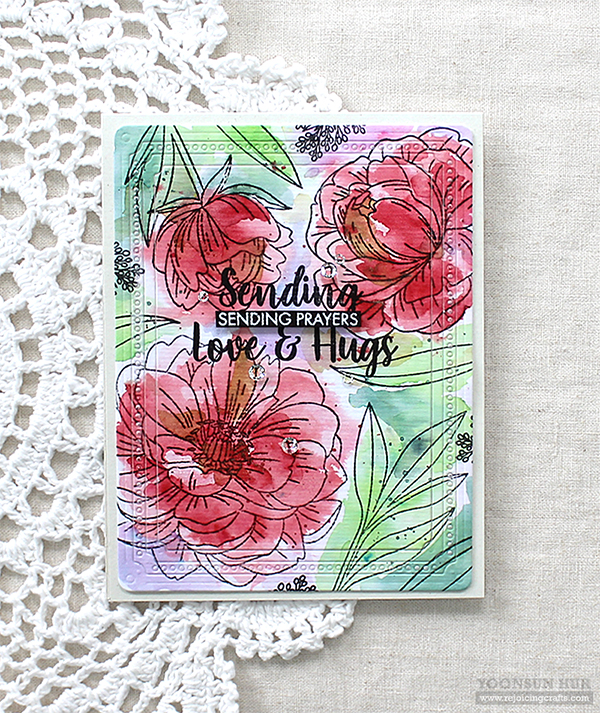 For my second card with the
  I randomly stamped flowers & leaves on watercolour paper panel using
  It looks quite messy but artsy, isn’t it? :D


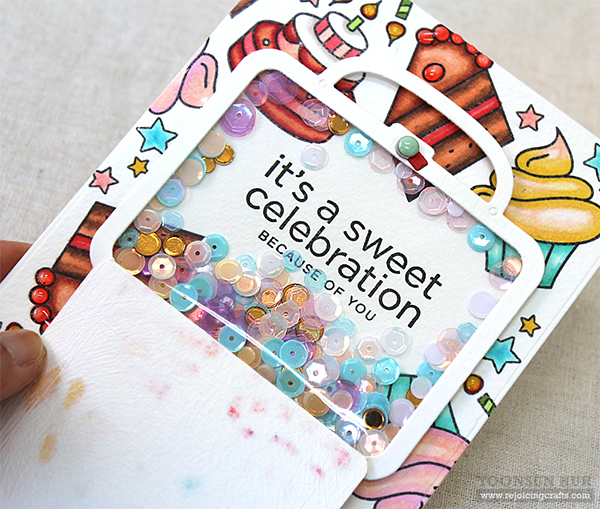
 I started by die-cutting 4.25″ x 5.5″ rectangle panel from watercolour paper using the
  Let’s look inside! There are another
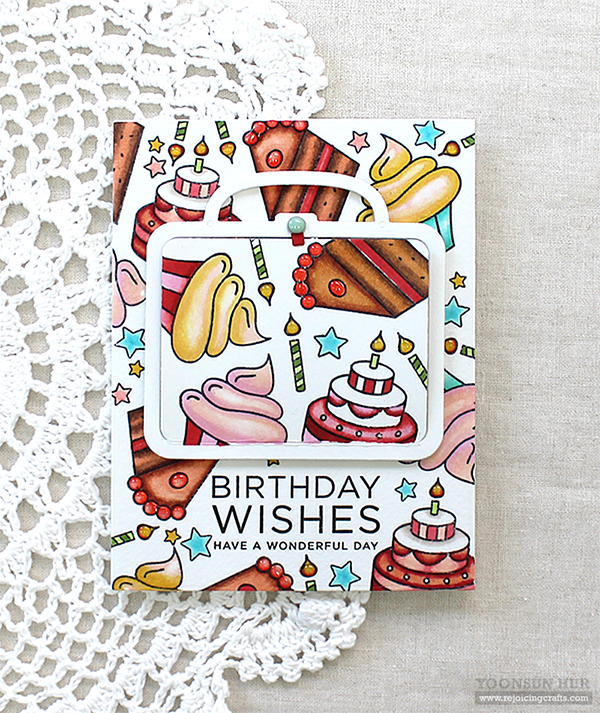
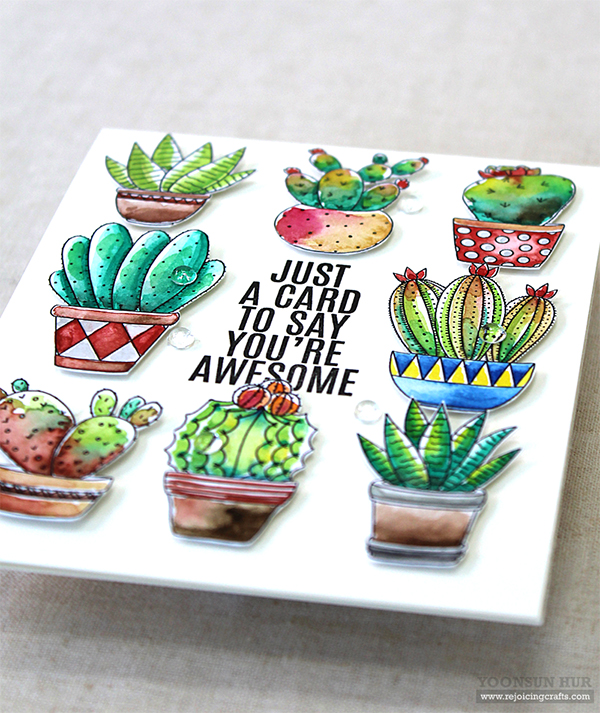
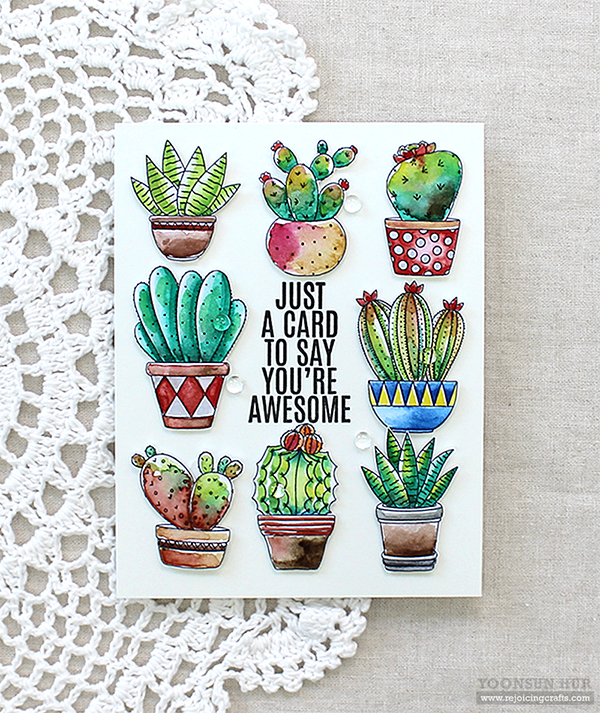 I coloured 8 adorable succulents with
 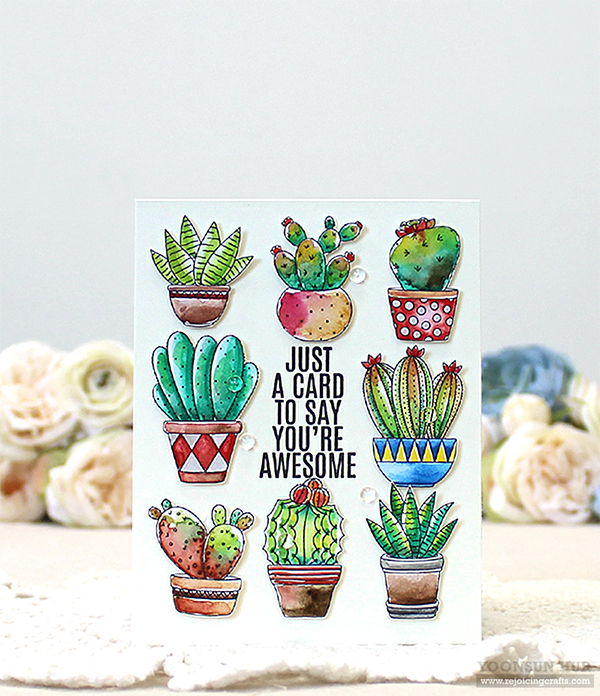 I stamped sentiment from the
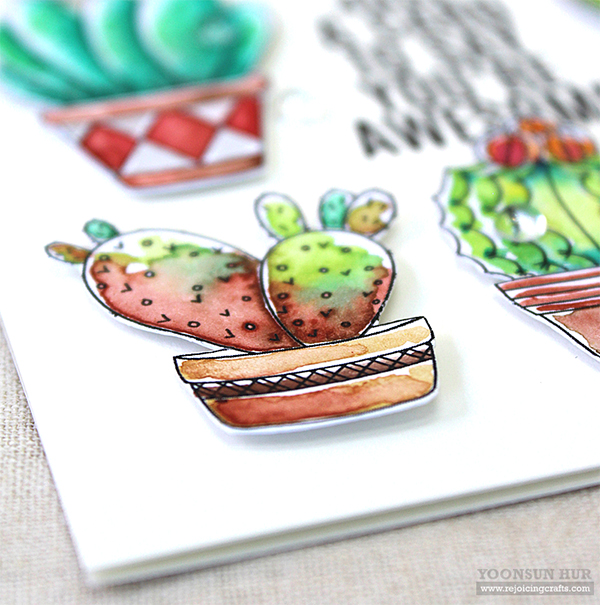
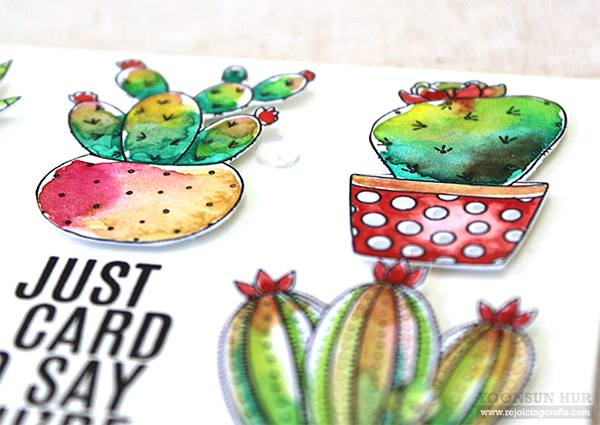
 Watercolouring succulents is so fun! Succulent leaves have many different colours in each of them.