Hello crafty friends, happy Thursday!
Welcome to the second day of the Altenew September 2017 Release Blog Hop!! We have 14 brand new stamp sets, 15 new die sets, and re-inkers in September! If you arrived here from Keeway Tsao’s blog you are on the right track!

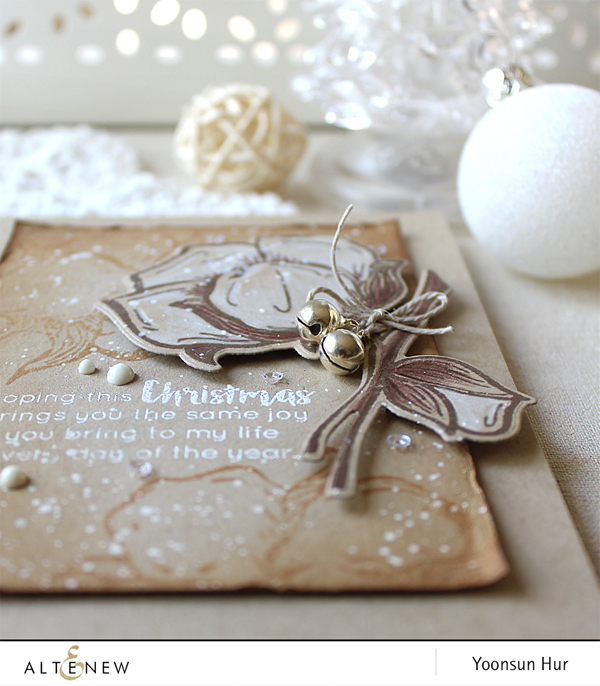
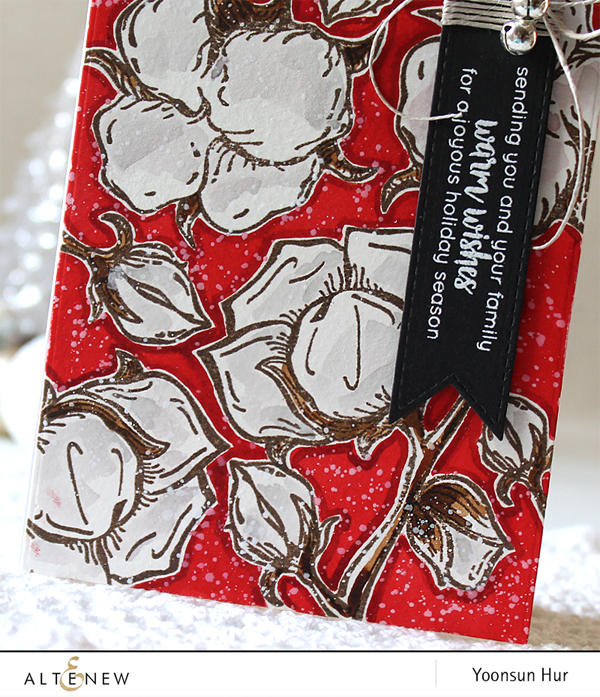
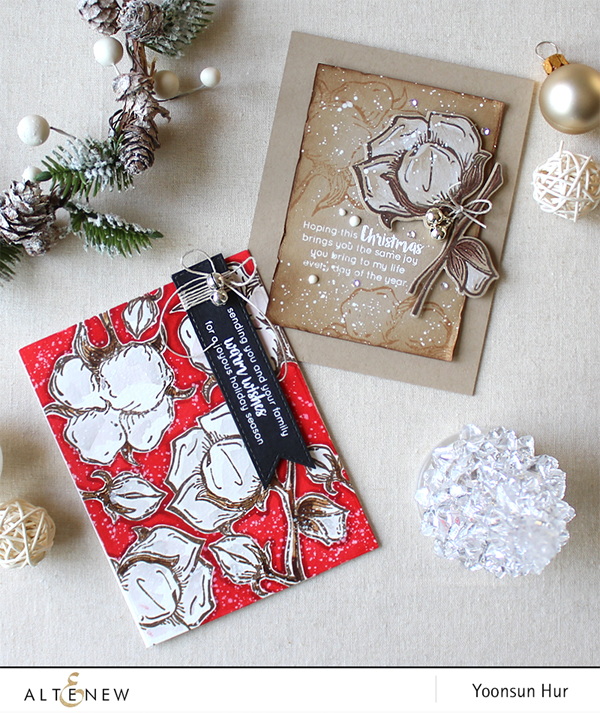
For my first two cards, I used the Cotton Comfort stamp set along with the Holiday Wishes stamp set.
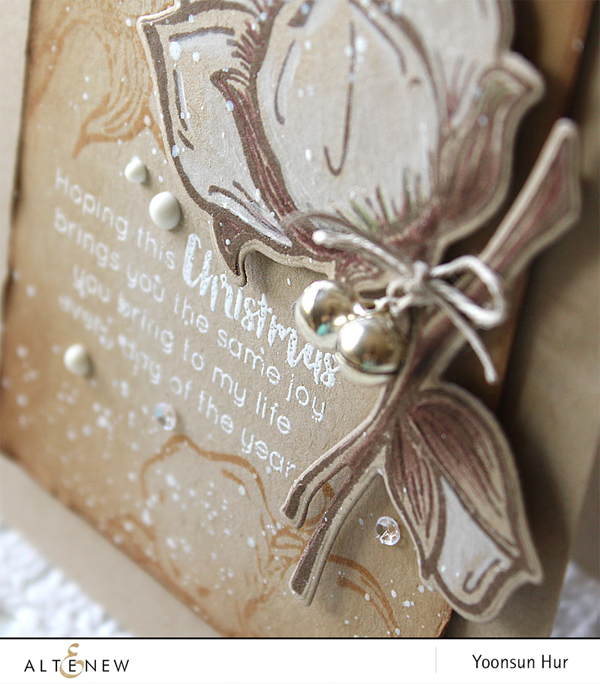
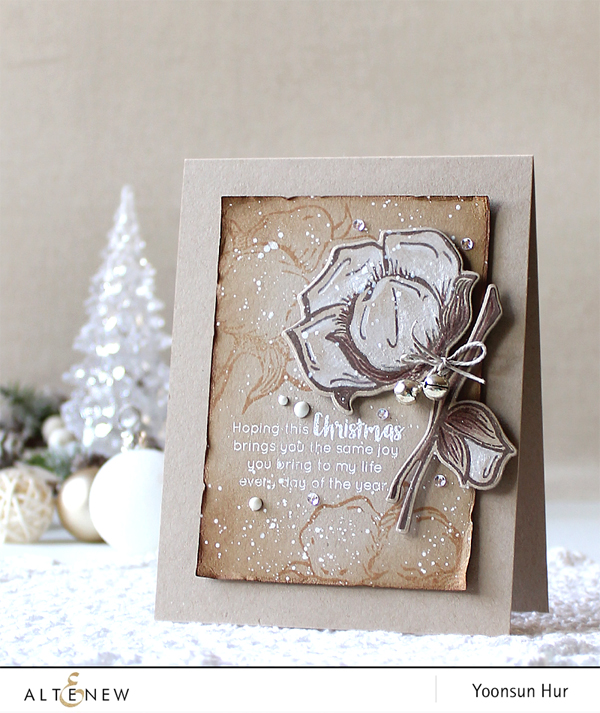 I love white on kraft! This is one of my favourite colour combinations for Christmas cards. I stamped the large cotton flower from the Cotton Comfort set on kraft card stock in brown pigment ink, coloured it with white polychromos pencil, and then die cut it with the matching die. For the sentiment panel, I heat embossed the sentiment from the Holiday Wishes set in white, stamped cotton flowers randomly using Tea Dye Distress ink, added white ink splatters, ink blended all edges with Vintage Photo Distress ink.
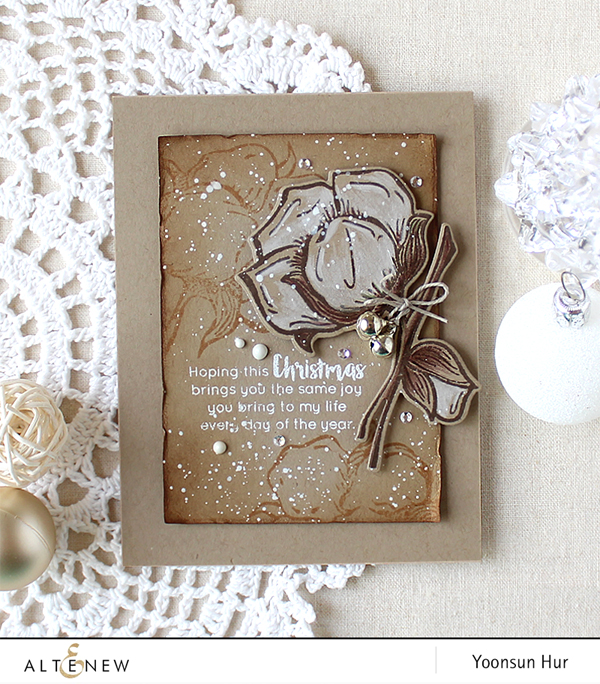 I tied the jingle bells on the cotton flower because it’s a Christmas card! :D
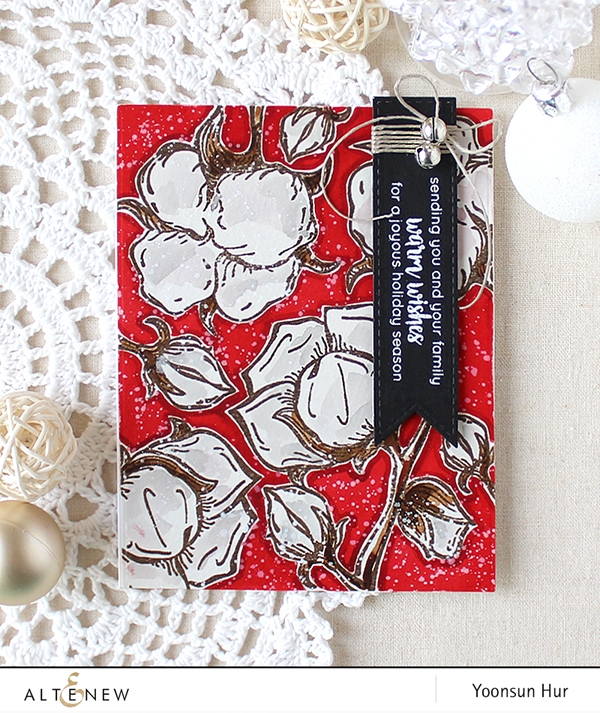
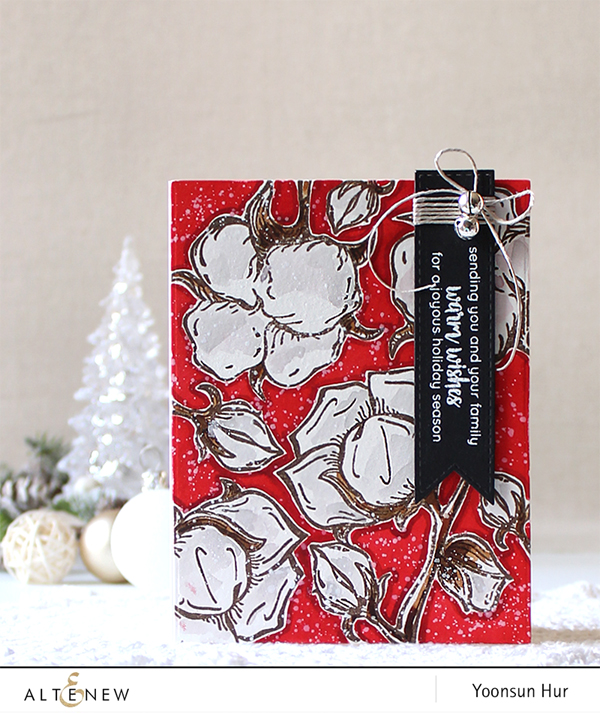 I randomly stamped cotton flowers from the Cotton Comfort set on watercolour paper panel in brown pigment ink, and then watercoloured the panel using Distress inks and a wet paint brush. I added white ink splatters. For the sentiment, I used the Holiday Wishes stamp set.
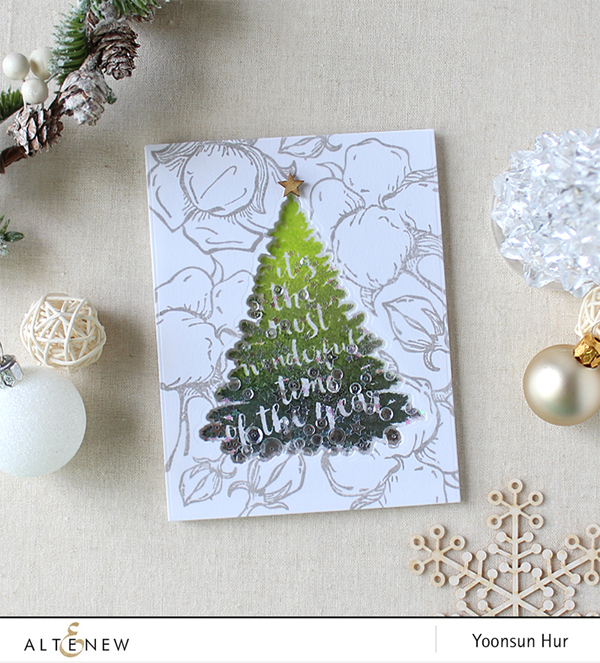
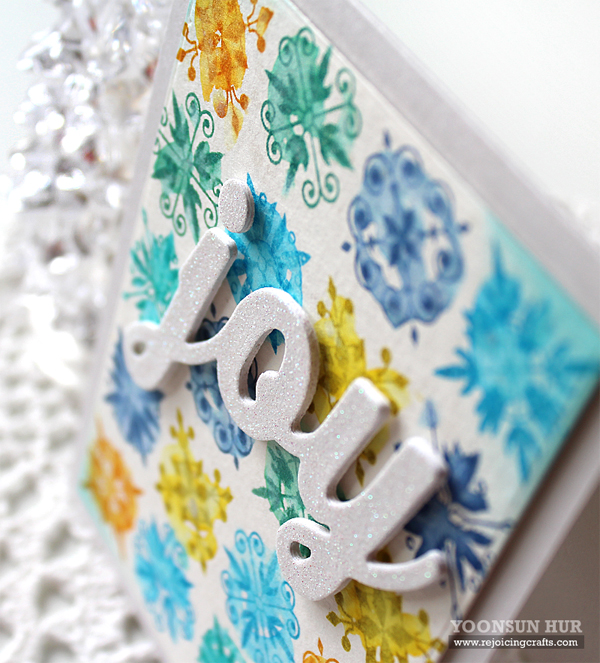
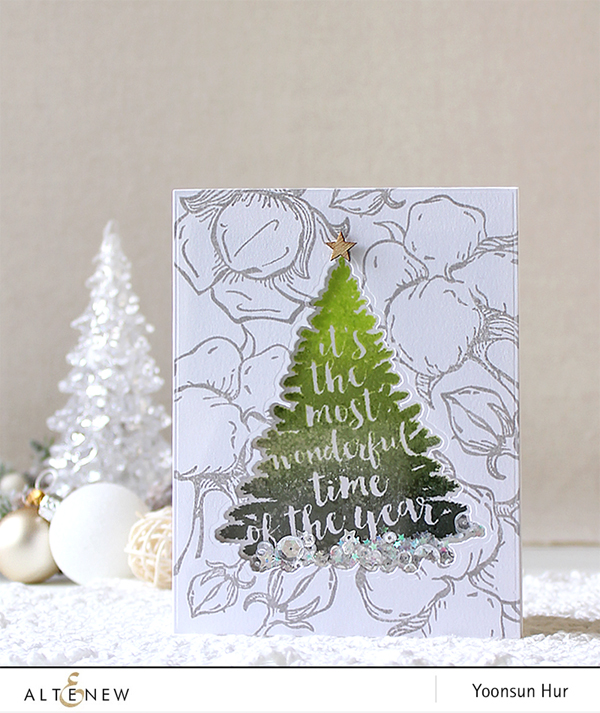 For my third card, I made a shaker Christmas card using the Night Before Christmas stamp & die set. I stamped cotton flowers from the Cotton Comfort set randomly onto white paper panel using Silver Stone dye ink, then cut a Christmas tree window on the centre of the stamped panel using the Night Before Christmas die. For the ombré stamped tree, I used the Bamboo, Forest Glades, and Evergreen dye inks.
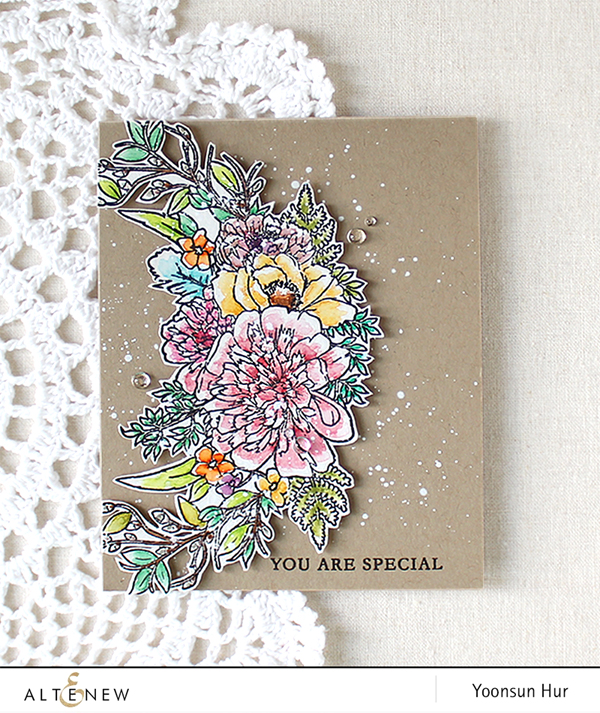
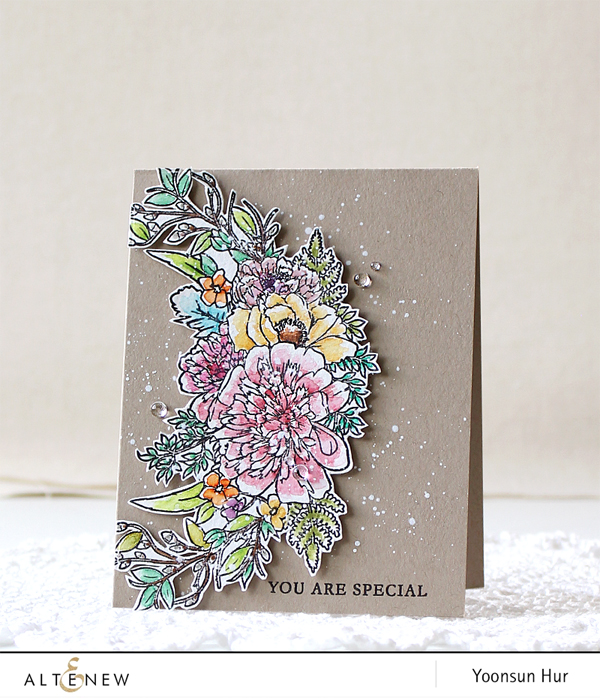 For my last card, I made a watercoloured flower card using brand new Just Because stamp set. It looks gorgeous in my eyes, haha!! I stamped the flower cluster on watercolour paper in black pigment ink, lightly watercoloured the stamped image using watercolour pencils and water brush, and then fussy cut it. I mounted it on the left side of kraft card using foam tape, and then added white ink splatters.
 GIVEAWAY 1!
To celebrate this release, Altenew is giving away a $50 gift certificate to THREE lucky winners! Please leave a comment on the Altenew Scrapbook Blog by Thursday, October 5th at 11:59 pm EDT for a chance to win. The winners will be announced on the Altenew Scrapbook Blog on Saturday, October 7th.
GIVEAWAY 2!
I’m also giving away a $30 gift certificate to one lucky winner! Please leave a comment on this blog post by Thursday, October 5th at 11:59 pm EDT for a chance to win. I’ll announce the winner in this post on Saturday, October 7th.
BLOG HOP LIST:
Your next stop on the hop is super amazing Marika Rahtu. We hope you have all enjoyed our fun and inspirational blog hop!
Altenew Scrapbook Blog
Kristina Werner
Laura Bassen
Erum Tasneem
Agnieszka Malyszek
Kymona Tracey
Virginia Lu
Keeway Tsao
Yoonsun Hur (Me!!)
Marika Rahtu
Reiko Tsuchida
Therese Calvird
Terhi Koskinen
Thank you so much for stopping by. Happy crafting!!
Keep smiling and be blessed! God bless you all!
Love Love Love RejoicingCrafts


 To create this card, I 1) Drew grid lines on watercolour paper panel using a pencil. 2) Stamped damask images from the
  I tried to create a clean and simple Christmas card. :D
 Thank you so much for stopping by. Happy crafting!

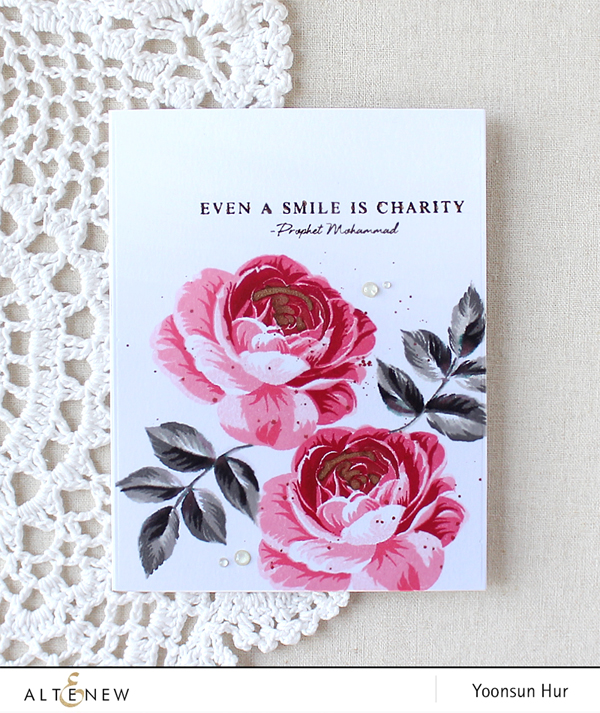 I stamped
 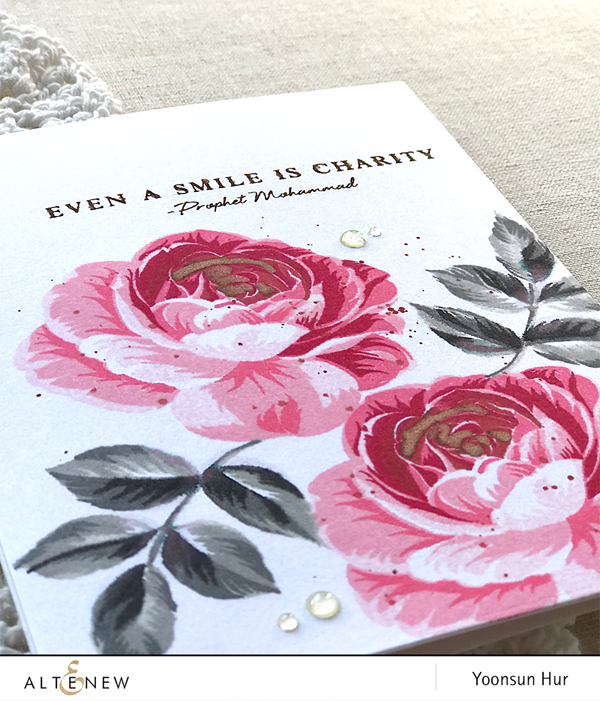 Oh, I love this set. These stamped roses are quite lifelike!!
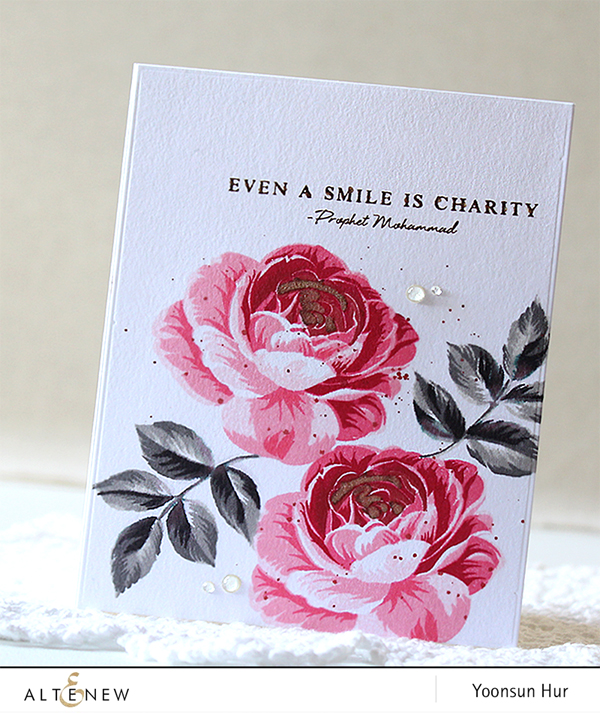 Please visit and leave a comment on the
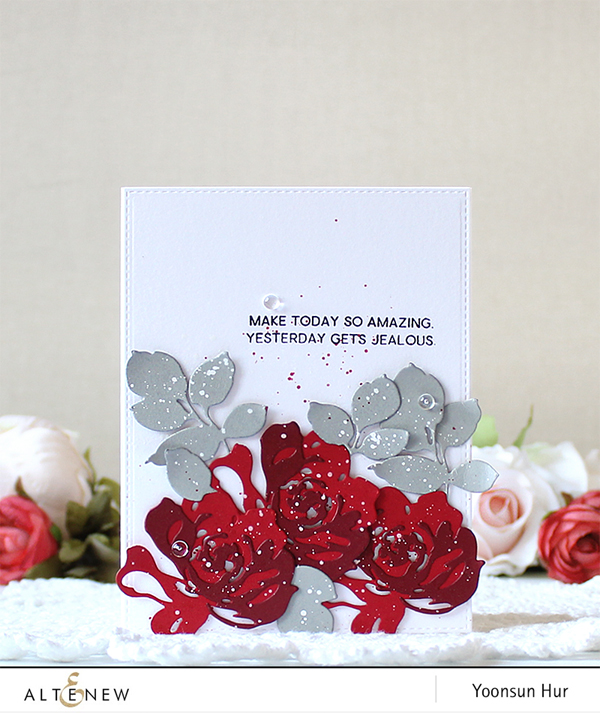 It’s so easy to make! I 1) Die cut two layered flowers from red card stocks and leaves from grey card stock using the Altenew
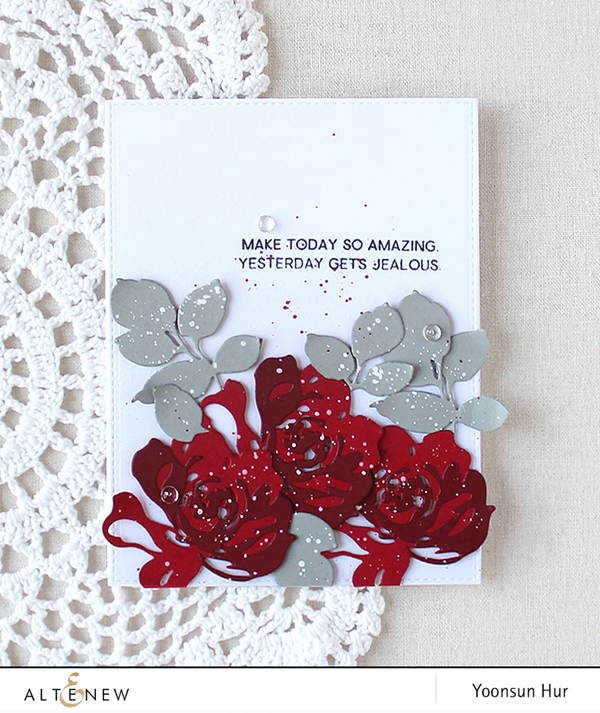
 Thank you so much for stopping by. Have a wonderful weekend!!

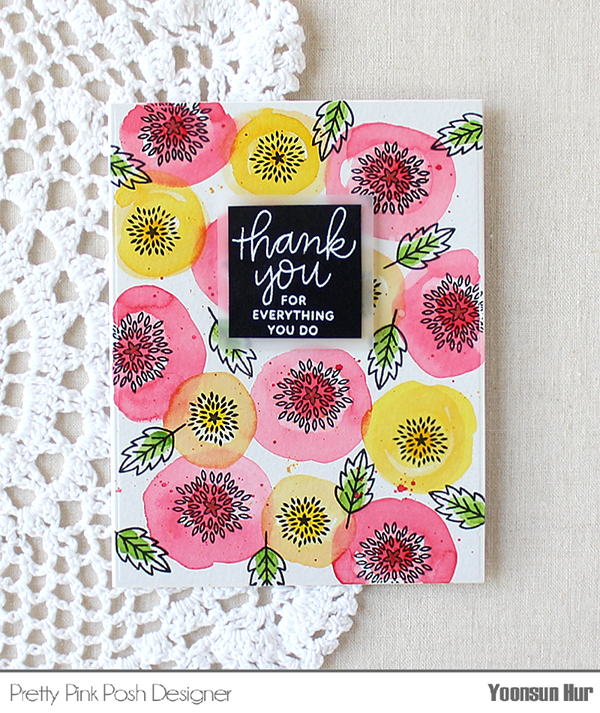 I started by stamping small flowers (from the
  For the sentiment, I used the
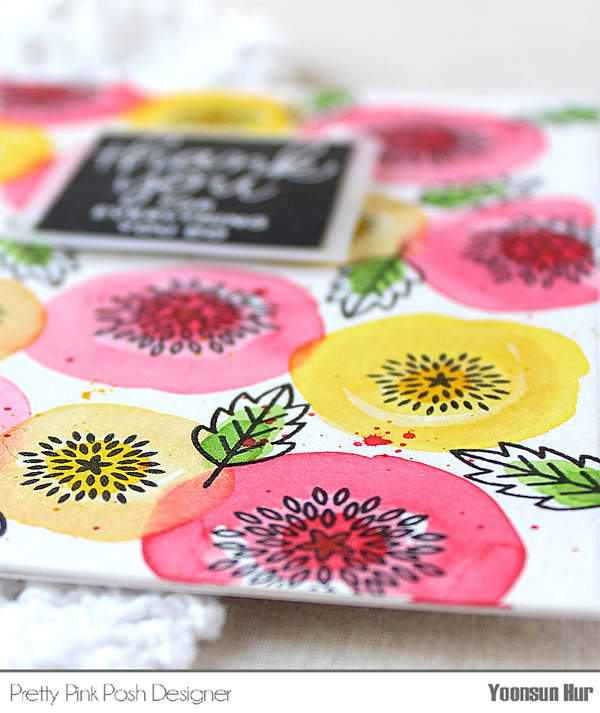

 I die cut the stitched leaves from watercolour paper using the
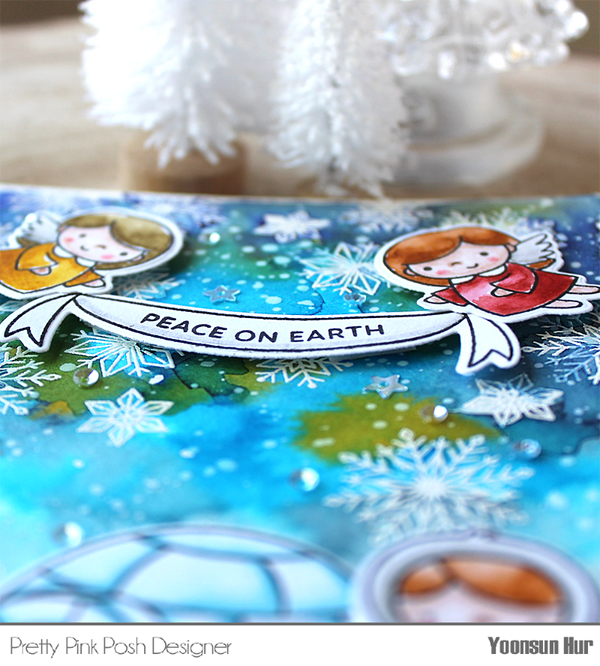
 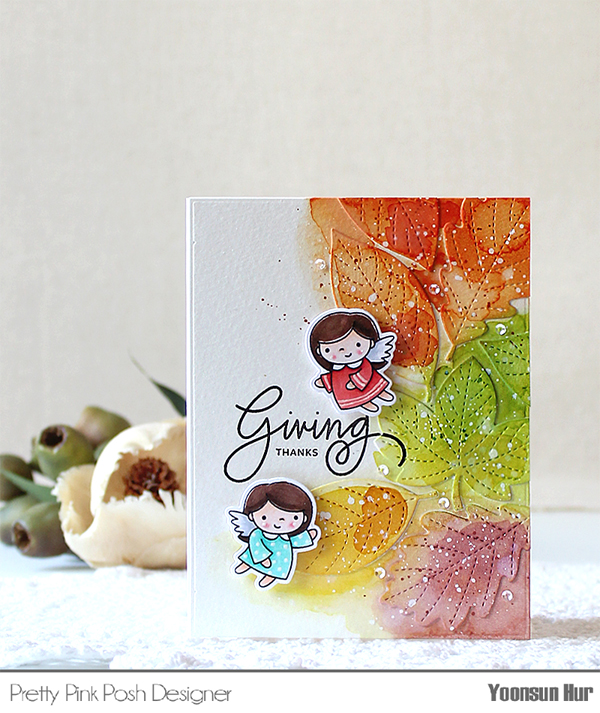 For those adorable angels, I stamped them (from the
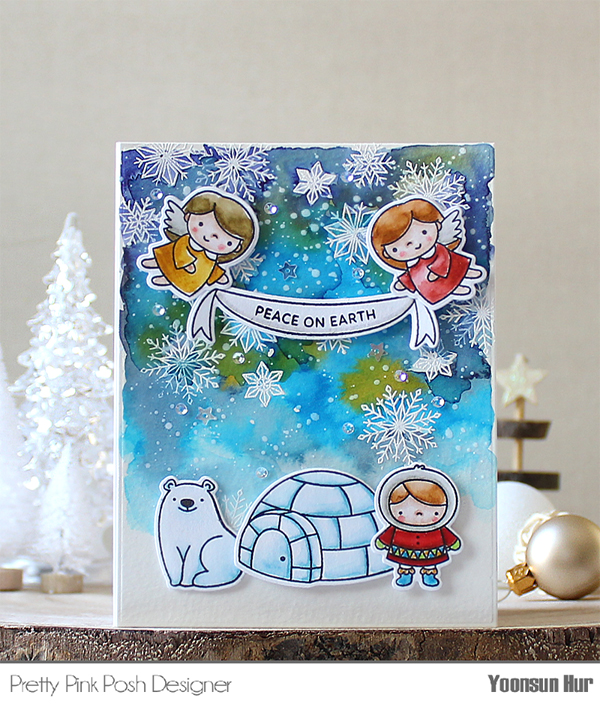 I heat embossed snowflakes (from the
 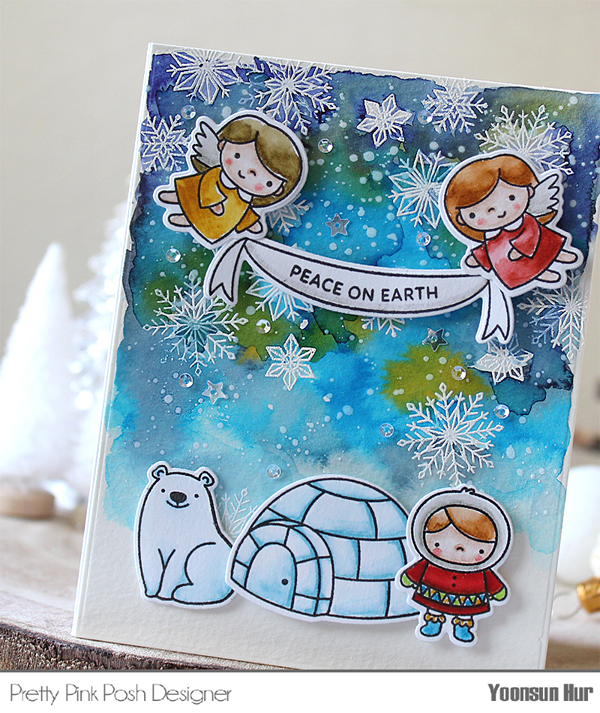 I watercoloured all adorable images – angels, eskimo girl, polar bear, igloo – with Peerless watercolors.