Hello crafty friends, TGIF!!
Welcome to the second day of the Pretty Pink Posh March 2018 Product Release Blog Hop! If you arrived here from the Alix Davis’s blog you are on the right track.

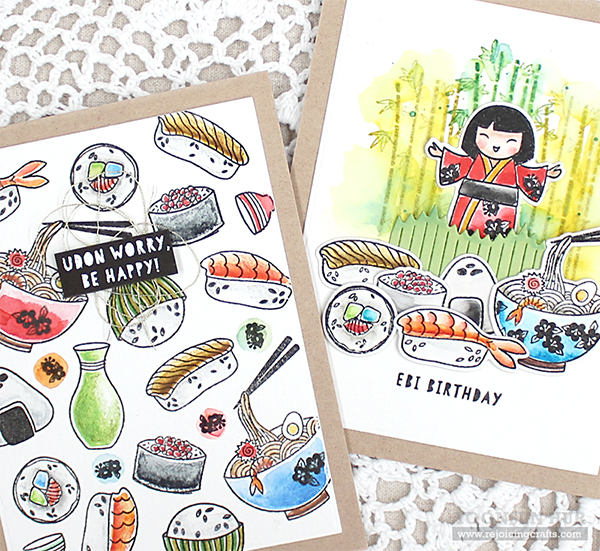
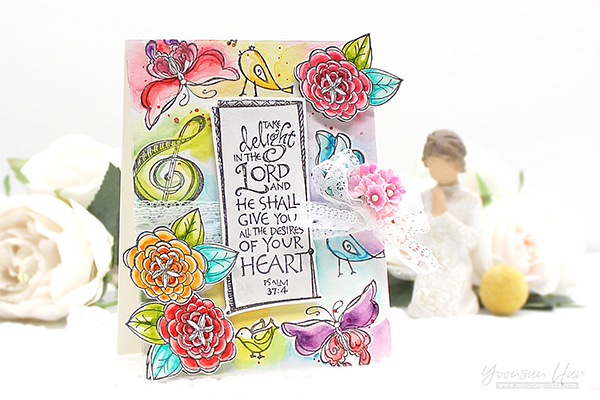
 To create the card, I stamped flowers & leaves (from the Cherry Blossoms stamp set) and the sentiment (from the Encouraging Greetings stamp set) on watercolour paper panel in black pigment ink. I then lightly coloured the stamped images with watercolours and a wet paint brush. I added red ink splatters.
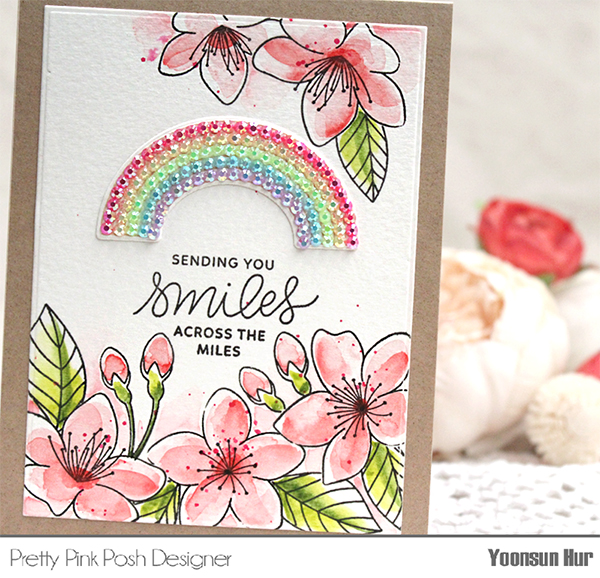 For the sparkly rainbow, I stamped it from the Best of Luck set on white card stock using Memento Desert Sand dye ink, die cut it with the coordinating die. Once the watercoloured panel was completely dry, I mounted the panel on top-folded kraft card base using double-sided tape, adhered the stamped rainbow die cut above the sentiment, and then added Jewels on it using fine tip glue pen.
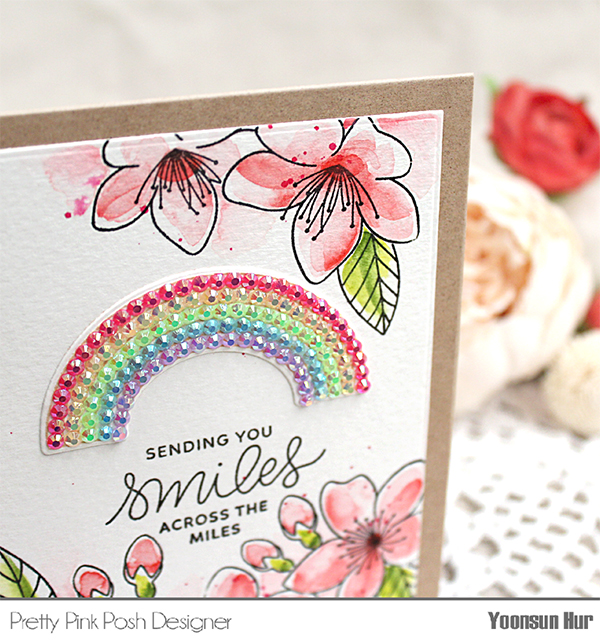 I love these new sparkly Jewels so much!!

 For my second card, I created a messy watercoloured flower card with the Cherry Blossoms stamp set. I stamped flowers and leaves on watercolour panel using Antique Linen Distress ink first, and then coloured them with Worn Lipstick, Mowed Lawn, and a bit of Wild Honey Distress inks. Next, I brushed over the coloured images with clean water – Distress inks react with water!
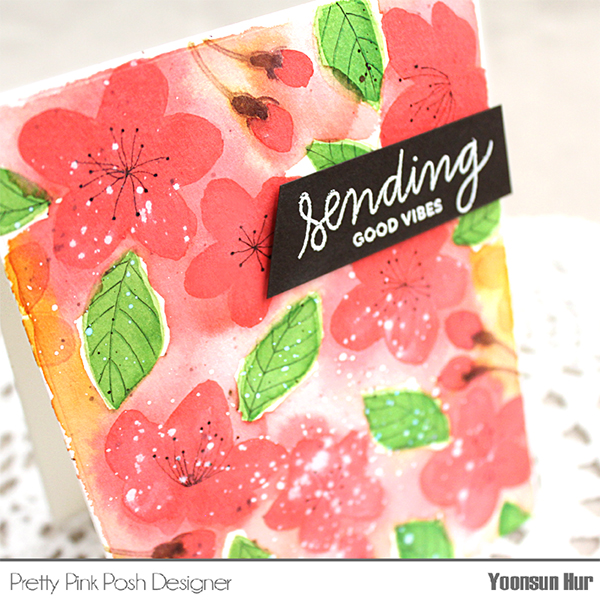 Once the floral panel was completely dry, I mounted it on white card base using double-sided tape, and then added details of the images using 0.05mm Copid multiliner, white ink splatters.
 For my last card, I am featuring the Cherry Blossoms set and the Stacked Edges 2 die. I die cut 4 diamond stripes from watercolour paper using the Stacked Edges 2 die first, and then inked stripes with Distress inks and round ink blending tool.
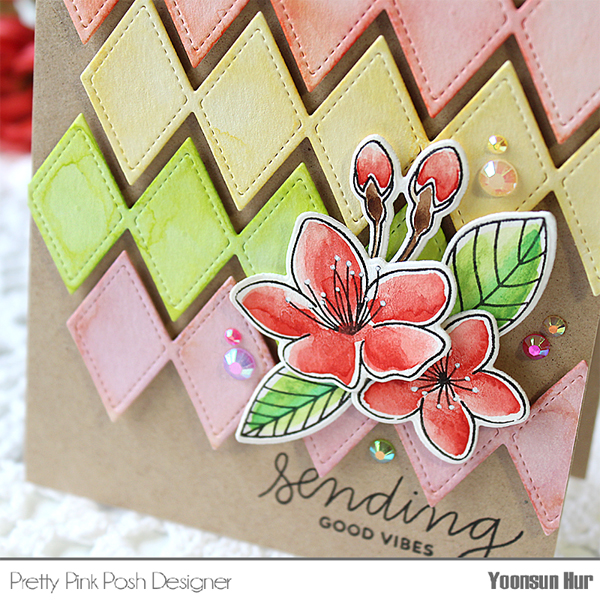 For a cluster of flowers, I stamped & watercoloured them, then die cut them with the Cherry Blossoms coordinating dies. I added Jewels for finishing touches.

GIVEAWAY!!
There are 4 $25 gift certificates up for grabs (two winners each day). Winners will be picked randomly along the blog hop. Comments must be left by 11:59 PM PST on 3/12/2018. Winners will be announced on the PPP blog.
BLOG HOP LIST:
Pretty Pink Posh blog
Liz Sarkisyan
Heather Hoffman
Carissa Wiley
Suzy Plantamura
Melody Rupple
Dana Gong
Crystal Thompson
Teri Anderson
Joni Andaya
Thi Lam
Alix Davis
Yoonsun Hur (Me!!)
Thank you so much for stopping by. Happy crafting!!
Keep smiling and be blessed! God bless you all!
Love Love Love RejoicingCrafts

https://linkdeli.com/widget.js?1520495252046
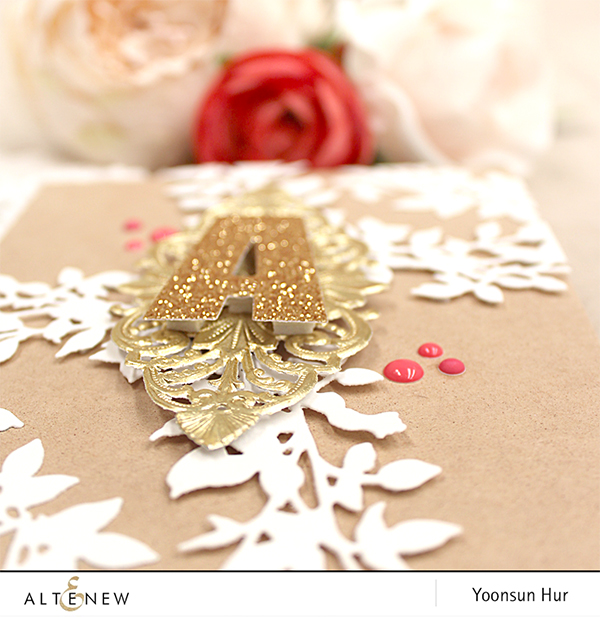
 To create the card, I die cut the Leafy Garland from white card stock 4 times and then die cut the letter “A” from glitter gold card stock. The beautiful bride’s name is Amy so I used the letter “A”.
 I adhered the white leafy garland die cuts on kraft card base using Altenew glue tape & foam tape. I then added the Altenew Fenstone Decorative Element and the letter “A”, as shown in the picture, using foam tape. To add a bit more colour, I decorated the card with hot pink enamel dots. Easy peasy, right?!
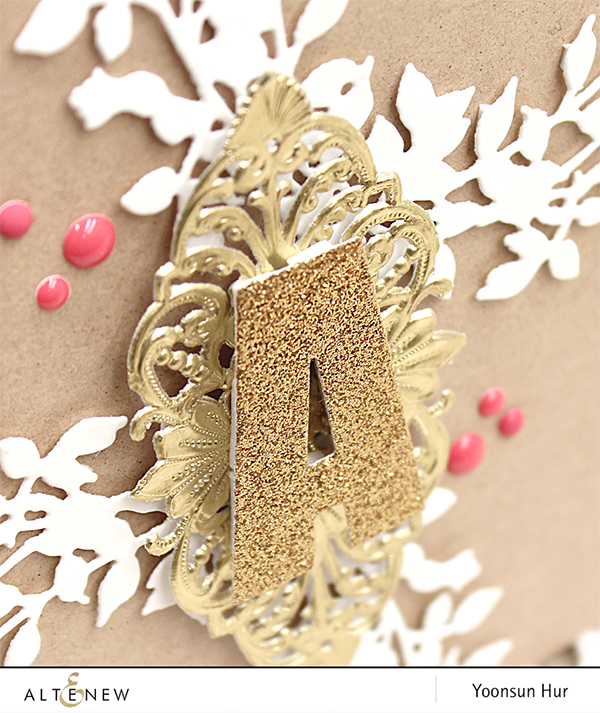

 For my first card with the
  I ink blended on a rectangle
 For my second card, I used the
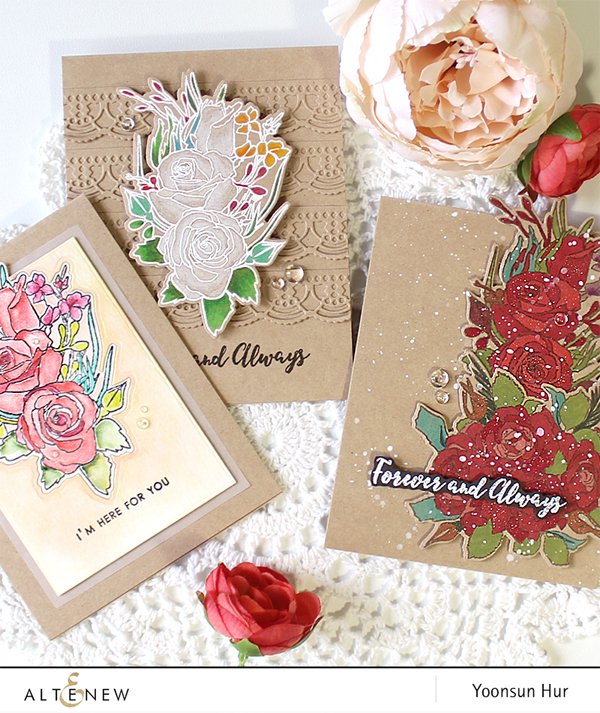
 For my last card today, I used
  For the card base, I die cut 4 laces from kraft cardstock using the
 I started by stamping the sentiment from the
 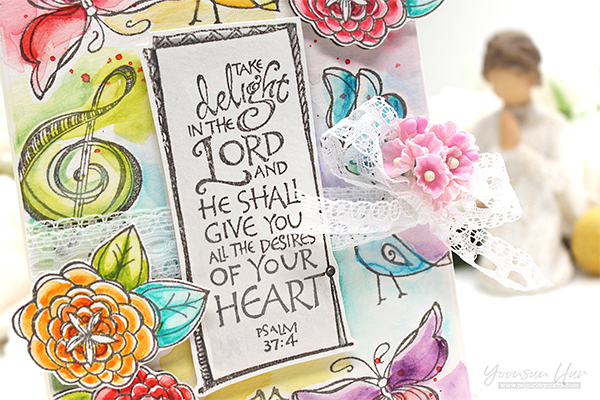 I brushed over the stamped images with clean water first, and then coloured them with watercolours just the way I like! I also coloured another stamped flowers (from the
  Once the panel was completely dry, I decorated the panel with lacy ribbon & small flowers as shown to the picture, and then mounted the panel on white card base using double-sided tape. Finally I added the sentiment panel & flowers using foam tape. :)
