Blessed Sunday, crafty friends!
Today I’m just popping in to share with you my floral “For You” card using Simon Says Stamp Floral Mix Background Stamp.
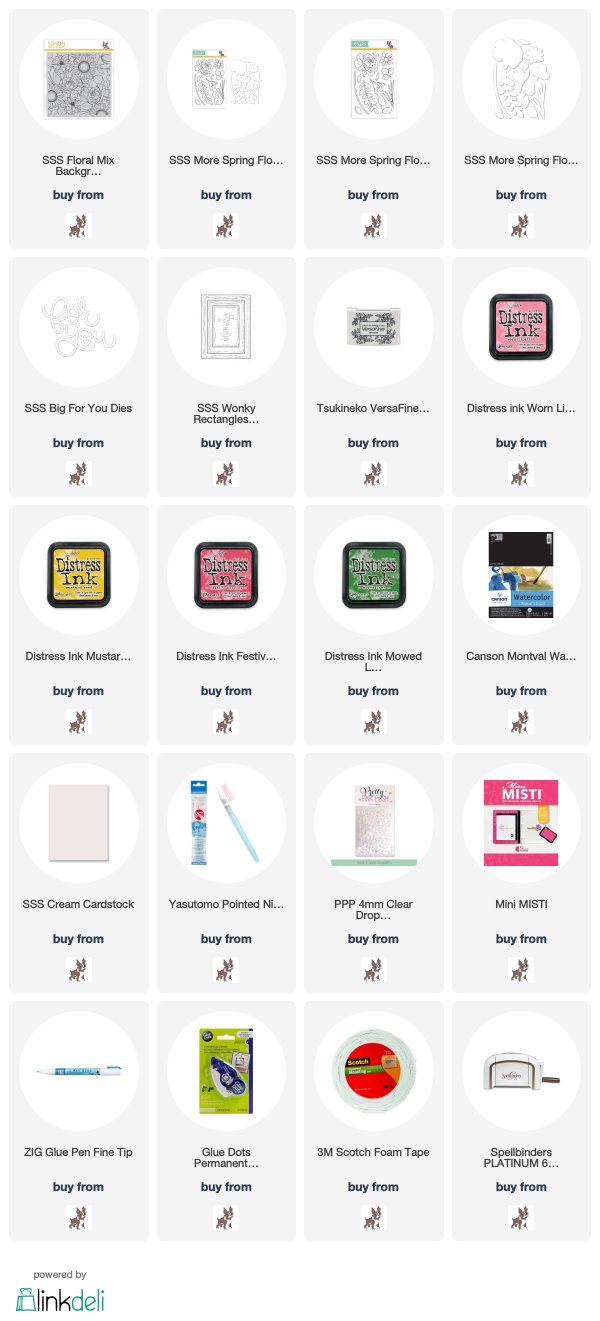
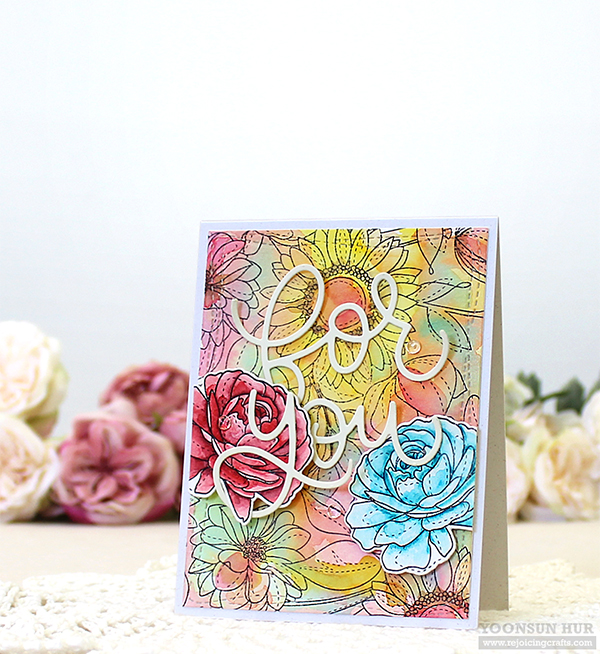 I die cut the Wonky Rectangle Panel from watercolour paper first, and then stamped the Floral Mix Background on watercolour panel using VersaFine Onyx Black.
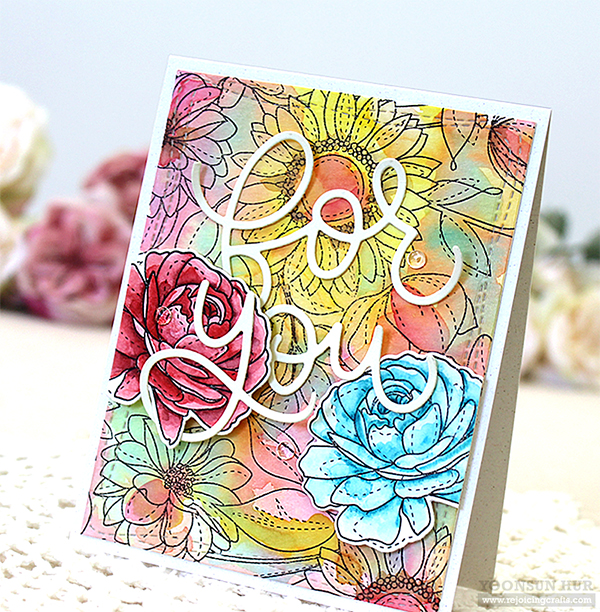 To colour the stamped background, I used watercolour smooshing technique. I applied on a laminate pouch with several Distress inks, and then spritzed on them with clean water. Next, I turned the ink applied pouch over, and smooshed it into the stamped panel. I used the Worn Lipstick, Mustard Seed, Festive Berries and Mowed Lawn Distress inks.
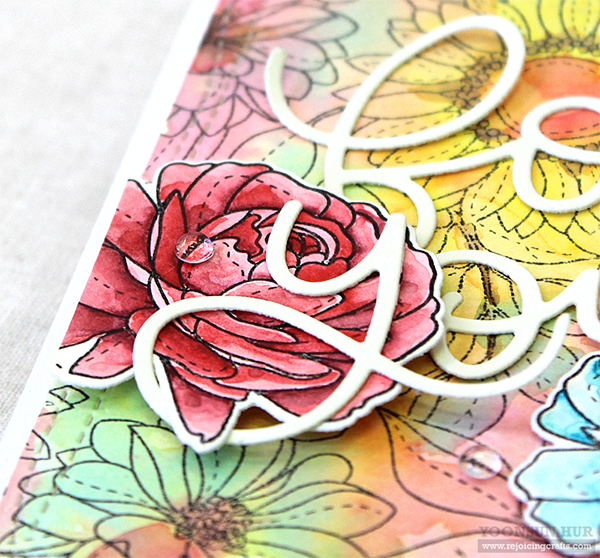
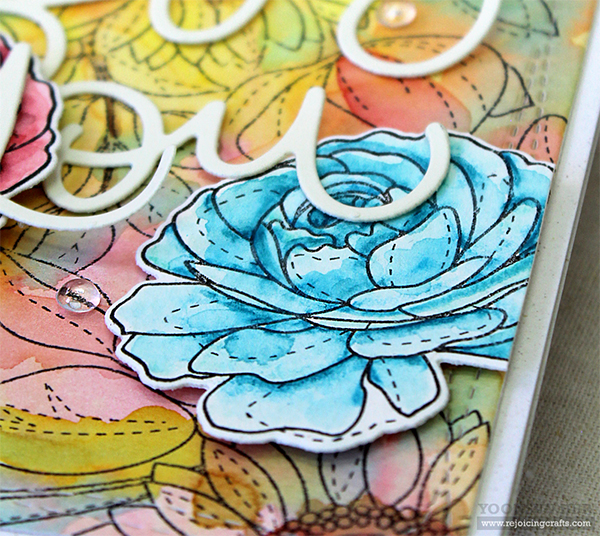
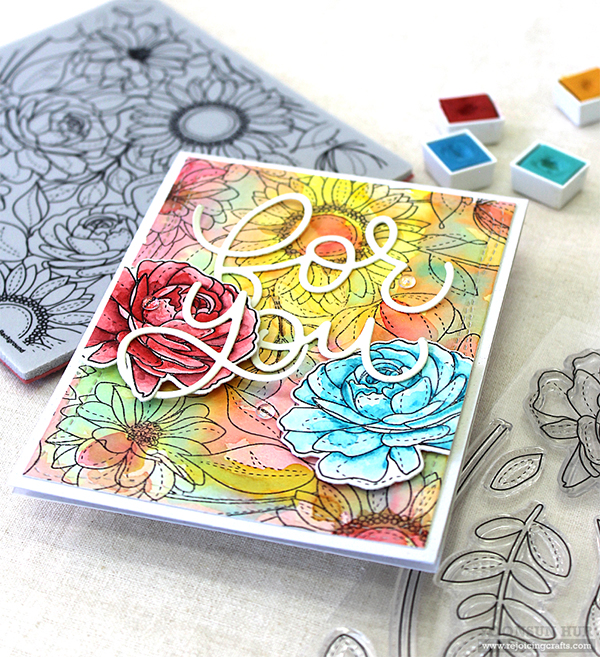 I stamped roses from the More Spring Flowers set on a separate watercolour paper in black pigment ink, watercoloured them, then die cut them with the matching dies. For the sentiment, I die cut the Big For You from white card stock.
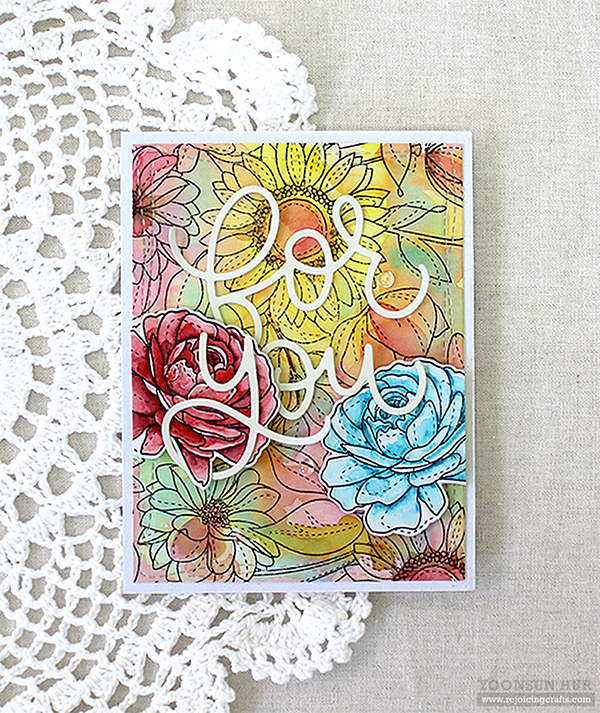 This “For You” card, we can use it for our mum, or people who need encouragement! :D
Thank you so much for stopping by. Have a wonderful day!
Keep smiling and be blessed! God bless you all!
Love Love Love RejoicingCrafts
 I started by heat embossing the sentiment on stitched
 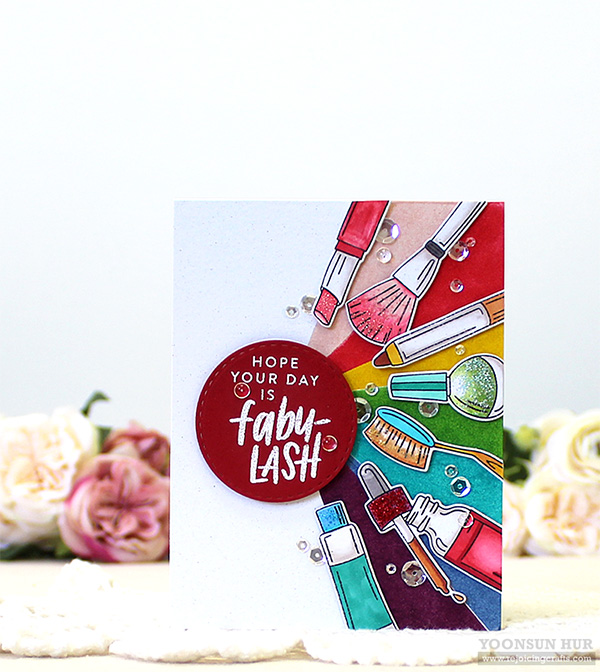 For my rainbow background, I inked up with several Distress inks. I lightly drew diagonal lines on the right side of the card base using pencil, and then inked each space (as shown in the picture) with Distress inks one by one: (from the top)
 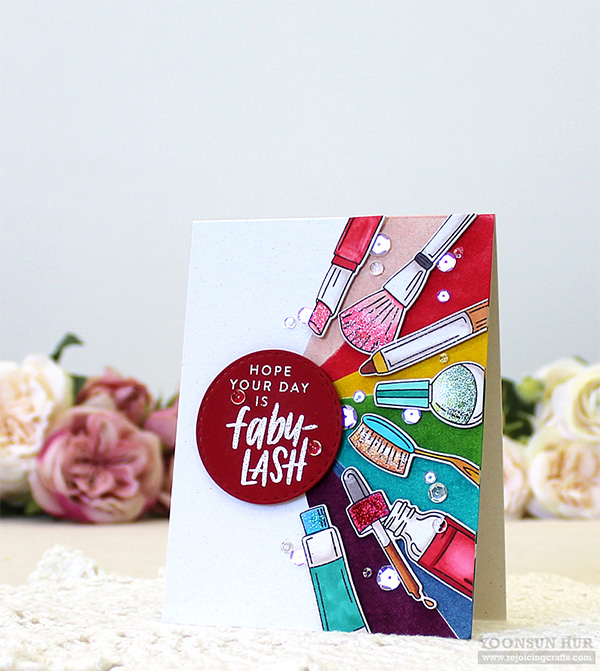 I adhered the circle sentiment banner on the left side of the card using foam tape first, and then all coloured makeup images using fom tape as well.
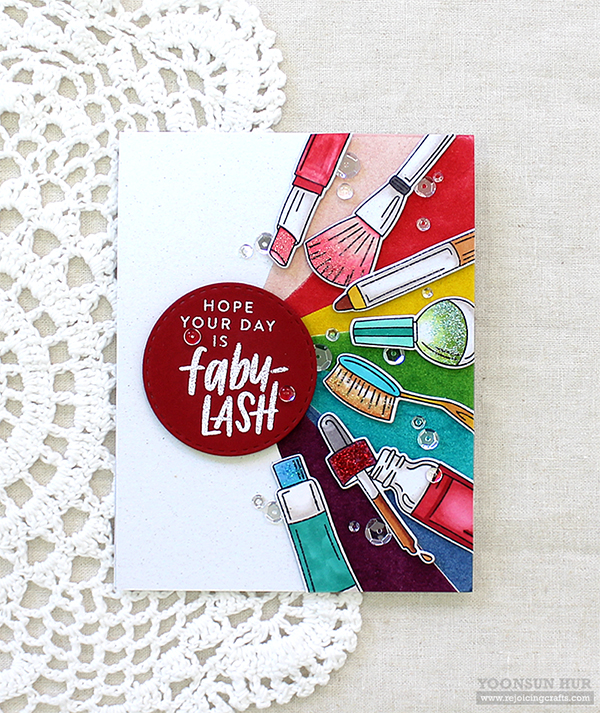 I embellished with a few PPP
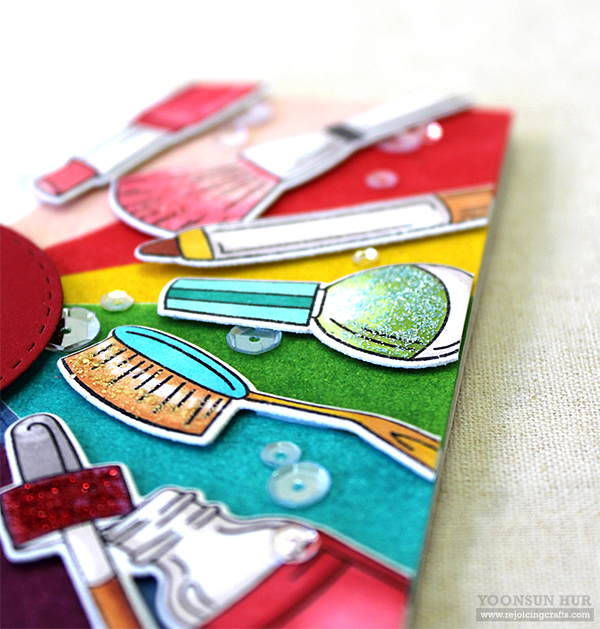 Finally I added glitter glues over the cosmetics images. I love it!! :D
 For my first card, I made a watercoloured floral shaker card. I die cut the
  I stamped butterflies from the
  Once the main floral panel was dry, I adhered the acetate sheet to the back of the panel, added


 For my second card, I used the
  I simply adhered the
  I added white heat embossed sentiment banner using foam tape, and then decorated the word “O” with clear jewels.
 “Mum, you are ONE OF A KIND!!”
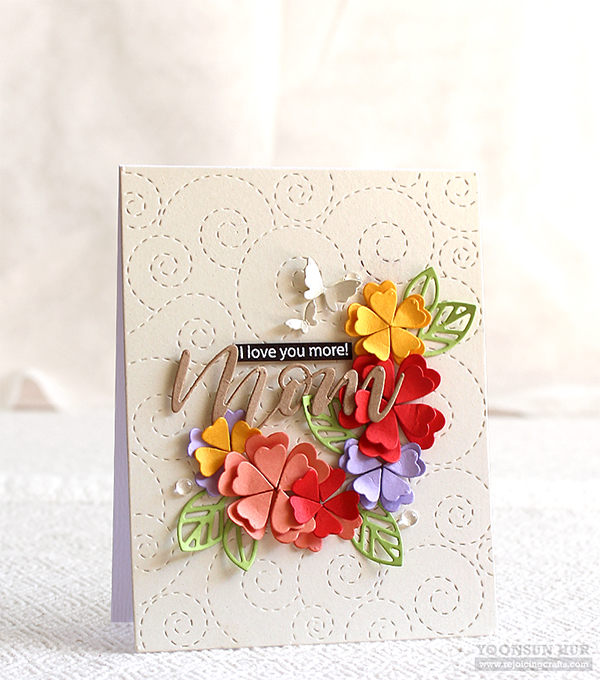 To create the card, I die cut the A2 sized
 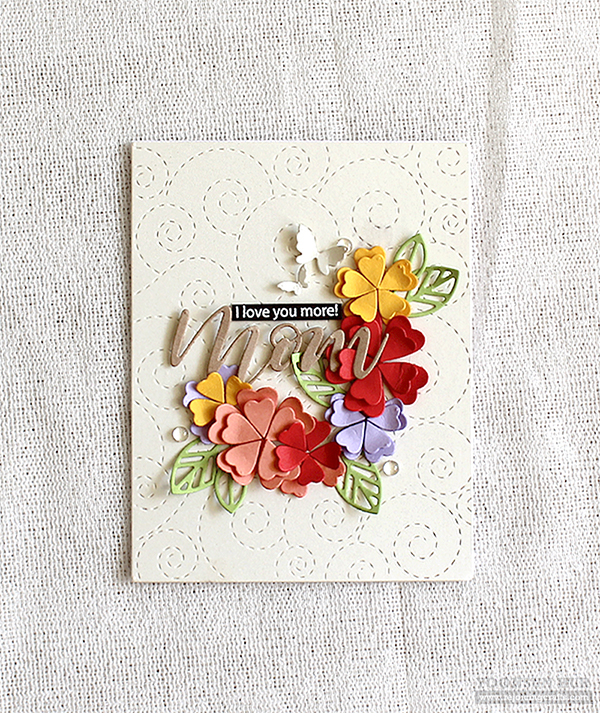 I lightly curled up all flower petals using bamboo chopstick, and then made 2 layering flowers as shown in the picture. I mounted the
 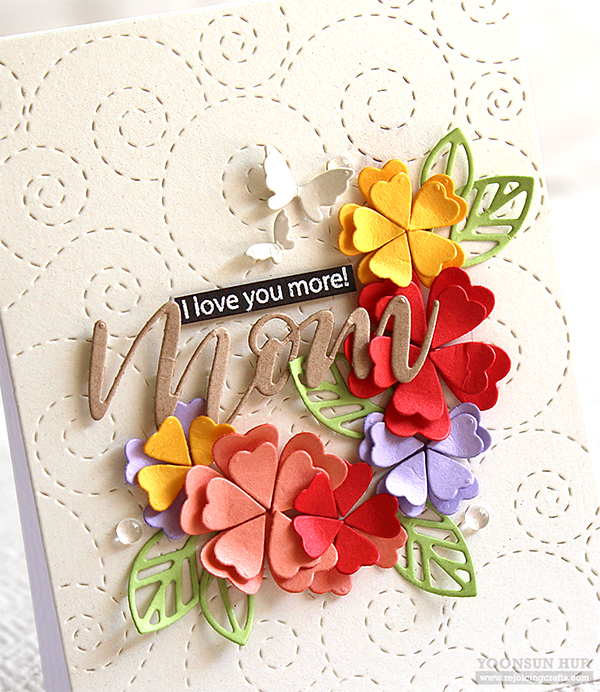 These heart shaped flower petals are so lovely!!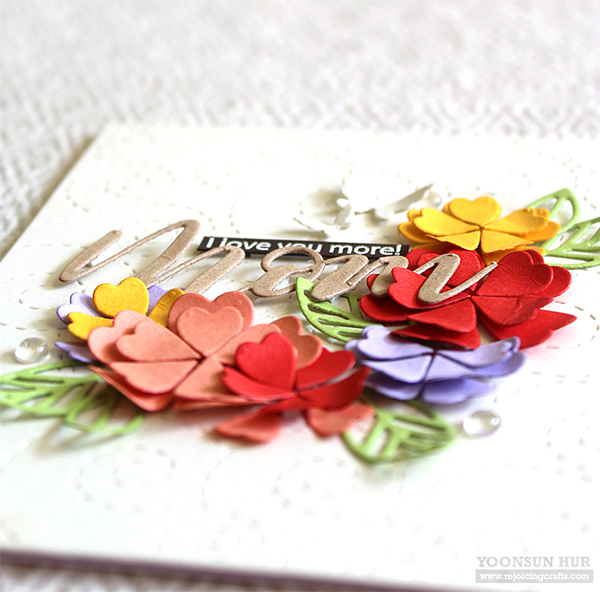
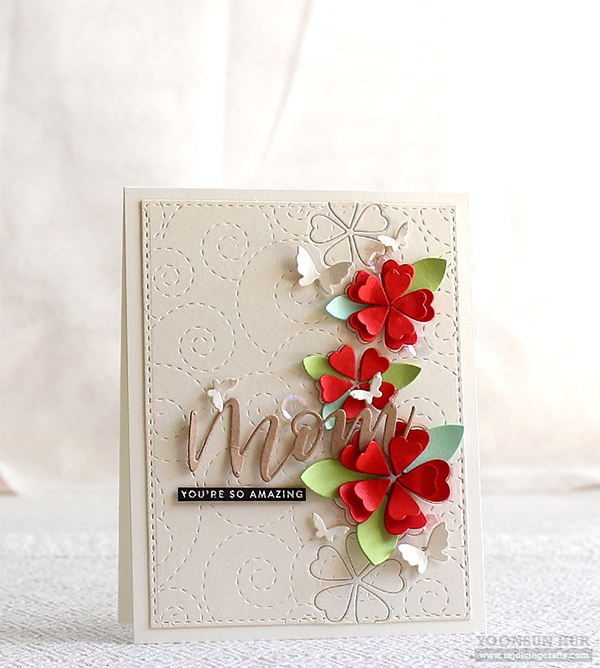 Here is one more simple floral card with the
 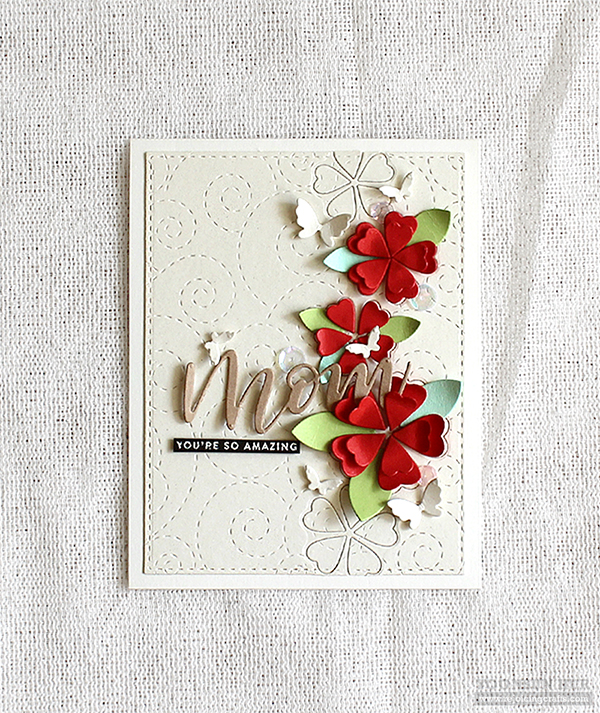 Tiny butterflies make flowers more beautiful!!
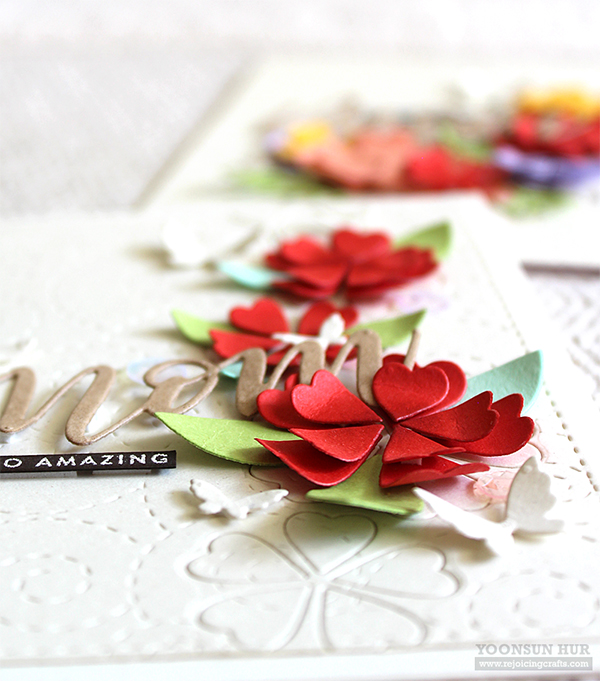
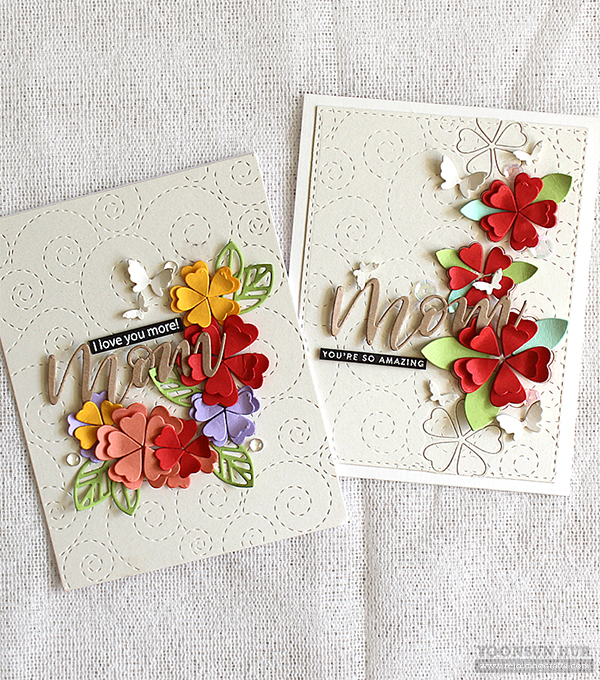
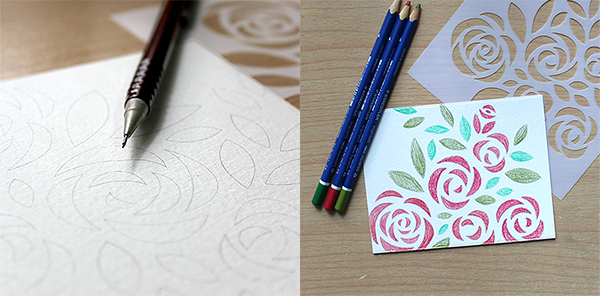 I positioned the
 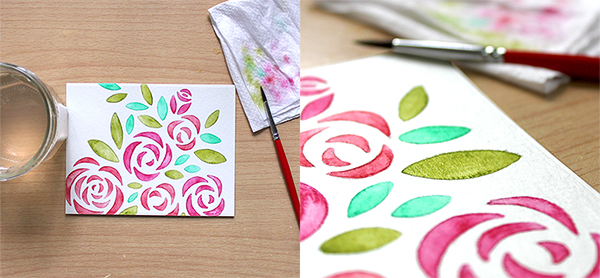 Next, I brushed all pencil coloured images with a fine tip paint brush. To be honest, I really liked it BUT, I didn’t change my mind to make messy watercoloured flowers, haha!
 Ta-da! I freely brushed over the images with a wet paint brush! I LOVE IT!!
 For the sentiment, I used the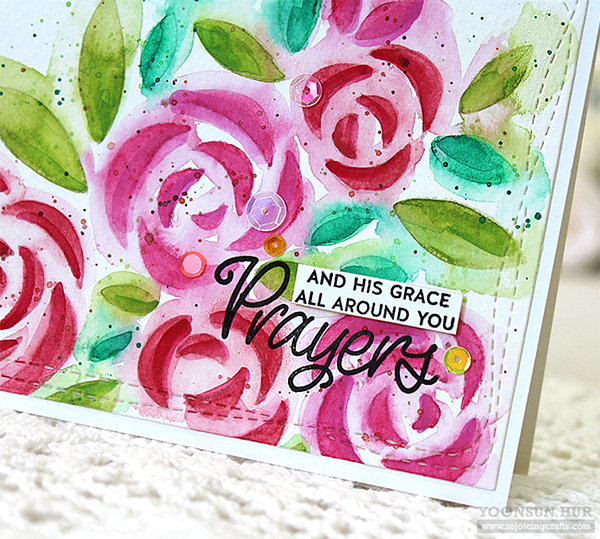
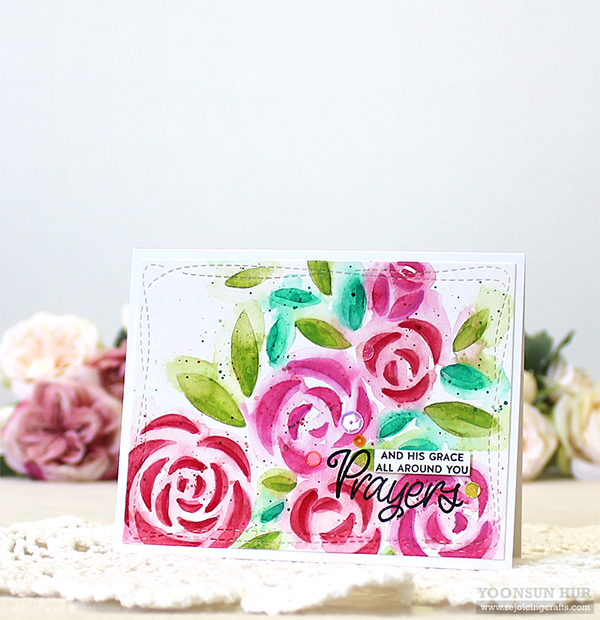
 Here is one more messy watercoloured floral card with the
 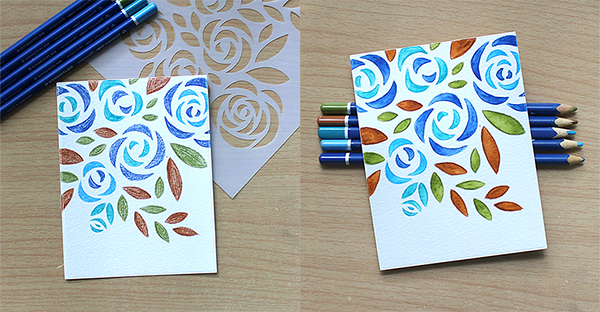 I coloured flowers & leaves with watercolour pencils first, and then brushed pencil coloured images with a wet paint brush.