Hello crafty friends!
Today I want to share very traditional coloured Christmas cards with you using several SSS Cheer and Joy products.
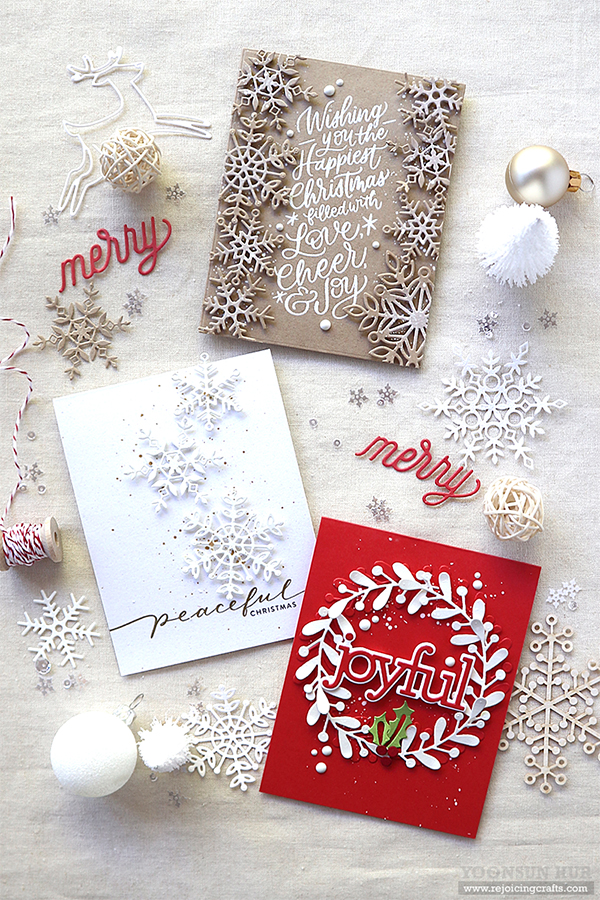
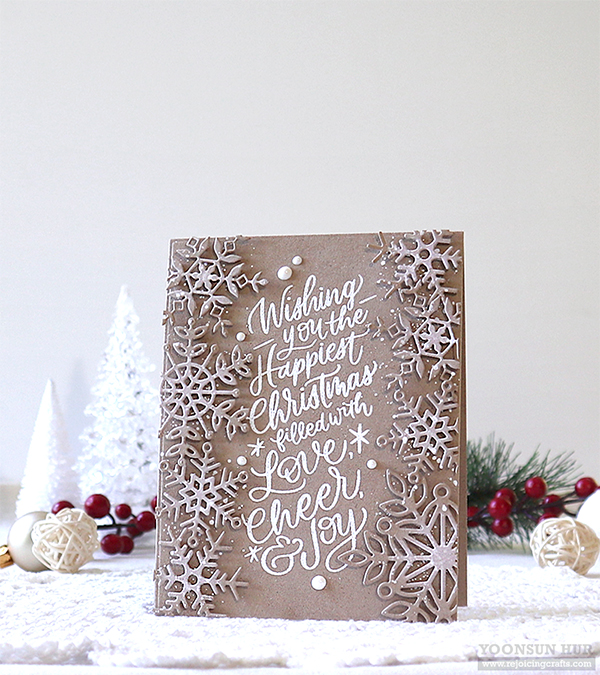 I started by heat embossing the sentiment from the Holiday Greetings Mix 1 set in white onto the centre of kraft card front. I then die cut different sized snowflakes from kraft card stock using the Marie, Lea, Grace, Rina and Kate Snowflake dies – I wanted to make tone-on-tone winter holiday patterned card.
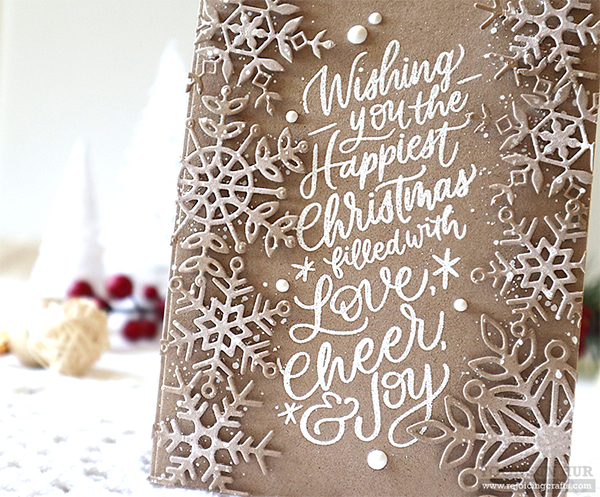 I adhered all snowflake die cuts on both right & left side of the card front using foam tape, and then gently applied white pigment ink to the centre of each snowflake using blender brush. I added opaque white ink splatters & white enamel dots.
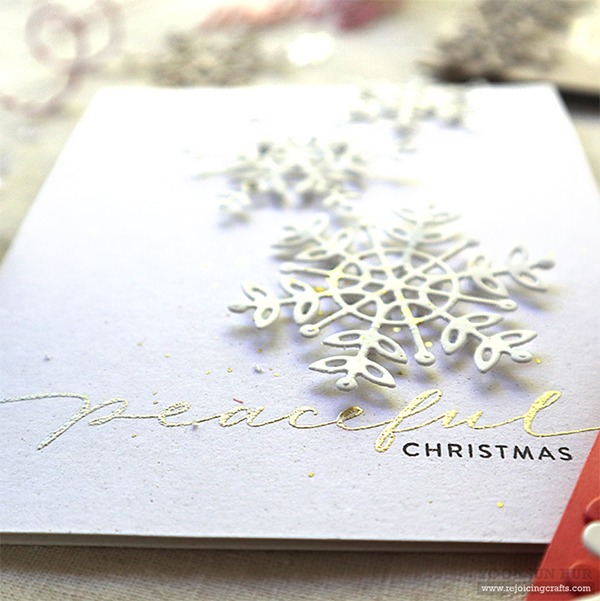
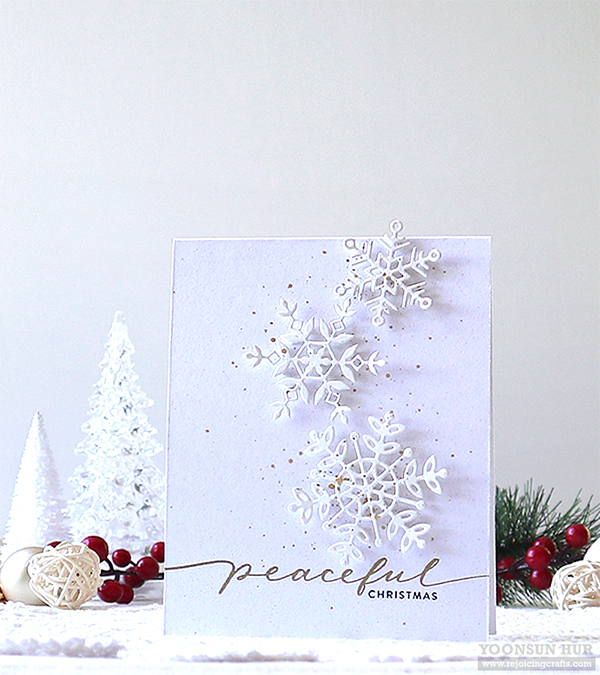 Here is another tone-on-tone background card with beautiful snowflakes. I heat embossed the word “Peaceful” from the Holiday Greetings Mix 1 set in gold onto the bottom part of white card, stamped the word “Christmas” in black. Next I die cut snowflakes from white card stock using (from the bottom) Marie, Kate and Rina Snowflake dies. I adhered all snowflake die cuts (as shown in the picture) on the card using foam tape.
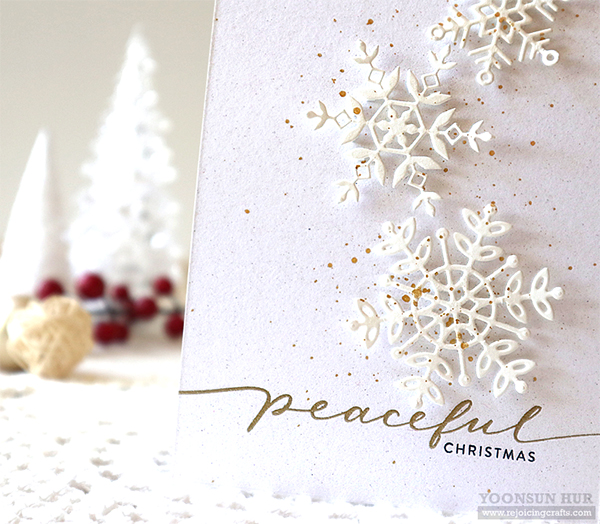 I added metallic gold ink splatters here and there – gold on white is so elegant!! :D
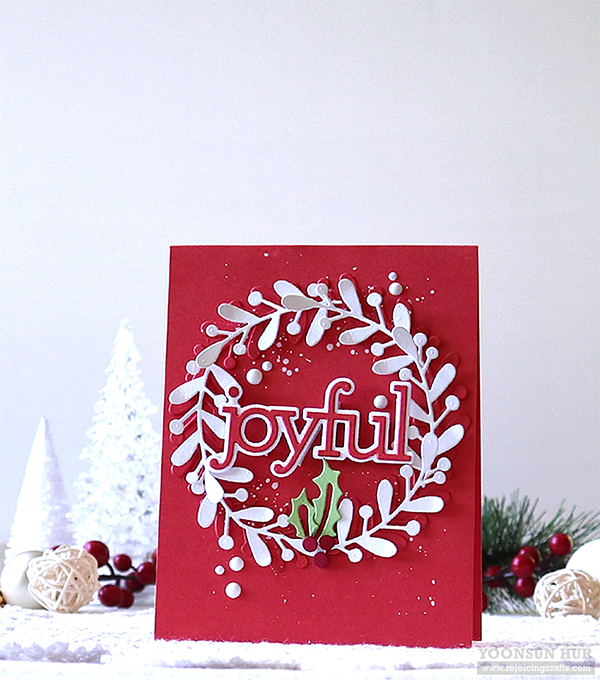 My last card today, I created the wreath with the Christmas Foliage die set along with red & white card stock. For the sentiment, I used the CZ Design Joyful die set.
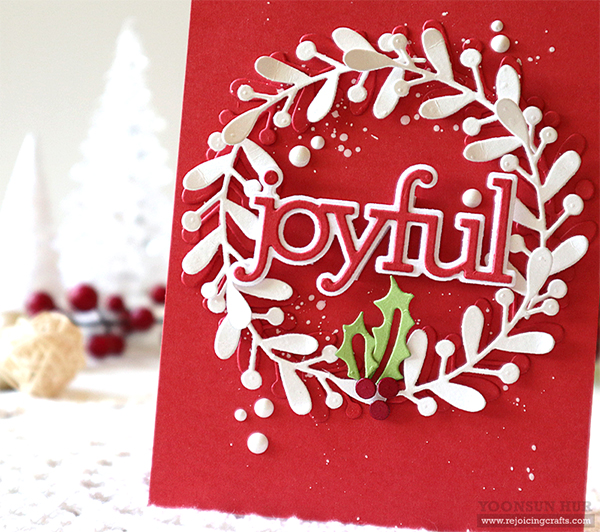 White, red, green and kraft are definitely my all time favourite Christmas colours. And you?
Thank you so much for stopping by. Have a great day.
Keep smiling and be blessed! God bless you all!
Love Love Love RejoicingCrafts
 I started by making Christmas knitting patterned background with the
 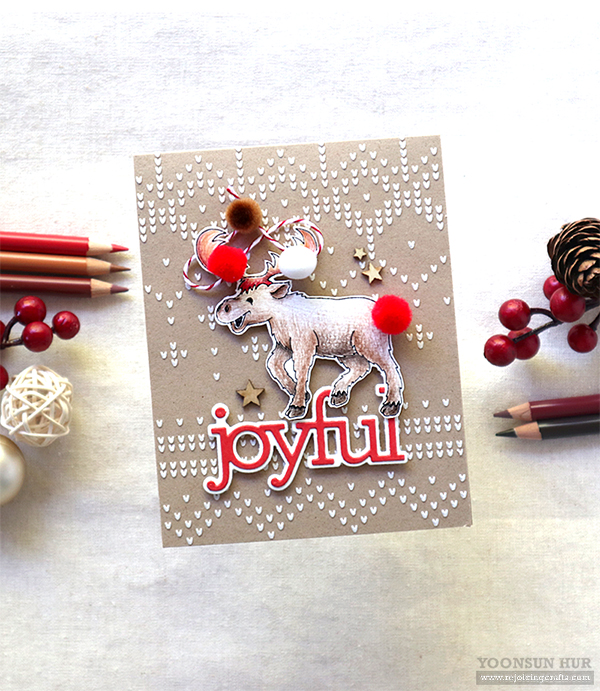 I stamped a happy moose from the
 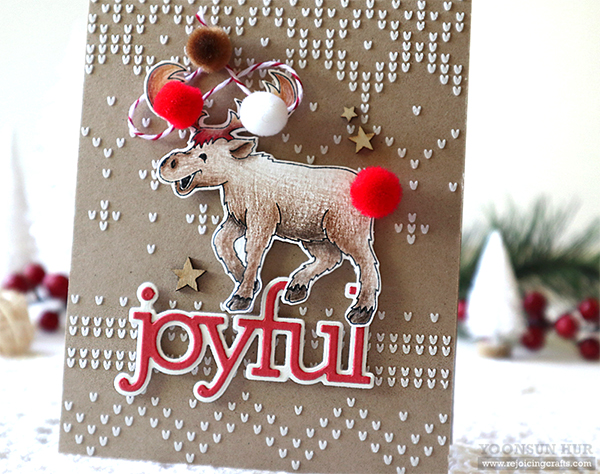 I adhered a joyful moose on the centre of the card, and decorated it with white, red and brown pompoms! For the sentiment, I used the
 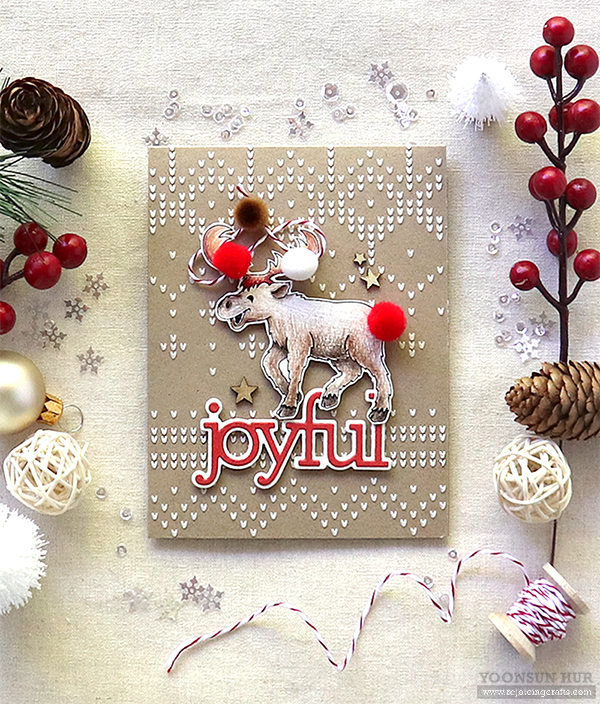 I hope this joyful Christmoose makes you very happy!! ;)
 I die cut different sized snowflakes from
 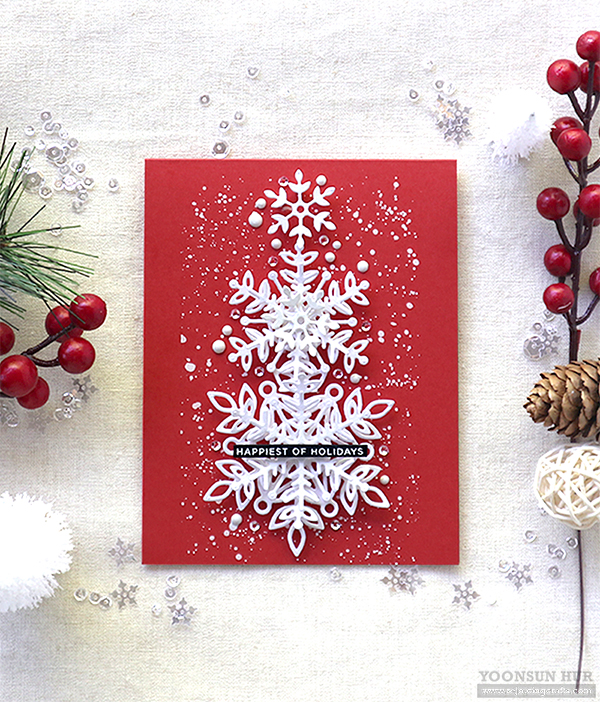 I adhered all layered snowflakes on
 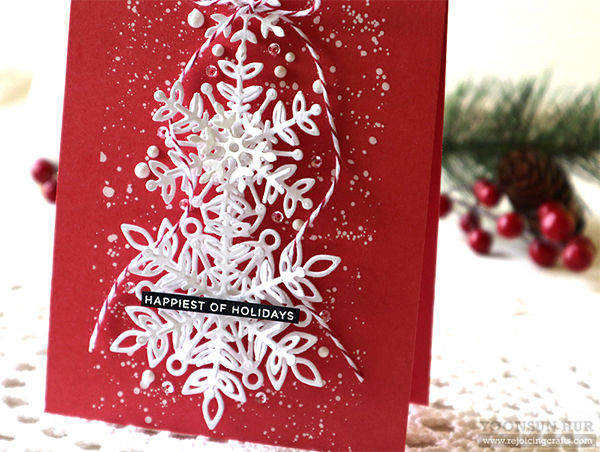 I added
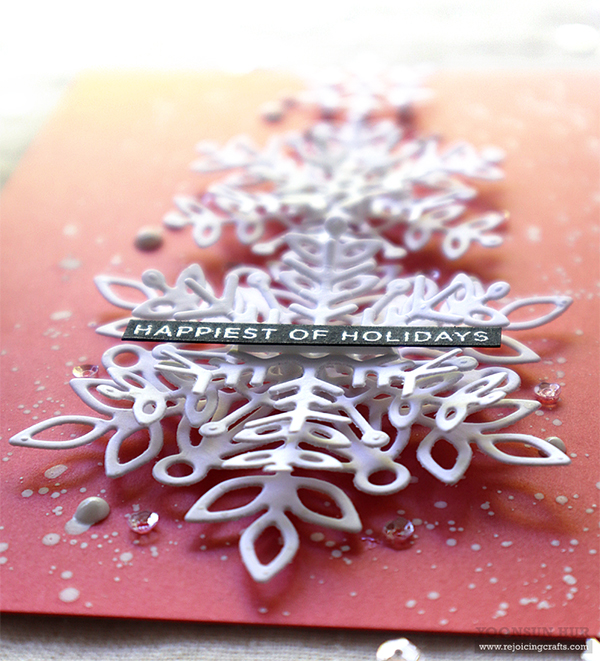
 Here is another snowflake Christmas card with beautiful Cheer and Joy Snowflake trio. I die cut the largest & smallest snowflakes from Cream cardstock, and the medium sized “Lea” snowflakes from
 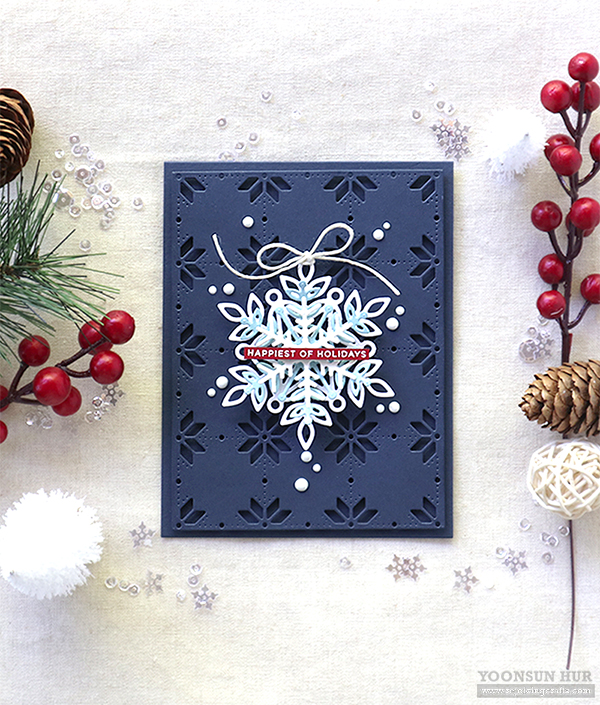 I die cut the
  I added some enamel white dots around the snowflake using
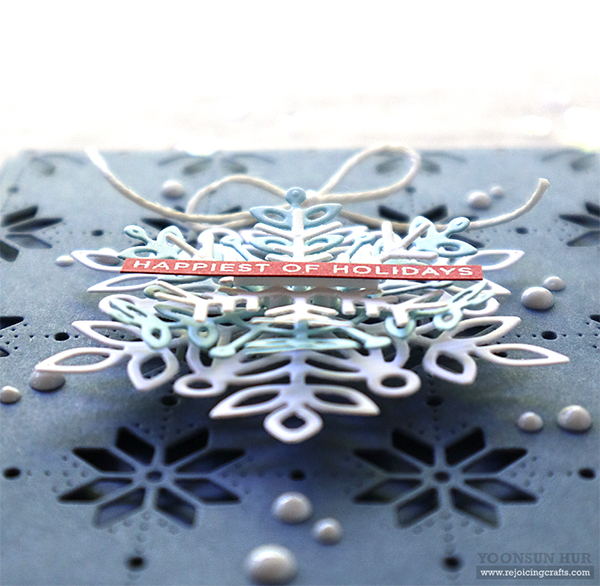


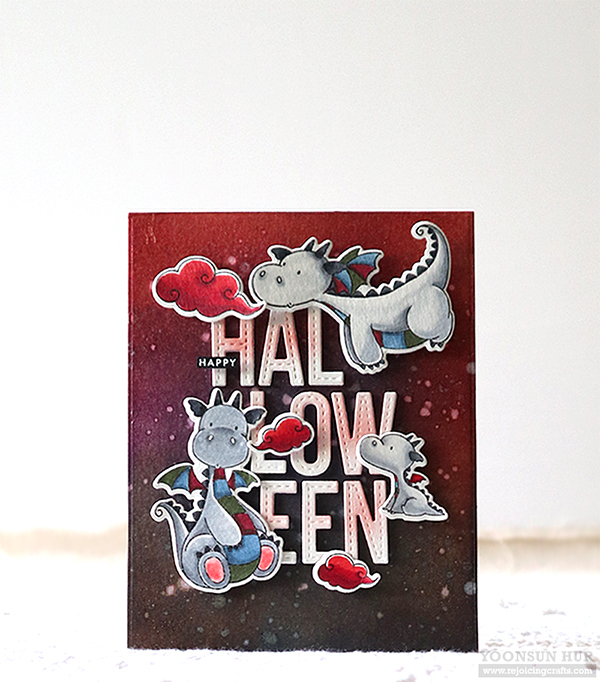 I started by making “Halloween” background with several dark coloured Distress inks. I blended on a 4.25″ x 5.5″ watercolour paper panel with
  I stamped adorable dragons & fires from the
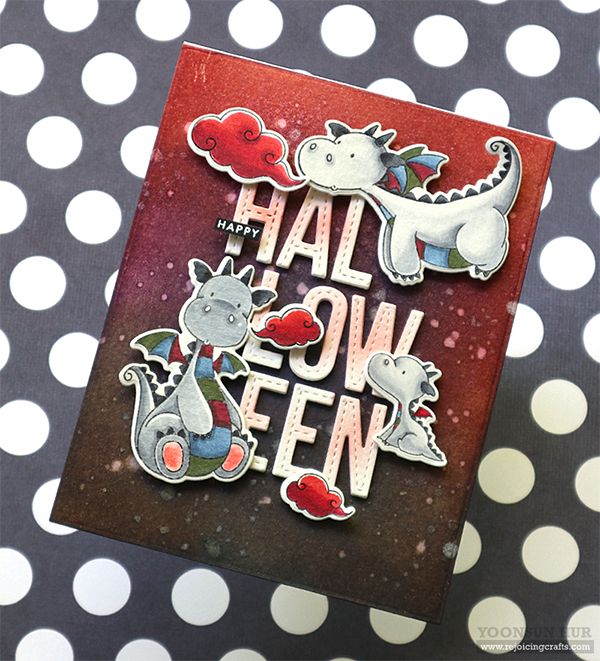


 For my first card, I used the
  I die cut
 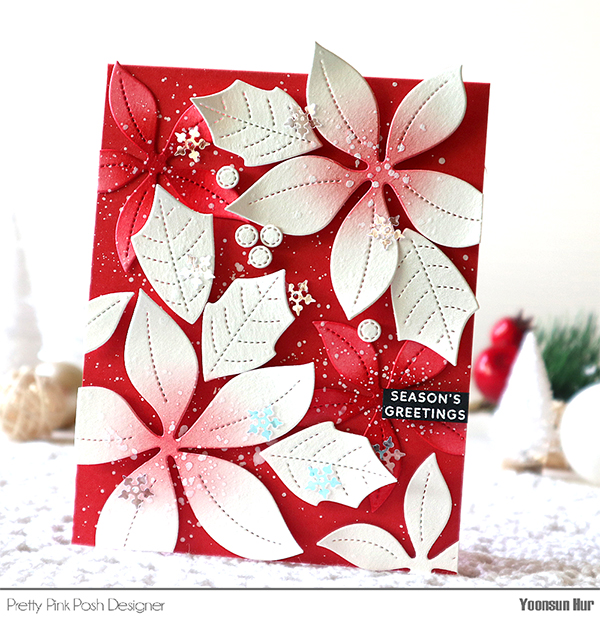 I adhered
 My second card is a shaker card! I die cut the
  Behind the shaker window frame, I placed the
  On the inside of the shaker window, I poured lots of sequins –
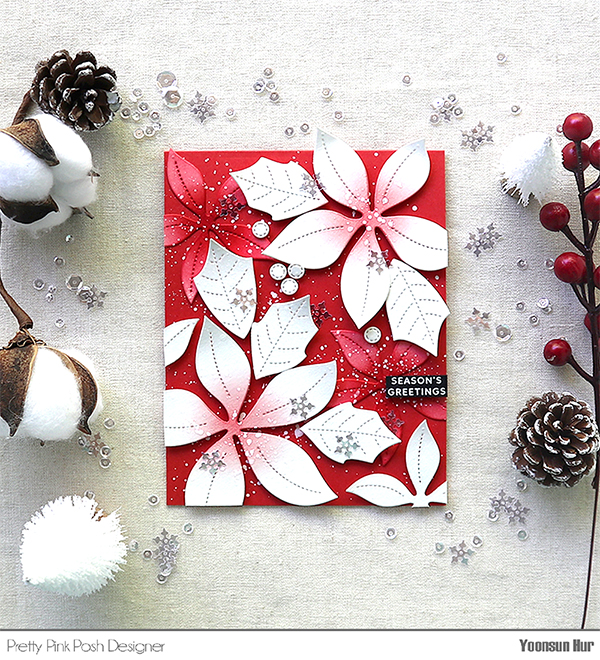
 One more card here! You might see it on the PPP blog a few days ago. I heat embossed the word “
 I die cut the poinsettia parts from watercolour paper, applied Distress inks onto them using blender brush, and then glued the layers together using foam tape. I LOVE this new
 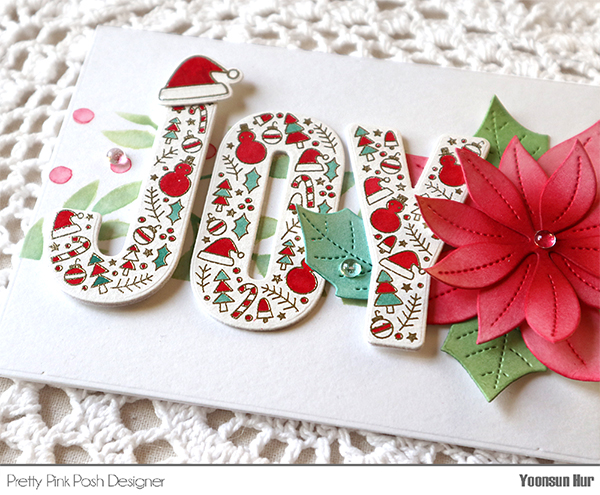 I mounted all elements as shown in the picture using foam tape, then embellished with a few