Concord & 9th August Liquid watercolours

Hello crafty friends!
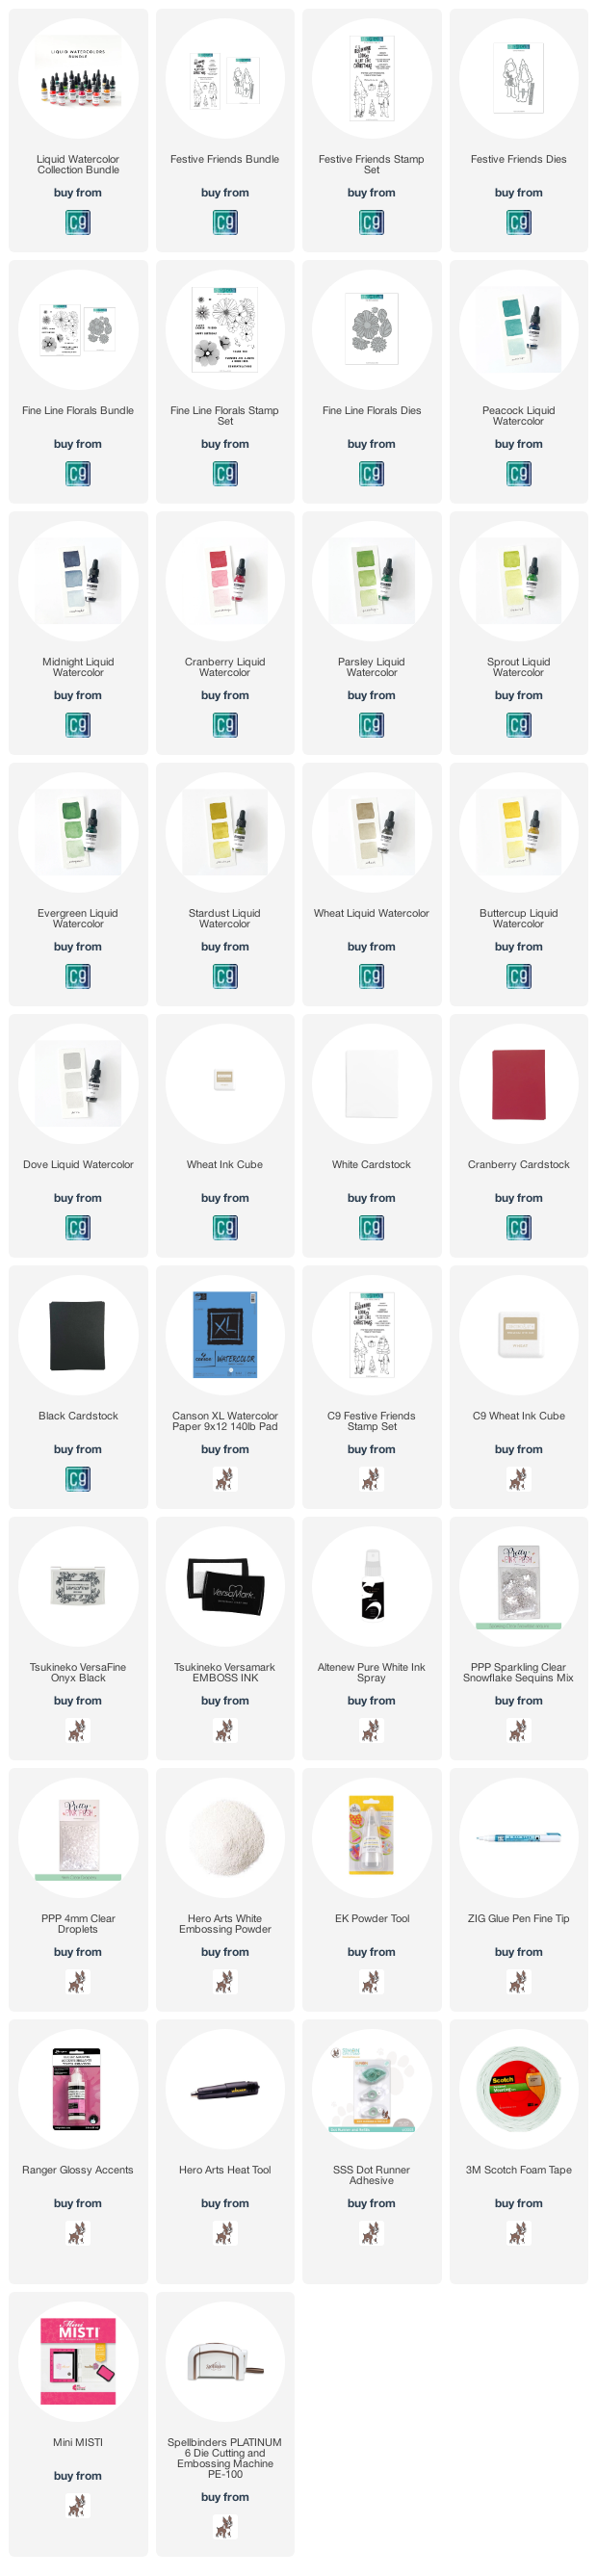
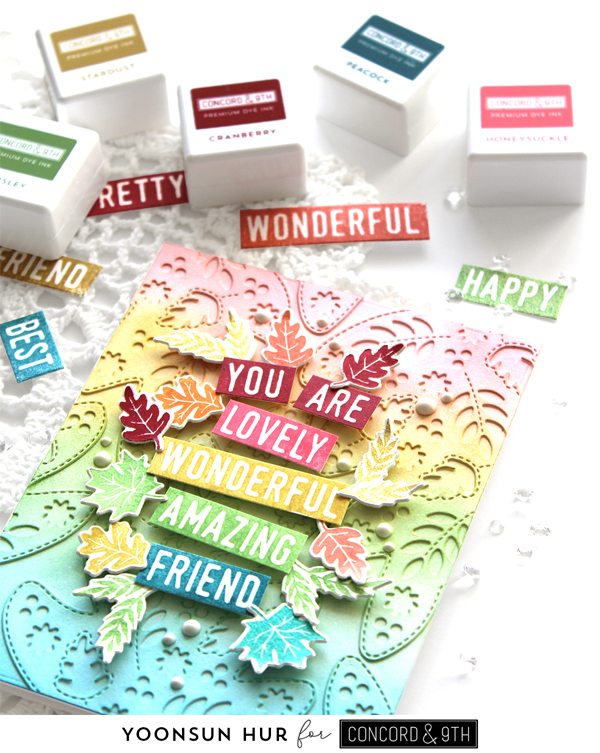
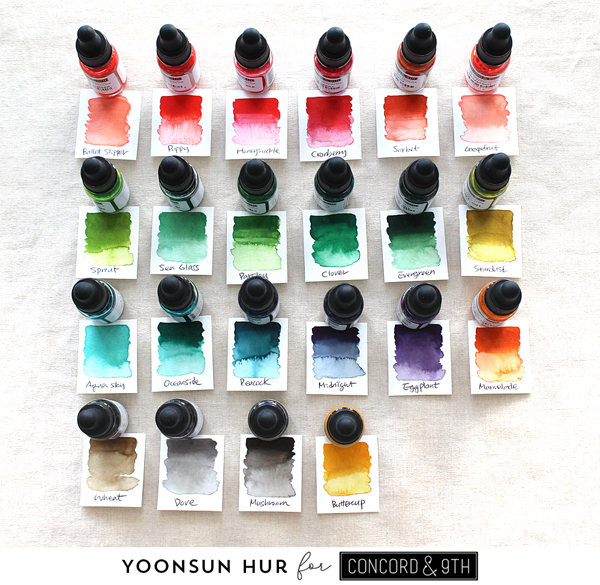
Concord & 9th has been released pigment based liquid watercolours this month and all 22 colours are truly, truly fantastic!

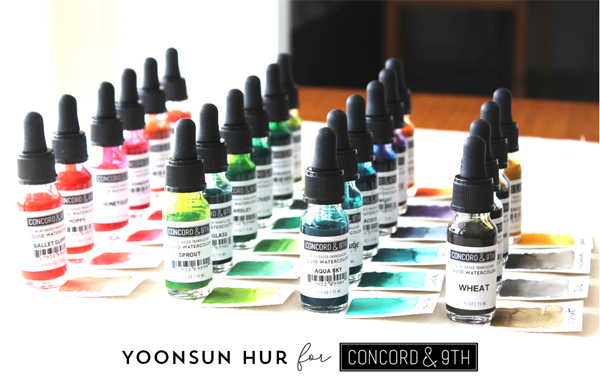
I made colour charts to make it easier for you to see as below:

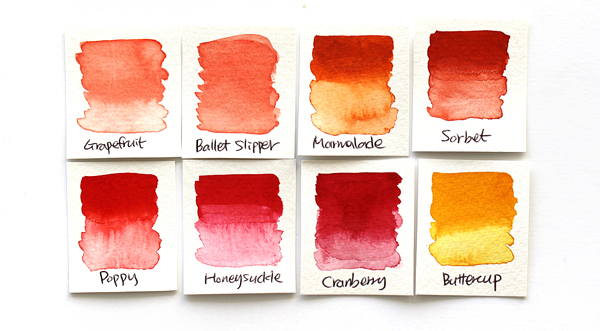
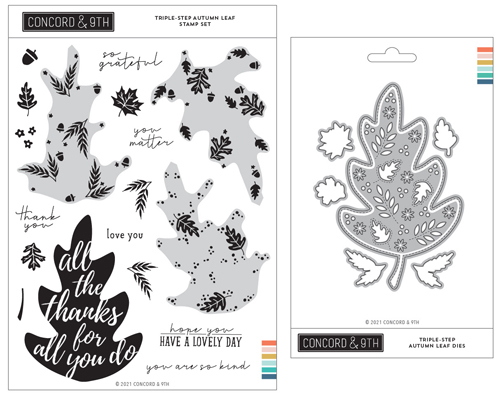
They are so nice warm colours!

These green colours make me want to keep making autumn cards. So gorgeous!!

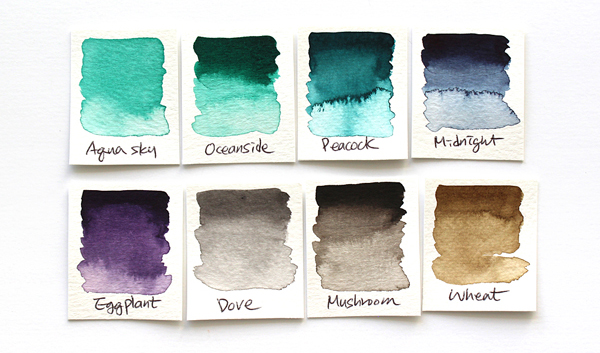
Fantastic, aren’t they?!!

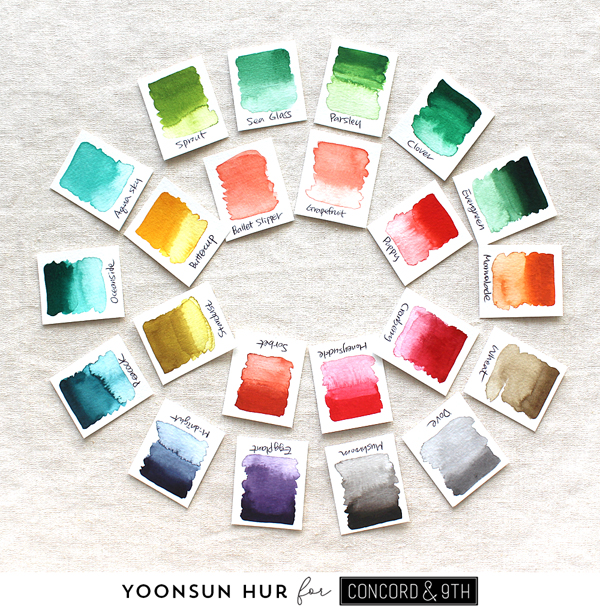
These 22 liquid watercolours are really intense and concentrated by themselves but it’s easy to make various shades of the same colour by adding or reducing the amount of water I used on my brush. And they blend extremely well.

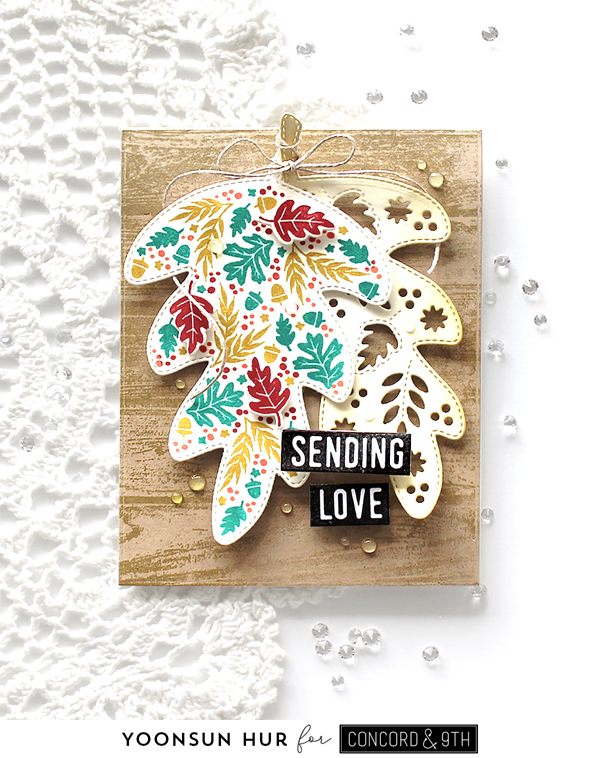
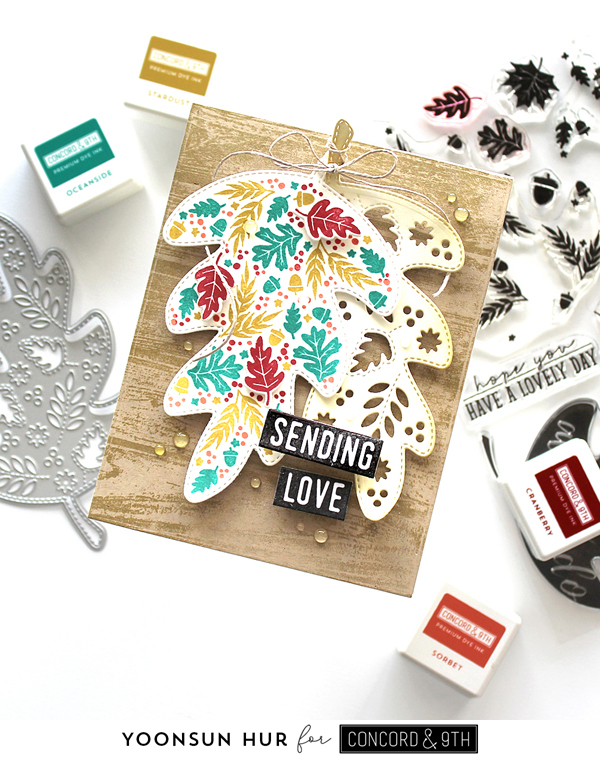
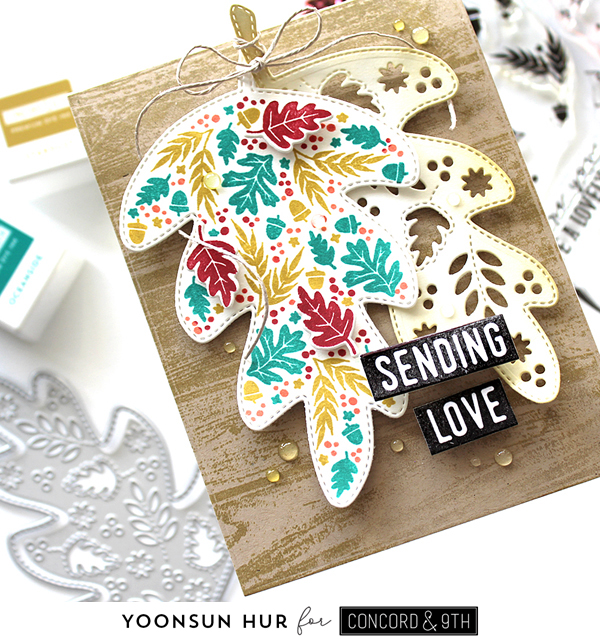
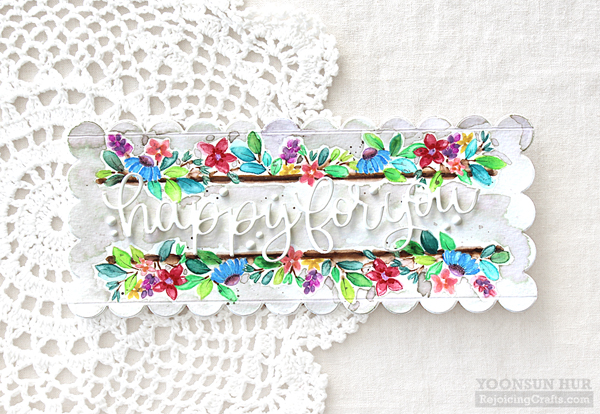
For my card with liquid watercolors, I used the Festive Friends set.


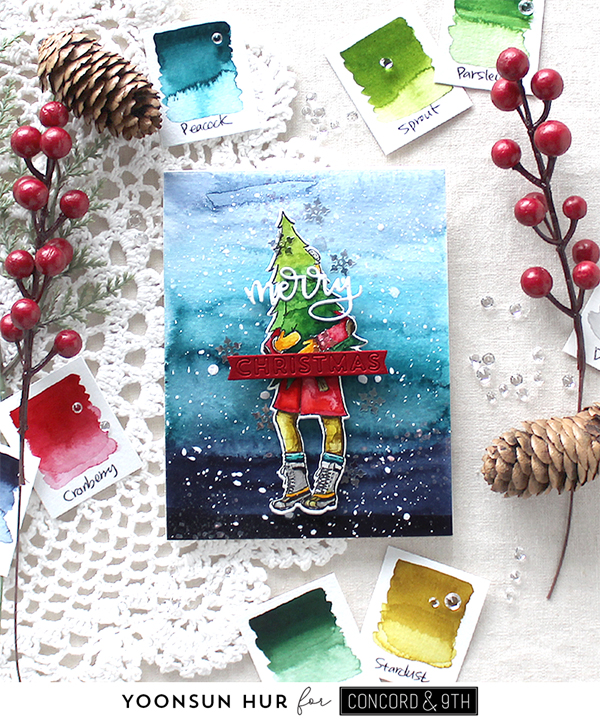
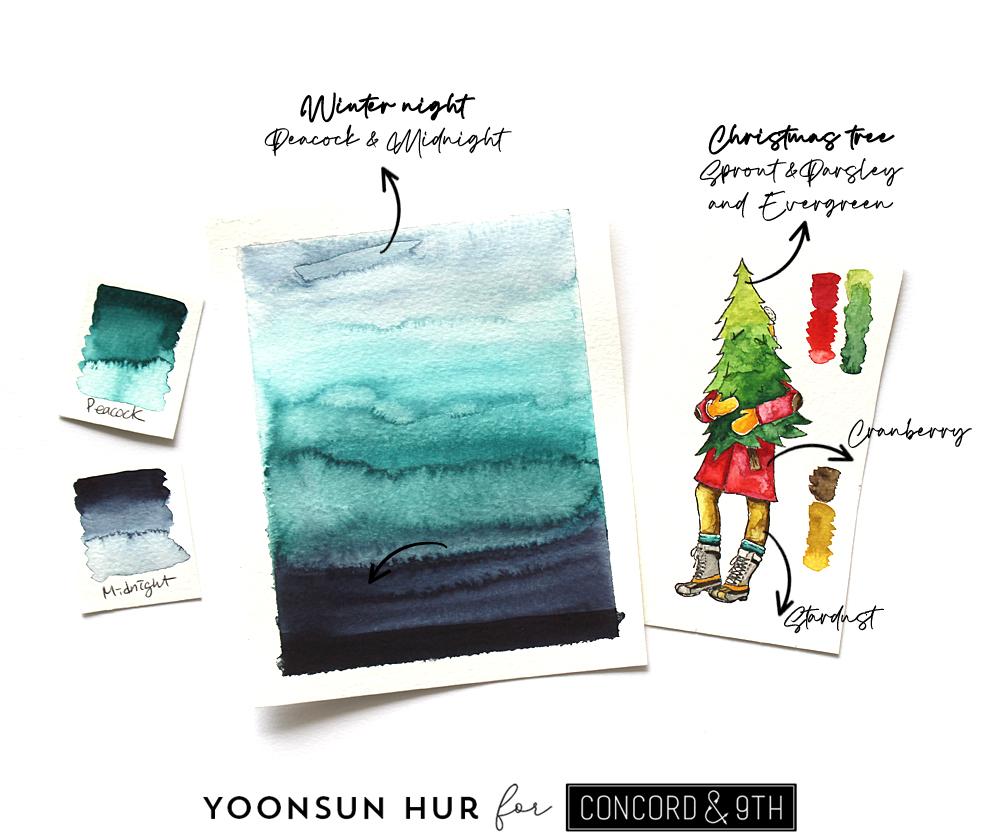
For my snowy winter night background, I used the Peacock & the Midnight liquid watercolour. I just painted Midnight onto the bottom of watercolour panel without water, then painted Peacock mixed with a little water, and then added more water to Peacock and Midnight on top of the panel as shown in the picture. And the woman holding the Christmas tree, I stamped it from the Festive Friends set using pigment black ink, and then coloured it with liquid watercolours.

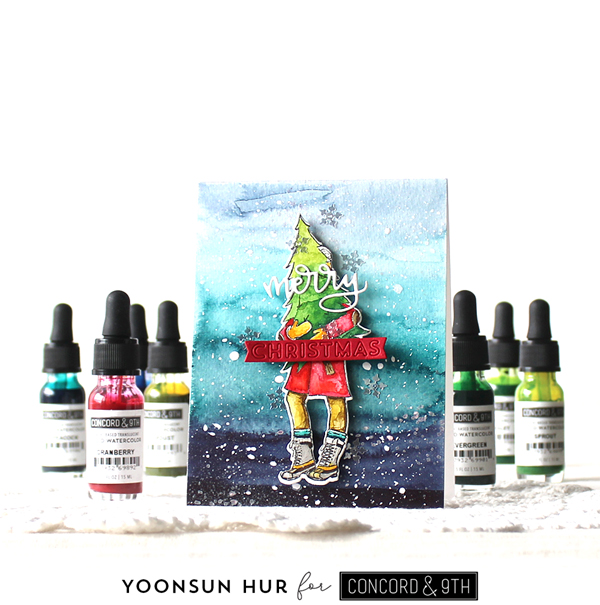
Once the watercoloured panel was dry, I added opaque white ink all around the panel. For the sentiment, I used them in the Festive Friends die set.


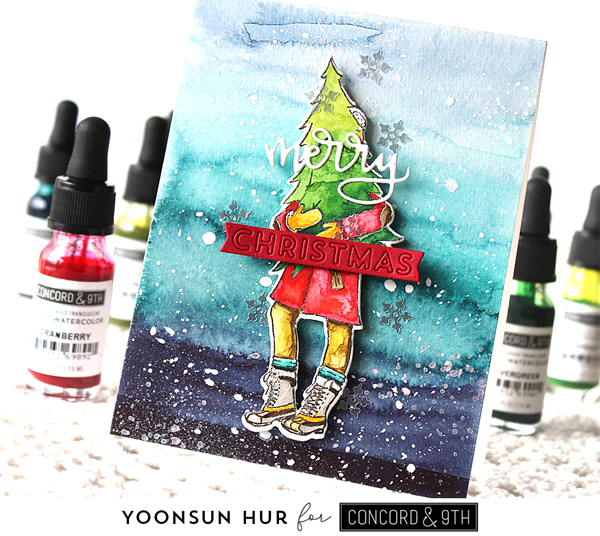
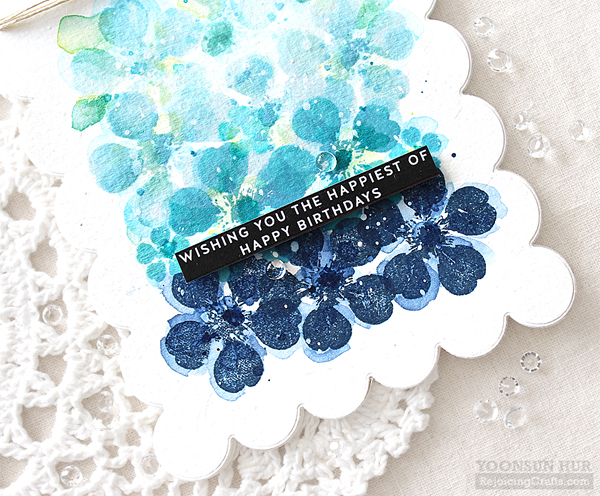
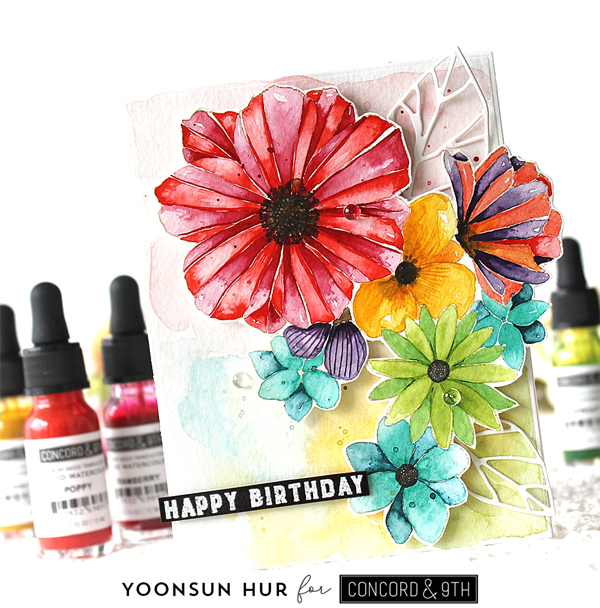
For my second watercolour card, I used the Fine Line Florals set.

I stamped a large sized flower image from the Fine Line Florals set onto watercolour paper using Wheat dye ink first, and then coloured the stamped image with several liquid watercolours.


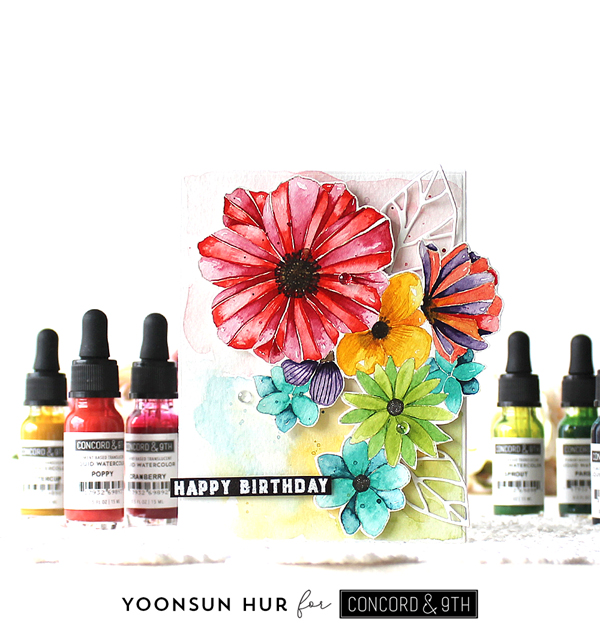
I adore these liquid watercolors so much!!

Thank you so much for stopping by. Have a wonderful day!

Keep smiling and be blessed! God bless you all!
Love Love Love RejoicingCrafts

Concord & 9th August Feature Friday – Week 1

Hello crafty friends, TGIF!
I’m so excited to be a guest designer for one of my beloved stamp companies, Concord & 9th in August!! Concord & 9th has been released so many beautiful Autumn-themed goodies and today I’m sharing with you the Triple-Step Autumn Leaf & the Mix & Match Everyday Sentiments sets.

Triple-Step Autumn Leaf

Mix & Match Everyday Sentiments

For my first card, I focused on the Triple-Step Autumn Leaf set – we can make so many beautiful colour combos with this triple-step stamping, right?!!

For the triple-step stamped leaf, I actually followed its tutorial. I used Cranberry (red), Oceanside (bluish green) and Stardust (olive green) dye inks – I love these colours that I chose. :D

I die cut large sized fancy leaf from white cardstock using the Triple-Step Autumn Leaf dies, then inked the edges with Wheat dye ink. For the background, I stamped the Weathered Wood Background on Wheat cardstock, trimmed as an A2 size.

For the “Sending love” sentiment, I used the Mix & Match Everyday Sentiments set.

For my second card, I focused on the Mix & Match Everyday Sentiments set.

For my own rainbow coloured background, I die cut large sized leaves from white cardstock using the Triple-Step Autumn Leaf dies first, adhered them onto A2 sized white paper panel using fine tip glue pen as shown in the picture, and then ink blended to the panel using dye inks – I used (from top to bottom) Sorbet, Buttercup, Parsley and Peacock dye inks.

For the sentiment, I stamped them on white cardstock using several dye inks in rainbow order – I used (from top to bottom) Cranberry, Honeysuckle, Stardust, Parsley and Peacock dye inks. This sentiment set has one large stamp so, actually I stamped 5 times to have 5 different colours but it’s definitely worth it. I will keep and use them later for sure!

Oh, I love this colourful leafy card so much! 😄😄😄

Thank you so much for stopping by. Have a wonderful weekend!

Keep smiling and be blessed! God bless you all!
Love Love Love RejoicingCrafts

SSS Painted Flowers

Hello crafty friends!
Today I’m sharing a couple of watercolour flower cards with two beautiful Painted Flowers and Annas Flowers stamp sets. If you know me well, you will know that I absolutely love watercolouring and flowers! :D


For my first card, I made a no-line watercolour flower card with the Painted Flowers stamp set. I stamped solid flowers & leaves from the Painted Flowers set onto watercolour paper using Antique Linen Distress ink at first – I stamped each image fit together as one.

The next step is watercolouring with Distress reinkers! I painted the colours on the stamped images.
Large flowers: Tattered Rose & Victorian Velvet / Small flowers: Scattered Straw (yellow)
Berries: Seedless Preserves / Leaves: Mowed Lawn & Crushed Olive / Twigs: Gathered Twigs
Once it was dry, I drew the details of leaves using Copic Multiliner 0.05 Black Ink Marker.

Here is a closer look:


For my second card, I used one small sized solid flower in the Annas Flowers stamp set. I die cut an A2 sized scalloped rectangle panel from watercolour paper using the Chunky A2 Scalloped Rectangles die set at first. I then repeatedly stamped flowers onto the panel using some blue coloured dye inks – I used (from bottom to top) Soft Navy, Audrey Blue, Surf Blue and Sea Glass. I used MISTI for stamping.


I then loosely painted the stamped panel with some blue coloured Distress reinkers as shown in the picture. It was so fun to do! :D

Thank you so much for stopping by. Have a happy week!

Keep smiling and be blessed! God bless you all!
Love Love Love RejoicingCrafts

SSS Make Magic Release Blog Hop – Day 2

Hello crafty friends, happy weekend!
Welcome to Day 2 of the Simon Says Stamp Make Magic Release Blog Hop. I’m so happy to be a part of this amazing blog hop! If you arrived here from super talented Vicky Papaioannou’s blog you are on the right track.

For my first card, I used the new Petal Power stamp set along with other SSS goodies – it is so pretty!

I die cut the A2 sized scalloped rectangle panel from watercolour paper first, and then dry embossed the panel using the Lumen embossing Folder. Next, I applied soft & pastel coloured Distress inks to the panel using mini round ink blending tools – I used (from the top) Squeezed Lemonade, Tattered Rose, Tumbled Glass and Milled Lavender. I stamped the Thank You Text from the ink blended panel using Tea Dye Distress ink. OK, the next (and the most important part) I stamped so pretty flowers from the Petal Power set on the panel using several Distress inks. I really love the result, haha!

For the sentiment on the centre of the card, I used the With All My Heart die. I added tiny butterflies, opaque white enamel dots.

For my second card, I used the Slimline Happy for You die along with the Slimline Florals stamp set.

I die cut the Chunky Slimline Scalloped Rectangle from watercolour paper. Next, I stamped floral image on the top & bottom side of the panel using Altenew Sand Dunes dye ink, and then coloured the stamped images with Distress markers.

For the sentiment, I used brand new Slimline Happy for You die!

GIVEAWAY & BLOG HOP EXCLUSIVE PROMOTION!

Simon Says Stamp is giving away a $25 coupon to every stop on the hop. The winners will be chosen over the weekend and post on Simon Says Stamp blog on Wednesday, the 28th of July. ONE MORE! Get a FREE Art Supplies Die Set with the code ARTMAGIC (This promotion will expire 7/25 at 11:59pm EDT) at checkout when you purchase of $40 or more at Simon Says Stamp Store.

BLOG HOP LIST:
Simon Says Stamp Blog
Laura Bassen
Debby Hughes
Bibi Cameron
Keisha Charles
Emma Williams
Vicky Papaioannou
Yoonsun Hur (Me!!)
Mindy Eggen
Barb Engler
Norine Borys
Sandi MacIver
Tina Smith
Adelle Emery

Be sure to see what other ladies are sharing today. I’m sure you really love them all!

Thank you so much for stopping by. Have a safe and restful weekend!

Keep smiling and be blessed! God bless you all!
Love Love Love RejoicingCrafts


SSS Make Magic Release

Hello crafty friends!
Oh YES! Simon Says Stamp Make Magic Release is live!! I want to share my bright and happy cards with you today. :D

For my first card, I used the new Xylo Phone stamp set. I stamped a xylophone on white cardstock using Memento Tuxedo Black dye ink, coloured the stamped image with Copic markers, and then fussy cut it – I made a “happy-feeling-rainbow” xylophone, lol!

For my starry rainbow background, I ink blended onto A2 sized watercolour paper panel with Distress inks in rainbow order. I used (from the top) Festive Berries, Tattered Rose, Scattered Straw, Crushed Olive, Faded Jeans and Seedless Preserves. Next, I added lots of stars using the Scattered Stars stencil. I placed stencil on the blended panel, then applied white embossing paste. I love playing with embossing paste on my card to add a bit of dimension and texture! Finally I mounted the panel on white card base using dot runner adhesive first, and then added all elements as shown in the picture using foam tape.


I made another “happy-feeling-rainbow” card with the new Rainy Days die set. I used many different coloured cardstock for it. :D


I will share more of my Make Magic Release cards this Saturday. Please look forward to upcoming Make Magic Release blog hop starting tomorrow. Stay tuned!

Keep smiling and be blessed! God bless you all!
Love Love Love RejoicingCrafts