Hello crafty friends, I hope you had a wonderful weekend!
Welcome to the My Favorite Things September Release Countdown Day 2.
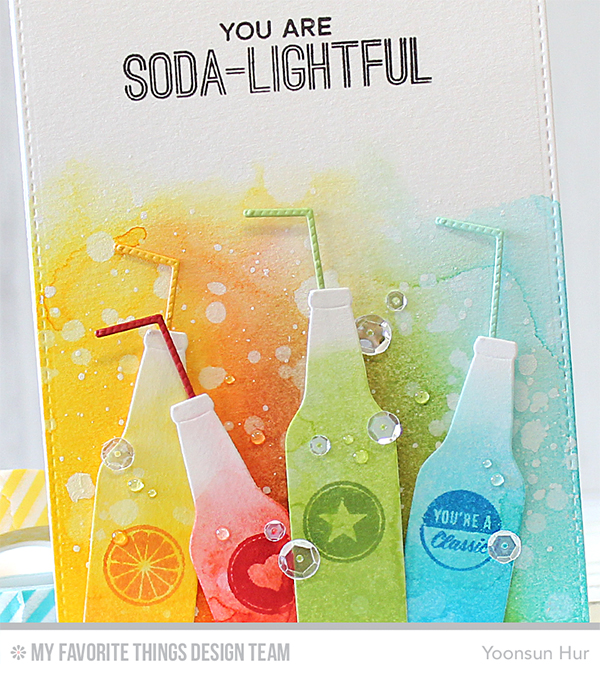
Today I am sharing with you a couple cards with a fresh Soda Pop Stamp Set, Soda Pop Bottles, and Bottlecaps Die-namics.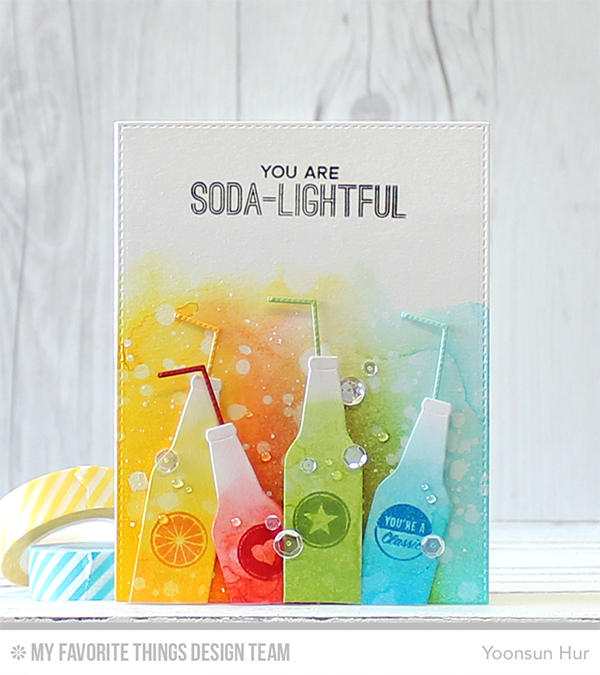 For my first card, I 1) Blended onto the watercolour paper with Lemon Drop, Orange Fizz, Wild Cherry, Limelight, and Summer Splash dye inks using mini blending tool. 2) Spritzed with water several times, added water droplets and white ink splatters. 3) Trimmed the inked paper with Blueprints 25 Die-namics. 4) Die cut Soda Pop Bottles from the white card stock, blended four bottles with dye inks and then stamped on them with Soda Pop Stamp Set. 5) Stamped the sentiment on the blended background panel. 6) Mounted all elements as shown to the white card base. 6) Embellished with a few clear sequins.
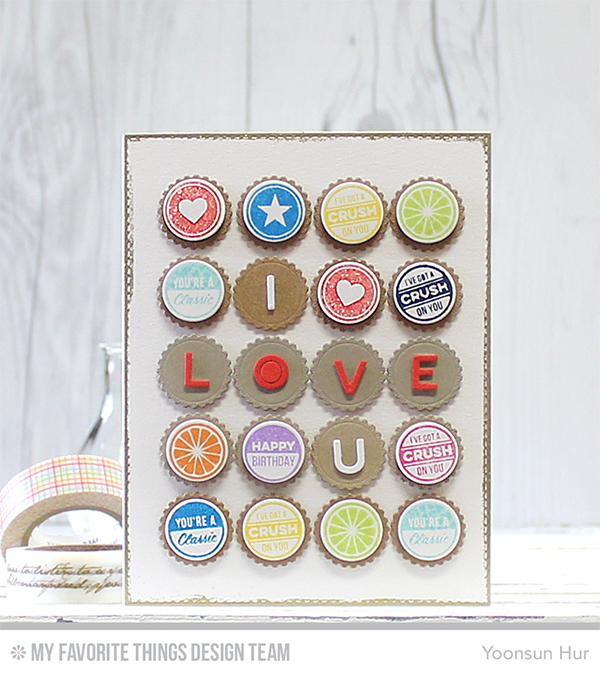 I was amazed at the idea of crafty people’s wall art with bottle caps on Pinterest!! So, I tried to put those ideas into my card!
To create this card, I 1) Die cut bottle caps from the kraft card stock (many times) using Bottlecaps Die-namics, small circles from the white card stock as well. 2) Die cut ‘I LOVE U’ words using Bottlecap Letters Die-namics. 3) Stamped a lot of images from the Soda Pop Stamp Set on the small circles in various colours. 4) Heat embossed at the edges of white card stock with gold embossing powder. 5) Laid and adhered the caps as shown to the card base using dimensional foam tape.
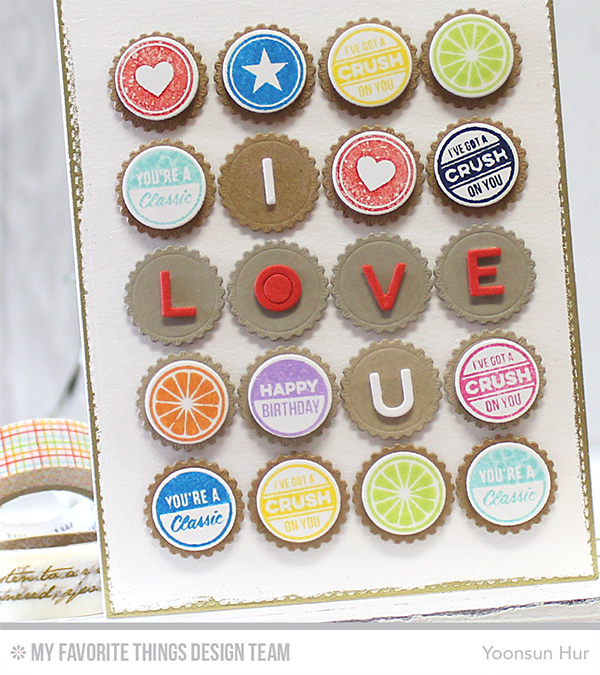 Oh! It turned out really cool, just what I wanted!! :D
Make sure to check out MFT Blog for all the info for today along with links to all the other DT member’s blog posts.
See you tomorrow for more countdown fun! Have a wonderful day!
Keep smiling and be blessed! God bless you all!
Love Love Love RejoicingCrafts


 To create this card, I 1) Stamped the sentiment diagonally on the white card stock using
 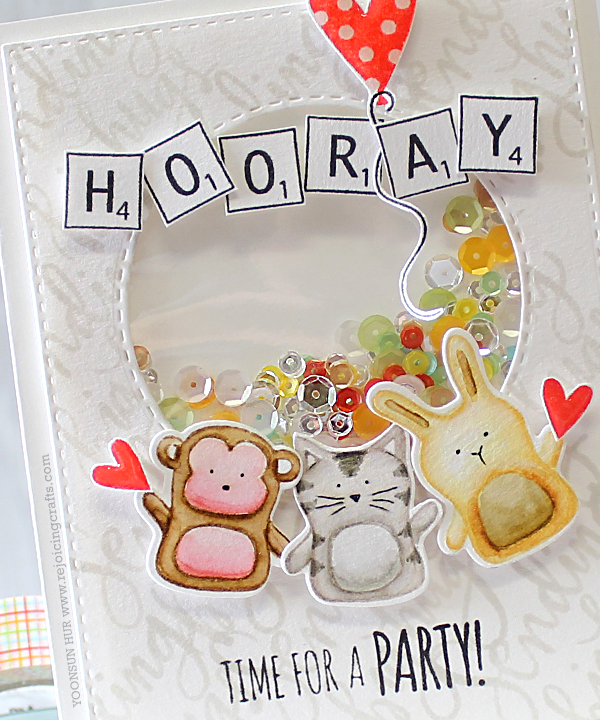 HOORAY!! Time for a PARTY!! It is to celebrate Simon Says Stamp STAMPtember®!! I am SO thrilled and excited about STAMPtember!!
 STAMPtember® is a month-long event! There are full of awesome goodies, inspirations, and super happy celebrations in September!!


 Today I am sharing with you my card using
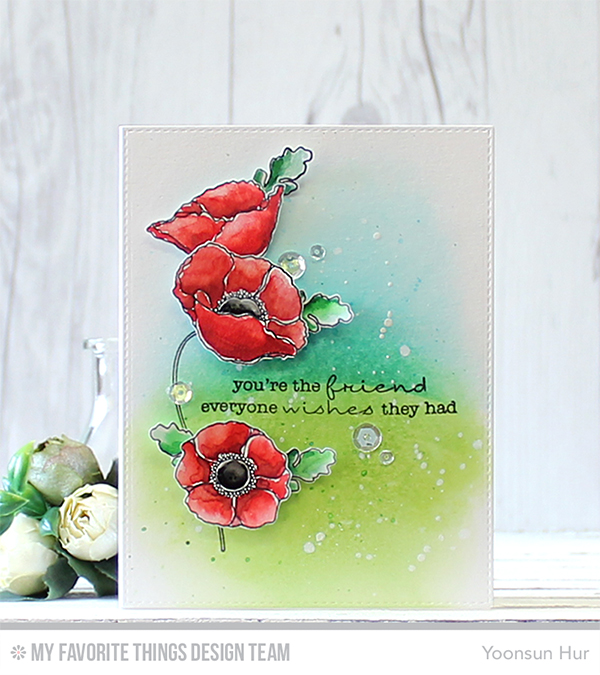
 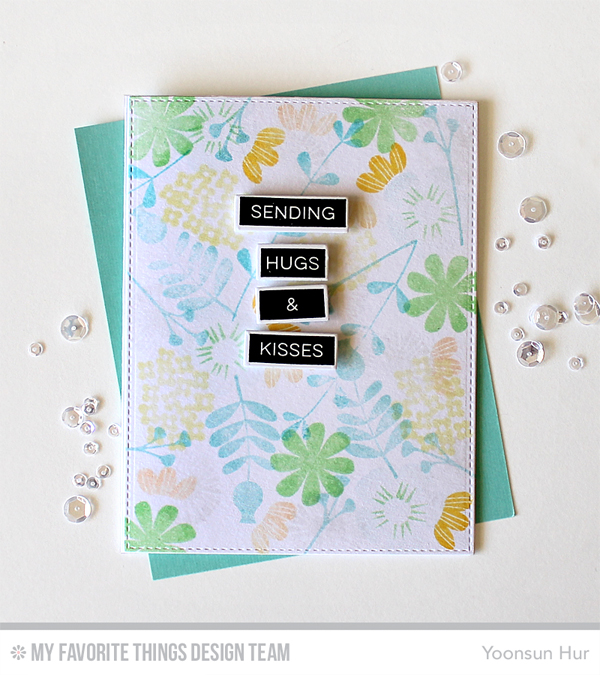 To create this card, I 1) Stamped the flowers from the
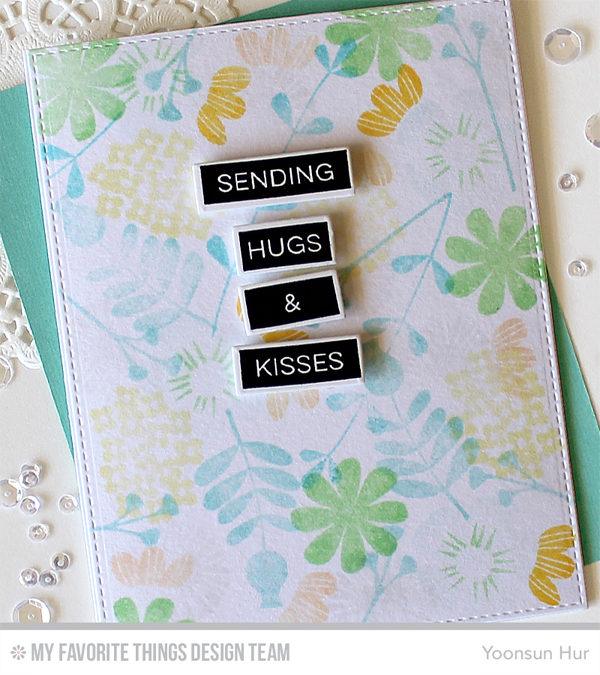


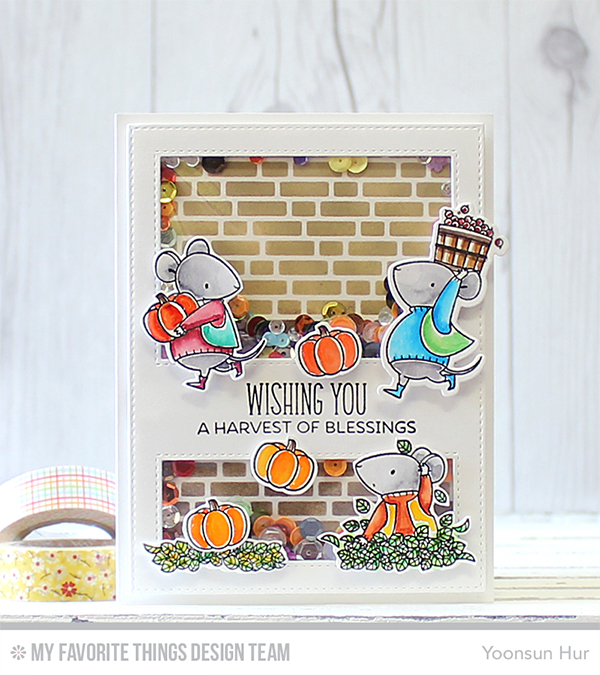
 For my first card, I made a shaker card with
 For my second card, I used


 For my first card, I 1) Blended onto the
 For my second card, I made watercolour flower pattern. These days I am obsessed with making my own pattern papers. I don’t know why I like it, but it is so much fun and looks so pretty :D
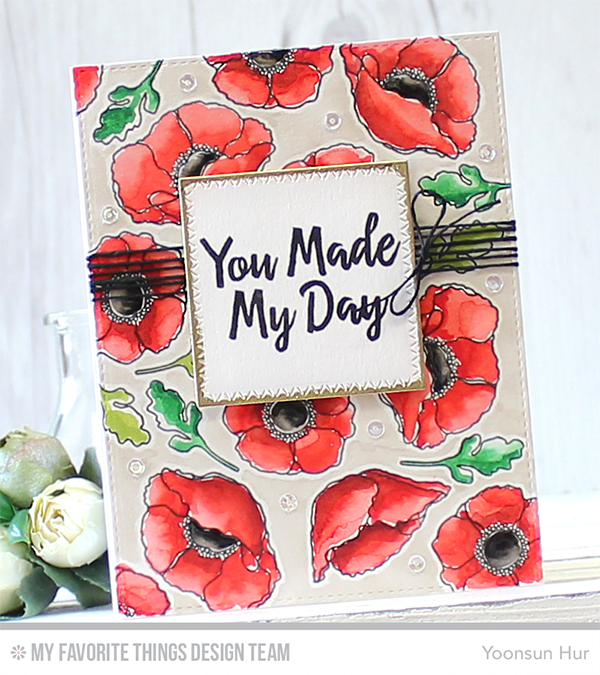
 For my last card, I used so beautiful


