SSS STAMPtember® – Warm Christmas Wishes

Hello crafty friends, I hope you are doing very well and have good time to read my post!

Today I am sharing with you a couple of fun cards using a delightful Warm Christmas Wishes stamp set.
YoonsunHur-20150910-SSS-Stamptember01
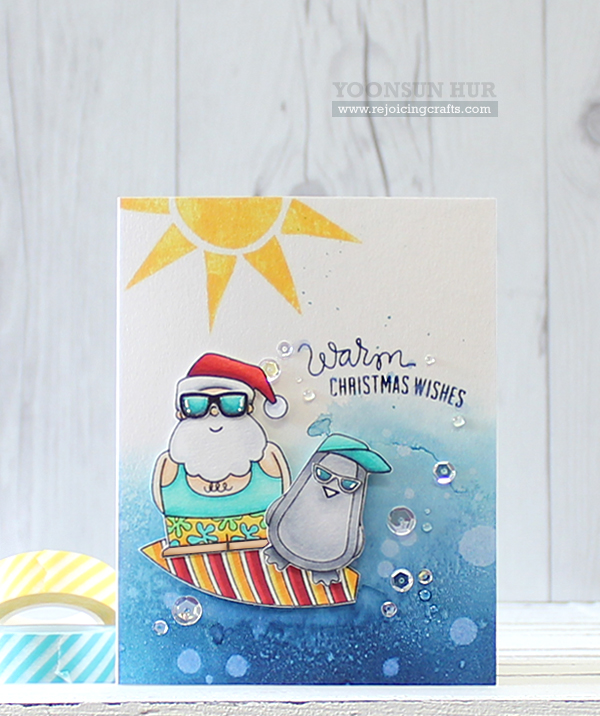
To create this card, I 1) Stamped the fun images from the Warm Christmas Wishes on the white card stock using Copic friendly black ink, coloured them with Copic markers and then fussy cut them. 2) Stamped the tiny sun images from the My Sunshine randomly on the white paper panel using SunshineLemon Chiffon dye inks. 3) Die cut the stitched circle window at the front of the stamped panel using Stitches Circles die. 4) Stamped the sentiment on the black paper using embossing ink, white heat embossed it and then made a speech bubble banner. 5) Mounted all elements as shown to the white card base using dimensional foam tape.
YoonsunHur-20150910-SSS-Stamptember02  Oh YES!! I think Santa is ready to GO for a surf!! And… the next?!

YoonsunHur-20150910-SSS-Stamptember03
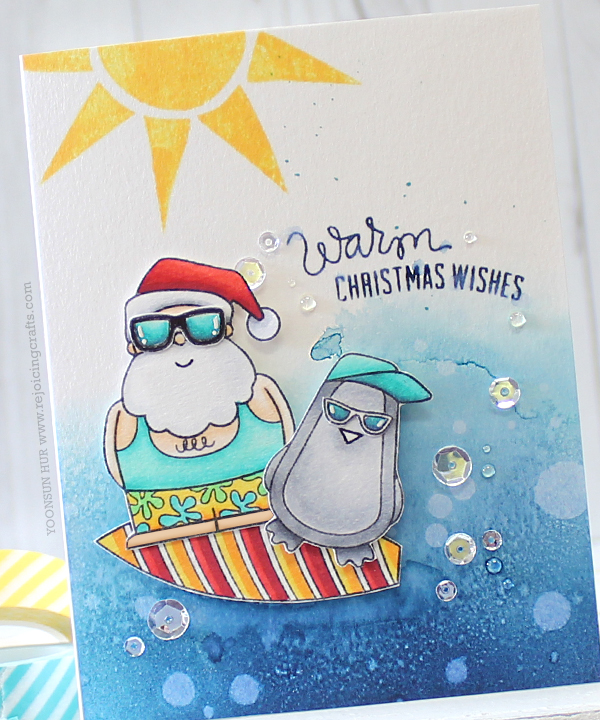
Yee haw! he’s enjoying surfing with his surfer dude on the waves!!

For the effect of blue wavy sea surface, I 1) Blended on the watercolour paper panel with Peacock FeathersSalty Ocean, and Chipped Sapphire Distress inks using mini blending tool. 2) Spritzed with water using mini mister and then dry using heat tool. 3) Added water droplets here and there.
YoonsunHur-20150910-SSS-Stamptember04 Oh, it was SO fun to make these Beach Christmas Cards :D

Thank you so much for stopping by. Happy STAMPtember®!!!

Keep smiling and be blessed! God bless you all!
Love Love Love RejoicingCrafts

http://static.inlinkz.com/ppr.js

MFT WSC244 – Happy Birthday

Hello crafty friends!
Today I want to share with you the card that I made for My Favorite Things Weekly Sketch Challenge.
MFT-WSC244
Here is what I came up with:
PrintFlower is my all time favourite item and a new MFT Etched Flower Background stamp is definitely one of my faves!!

To create this card, I 1) Stamped the Etched Flower onto the watercolour paper using embossing ink, white heat embossed it. 2) Trimmed the stamped paper using Cross-Stitch Rectangle STAX Die-namics. 3) Blended onto it with Lemon DropTickled PinkBubblegum, and Wild Cherry dye inks using mini blending tool, added water droplets. 4) Die cut flowers and leaves from the colour card stocks, combined all die cuts together. 5) Stamped the sentiment from the Soda Pop stamp set on the black banner using embossing ink, white heat embossed. 6) Mounted all elements as shown to the kraft card base. 7) Embellished a few clear sequins.
Print
Thank you so much for stopping by. Have a wonderful day!!

Keep smiling and be blessed! God bless you all!
Love Love Love RejoicingCrafts

http://static.inlinkz.com/ppr.js

SSS STAMPtember® – Hugs

Hello crafty friends, I hope you had a wonderful weekend!!

Today I am sharing with you a couple cards using so adorable Hello Friend stamp set.
YoonsunHur-20150907-SSS-Stamptember01
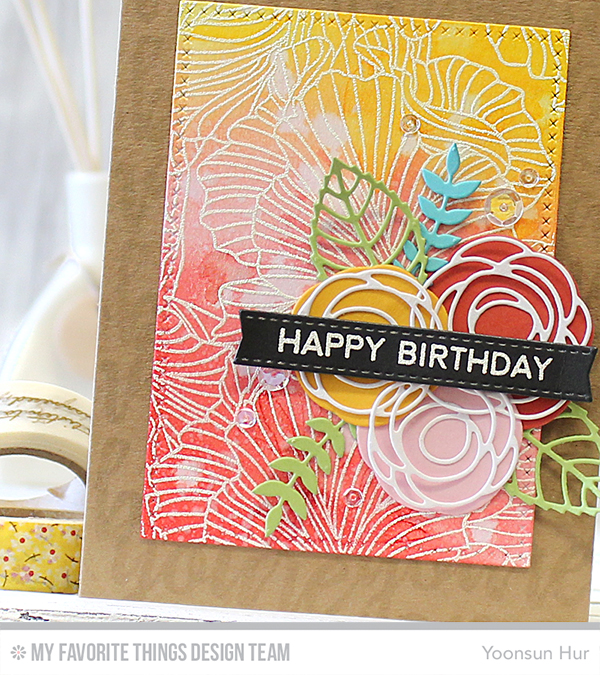
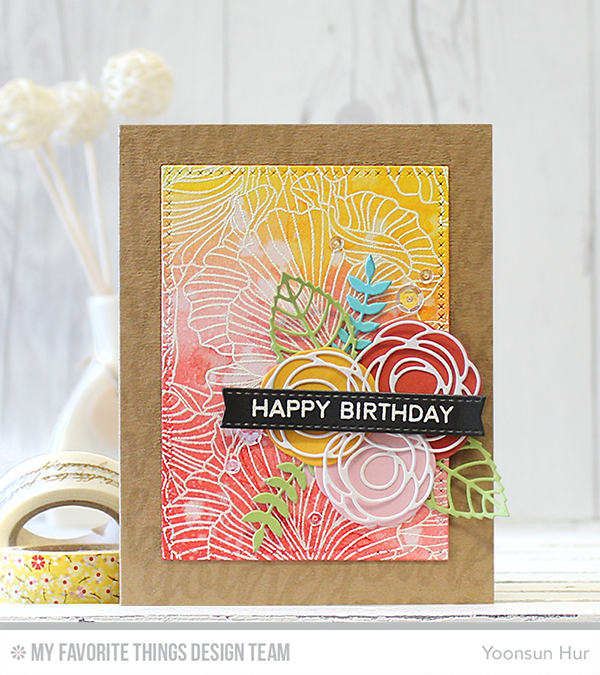
For my first card, I made my floral background with Copic colouring. I 1) Stamped outlined flower images from the Hello Friend stamp set onto the white card stock using Desert Sand Memento dye ink, coloured them with Copic markers. 2) Coloured the rest areas of the background using E000 Copic markers. 3) Stamped ‘Hugs’ from the Best Hugs stamp set on the white card stock using black pigment ink and then fussy cut it. 4) Die cut Wavy Scallop Stitches from the SSS color card stocks – Cotton Candy, Lemon Chiffon, and Sunshine. 5) Mounted all elements as shown to the white A2 top fold card base.
YoonsunHur-20150907-SSS-Stamptember02
YoonsunHur-20150907-SSS-Stamptember03
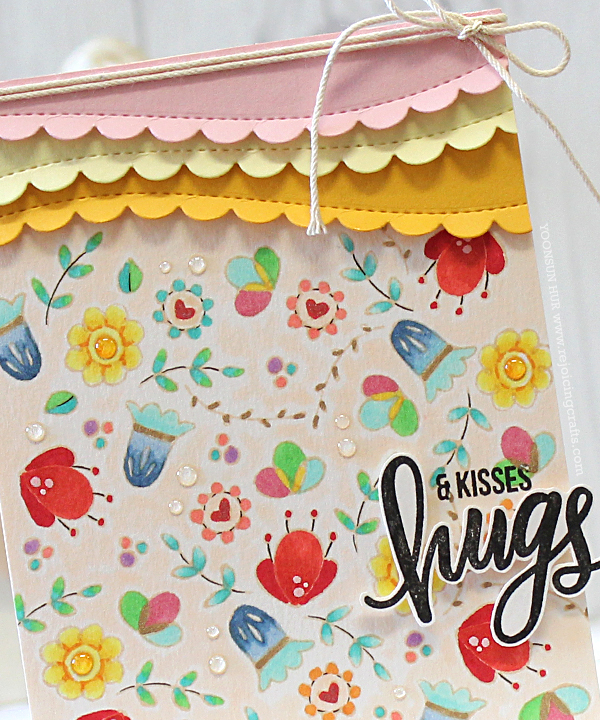
For my second card, I made watercolour flower card with the Hello Friend stamp set.

To create this card, I 1) Stamped the flower images onto the watercolour paper panel using black pigment ink, loosely coloured them with Peerless watercolours. 2) Stamped the sentiment from the Best Hugs stamp set on the white card stock, fussy cut it. 3) Mounted all as shown to the white A2 side fold card base.
YoonsunHur-20150907-SSS-Stamptember04
Thank you so much for stopping by. Happy STAMPtember®!!!

Keep smiling and be blessed! God bless you all!
Love Love Love RejoicingCrafts

http://static.inlinkz.com/ppr.js

Clearly Besotted September Release Teaser Time Day 4

Hello crafty friends, TGIF!
Welcome to the Clearly Besotted September Release Teaser Time Day 4.

Today I am sharing with you my card using super adorable Arctic Animals stamp set.
YoonsunHur-20150904-CB-A01
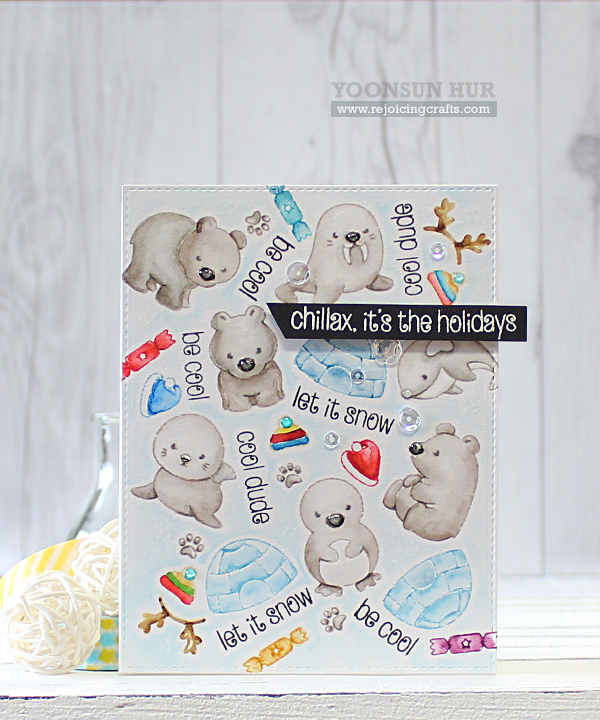
These arctic animals are so sweet and make me smile :D

To create this card, I 1) Stamped cute images randomly onto the watercolour paper panel using light colours of Distress ink, coloured them with Distress markers. 2) Stamped the sentiments between coloured images using black pigment ink. 3) Stamped the main sentiment from the Arctic Animals stamp set on the black card stock using embossing ink, white heat embossed. 4) Mounted the watercoloured panel on the white card base first, and then adhered the sentiment banner using dimensional foam tape. 5) Embellished with a few clear sequins.
YoonsunHur-20150904-CB-A02

Make sure to check out Clearly Besotted Blog for more inspiration from the fabulous Design Team!!

Thank you so much for stopping by. Have a great day!

Keep smiling and be blessed! God bless you all!
Love Love Love RejoicingCrafts

http://static.inlinkz.com/ppr.js

Clearly Besotted September Release Teaser Time Day 3

Hello crafty friends, happy Thursday!
Welcome to the Clearly Besotted September Release Teaser Time Day 3.

Today I am sharing with you my card using Warm Solutions stamp set.
YoonsunHur-20150903-CB-A01
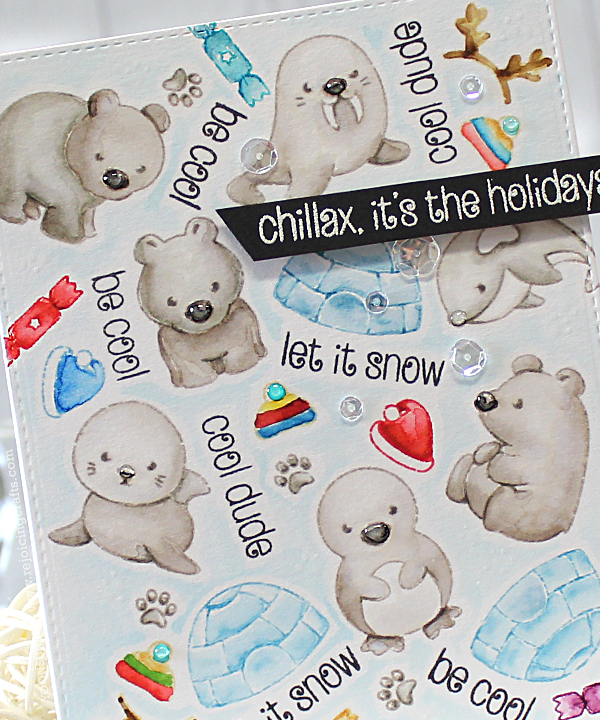
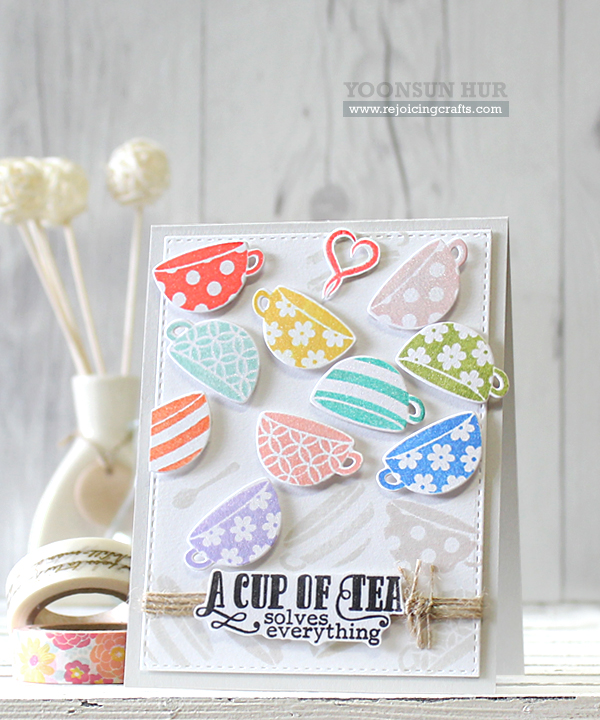
Warm Solutions is a mini stamp set but there are four different patterned teacups in one set. I just love it!!

To create the card, 1) I randomly stamped tea cups on the white paper panel using SSS Fog Gray dye ink. 2) I stamped tea cups on the other piece of white card stock with several colours as well. 3) I die cut stamped images with the matching dies. 4) I stamped the sentiment on the white card stock using black pigment ink, fussy cut it. 5) I mounted all elements as shown to the SSS Fog Gray card base. 6) To finish it off, I brushed all tea cup images over with Clear Zig Wink of Stella Glitter Brush.
YoonsunHur-20150903-CB-A02
Make sure to check out Clearly Besotted Blog for more inspiration from the fabulous Design Team!!

Thank you so much for stopping by. Have a great day!

Keep smiling and be blessed! God bless you all!
Love Love Love RejoicingCrafts

http://static.inlinkz.com/ppr.js