Hello crafty friends, I hope you had a great weekend!
 Today I want to share with you the card I’ve made using so very beautiful STAMPtember® Altenew collaboration Layered Flowers stamp set.
 Altenew layered flower stamps look very much like real flowers and this time was no exception!!
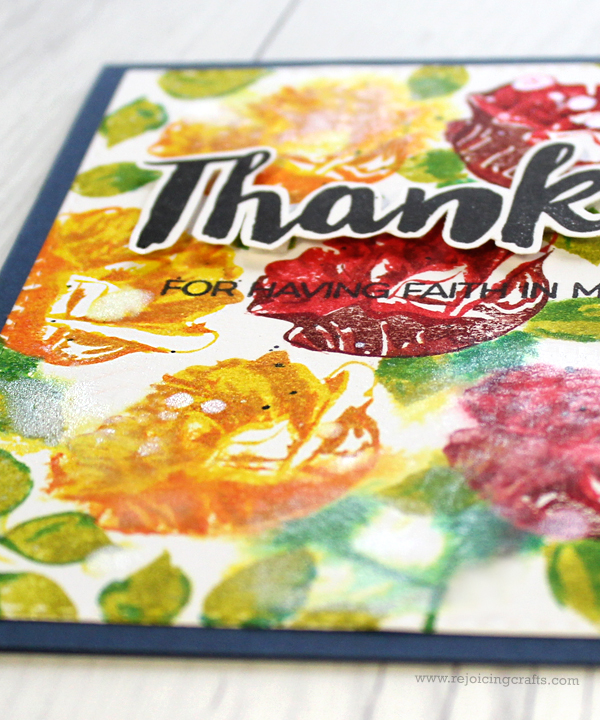
Here is what I came up with:
 To create the card, I 1) Stamped the layering flowers from the Layered Flowers stamp set on the watercolour panel using several colours of Distress inks – Red flower: Festive Berries, Fired Brick, Aged Mahogany / Yellow flower: Mustard Seed, Wild Honey, Spiced Marmalade / Leaves: Crushed Olive, Mowed Lawn. 2) Spritzed the stamped panel with Ranger Perfect Pearls Mist. 3) Stamped ‘Thanks’ from the Thanks For Being There stamp set on the white card stock using black pigment ink and then fussy cut it. 4) Mounted all elements as shown to the SSS Soft Navy card stock.
Make sure to check out the Simon Says Stamp blog for more inspiration!
Thank you so much for stopping by. Happy STAMPtember®!!!
Keep smiling and be blessed! God bless you all!
Love Love Love RejoicingCrafts


 Today I want to share with you the card I’ve made using a new
 Adorable critters are enjoying the cool air and blue sky in autumn ;)
 Make sure to check out the


 Oh, I love, love, love flower themed projects! LOVE making beautiful things :D
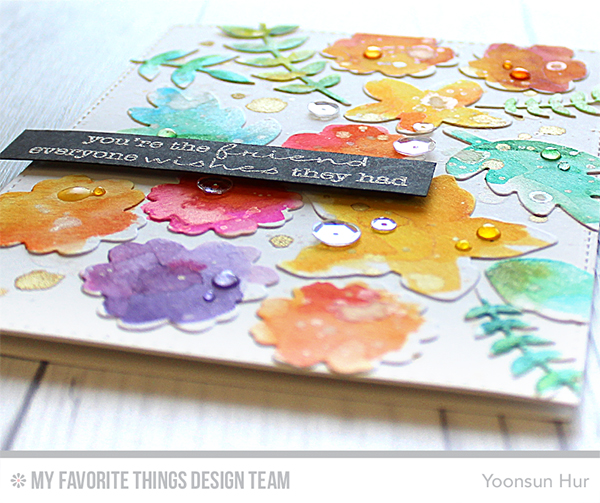 Sparkly gold ink splatter is the perfect way to add a little bit of chic to the colourful flowers!
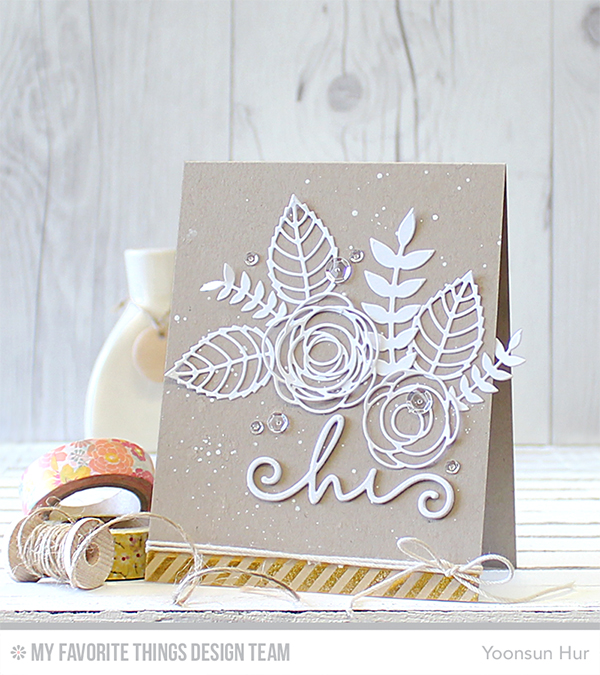 I love the combination of the colours used in this card, especially the white decoration on kraft base. It’s so simple, yet so elegant and classy! I die cut flowers, leaves, and sentiment from the white card stock using


 Today I want to share with you a couple cards I’ve made using so precious
 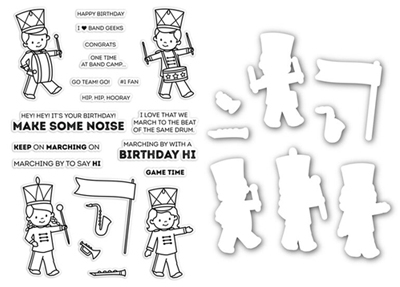 The band camp stamp set took my breath away when I first saw it. These 4 adorable kids in the set looked like Christmas toy soldiers and it reminded me of my warm Christmas memories. Oh! I really, truly love it!!
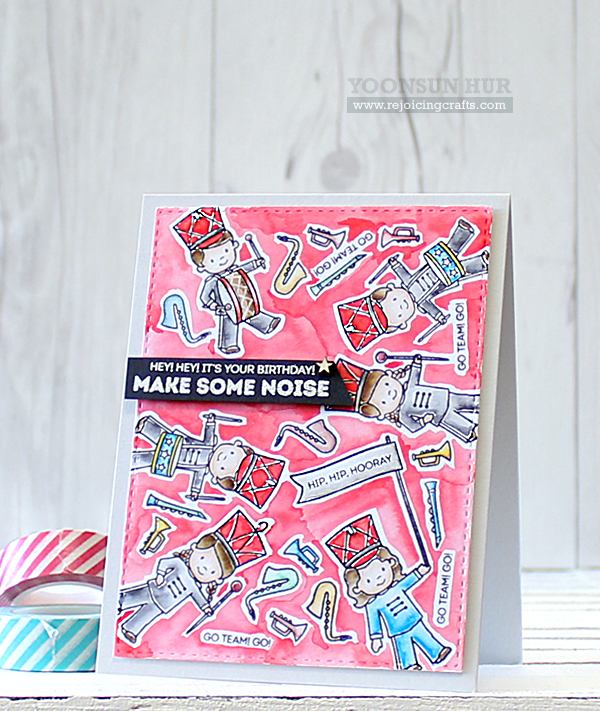 To create my first card, I 1) Stamped lots of images onto the watercolour panel randomly using
 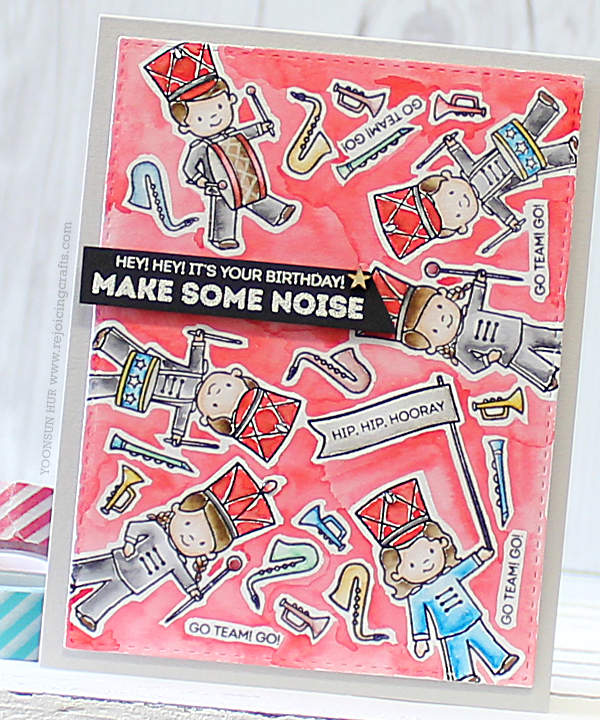 I will definitely use it again with Christmas sentiments during Christmas season!
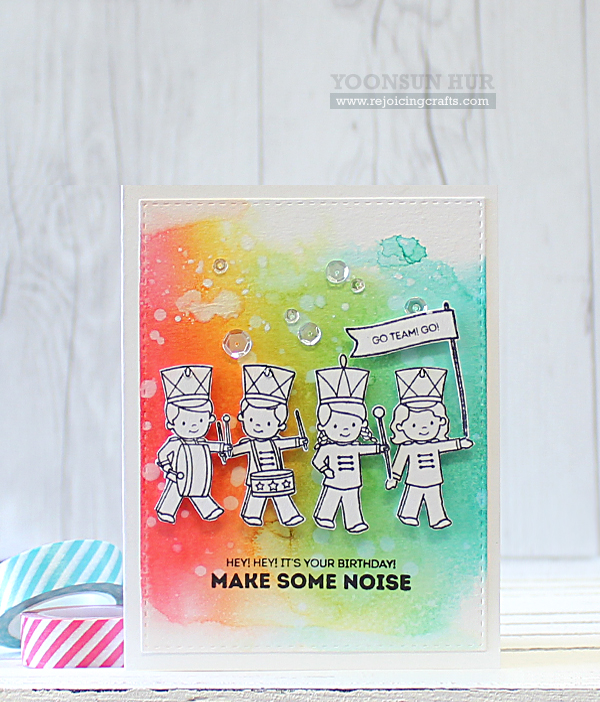 For my second card, I was totally inspired by super talented


